Sunday, 19 June 2011

Pattern review - mock wrap dress

Pattern description

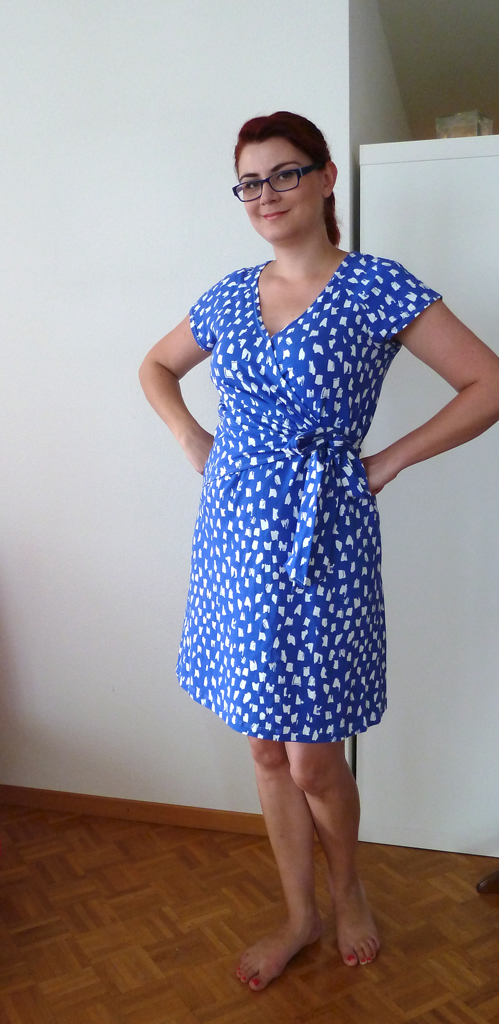
Simplicity 2369. I made view A: Misses' dress with wrap-look front and raglan cap sleeves, with the long ties from views A/C.

Pattern sizing

Sizes 8-24. I cut the 18.

Fabric used

A slightly odd and springy cotton jersey with elastane that I bought online many years ago. It wasn't quite what I was expecting (much thicker and spongier than I thought!) and I wasn't particularly in love with it, but I wanted to make a test garment with this pattern, so used this stuff as it wouldn't be a loss if it was a wadder!

Did it look like the photo/drawing on the pattern envelope when you were done?

Yep, pretty much.

Were the instructions easy to follow?

Yep, fairly straightforward although I did need to read them carefully for the attachment of the two fronts and the ties (I'd had it in my mind that the right front was attached at the left side, but it's not, rather it's closed with the tie slightly in front of the left side seam).

I'd had a look at the Pattern Review opinions on this, and there were many that said that there was a printing error in the instructions with one of the pieces reversed, but this seems to have been corrected. I also used (a modified version of) Trena's instructions for attaching the tie to the right front piece in order to enclose the seam allowances.
What did you particularly like or dislike about the pattern?

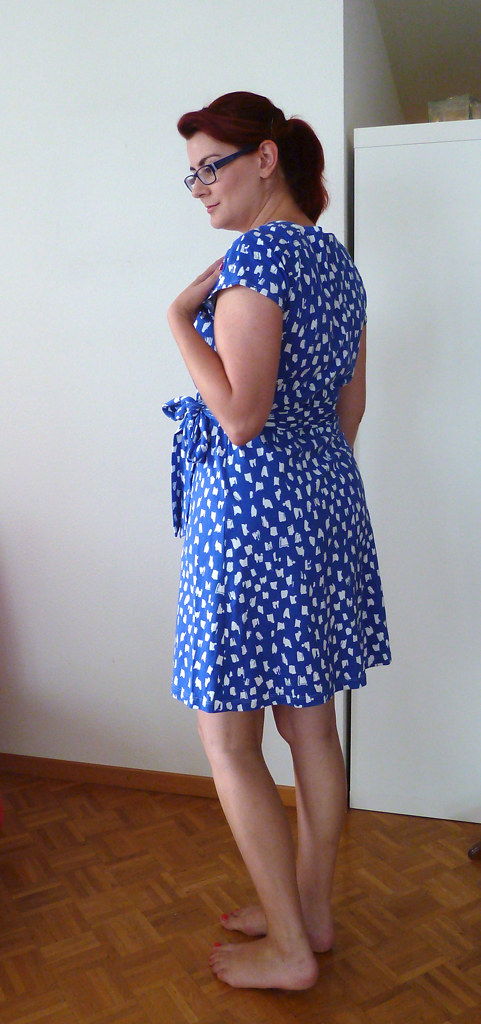
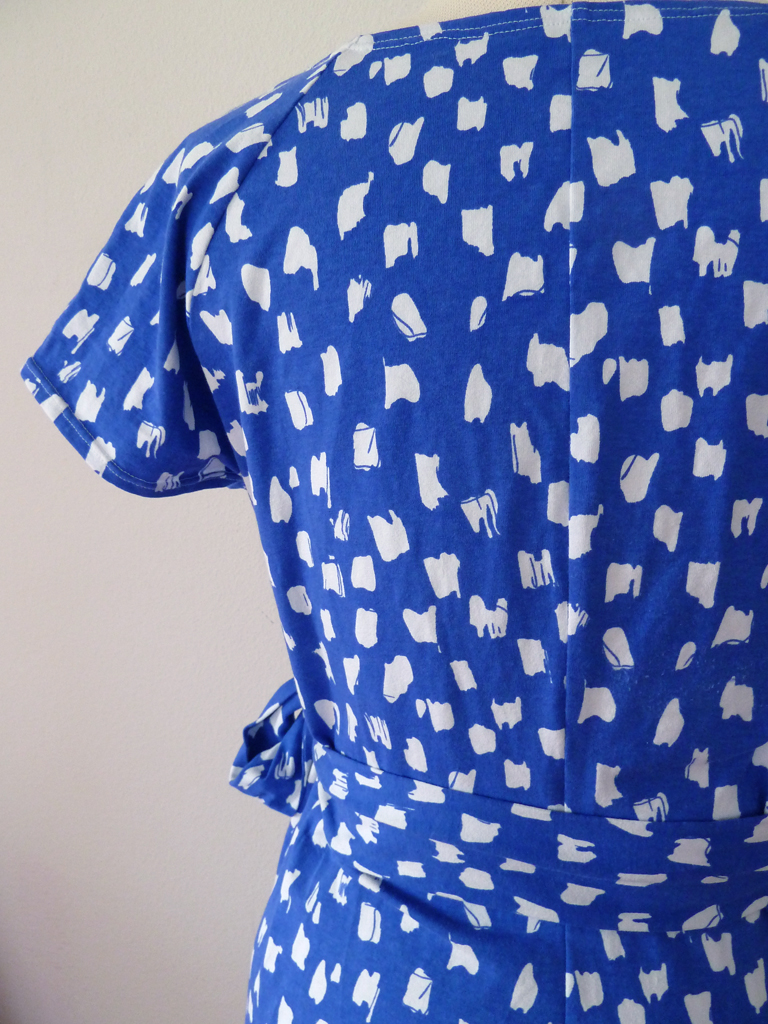
I like the half-wrap front, I think the pleats in the front piece into the ties is very flattering, not least because it covers a "tummy" very effectively. I also think the raglan sleeves are very cute, but I'm not convinced they suit me.

I have some issues with the sizing of this pattern, as usual for many "Big 4" patterns it had rather a lot of ease, especially as it's sized for knits. This wasn't a huge problem for me as I prefer looser fitting jersey clothes, but I will adjust for this if I make it again. The main front piece also seemed weirdly wide at the right hand side (I had to take it in by over 2"). I also thought the cap version of the sleeves were too big (i.e. too wide on the lower edge) - this might have been less of an issue with a softer, more drapey fabric, but with my fabric they were very sticky-uppy (wow, my vocabulary is not working today). You also need to extend the grainline on the cap sleeve pattern piece, as the printed on ends about an inch after the cutting line.
Pattern alterations or any design changes you made

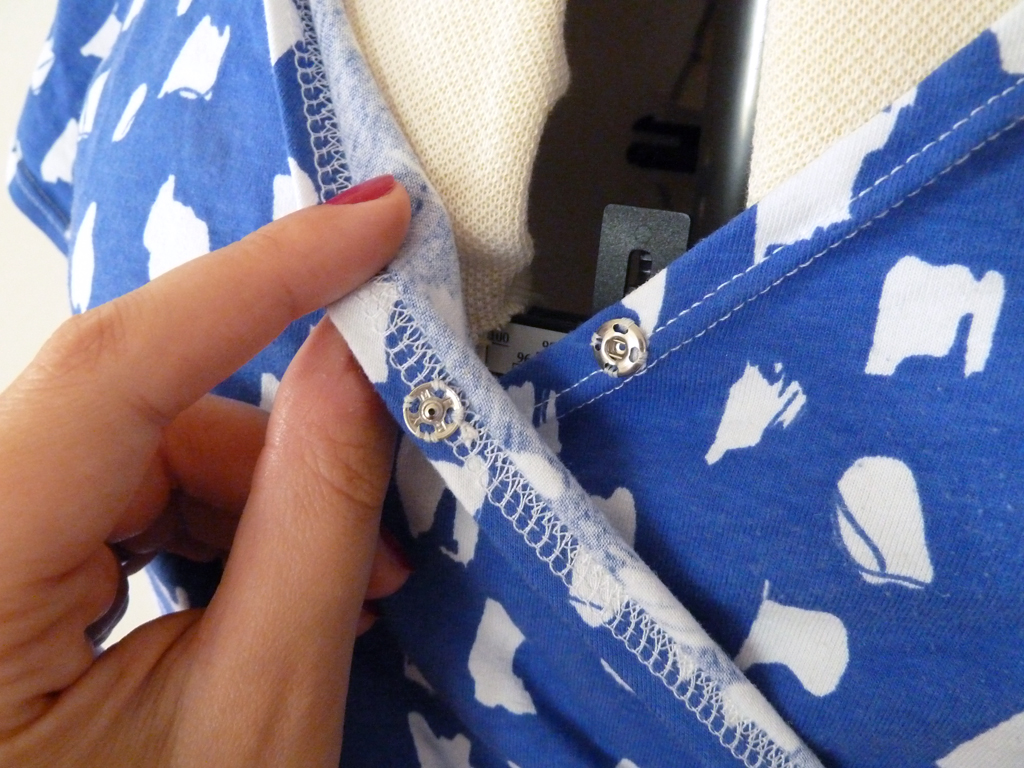
I wanted the tie to extend around my back to keep my waist defined, so cut the long tie piece plus the back waist measurement, and caught it in the right side seam instead of the left one. I omitted the neck facing and just turned the edge and topstitched it with a twin needle. Ideally I would have added clear elastic, but I'm currently not on speaking terms with my clear elastic, so I added a snap at centre front to keep it from gaping.

I needed to take in the sides of the bodice by about 1cm on each piece (i.e. to the size smaller!) and could have taken in the waist even more. I took width out the sleeves at the underarm seam, tapering from 1cm (both back and front) at the underarm (to match the side seam) to about 2cm at the sleeve hem. This stopped the sleeves looking too ridiculous. The main front piece was also insanely wide, I took out 2.5-3" of width at the neckline edge/waist by simply taking a tuck next to the side seam - I didn't particularly fancy unpicking the serged seams, and figured it wouldn't particularly show as it's under the other side piece. One thing that's good is that I don't seem to need an FBA - I made this up as a test garment in part to see if this was needed. This is quite fortunate as I didn't really know how to add this to these pattern pieces!

Would you sew it again? Would you recommend it to others?

I might sew this again, although a different view, either the tunic length view C, or another dress but with the longer sleeves from view C. I would recommend it to others, but with the caveats above.

Conclusion

I'm not entirely sure raglan sleeves suit me - because of the seamline, they tend to narrow my shoulders and make them appear less straight, which then can make my larger bottom half look slightly out of balance. I might experiment with some colour blocking and see how that looks. Having said that, I do like this dress, as a house dress and occasional summer casual dress.

Saturday, 18 June 2011

Me-Made-June round-up: Days 8-11

Just a quick round-up for these days, as they're not terribly exciting outfits - I was saving my good stuff for holiday...

Day 8: Hanging around the house and running a couple of errands. I know the photo's a bit blurry, but I liked it, so I sort of vintaged it a bit to make it look like it was meant to be like that...

Skirt: Me-Made / Necklace: Me-Made / Top: H&M / Jacket: H&M / Shoes: M&S / Bag: Primark / Cat: Furry

Friday, 17 June 2011

Pattern review - Cowl neck jersey dress (plus a bit of Me-Made-June action)

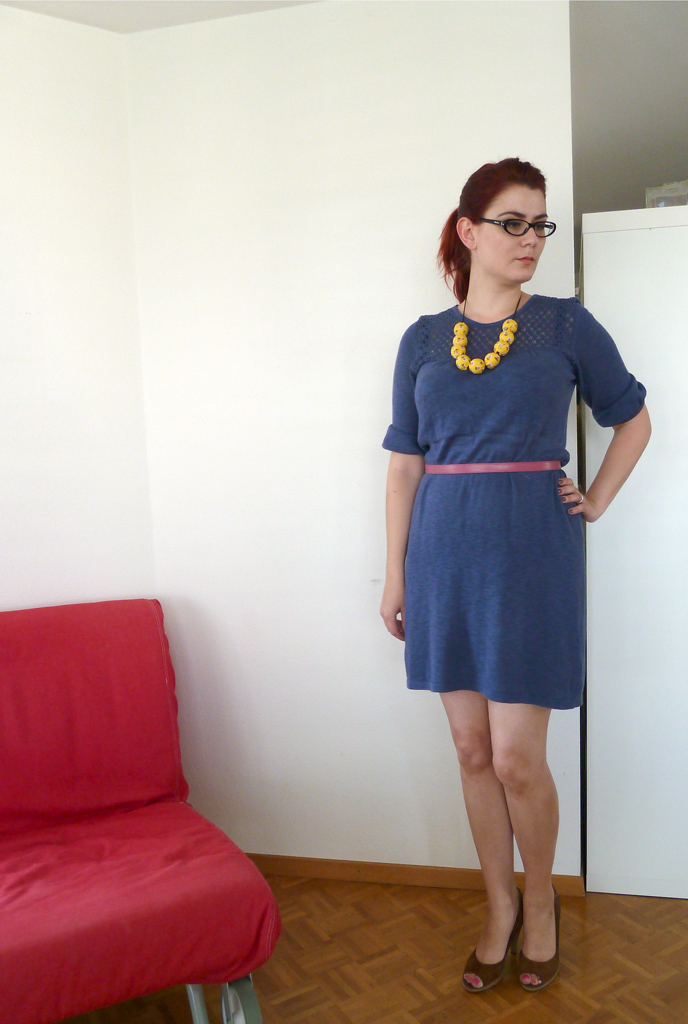
Dress: Me-Made (reviewed below) / Belt: eBay / Earrings: Accessorise / Shoes: M&S / Jacket (also worn that evening, but not seen in this picture): Me-Made

I'm going to catch up on my Me-Made-June outfits with a couple of review posts - unless it's something new, then daily outfits aren't terribly interesting! However, this is actually the Me-Made outfit for 16 June, that I wore last night to my husband's work summer party - I unfortunately forgot to get a photo taken so had to recreate it this morning (well, actually this afternoon - it was a very good party).

Pattern description

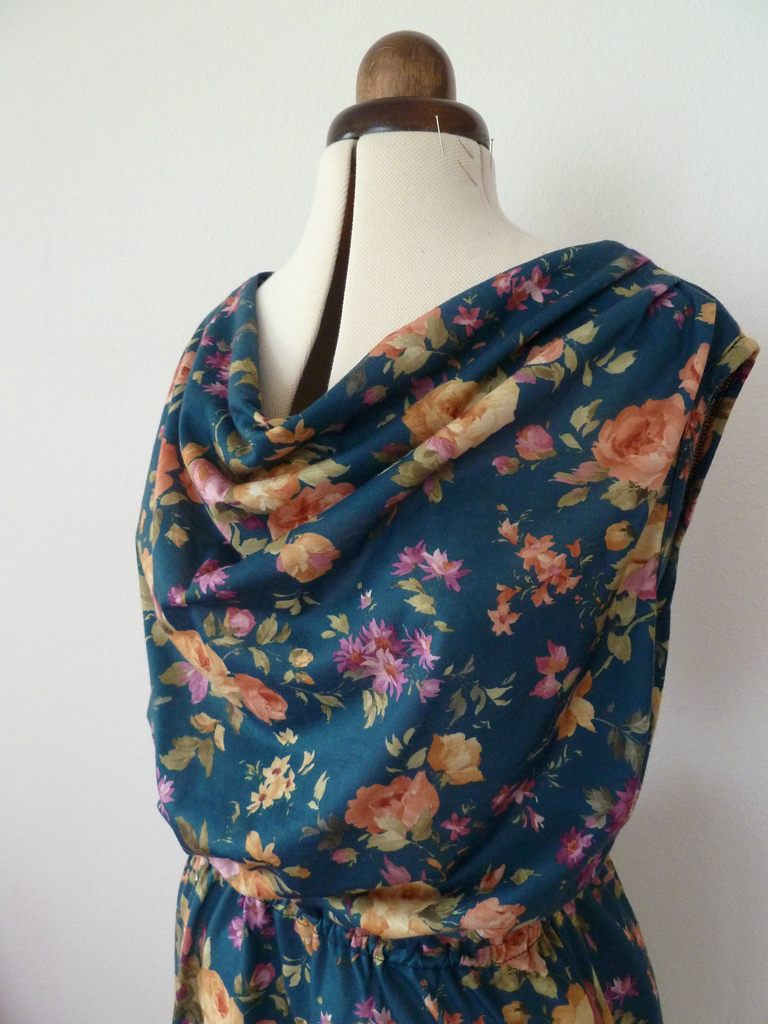
Self-drafted casual dress, a modified version of a previous dress. Loose fitting with cowl neckline, elastic waist and side seam pockets.

Fabric used

Smooth jersey, I think it's probably polyester.

Did it look like the photo/drawing on the pattern envelope/sketch/idea when you were done?

Pretty much, I think I was wanting the cowl to drape a little lower, but I'm happy with it as a first attempt at drafting and making one.

What did you particularly like or dislike about the pattern?

Quick to sew, and I think the cowl neck is flattering.

Pattern alterations or any design changes you made

The skirt is exactly the same as the previous dress. I took the extra length out of the bodice, and apart from that, the back bodice is identical to the previous dress. For the front bodice, I kept the dart excess in the shoulder area, but put in pleats instead of gathers. I then slashed and spread the bodice along three curves from the shoulder area to the centre front just above the bust point until the top line was at right angles to the centre line, and added a cut-on facing. The facing is caught in the shoulder seam (but doesn't have pleats in order to reduce bulk), and in the top of the armscye.

Construction details

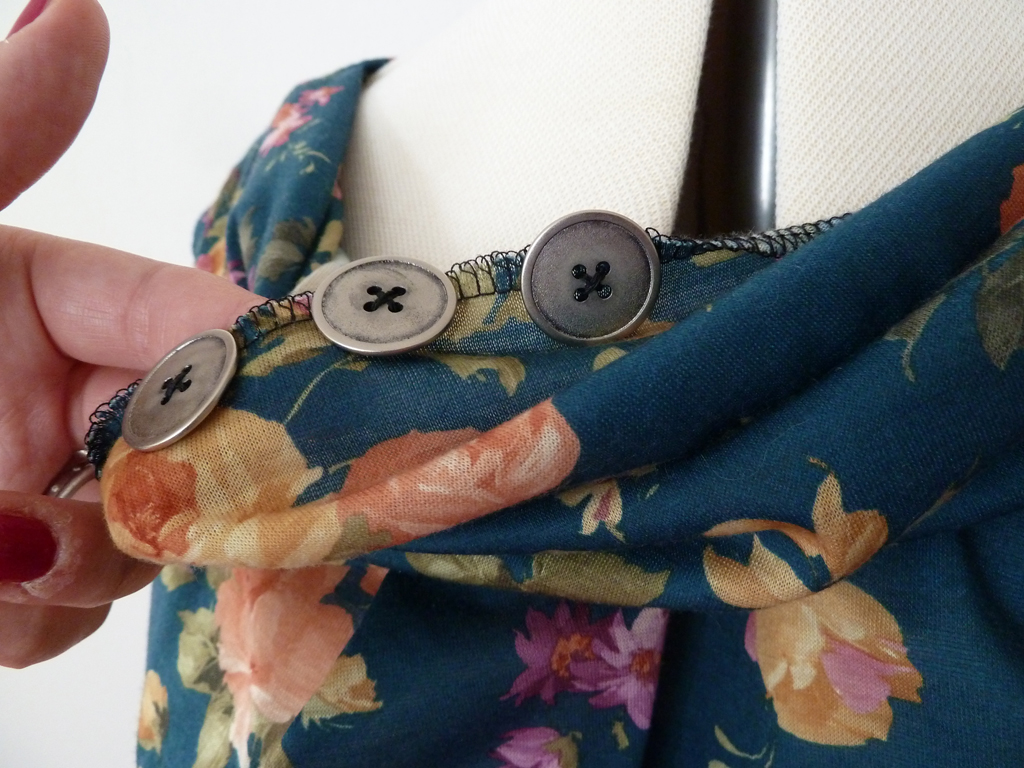
Construction was pretty much the same as the previous jersey dress. I used narrower elastic on the waist (about 6mm I think), and made sure I trimmed enough from the armscyes before applying the binding. When I tried it on the cowl wasn't sitting quite right. I think one of the reasons was that it's cut on the straight grain rather than the bias (as it's jersey), but I was expecting this. I think the other reason is that the fabric isn't quite heavy or drapey enough, so I decided to add some weight to the bottom of the facing. I wanted to add some proper lead weights or chain, but couldn't find any, so added three metal buttons, which works pretty well.

Would you sew it again?

Entirely likely, but I will almost certainly be adapting it again - well, definitely, as I'm currently working on a dress with a lace overlay based on this bodice.

Conclusion

I'm very pleased with this dress and have already worn it several times. The combination of this fabric and style has meant it's a little dressier than I intended, but that's actually ended up being a good thing, as it's a perfect summer party dress, and can be made more or less dressy with choice of shoes, accessories and hairdo!

Sunday, 12 June 2011

Barcelona!

I'll catch up with my me-made outfits towards the end of next week - I'm off to Barcelona in an hour and a half, to celebrate our second wedding anniversary :)

Tuesday, 7 June 2011

Pattern review - Wrap/vest thing (plus Me-Made-June: Day 7)

Wrap thing: Me-Made (reviewed below) / Skirt: Me-Made / Top: Primark

So today was a do stuff at home day, so a pretty casual look. (It was also meant to be a run some errands day, but then the thunderstorms started.)

Pattern description

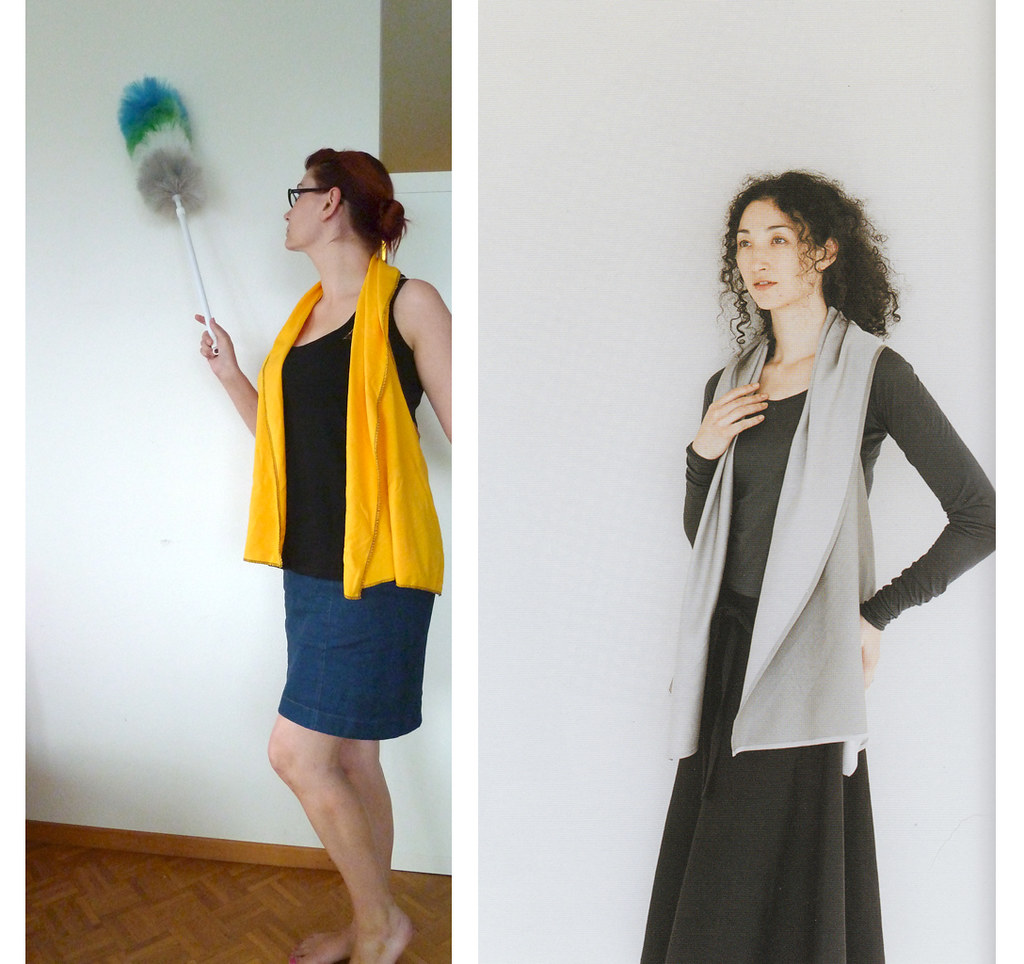
Top j, view 1 from Unique clothes any way you like by Natsuno Hiraiwa. A crazy reversible sort of waistcoat thing that you can also wear either way up.

Pattern sizing

One size.

Fabric used

Yellow cotton interlock. I had in my mind a cute sunny bright wrap...

Did it look like the photo/drawing on the pattern envelope when you were done?

Erm, well the shape did, I'm not sure I pulled off the effortless Japanese sophistication though...

Were the instructions easy to follow?

They are in Japanese... There is a big picture of how it is sewn together though - and to be honest it's really really simple to put together. Like, just two pieces.

What did you particularly like or dislike about the pattern?

I like how the garment is such an interesting shape, both on and off the body. The pattern pieces were a bit tricky to trace - think BWOF style pattern sheets, but all in one colour... Just needs a bit of concentration so you're sure which line you want to trace. Once that's done, it's super quick to sew up. (Assuming you don't need to change thread colours in your serger and then miss that one thread isn't through the tensioner properly and spend 20mins trying to work out why it's not sewing properly. Ahem.)

Pattern alterations or any design changes you made

I left off the turned over hem and binding on the centre part, and just serged the edges - I was aiming for a funky graphic look. Unfortunately, with the choice of fabric, I instead ended up wearing a giant duster...

Would you sew it again? Would you recommend it to others?

I am going to sew this again, but using a different fabric, so I get more of the cool and less of the cleaning products. I also think I'll trace off view 2, which is slightly larger/wider, to get more of the drapey effects and tying ability as in the photos from the book. I would recommend this to others, as long as they're happy to go by pictures alone (or speak Japanese).

Conclusion

Well, I did actually just wear this out the house. With a coat over the top. I think this will be relegated to housewear though for the moment, until I can think of how I can salvage it. Maybe I might bind the edges or put some appliqués on it? I'm looking forward to sewing up a few other things from this book (and my other Japanese pattern books), although for some of them I'll need to do a bit of grading as the largest size given is about 2-3 dress sizes too small for me.

Monday, 6 June 2011

Yellow fabric necklace, plus Me-Made June: Day 6

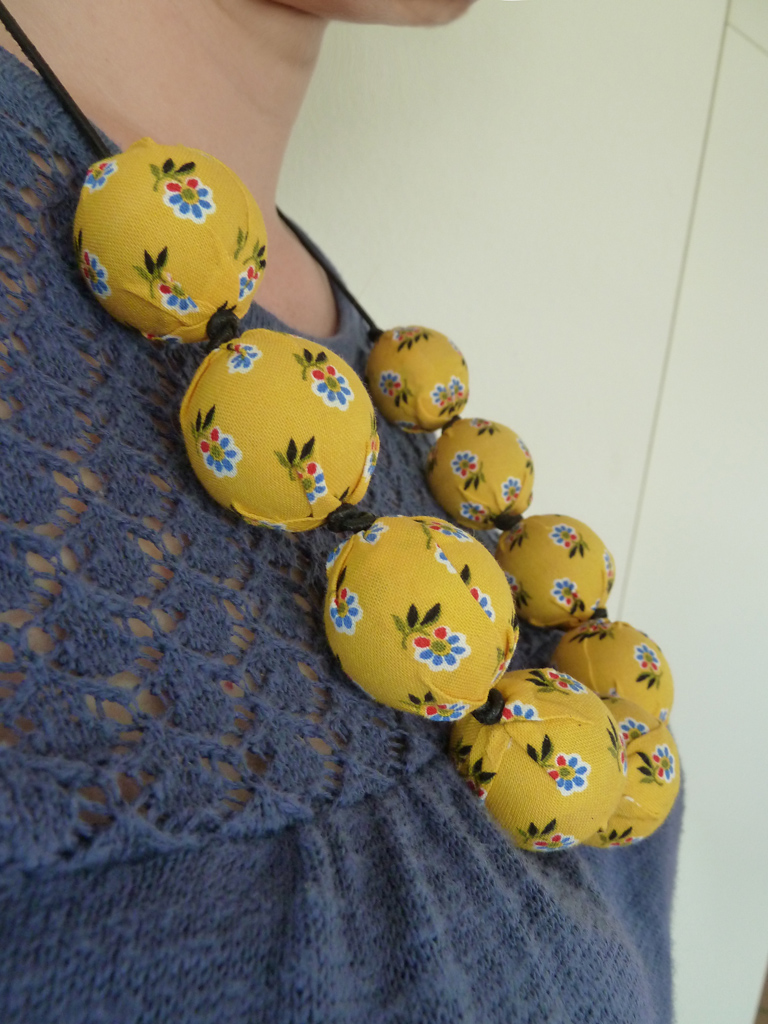
So today I made a necklace, inspired by this tutorial. I wanted a few more Me-Made accessories, in case I can't keep up every day with the Me-Made clothes (like today...), so I made this necklace this afternoon - and I'm very pleased with it. It was pretty quick to make too. I used slightly bigger beads than in the tutorial so I needed to figure how much larger to make the pieces of fabric, but once that was done it took maybe an hour tops. I used quilting cotton to cover the beads, and it's strung on a black leather thong.

This Me-Made-June challenge is great for my productivity, I've been inspired to actually get going and make stuff rather than procrastinate, I'd like to say because I want to entertain the other MMJ-ers with lots of exciting clothes, but it's more that I get easily bored with clothes and don't want to wear virtually the same thing for most of the month!

I also have a couple of things happening this month that I want to have an appropriate wardrobe for - I'm going to Barcelona next week for a few days for my 2nd wedding anniversary (squee!) and the day we have back, my husband's work have their summer party. Basically, good excuses to sew dressy clothes :)

Necklace: Me-Made / Dress: Uniqlo / Belt: eBay (I think, it's old) / Shoes: Bata

I don't normally wear heels around the house! These are brand new and need breaking in, and as a bonus they went with this outfit.

Sunday, 5 June 2011

Pattern review - Gardening apron (and Me-Made-June: Day 5)

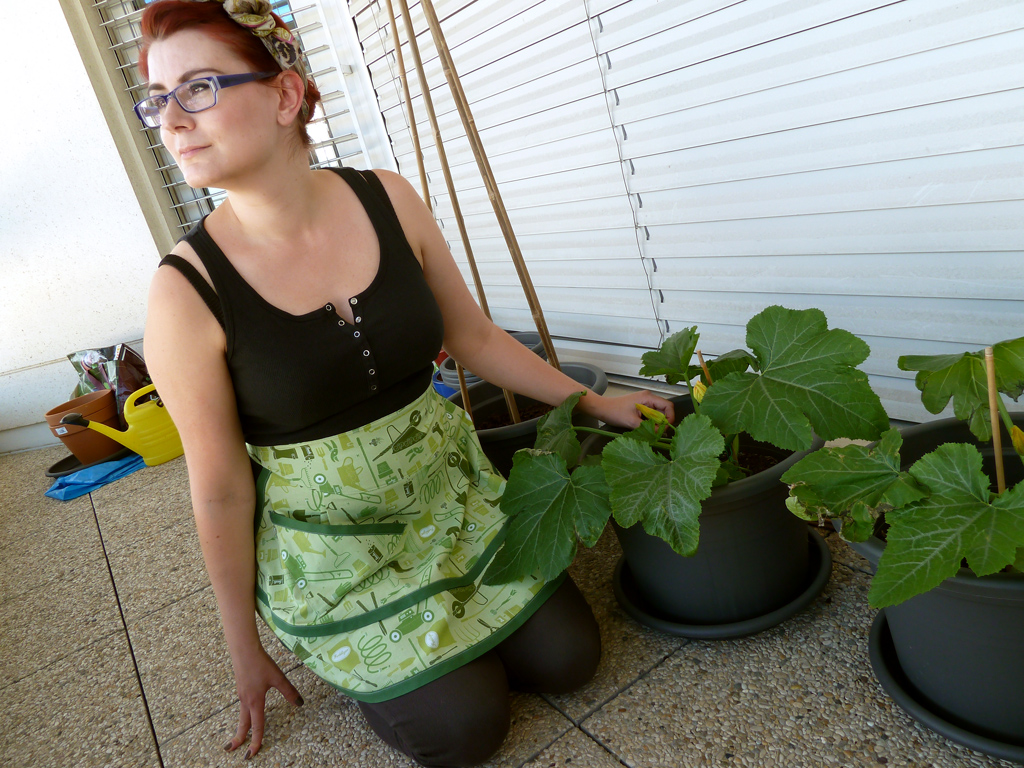
Apron: Me-made / Top: H&M / Jeans: Uniqlo / Scarf: Accessorise / Courgettes: Migros

I've realised I need a few aprons for a while now after several messy episodes whilst cooking and gardening, but I refuse to buy them as they are so simple to make. So, at long last I've made one! This is (obviously) for gardening, I plan to make a full apron for cooking soon. This post is also Day 5 for Me-Made-June

Pattern description

Woman's Day, April 1951: "Ripply apron". Half-apron with contrast bias binding and triangular pocket. This is a free pattern.

Pattern sizing

One size.

Fabric used

Quilting cotton with a print of garden miscellanea by Robert Kaufmann. Bought a while back from eQuilter.

Did it look like the photo/drawing on the pattern envelope when you were done?

Yep, pretty much, but in colour rather than black and white :)

Were the instructions easy to follow?

They're a little cryptic in places, but it's pretty straight forward to make up (although having said that, I was just looking at them again whilst getting the link to the pattern, and realised I think the waistband was meant to be sewn on the other way up...)

What did you particularly like or dislike about the pattern?

This is super quick to sew up - I drafted the pattern, cut and sewed it in less than an afternoon.

Pattern alterations or any design changes you made

As my bias binding wasn't terribly wide, I folded it in half and sewed that on, rather than actually binding the edges properly, so my mitred corners aren't perfect. As I mentioned above, I think I sewed on the waistband the wrong way up, but this made much more sense to me, as it adds length to the apron, which would otherwise be very short (although I guess it means it's a little less ripply at the centre).

If I did sew this again, I would definitely make the apron itself a bit larger, both widthwise and lengthwise - I forgot my waist doesn't quite equate to a 1950s waist measurement, so it doesn't wrap quite far enough at the sides of my waist (it's perfectly useable though!). I made it up with the pocket as designed, but I had my doubts about how practical this pocket would actually be. I tried it out with some gardening after I finished it, and I'm definitely going to take off this pocket and replace it with something deeper and a bit squarer.

Would you sew it again? Would you recommend it to others?

I doubt I'll sew this particular pattern again, although maybe as a present. I would recommend it to others, but with the advice to widen the apron/waistband pieces at the centre, unless you are very slim.

Conclusion

A useful apron that's also a pretty fun shape - I will wear it whilst doing my gardening when I want to feel like a proper housewife! Ooh, and I've just remembered I need to go and sew one of my labels on this too.