As I've made so many jersey dresses over the last few months, I wanted to make something out of a woven, and a sundress seemed a good idea - something quick and pretty and useful.
Yeah, it didn't quite turn out that way...
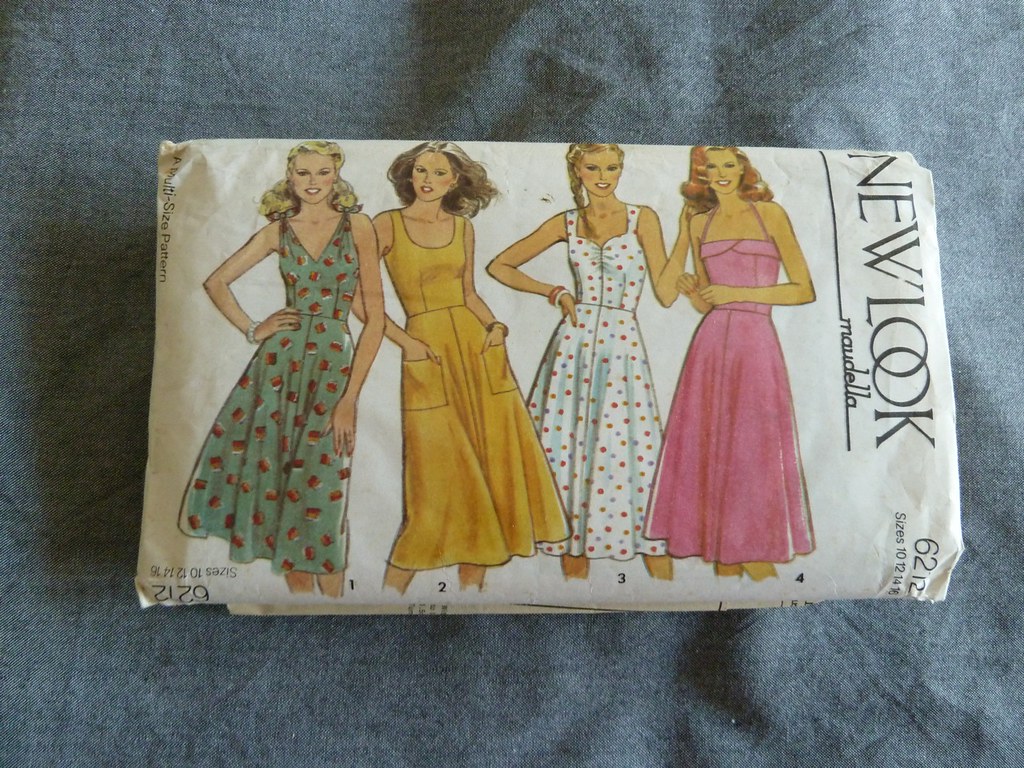
I picked a pattern from my stash (a random 80s-ish pattern that I think I was given by my mother-in-law), and a lovely African wax print lightweight cotton. Then the problems started...
(BTW, in case this is a bit longwinded, the TL;DR is that there are some useful tutorials at the end of this entry!)
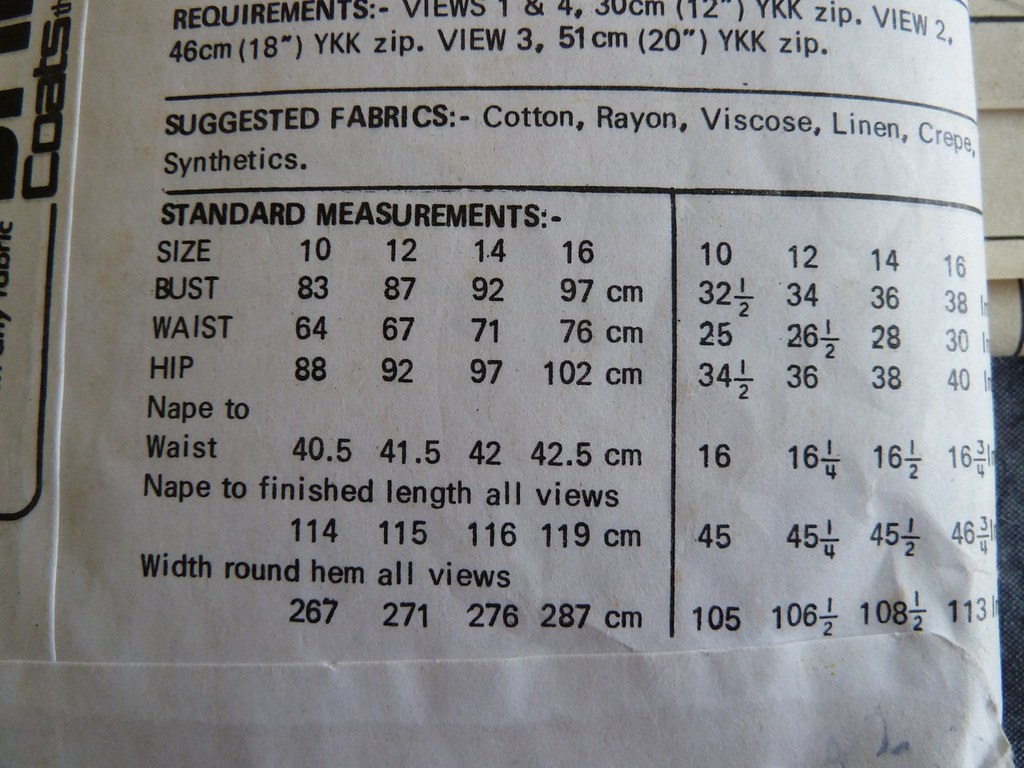
According to the measurements on the pattern envelope, I should have been able to make the 16 with a little extra at the waist and hip, and an FBA. However, when I flat-measured the pattern, there seemed to be no ease at all, and I would have to add so much and still fiddle around with the fit, I thought - hey, why not just draft it! It seemed like a simple enough shape: reshape the neckline and armscyces, rotate the bust dart into the shoulder area and gather with the strap, and then add a 4-gore skirt (I also decided to add in-seam side pockets. In hindsight (ah, isn't it always 20-20!) I should have just made up a muslin of the bodice and had a look what was going on, then modified it as necessary...
So, I fiddled around with my blocks and fairly quickly drafted something similar (although for some reason I decided to keep a bust dart as well as the waist dart and gathers at the shoulders). Then I leapt straight into cutting it out of my beautiful fabric. Without a muslin or anything, because it's drafted from my personal blocks, so must fit, right? So halfway through carefully cutting it out (in a super wasteful manner as I both needed to match patterns, and cut it across the width of the fabric to get the patterns running the right way), I apparently sobered up came to my senses, and suddenly thought, "What if this doesn't fit? Maybe I should make a sample first..."
So back to my fabric stash, and I picked out a grey chambray, as I knew it would hopefully fit well enough that I could just adjust it, but without having to worry about matching patterns, and then would end up with a wearable sample garment, as opposed to a muslin (also I don't have any muslin at the moment).
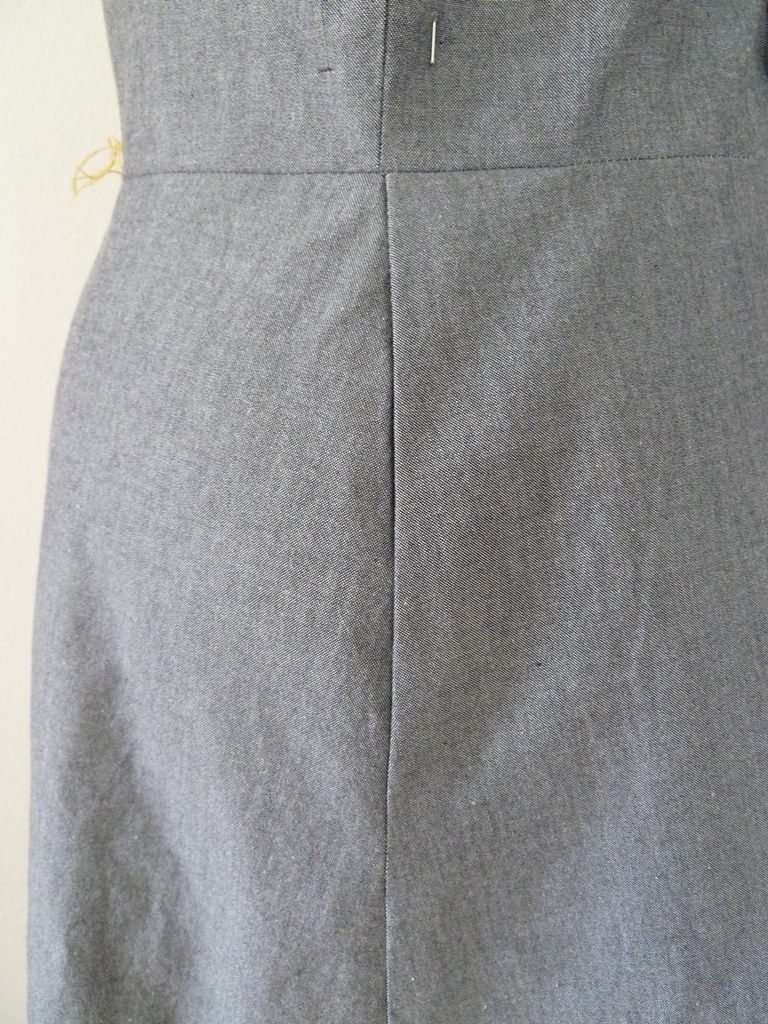
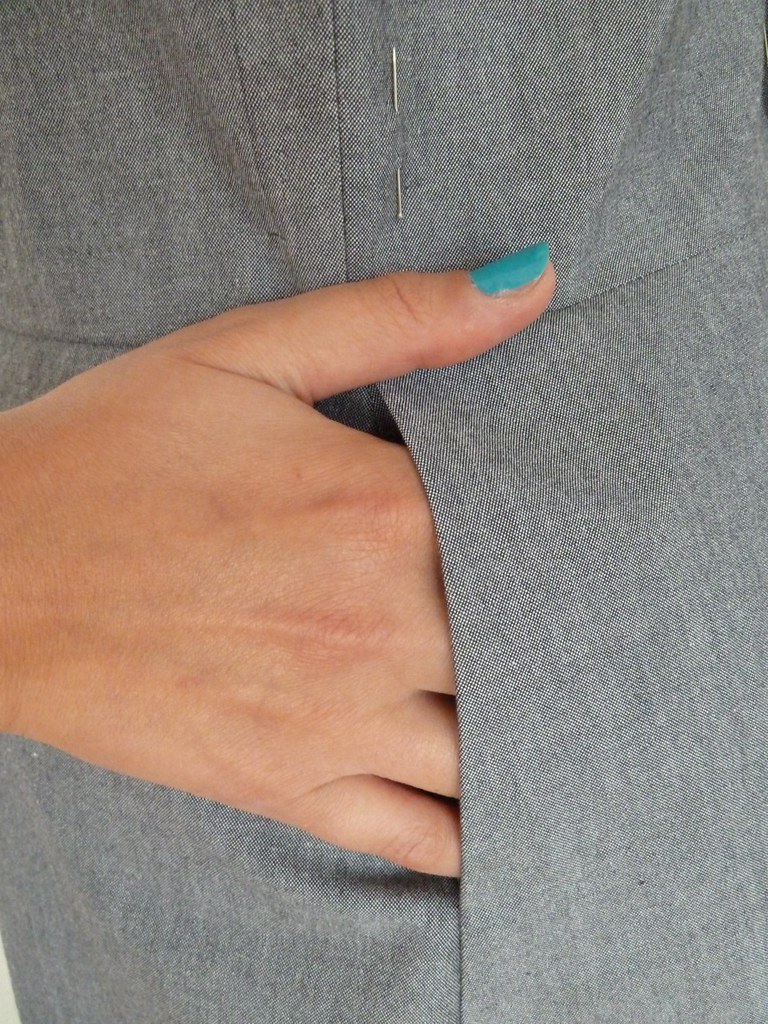
Well, an initial fitting of the bodice straight off showed I needed to increase and contour the waist darts, and move the dart points further back from the bust point. Other than that, it seemed to fit well enough, so I went ahead with sewing the rest of it together, except the bodice lining - i.e. including in-seam side pockets and an invisible zip. I then put it on and realised (a) it was big around the bust and huge around the waist and (b) the pockets were too small and awkward to actually use. Bother.
Since I was very proud of my zip, I didn't want to rip that out, so all the adjustments were made in the side seams and darts, which meant removing my in-seam pockets. I tried it on again and had to rip out the seams I'd just sewed and let out the back only at the side seam, gah! Tried it on a third time, and it was snug, but ok (and I couldn't face resewing it a third time), so I skipped merrily on to applying the lining. Tried it on again, and had obviously forgotten that this would add just that little extra bulk, so it's still too small!!!! GAH!
At this point, I flung it in the corner of my sewing room and went and had a rum and lemonade. I will revisit this at some point soon, but I'd reached the end of my tether as far as ripping and resewing went, so it had to wait...
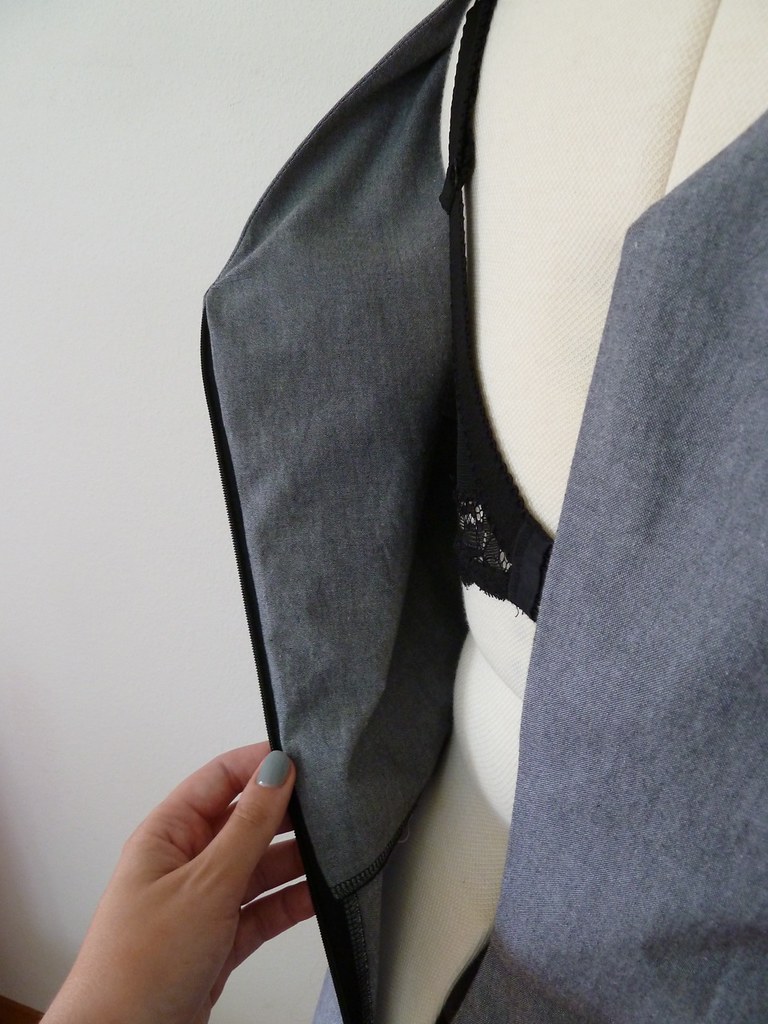
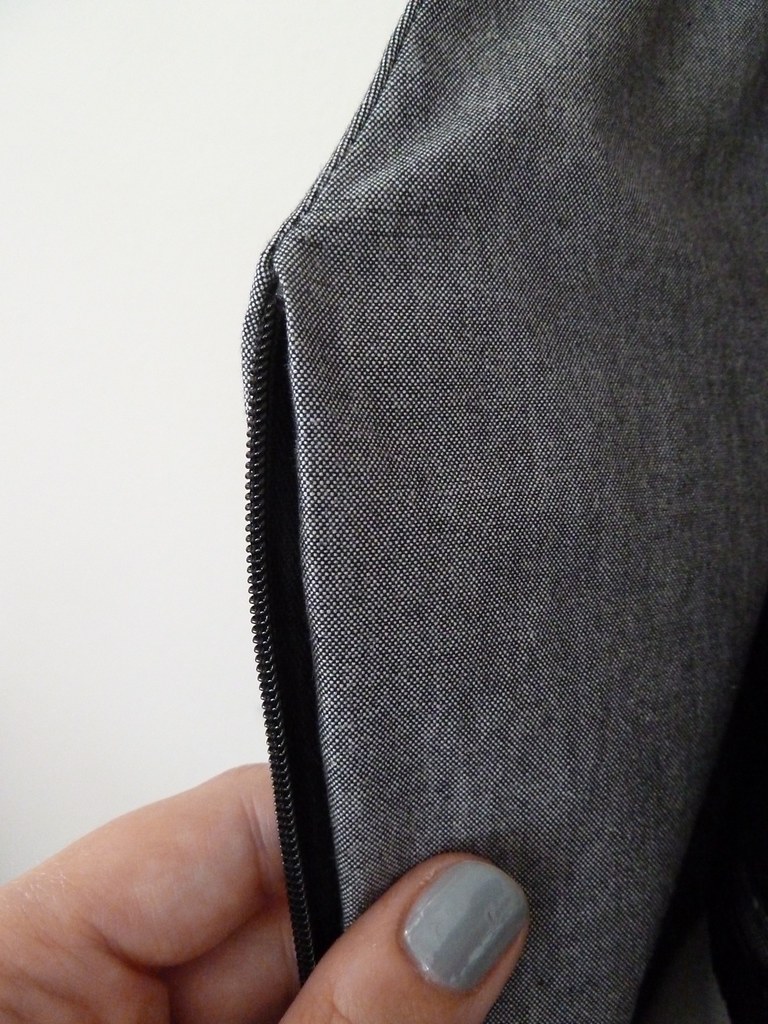
The main useful point here was that I learnt a better way to apply an invisible zip (after sewing the seam) and how to apply a facing completely by machine. These were courtesy of Els tutorial on Sewing Divas, and a guest tutorial over on Fashion Incubator. Els's English isn't super great, but it's pretty straightforward to figure it out - the only notes I would add are 1. make sure you stop the first side of stitching and start the second no further than the end of the opening for the zip and 2. open the zip and push the pull through to the wrong side before sewing the second side. I find this method much easier and it seems to eliminate the bumpiness at the bottom, as well as helping ensure both sides are matched up properly. (Incidentally, after I sewed this, I got my latest issue of Threads, no 156, and this has an article describing a very similar method of inserting invisible zips and facings!)
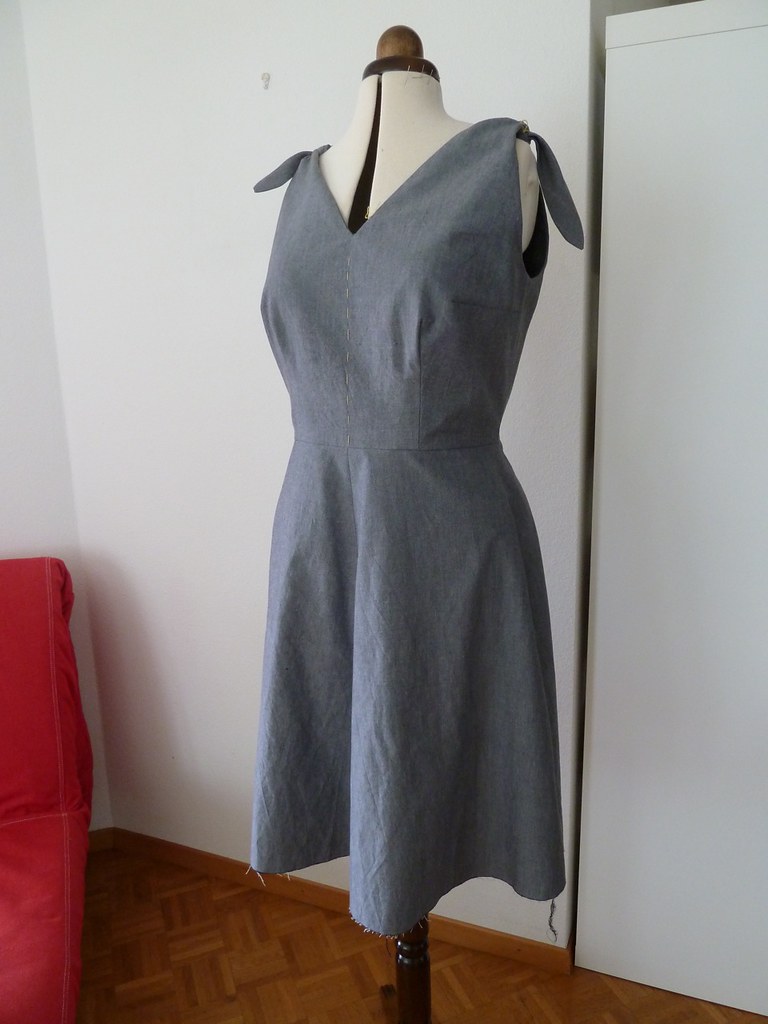
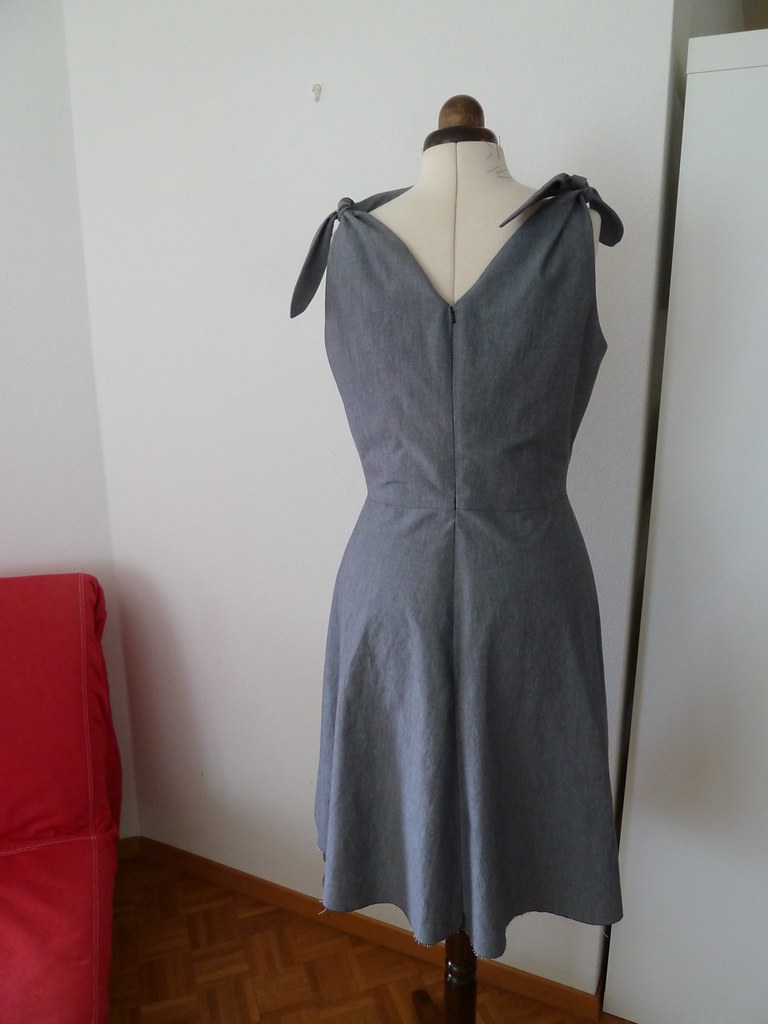
So here's the finished item on Wilma - I should point out that she is considerably smaller than me in the chest department (even wearing a bra), so that area is a bit less weird looking when it's filled out... It also doesn't pull as much at the back waistline when I'm in it - I also have a larger derrière than Wilma.
I'm going to let the side seams out again a bit more at the back at some point, but I'm also considering converting the shoulder ties to something else, as the chambray is probably a little stiff for them to drape nicely (they're also not tied properly in the photos, contributing to the wonkiness). If all else fails, I will convert it into a skirt!

No comments:
Post a Comment