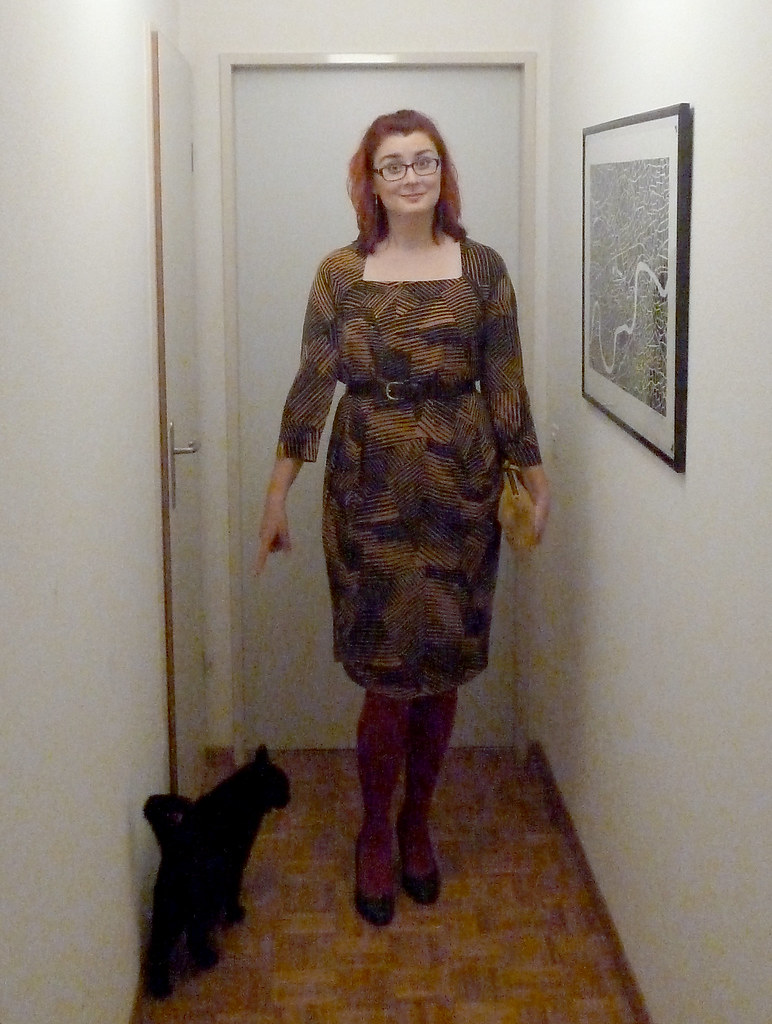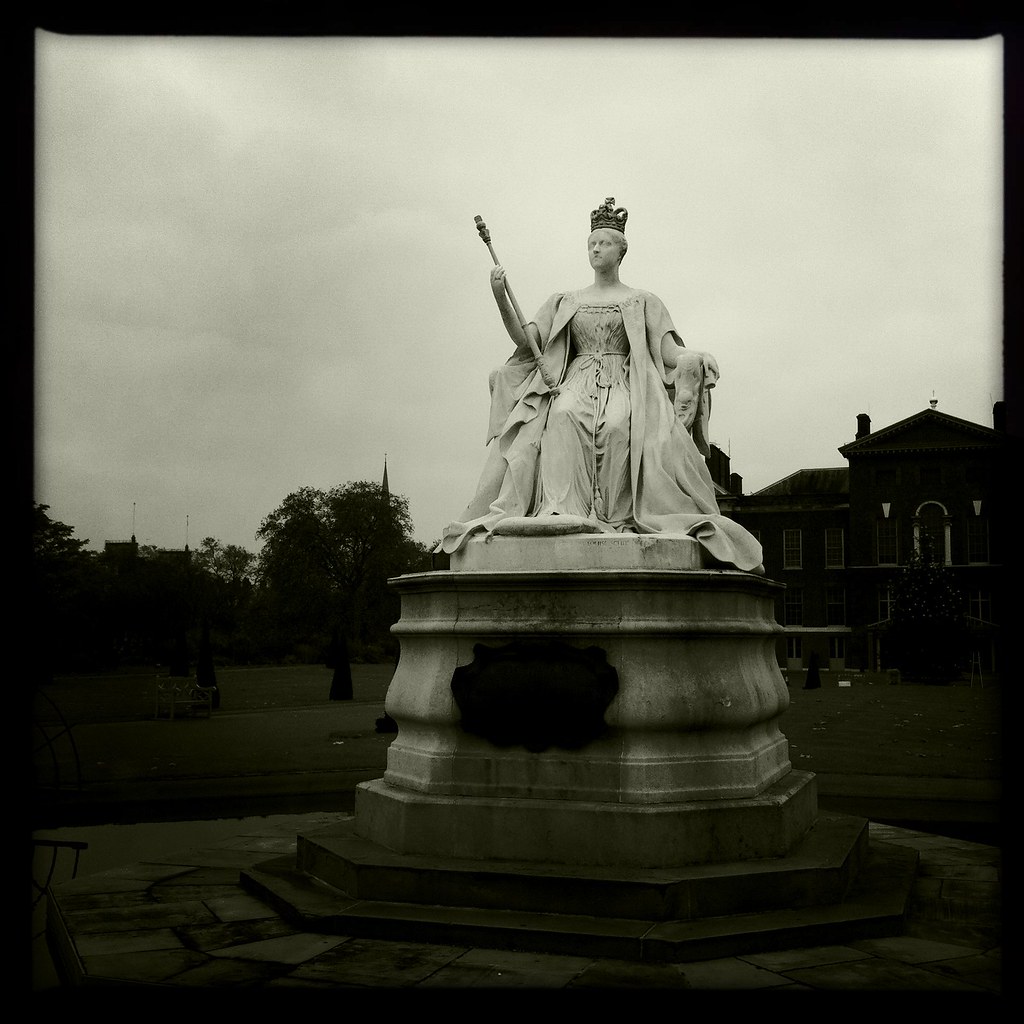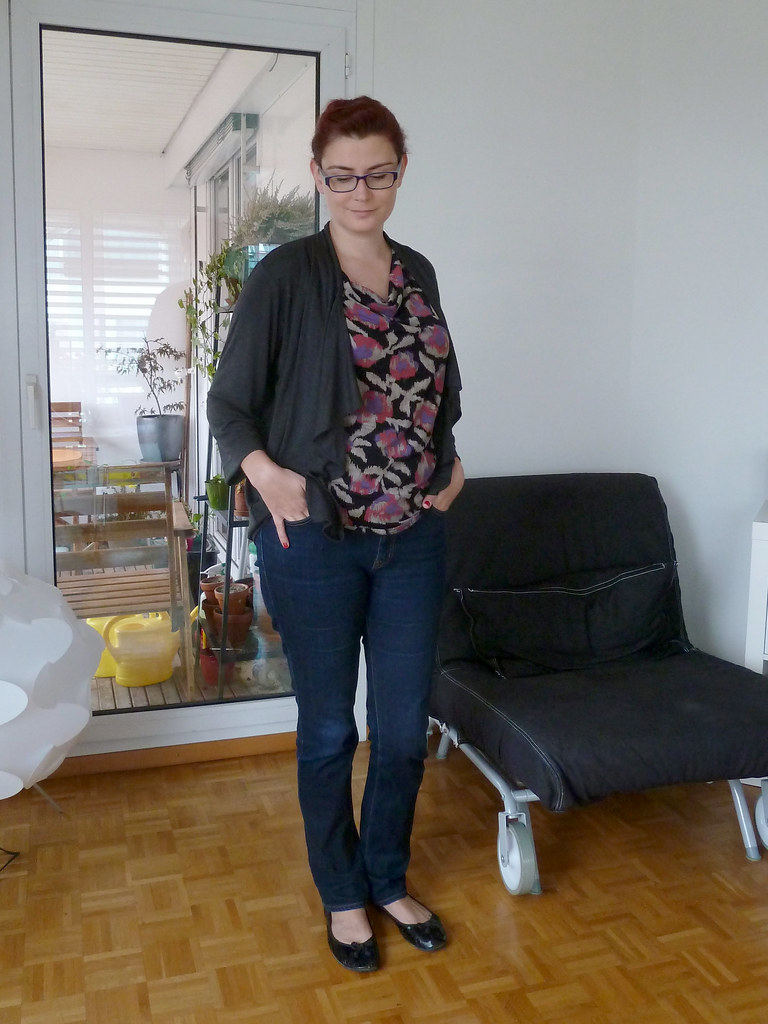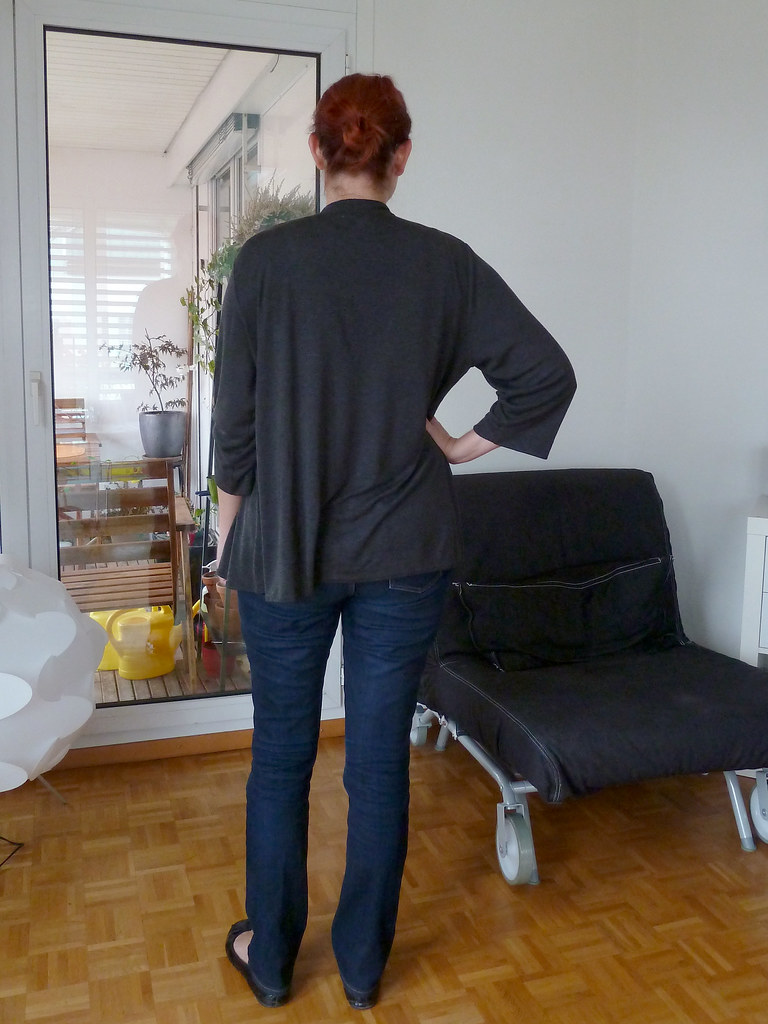
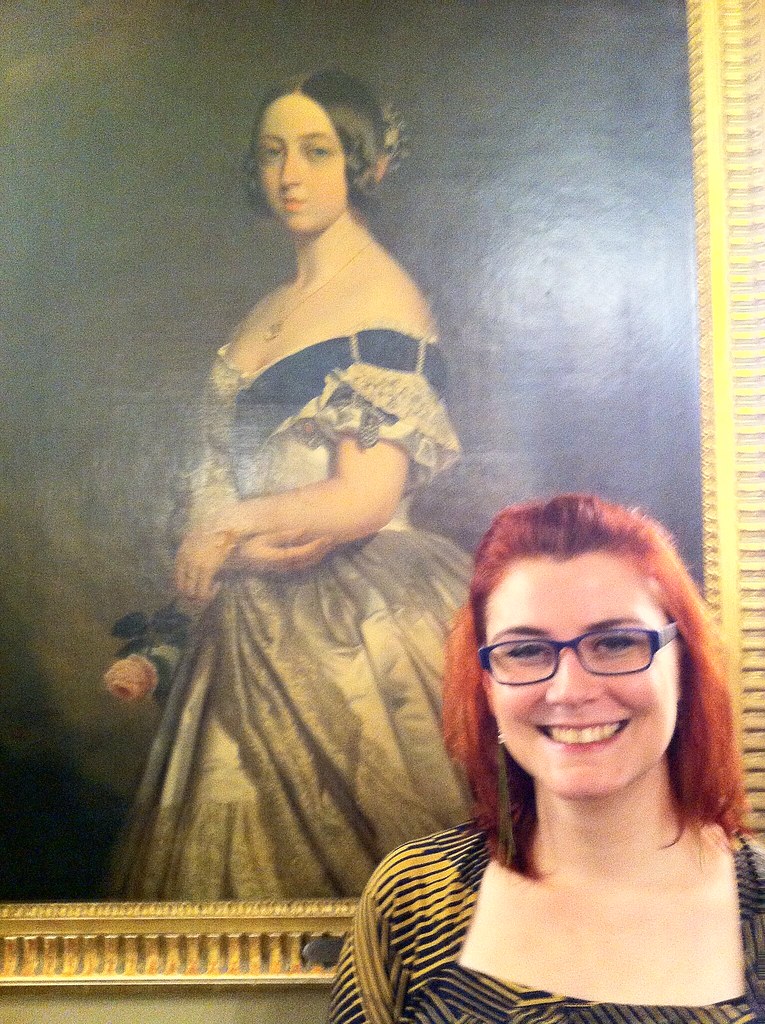
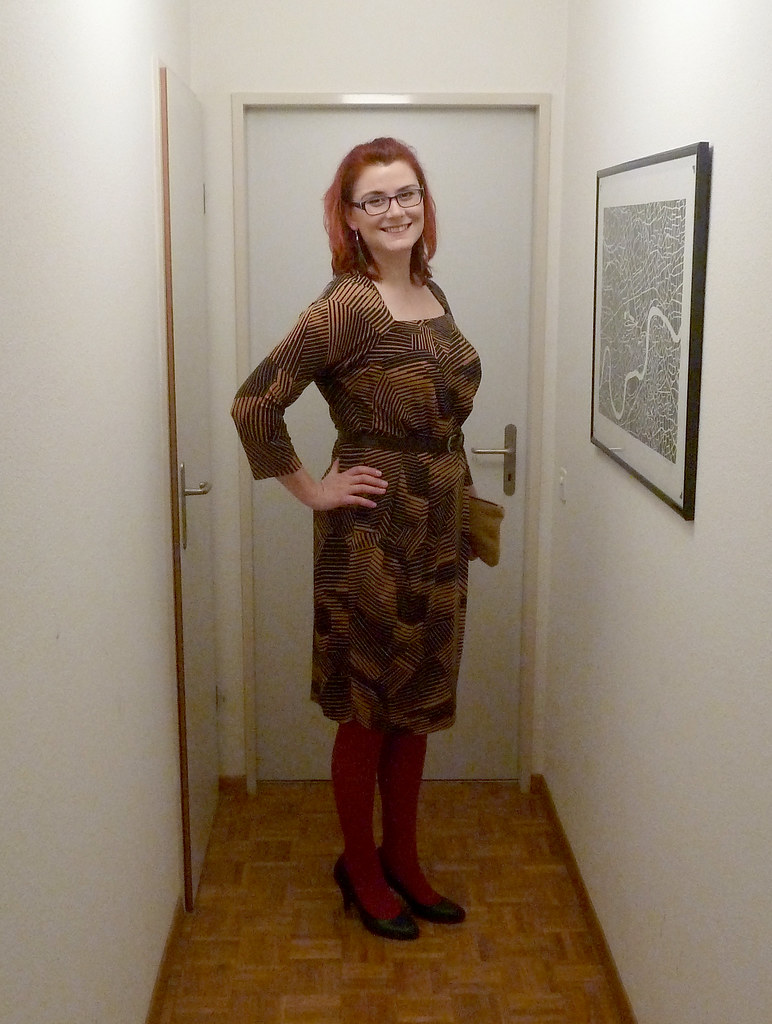
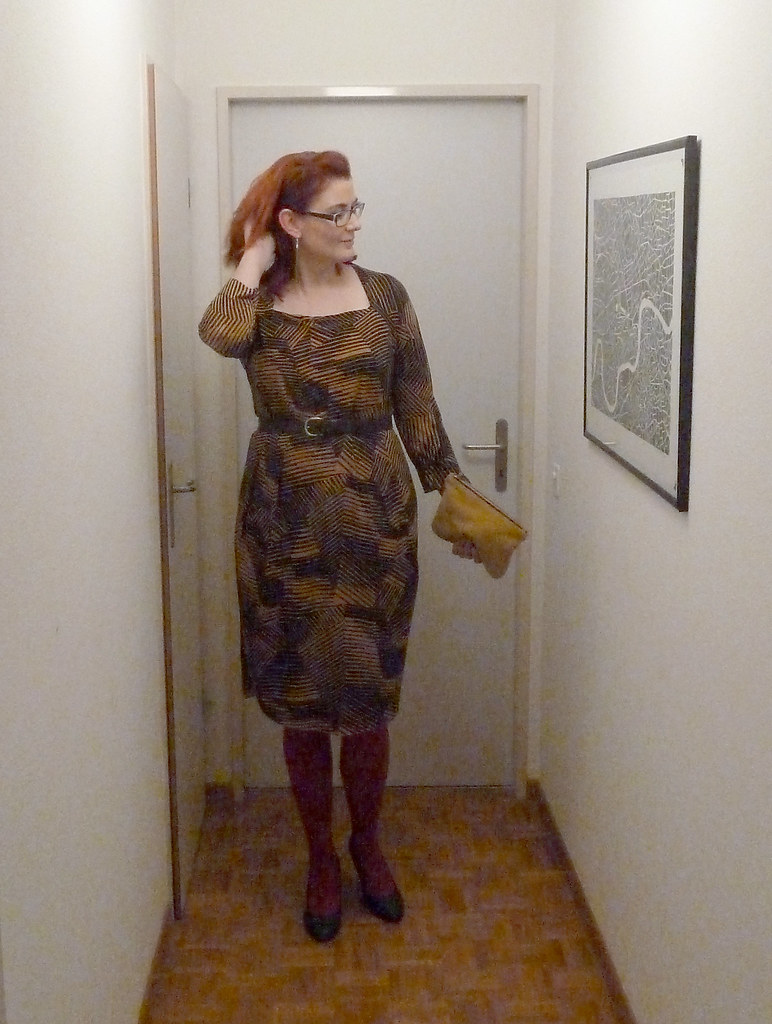
So here is my October Burda Challenge! I actually made this at the beginning of November, but didn't get around to taking photos for a while (it's very hard to motivate myself for photos at the moment: I want to use the daylight for doing more sewing! Or housework I suppose). Anyway, I wore this on Friday night to go and see the Taiwan National Philharmonic Orchestra (they were superb), so managed to get some photos of me wearing it when I got back home (although I need to train my photographer, the photos are rather grainy). You can't see the colours super well, but I paired it with the same belt as in the Wilma photos, magenta tights, a mustard clutch bag, bottle green shoes, and grass green earrings. Subtle as ever. Here you can see me hangin' with Vicky R (although I'm not sure if she is amused...) - the concert hall in Geneva was funded by an Englishman, and is called Victoria Hall. Yes, that is its "French" name.
Pattern description
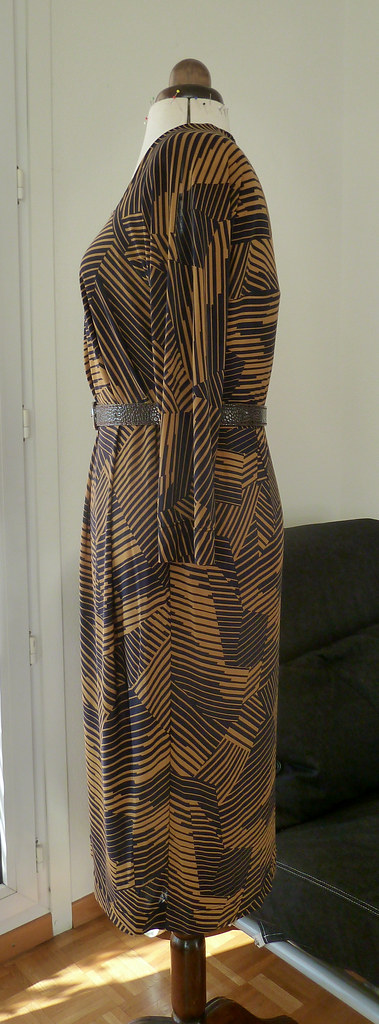
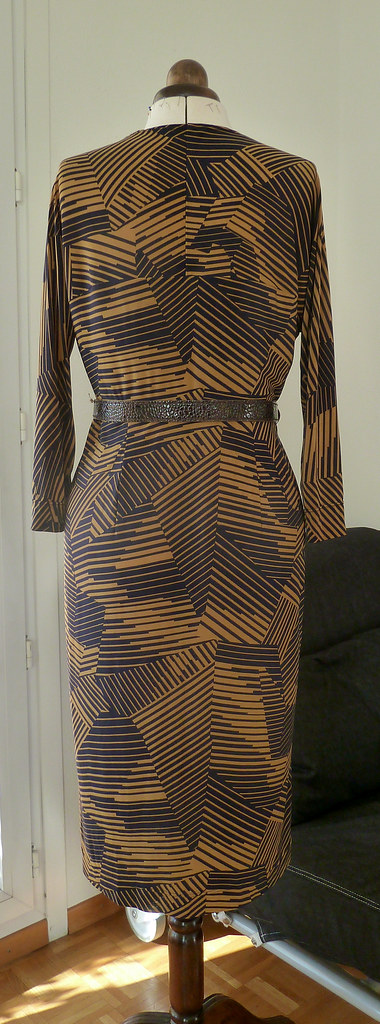
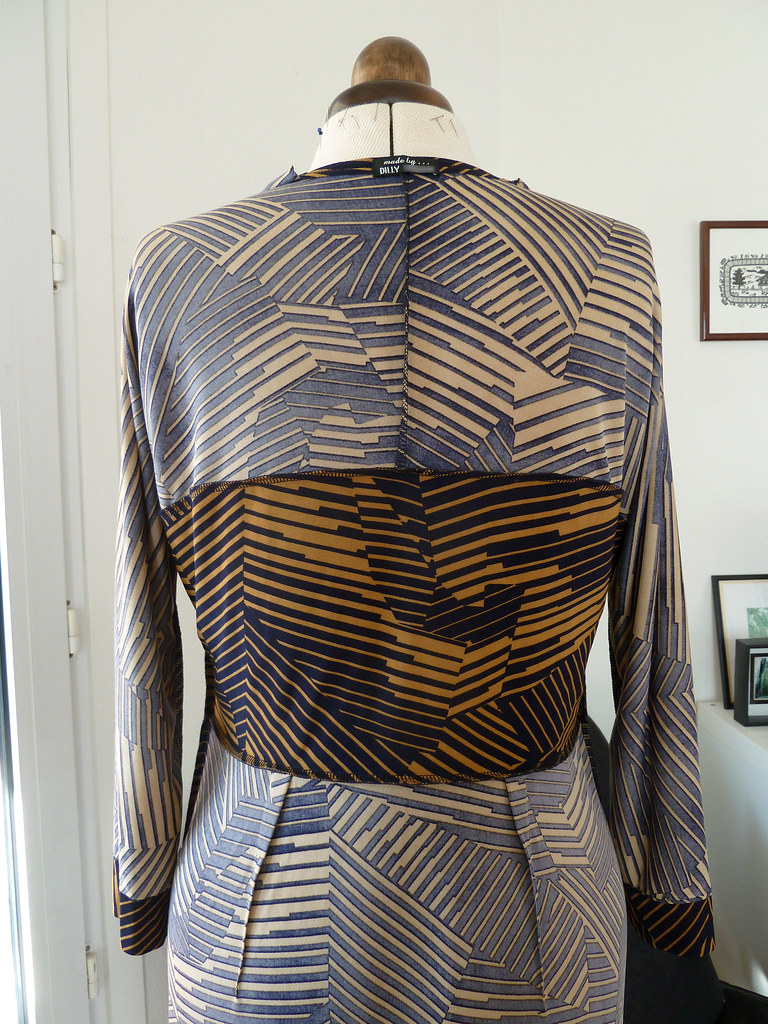
BurdaStyle magazine 10/2013/124b: Jersey dress with pleats at front waist, square neckline, and extra-long sleeves cut in one with back yoke.

Pattern sizing
36-44. I cut the 42 at shoulders and graded out to 44 at waist and hips.
Fabric used
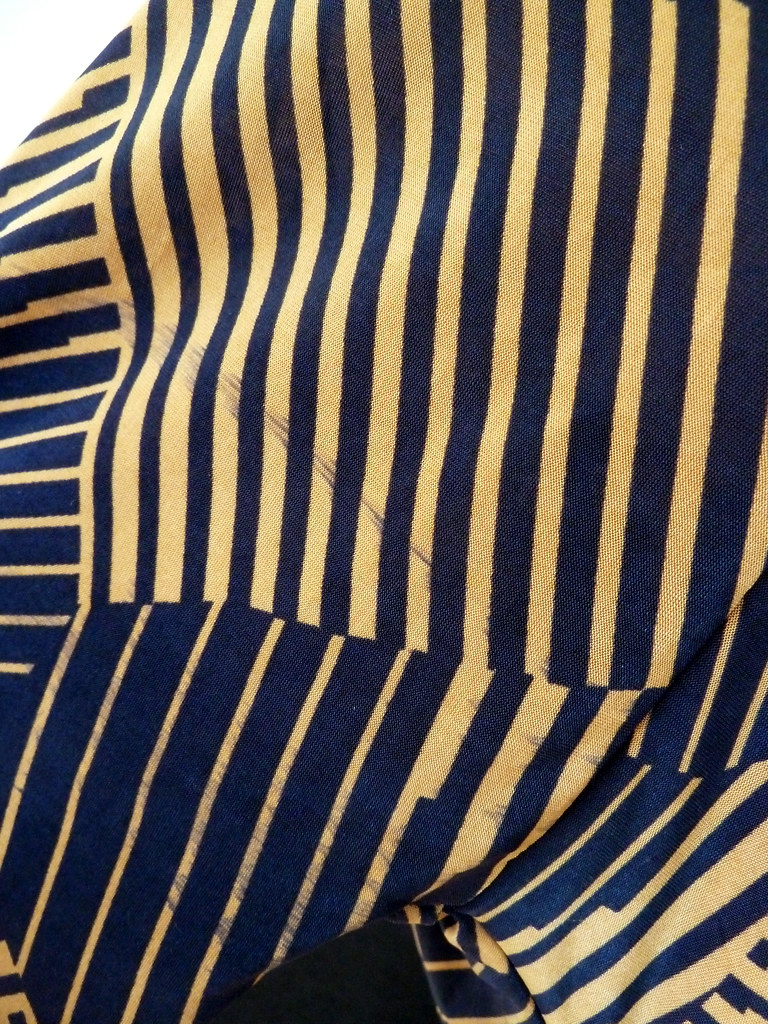
Poly ITY jersey from Fabric.com. I discovered there were some faults in the print (and a small hole in the fabric), but I managed mostly to cut around these - the only place where it isn't hidden in the seam allowance is in one armpit as I figured no one would be looking too closely there!
Did it look like the photo/drawing on the pattern envelope when you were done?
Yes, fairly similar.
Were the instructions easy to follow?
The instructions are fairly dense and need a couple of slow read-throughs in order to fully understand, but they do make sense if you just follow step by step. Most of the construction is fairly straightforward, but the sleeves and back yoke are very unusual, so you definitely need to follow the instructions for those.
What did you particularly like or dislike about the pattern?
Like: the neckline is super flattering, and the construction is really interesting, so it's fun to sew. The pleats in the skirt are really nicely drafted, giving it a slightly tulip shape, and making it very forgiving over the stomach.
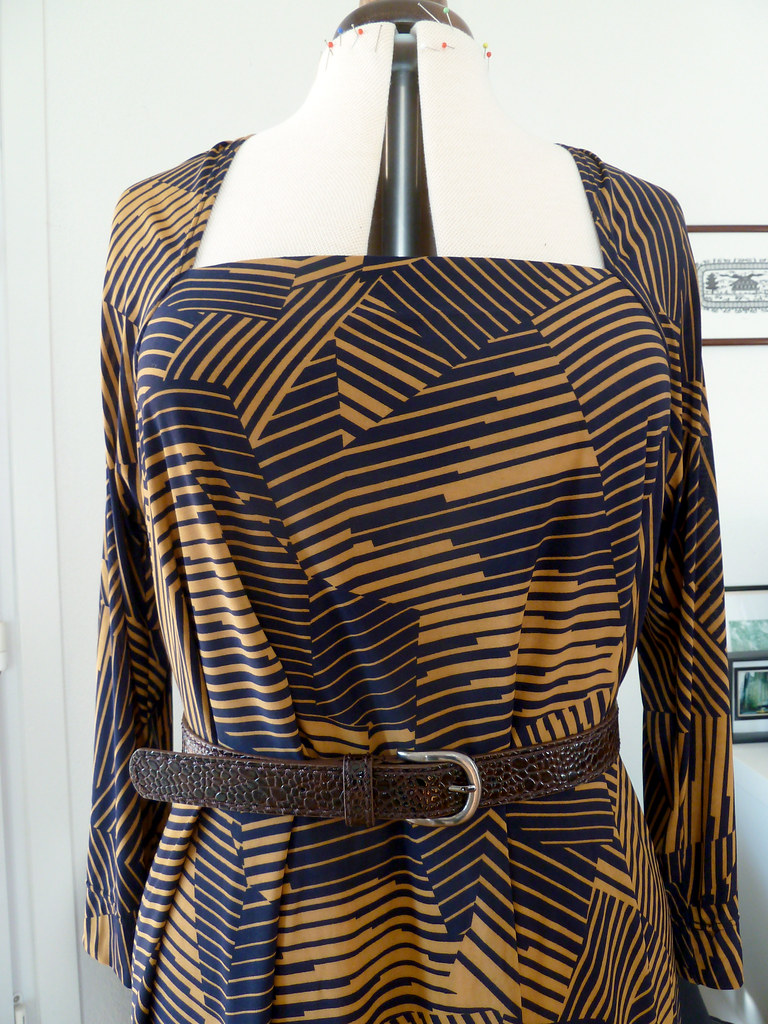
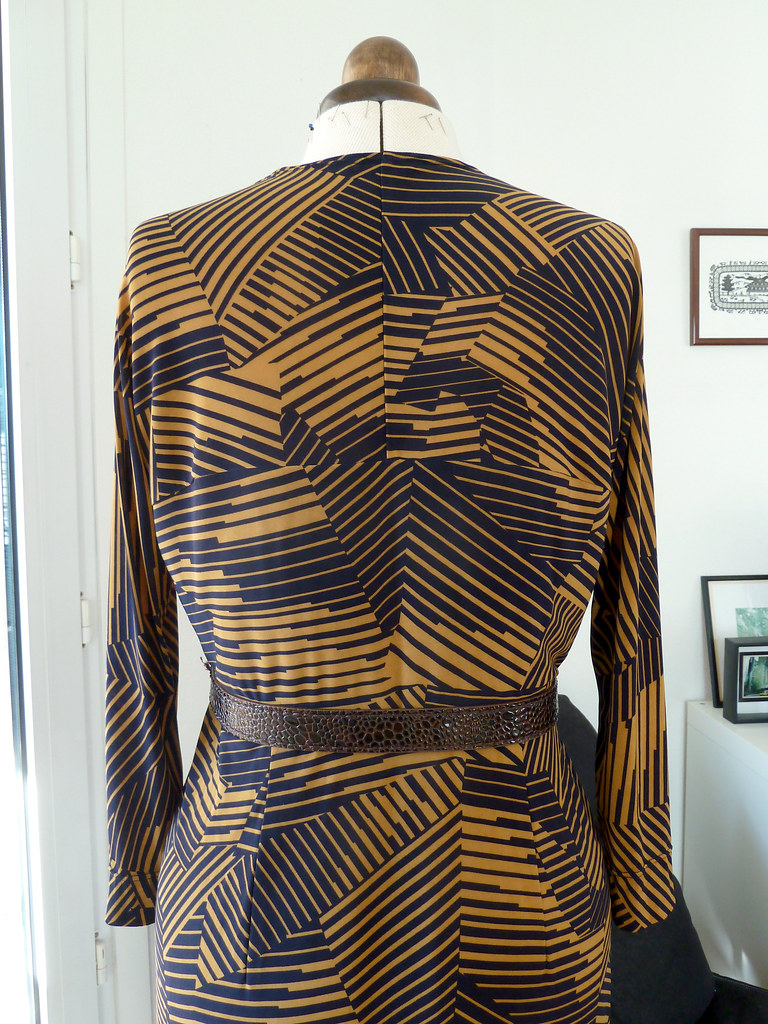

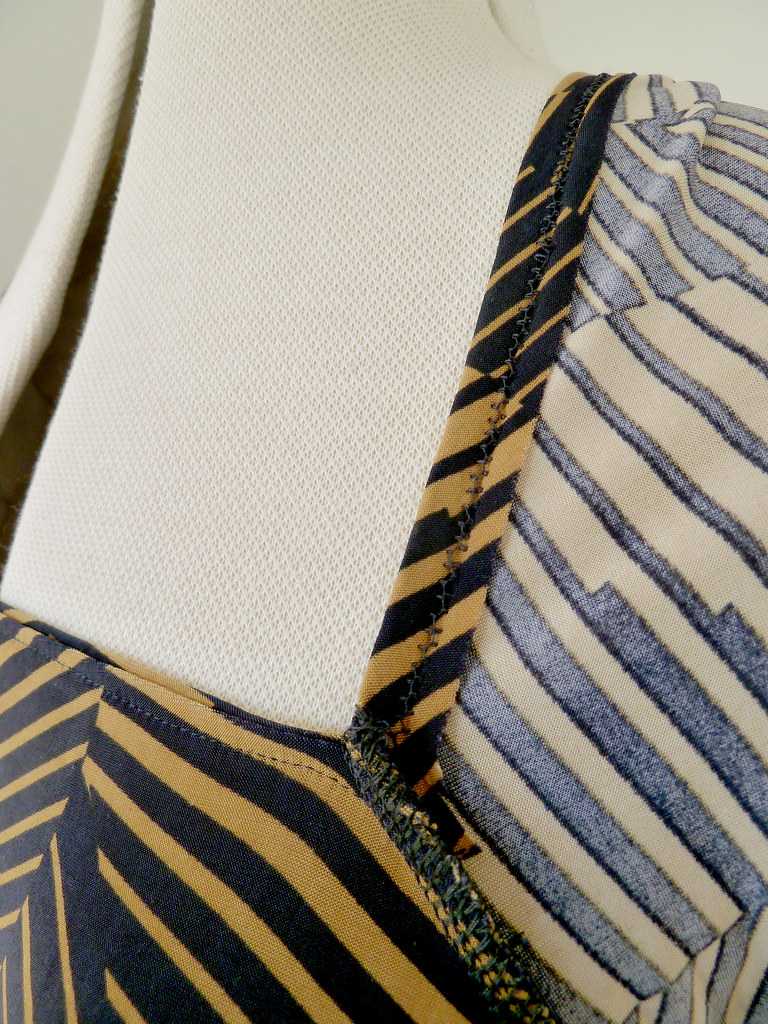
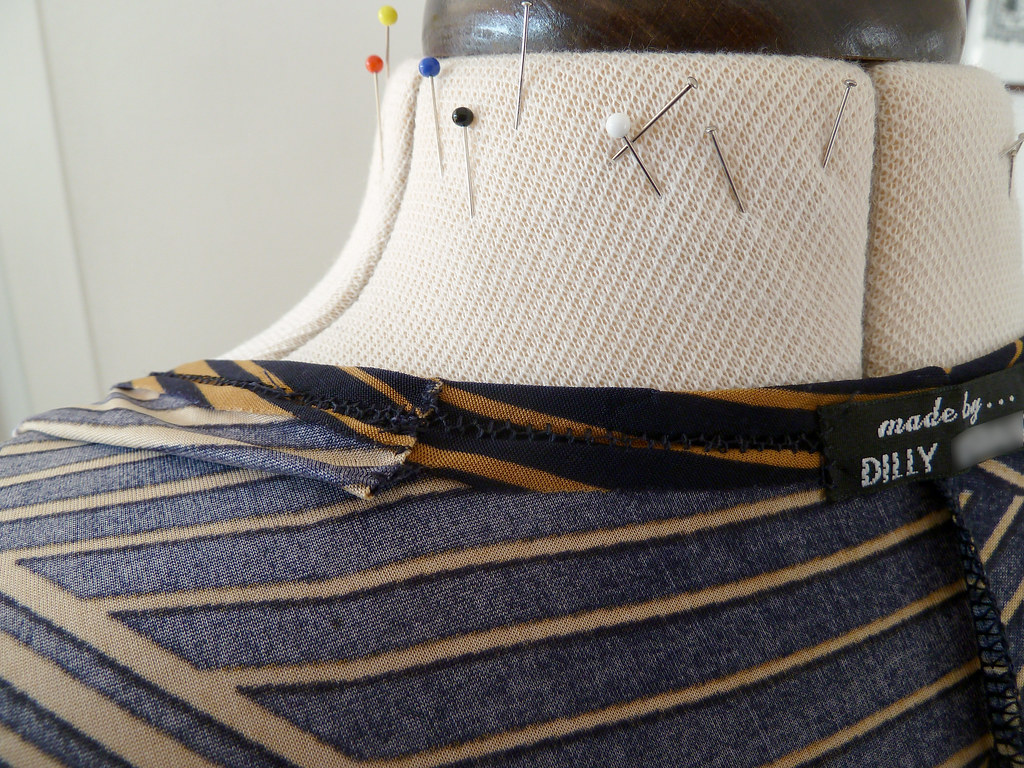
Dislike: The finishing of the neckline means there's some raw edges visible at the shoulder pleats, and it looks pretty ugly inside after twin needle topstitching (Burda's recommended finishing method). I'm sure there's a neater way of doing this, but I couldn't quite work it out. The bodice parts are self lined. This is fine at the back, but because of the pleats at the front, there are quite a lot of layers in parts of the waist seam. (although this isn't too problematic with my lightweight fabric - and Burda recommend lightweight jerseys).
Pattern alterations or any design changes you made
I made a small FBA, mostly by doing a bunch of fudges to various pattern pieces... I did a bit of slash and spreading on the front bodice piece to add length and width, with the extra fullness absorbed equally into the pleats. After comparison with my stretch block, I added a little more at the side seam, adjusting the yoke/sleeve pieces to match (I actually needn't have added this extra). I also added a little at the hips so that it wasn't too tight over my derrière. I got rid of the darts on the back bodice as they seemed a bit extraneous for a stretch fabric, and the seam detail that mirrors the skirt darts wouldn't be seen on my fabric. I did keep the darts in the back skirt, as this meant I didn't need a CB seam.
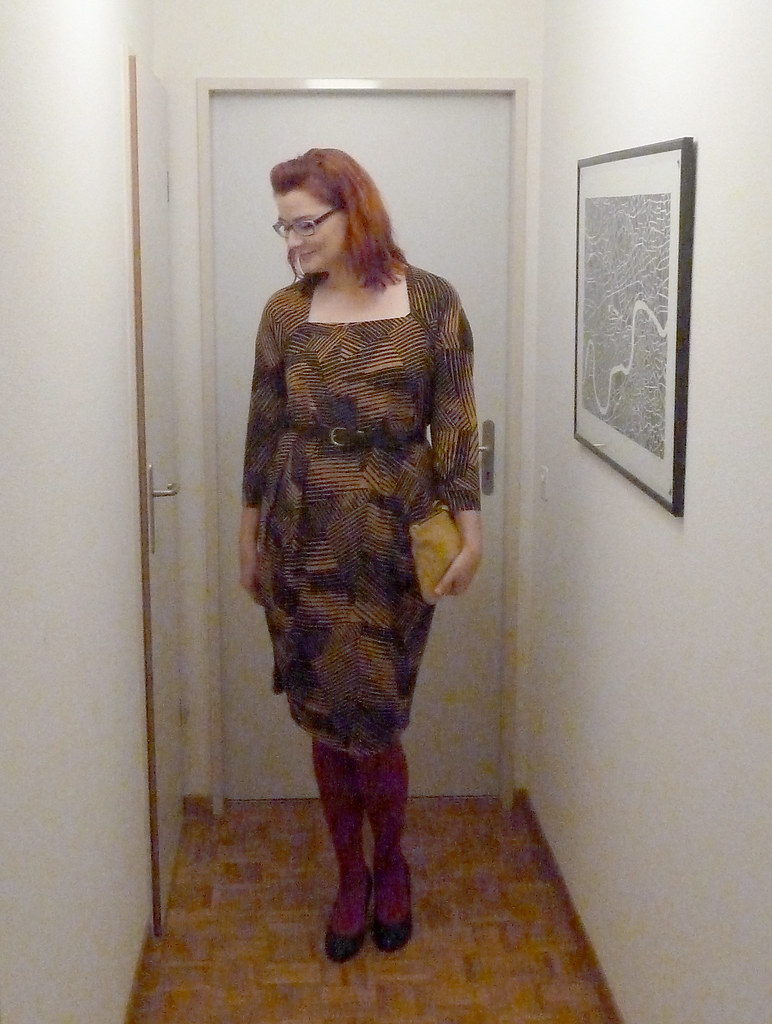
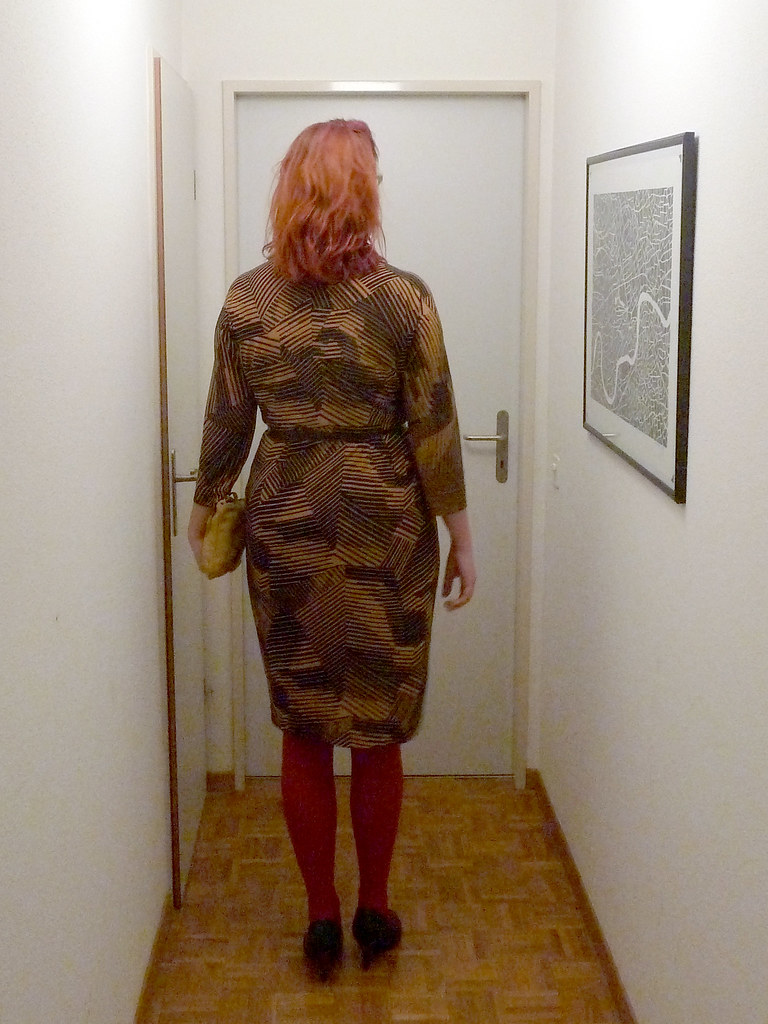
I omitted the zip (who the hell puts a zip into a stretch dress? Even with the topstitching they give at the front, I can't imagine it would be necessary - and it would be a bloody nightmare to sew it neatly in lightweight jersey. Crazy). I also omitted the topstitching at the front waist, as I intend to wear it with a belt.
The neck is very wide as drafted, meaning it's not super bra friendly, I ended up taking in the seam at the front corner of the neckline by about 1.5cm each side, tapering to the drafted seam at the underarm.
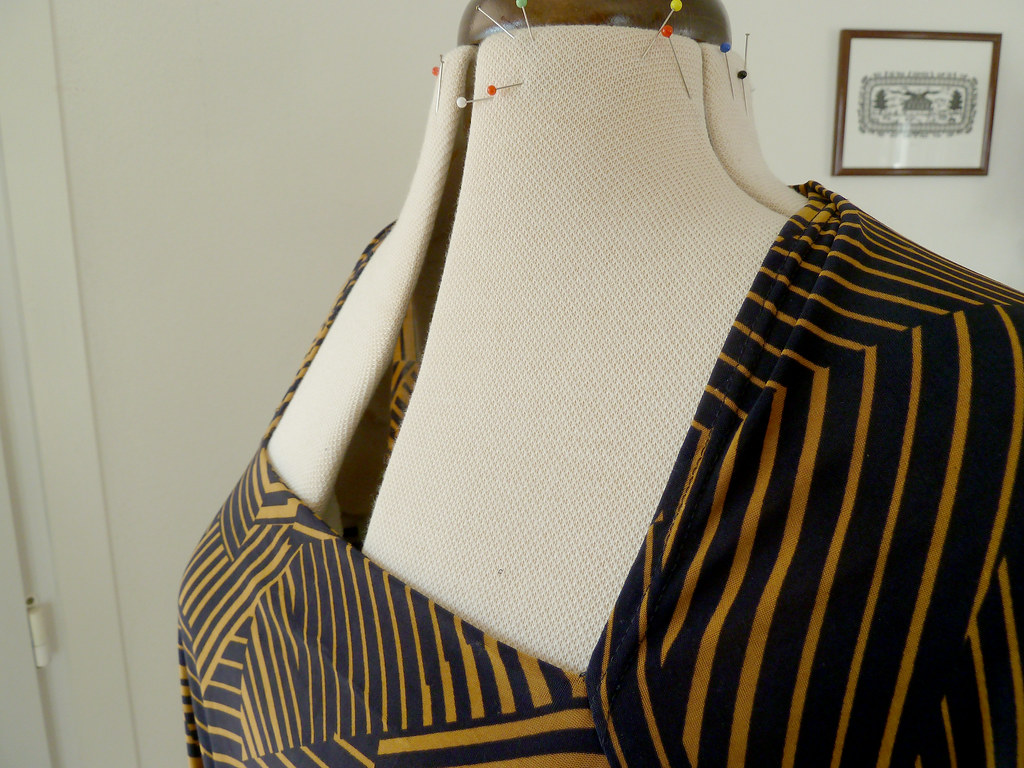
I cut the sleeves at the drafted length. They are crazy crazy long - it notes in the instructions that they are 7cm longer than regular length. Normally I wouldn't mind extra long sleeves, but here the weight of my slippery fabric and the lack of shoulder seam meant that the sleeves just slid down my arm and distorted the shoulder and neckline, making it look like I'd made a dress for a giant. I chopped off 22cm to give 3/4 length sleeves, which look much smarter. The hem is at the marked length, which on me hits at quite a nice point, just at the bottom of my knee - longer than I'd normally wear, but it suits this dress. Bear in mind that I'm quite tall though (5' 9.5" / 177cm), so I would imagine that most people might want to shorten it a little.
Construction details
Although the print was AWESOME, this fabric was a bit of a pain to work with. Despite being very lightweight in terms of thickness, it's surprisingly heavy and very slippery, so everything had to be carefully supported when cutting and sewing. Because of the slipperiness, "bounciness" and stretch, there was a
lot of hand basting done... The neck edge, shoulder pleats, markings for the pleats on the bodice, folded pleats on bodice and skirt, raw sides of bodice and lining (front and back), sleeves, hem...
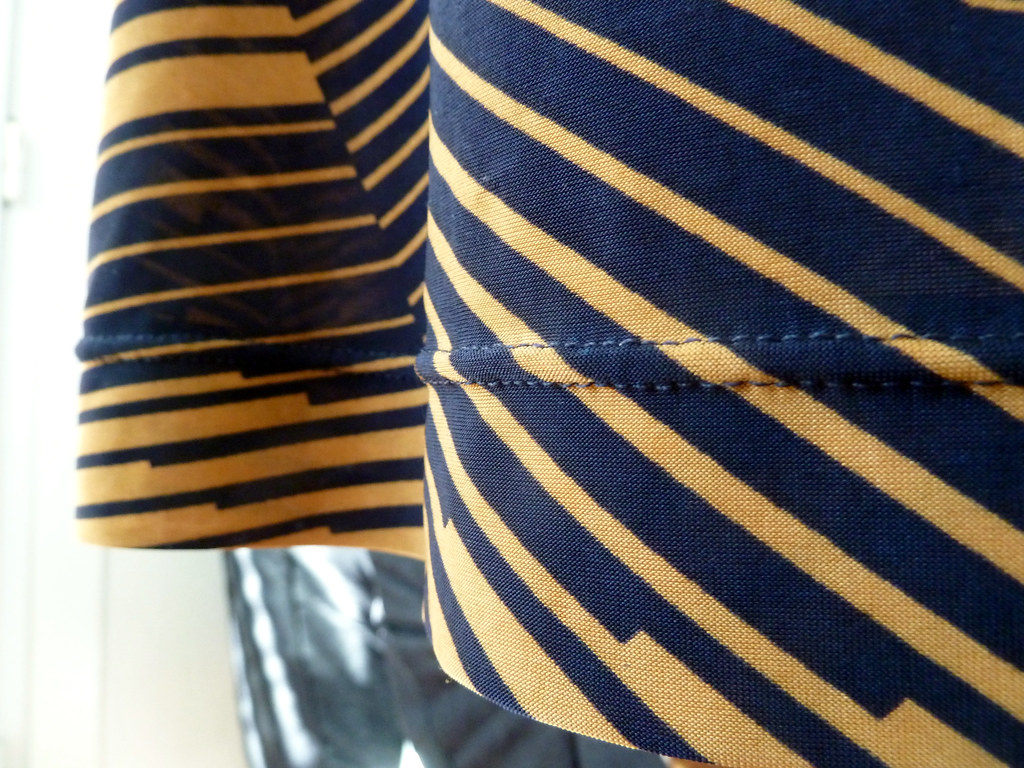
The seams were sewn on my overlocker, with the neckline, sleeves and hem finished with twin needle topstitching. I'm not a bit fan of twin needles, it never looks nice on the wrong side, and on light fabrics it's a bit of a pain to get the right tension balance. I used tissue paper strips again to try and reduce "tunnelling" (although with the tearing direction running along the length of the strip so that it was easy to remove from the straight lines of stitching).

I think the waist seam could really benefit from stabilising with elastic as my fabric is very thin but very heavy, so wants to pull straight down, rather than hugging the body at the waist. I haven't put this in yet as I'm considering how best to do it neatly. The easiest way would be to cut a strip the right length and join it into a circle, then topstitch it on at the waist with a three-step zig-zag, but this would be very visible on the outside. I plan to wear this dress with a belt, so that wouldn't be a problem in terms of looks, but I want to keep the dress looking as neat as possible. I think I'll consider it a little longer.
Would you sew it again? Would you recommend it to others?
I doubt I'll sew this again in the near future. Even though in principle it's a simple pattern, the care needed in sewing the lightweight fabric needed to make this design work means that it's not a quick make. I think I would recommend this, it's an interesting pattern, that isn't too tricky to put together, and gives a flattering and modern looking dress. I think it's interesting to note that am a very different shape to the model in the magazine, but I think it suits both of us (I had been a bit worried that the pleats at the front might look weird on larger boobs, but they're actually fine with the belt to control the fullness the pleats add).
Conclusion
I am super super pleased with this dress (although, having looked at these photos, I don't think I'll ever wear that bra again - good god, talk about saggy...). I absolutely adore the print of the fabric, and I think the shape of the dress matches it well. The dress is comfortable to wear, and will look good as smart day wear with boots and a long necklace, or, as here, dressed up for evenings.
