Showing posts with label vintage. Show all posts

Monday, 5 January 2015

Christmas dress and Vintage Sewing Pattern Pledge

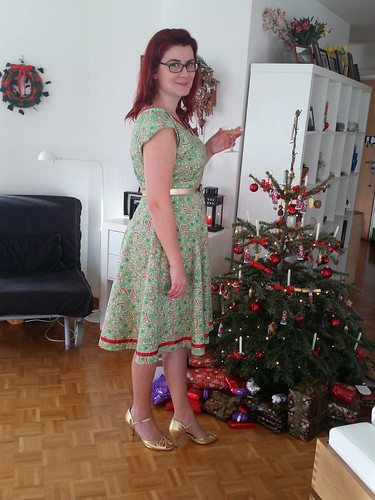
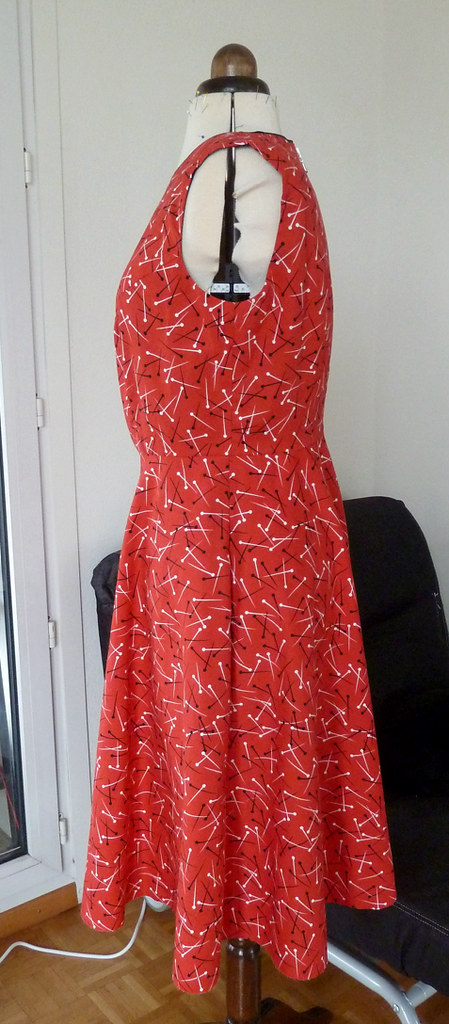
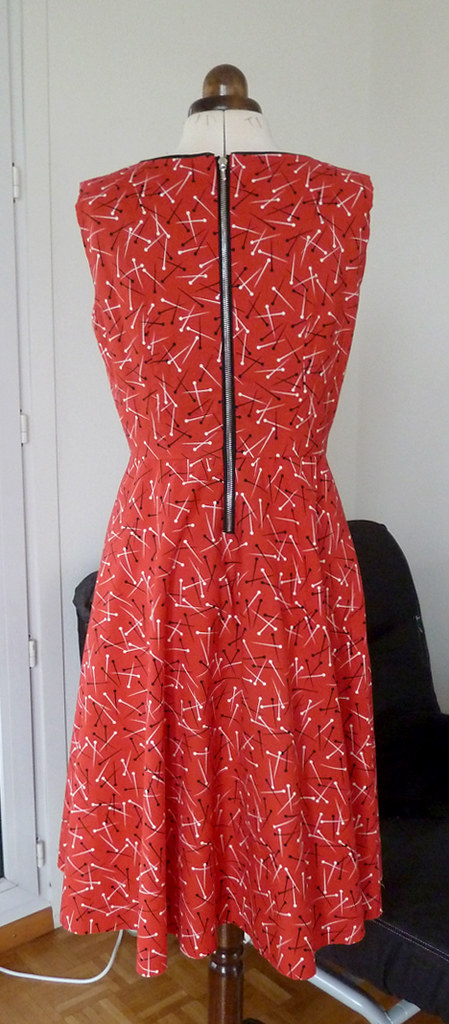
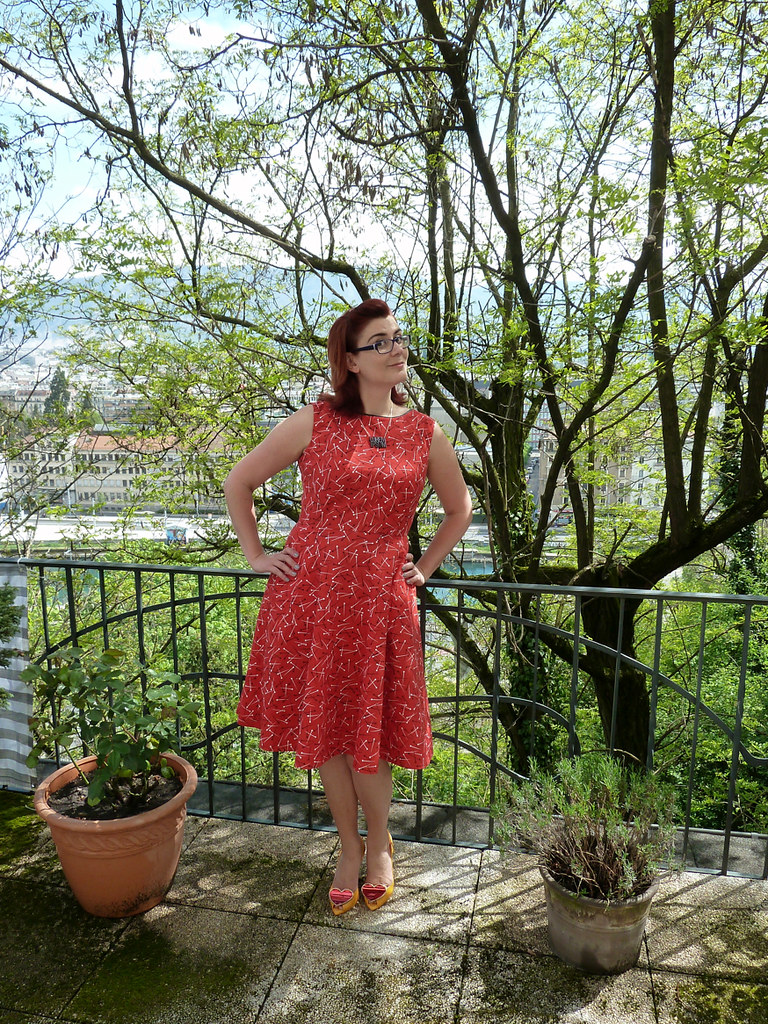
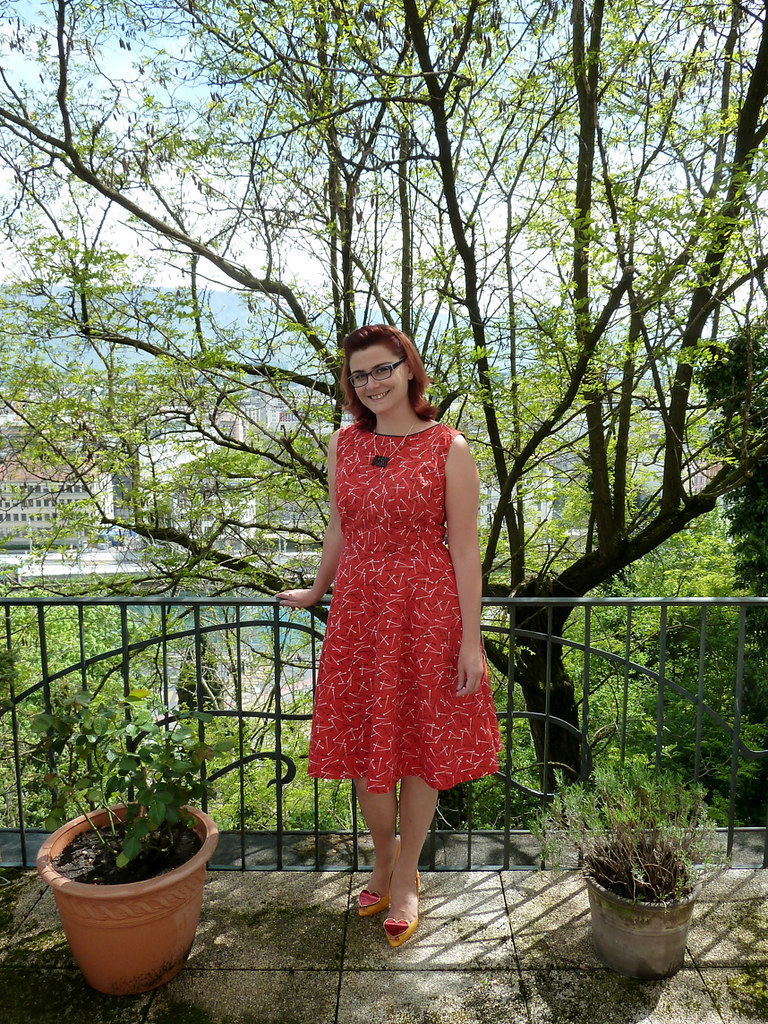
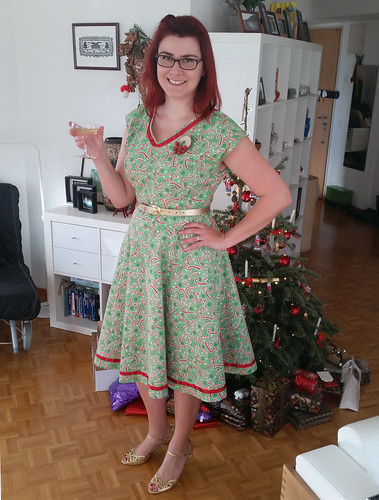
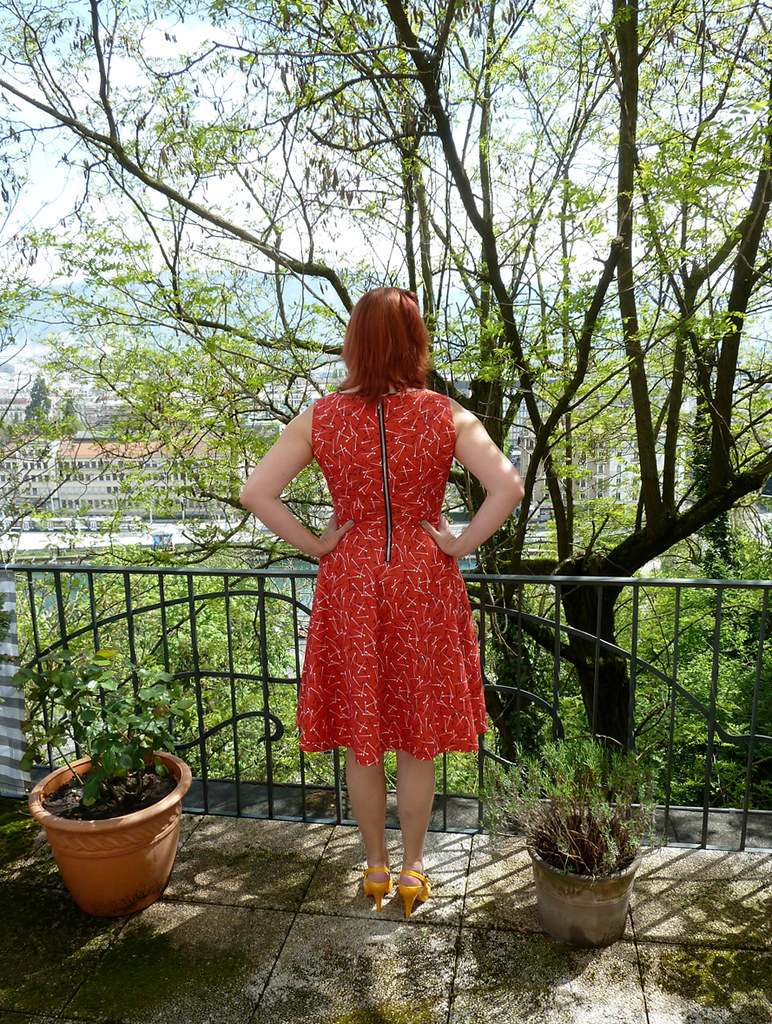
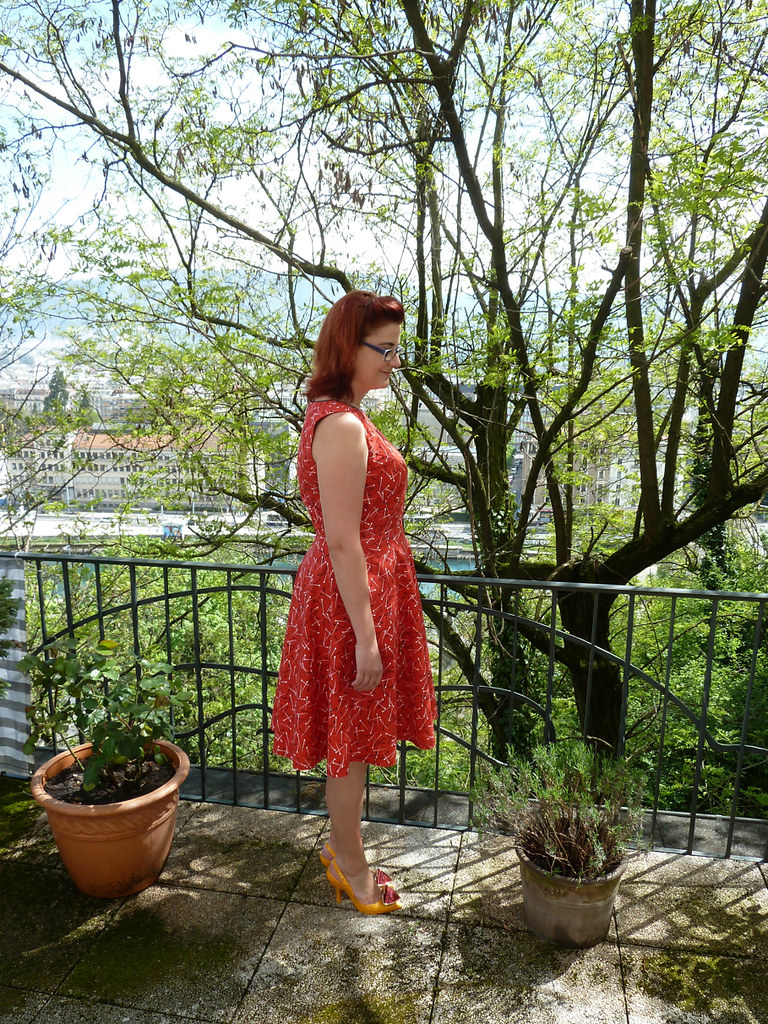
As it's Twelfth Night, I better get a post up for my Christmas dress. I'd intended to use this fabric for a dress last year, but ran out of fitting time (so ended up making a dress in knit velour), so thought this year I could use the retro inspired print in combination with a vintage pattern to tick off another item for my Vintage Pattern Pledge. It's seen in these photos with a new Luxulite brooch, which was a present from my husband (he found amusing that I'd pointed out to him what I wanted, but had genuinely managed to forget about it!). Also all the photos feature the essential accessory of a champagne glass, what could be more Christmassy...

Pattern description

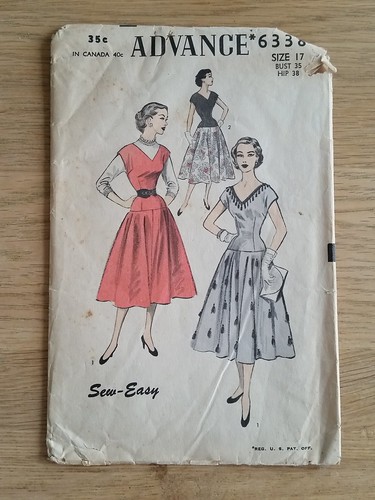
Advance 6338: dress with dropped waist, V-neck, cut-on cap sleeves and four-gore semi-circular skirt.

Pattern sizing

Size 17 (half-sizing), bust 35", hip 38". Having just looked up this sizing to write the blog post, it explains why this was so small on me when I made a muslin - I think I must have been at the pre-Christmas Bailey's as I'd misread the sizing as 38" bust.

Fabric used

Novelty-print quilting cotton, plus white poly-cotton batiste for bodice lining and red poly/acetate for skirt lining (can't remember fibre content as I bought it ages ago).

Did it look like the photo/drawing on the pattern envelope when you were done?

Fairly similar, although it isn't as close-fitting between bust and shoulder as the envelope drawings indicate, or as low-cut.

Were the instructions easy to follow?

I didn't honestly do more than glance at them as the original dress is unlined with facings, whilst I was making it fully lined. It's a fairly basic dress so not particularly hard to construct, although the one unusual feature with this pattern is that the seam allowances were given as 1/2" (1.25cm) rather than the more usual 5/8" (1.5cm).

What did you particularly like or dislike about the pattern?

I really like the shape the drop-waist gives, especially on me. Since putting on a bit of weight, my natural waist has moved up a bit, due to what is euphemistically described in fitting books as a full high hip at the back. This throws off my proportions, especially with a fit and flare type silhouette which I find generally most flatting on me with dresses. However, the drop waist seems to visually lengthen my narrowest part, although I think in a less patterned fabric only a slight drop would be most flattering.

I didn't like the drafting of the neckline - it is a straight line from shoulder seam to lowest point, which always looks a bit odd on the body. I changed this on the back neckline, but for some reason didn't for the front neckline, I don't really know why! The drafting of the cut-on sleeves seemed a bit odd too - very narrow at the back compared to the front. However, this was exaggerated by fit issues, which I didn't really work on, plus fudging the alterations to un-petite the bodice as I was making it in a rush. The pattern is also unprinted, which I always find tend to be a little less accurate with the markings of darts and notches.

Pattern and fit alterations or any design changes you made

The bodice fit was pretty good in terms of shape, it was just too small. Whilst muslining it, I found that it fitted pretty much perfectly just by adding width at the side seams, although I also needed to lower the armscyes and the side bust darts (i.e. fudging the de-petiting as mentioned above). I reshaped the waist darts front and back to fit closer to my waist, and lowered the dart tip on the front (although it's still a little high). I also added a little at the shoulder point on the back bodice, moved the zip to the CB as I prefer this to a side zip, and shortened the skirt (at the hem) by about 10cm.

Construction details

The skirt portion was made first so that it could hang for the bias portions to drop before hemming, and I used Trena's method for lining the bodice. I actually hand-picked my zip, as the only one of a suitable colour wasn't invisible, and I was concerned a lapped zip would look a bit odd at the top where it met the point of the V. However, I hate the lines of stitching with a machine-inserted centred zip, and also fortunately find handsewing rather therapeutic. I'd intended to put a hook and eye at the top of the zip (which is why it starts a little low), but ran out of time.

Seam allowances were pinked on enclosed seams in the bodice, and serged on the skirt. The darts and side seam allowances were clipped several times at the waistline to stop any pulling.

I'd always intended to add trim at the neckline, and settled on plain satin ribbon, which I applied by hand with a pick stitch. Whilst the skirt had been hanging I rather liked the peek of red lining at the bottom, so added the satin ribbon at the hem too.

Would you sew it again? Would you recommend it to others?

To be honest I probably won't sew this pattern again, certainly not in the near future, as it needs a lot of fiddling with the fit in the upper bodice. However, I will try a dropped waist again, plus it reminded me how much I like half-circle skirts.

Conclusion

I really enjoyed wearing this dress on Christmas Day - it was comfortable enough to eat and drink (lots of that was done)), plus was pleasantly swishy whilst moving around (not so much of that though), and certainly more comfortable to wear than last year's red velour number. However, it is extremely Christmassy, and therefore not versatile AT ALL, despite two or three days' of work going into it. Next year I'll still make a "festive" dress, but either make it a bit more simple (I really do love my novelty Christmas dresses - my favourite was an Elvis Christmas card print... Which I wore to work...), or try and keep it a bit more versatile - I'm loving the idea of a sparkly dress or something glamorous in green velvet.

I'm giving myself a pass mark on the Vintage Sewing Pattern Pledge. I said I wanted to sew three patterns, and I did make (nearly) five dresses from three patterns, although three of those were from the same pattern, and one is languishing in UFO limbo.

Vintage Sewing Pattern Pledge

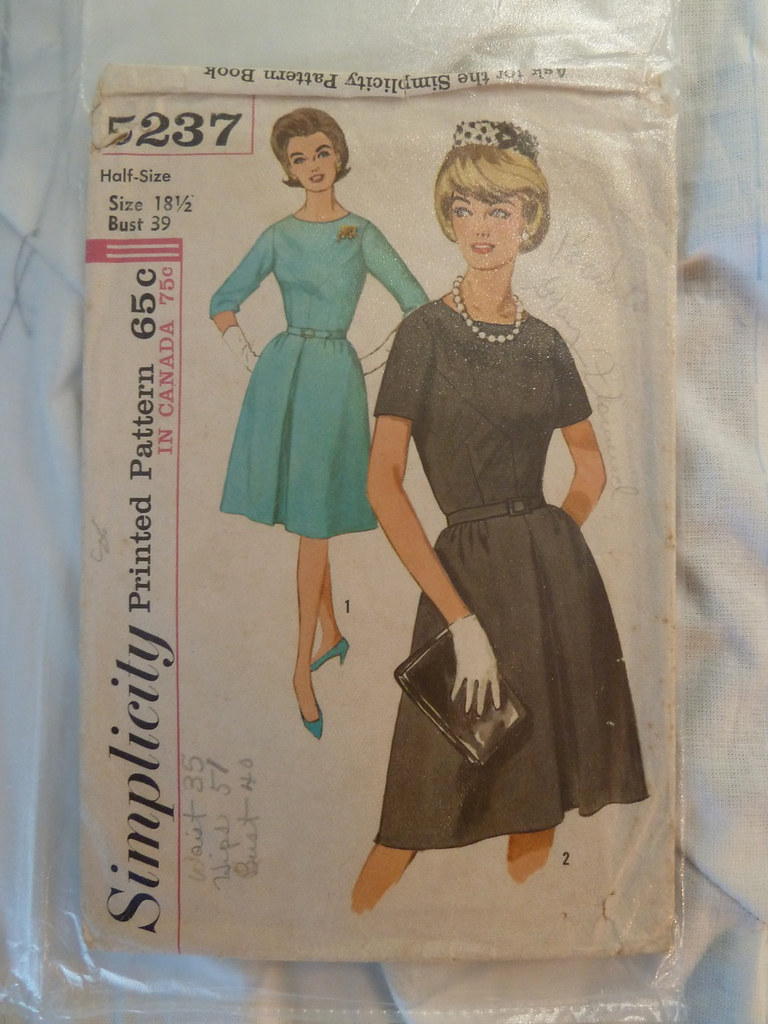
I made three versions of Simplicity 5237: the original blue version, the Sew Dolly Clackett version, and the yellow wedding guest version. The blue version, embarrassingly, has never been worn. I find the sleeves a bit awkward. They make it too warm for a summer dress, but I can't wear a cardie or jacket over them for cooler days. Ooh, I've just thought - I can try it with long sleeves underneath. Need to check if it still fits first... The Dolly Clackett version hasn't been worn much, but mostly because it was a pretty crappy summer here so none of my summer dresses have been worn much! Before next summer I need to reverse engineer a lining (or possibly a sort of underlining) for the skirt as the quilting cotton I used is not the best quality so catches on itself and sort of rides up my legs when I walk. I also need to adjust the fit of the bodice, in the same way as for the yellow version, to shape the front waist darts (and seaming) closer to my shape, plus lowering the armscyes.

The vintage pattern that hasn't been seen yet is Simplicity 7981, which I've semi-made up in doubleknit - the photo below shows the bodice just basted, but I've since attached the long sleeves (all kinds of ugh) and skirt (which is rather nice). I didn't make a muslin, which means it needs some serious fitting adjustments (exacerbated by making it up in a stretch fabric rather than a woven), mostly in the armscyes/shoulders (I think a lot of the problems are also from weird 1960s drafting too). I will come back to this in the next couple of months though as it will be a nice cosy dress for the winter, if a bit Trekkie (not that there's anything wrong with that).

A photo posted by Dilly (@dibulous) on

As always, the "pressure" of it being a "challenge" has meant I've dithered about choices too much, but it's reminded me of the lovely patterns I own. I think this year I will make up some of the separates and jackets, as these are more versatile than dresses most of the time.

I'll leave you with this lovely view from our flat of the sunset on Christmas Eve, featuring the traditional Firmenich building Christmas tree!
Wednesday, 10 September 2014

Last-minute yellow dress

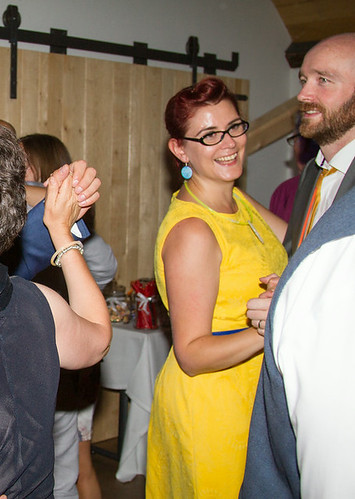
We went to a wedding at the end of July, and of course I wanted to make a dress to wear. I'd planned a second entry into the Vintage Pattern Pledge with a lovely dress with a draped bodice in feather print silk crepe lined with rayon challis. Yeah, well life got in the way and time ran out to make that. I had a back up plan of a RTW dress, but the day before we left I got a sudden inspiration and decided I was going to make a dress after all. As you do.

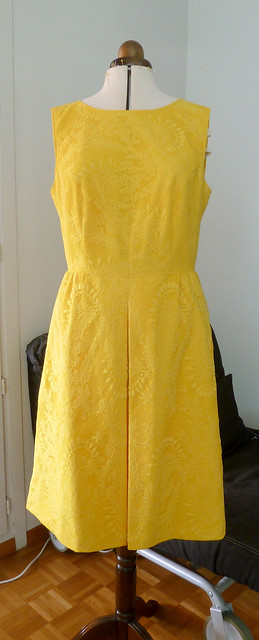
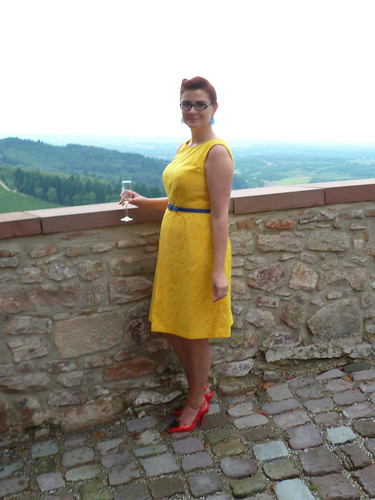
I went with the same pattern as my blue linen dress and my Sew Dolly Clackett dress, vintage Simplicity 5237 as I knew how it fit and could make it without doing a muslin first. Although having looked at these pictures I think the fit needs some work. Given I've already made this twice, there's more an emphasis on pictures than words in this post.

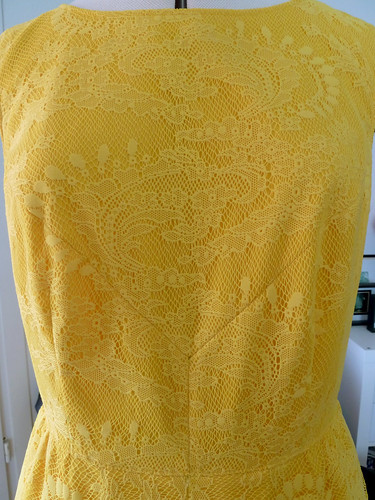
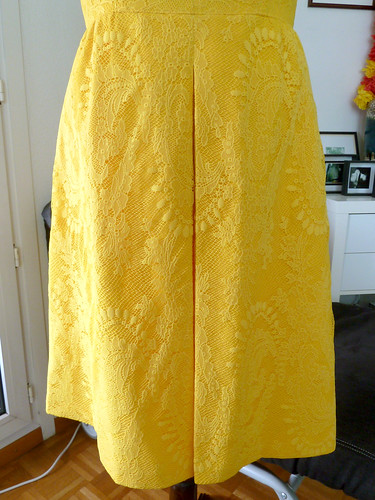
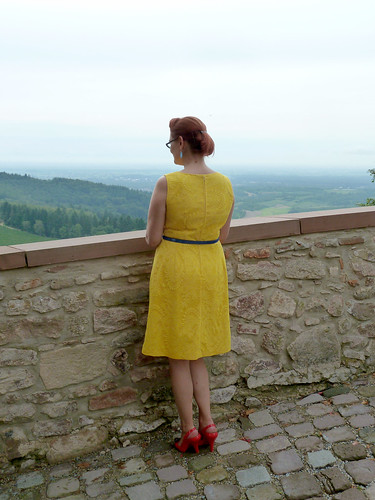
I used a yellow cotton twill, with a yellow lace overlay. Yeah, I like making things easy for myself... To make it even easier I tried to match the pattern - and actually did amazingly well given it was done by a wing and a prayer. The lace overlay does pull a bit giving the dress some odd wrinkles, I think because it's not entirely true to grain (it's just a cheapy nylon lace). I used the lace in different directions on the bodice and skirt as I thought it would give a nice effect, but it's actually not hugely noticeable in the finished garment.

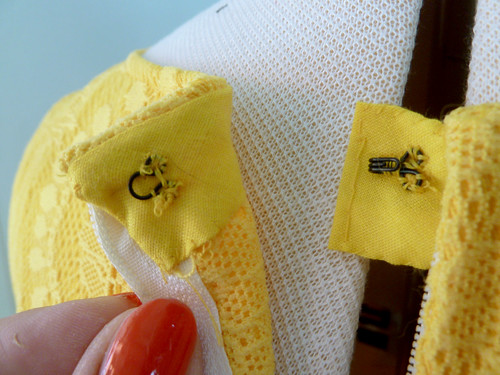
To save a bit of time I machine basted the two layers together on each piece. It would have been even quicker if I'd thought to keep the basting in the seam allowances as I wouldn't have had to unpick it all... I used a centred zip, but hand-picked it, and added a hook and eye at the top. The neckline and armholes were finished with pre-made bias tape and topstitching, and I also topstitched along the centre front pleat line to keep the two layers together. It's sort of pulling a bit weird though, so I might add topstitching along the inside pleat line too. I matched the pattern along the pleat as if it were shut, but whilst wearing it and realising the pleat is open most of the time, I should have maybe matched it along the seam instead. The insides and the hand-stitching aren't exactly beautiful, but it was functional and looked fine from the outside!
It's interesting how different something can look in your head/the mirror, and in pictures - I was really really pleased with the fit and thought it was super flattering, but then I saw the photos and was horrified! There's something odd happening between my waist and the bust, and also the armscyes are too high, causing funny wrinkles. The bodice is probably too large between the bust and waist too and maybe a smidgen too long, plus the neckline needs adjusting. Apart from that, it's fine! No, to be serious, most of these alterations should be fairly straightforward, and it's a dress I can see myself wearing again. I think also the photos don't look great as I did my hair and makeup in a rush as I was a bit hungover that morning (all the wedding guests had gone to a local wine Keller festival the night before...)
Despite the fitting issues, I count this dress as a success, and I'm super proud at how quickly I made this (whilst also fitting in packing!) - I started at 1pm on the Thursday and finished all the machine sewing by 1am that night. There was some intense hand-sewing done on the train, but I still had time for a nap :)

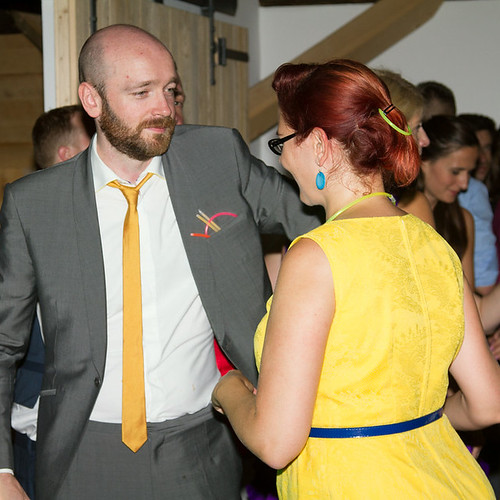
I'm not counting this as one of my Vintage Pattern Pledge makes as it's something I've made twice already! Still a couple of months to get these in though... I'll leave you with a couple more pictures of the dress in action.

Monday, 21 April 2014

Sew Dolly Clackett: the Dilly Dolly Dress

If you've noticed a rash of full-skirted, novelty print dresses and grinning faces on sewing blogs, you're not going mad - it's Sew Dolly Clackett! This adorable idea was dreamt up by Sarah of Rhinestones and Telephones to help the sewists of the world celebrate Roisin's (a.k.a. Dolly Clackett's) wedding. I have a stash of novelty print quilting cottons that I bought when I first started sewing, so this was a perfect opportunity to use some up! I figured this print was appropriate for a sewalong honouring a fellow seamstress, and it's novelty and bold enough to be suitably Roisin-ish but not so in your face that I wouldn't feel comfortable wearing it.

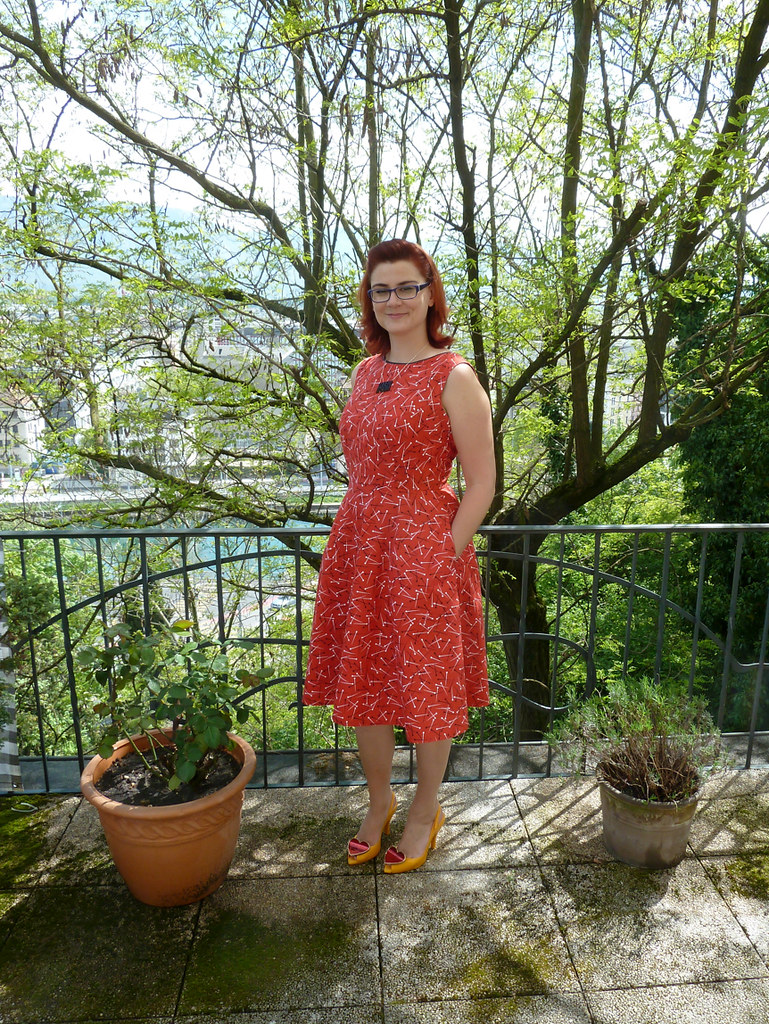
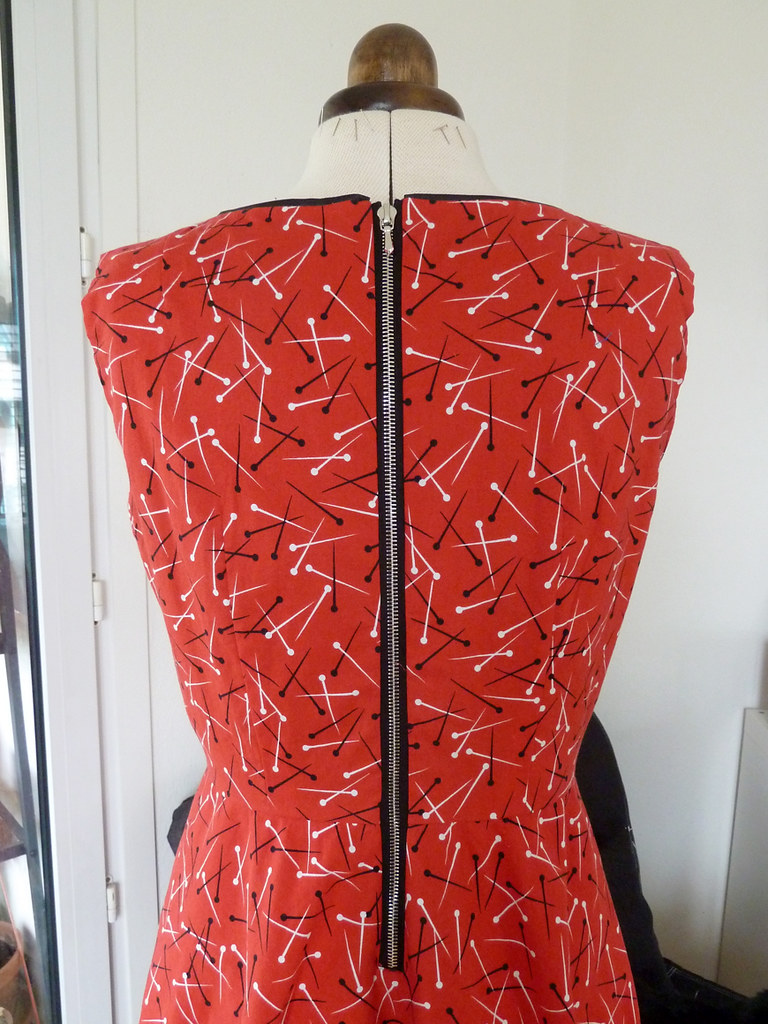
In true Dolly Clackett style, I hacked a pattern to create a personalised dress. As I mentioned in my last post, this is the bodice from (vintage) Simplicity 5237, adjusted to be sleeveless. If you just take the sleeves off a pattern, the likelihood is that it won't fit that well around the arm, as a pattern with sleeves will have a bit of extra ease in this area. I took about 1.25cm off each side seam (front and back) at the bottom of the armscye tapering down to a few mm at the waist (the first dress could do with being brought in a little at the waist). I also took a few mm off the diagonal seam at each armscye. After wearing it, I realised, I've actually taken a bit too much off the side seams right at the bottom of the bodice, so that the bodice rides up a bit because the smallest part is now a little below my actual waist. (The other solution to this would be to shorten the bodice a little, but that's not so easy once the zip's in!)

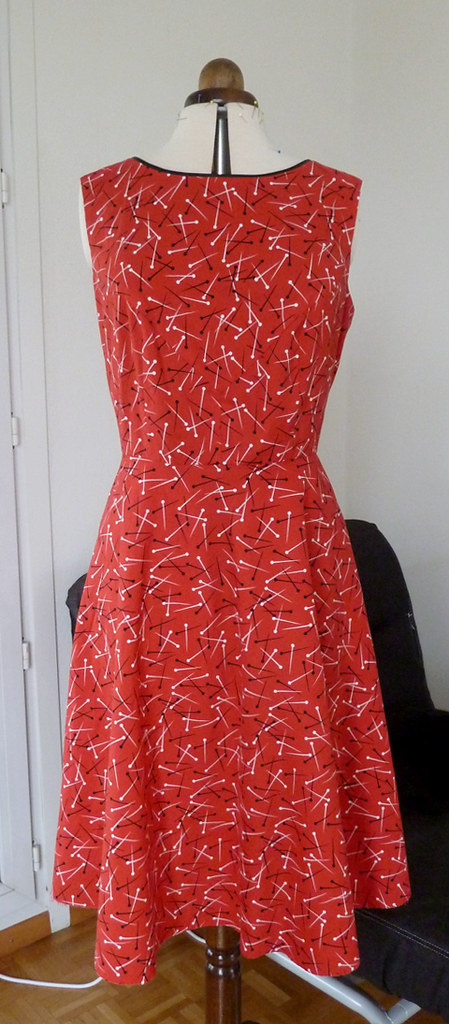
Instead of the original skirt, I drafted a half-circle skirt, and added side seam pockets. The bodice is lined in black cotton batiste, but I left the skirt unlined. I referred to Trena's handy picture tutorial for lining the bodice, and the skirt is hemmed with black bias tape (made from the same soft batiste as the bodice lining) to echo the black piping at the top if you see a flash of the inside of the skirt. I finished the hem by hand to keep it invisible from the outside.

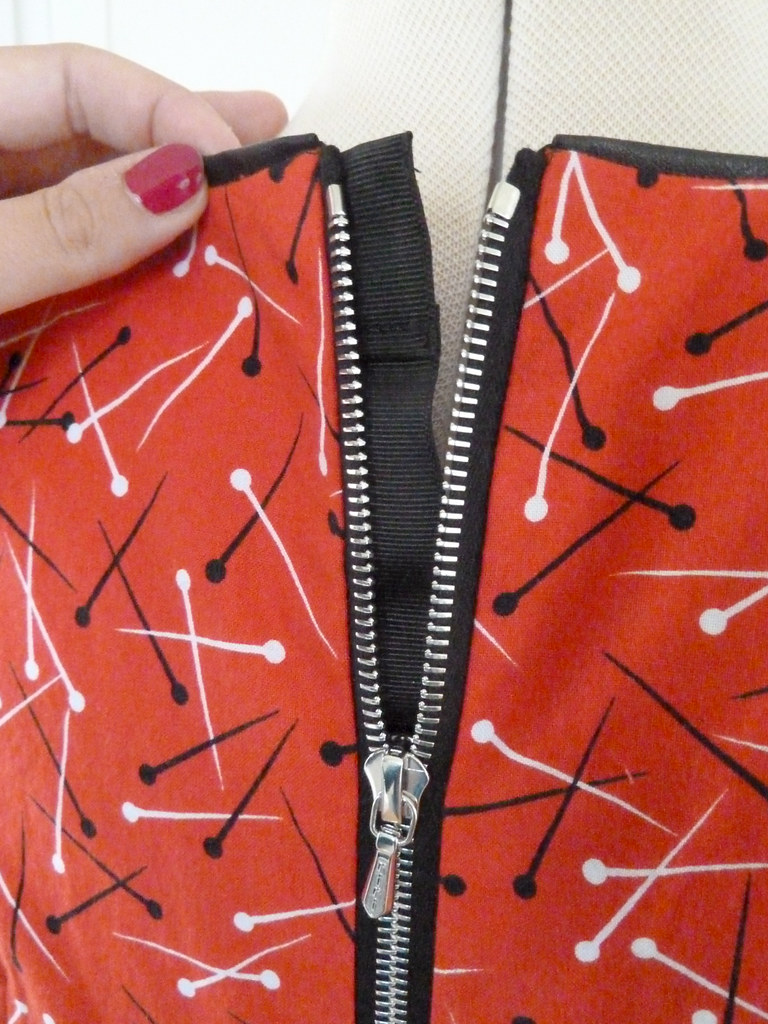
Whilst this is obviously inspired by Roisin's style, I added a couple of details to make it my own. At the neck I added black leather piping, plus an exposed metal zip at the back. I like the slightly harder edge these give to what might otherwise be a rather novelty dress for my taste. I had been planning to use the leather piping at the arms too, but decided against it in the end, partly because I thought it might be a bit "sticky" there, and also because it was fiddly and I couldn't be bothered with it...!

The zip was inserted using the method shown over at Pattern Runway, and I added a grosgrain ribbon zipper guard so the metal wouldn't be cold or irritating against my skin. The zip is actually a little short - I can get the dress on and off fine over my head, but can't step into it like I prefer. It's also too tight to get onto Wilma comfortably, so the pictures at the top are actually before it's hemmed - I didn't want to strain the zip putting it back on her again for more photos.

I wanted to find a nice doorway to pose in front of, but front doors of the buildings in town over here all have glass in them, which is pretty, but not so great for a backdrop, what with all the reflections of cars and my photographer. However, I did manage to include a couple of authentic Roisin details: Lady Dragon shoes, and an alcoholic drink...

Here's to you, Dolly Clackett! And here's to many years of happiness ahead with Nic! (And to many more crazy dresses, fabulous shoes, and tasty gin-based cocktails!)

Thursday, 17 April 2014

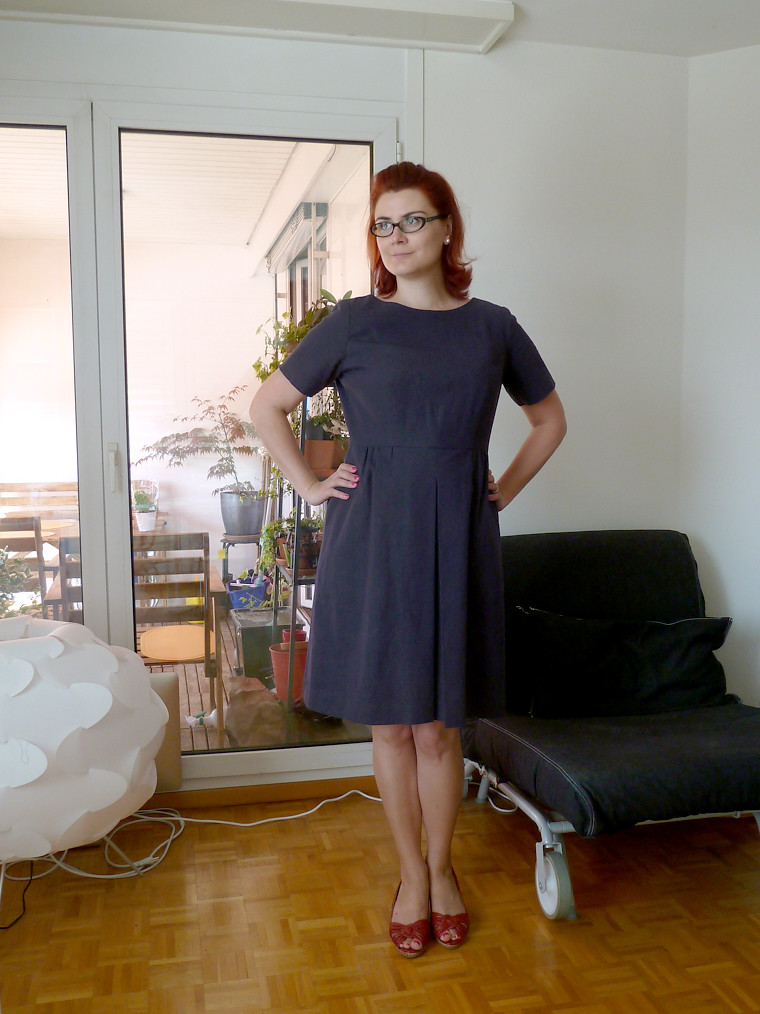
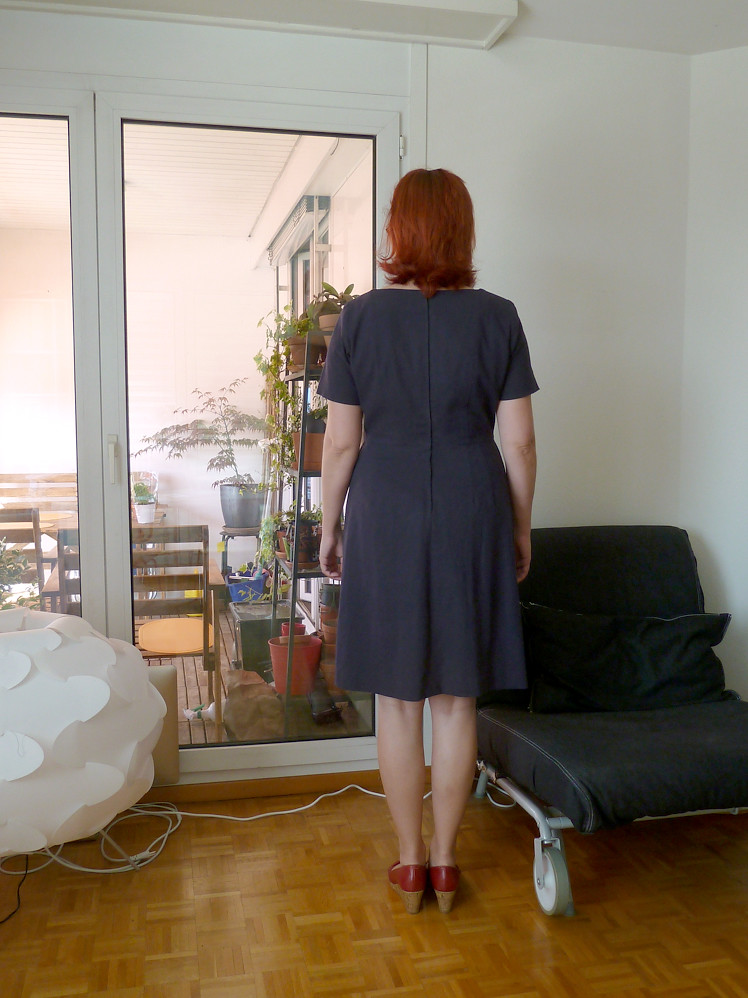
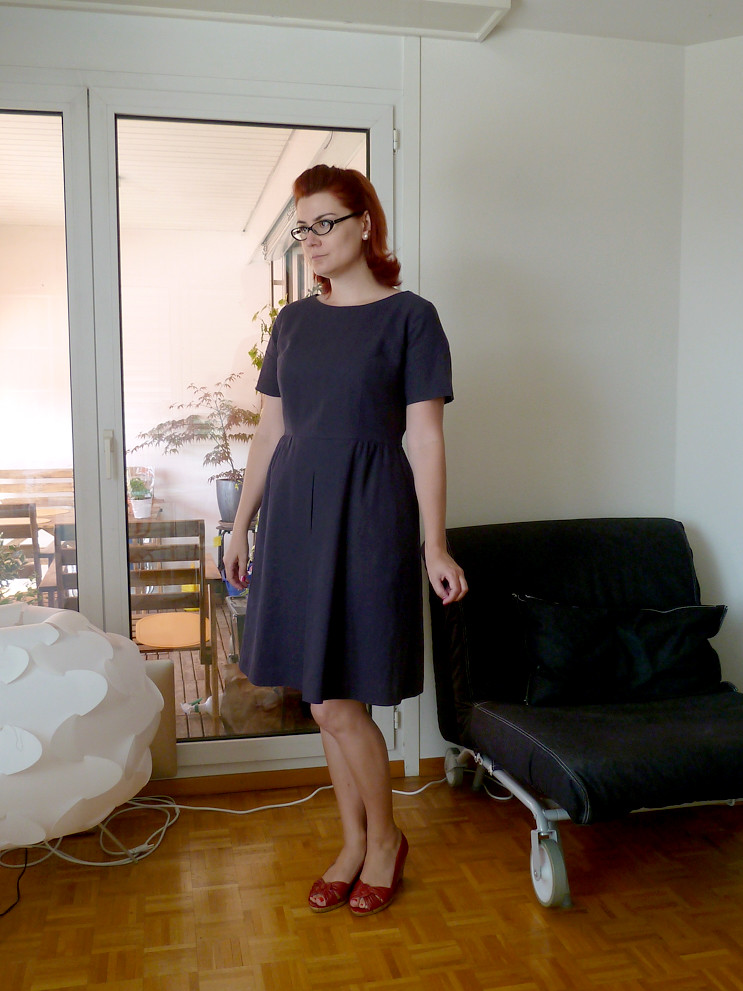
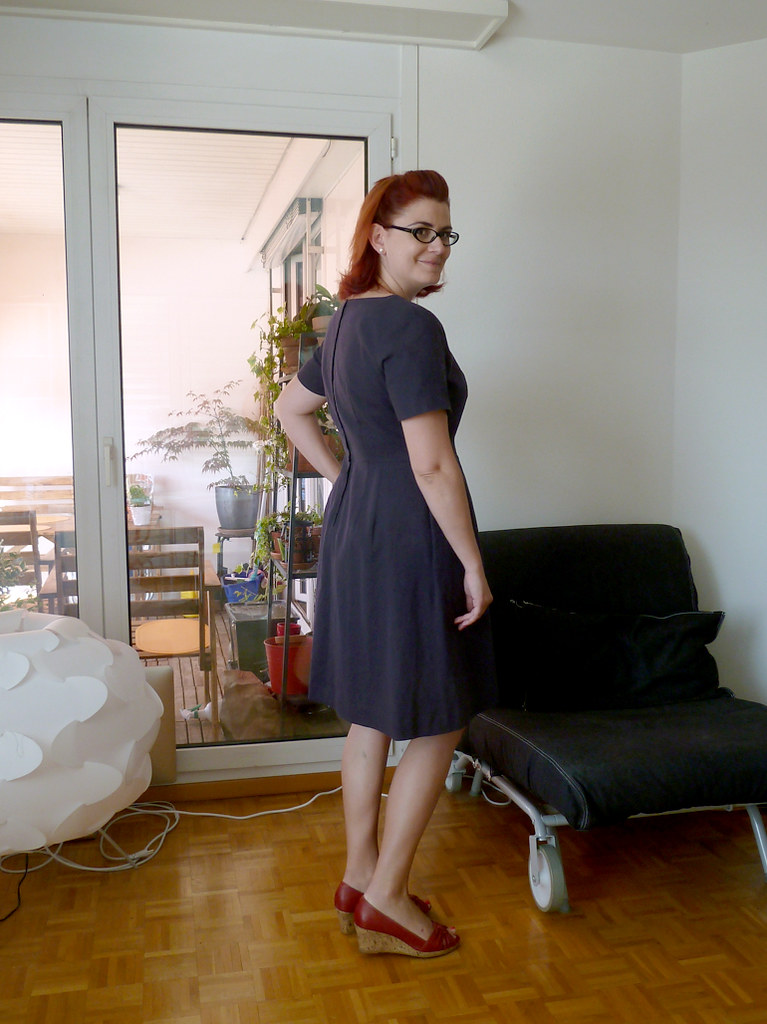
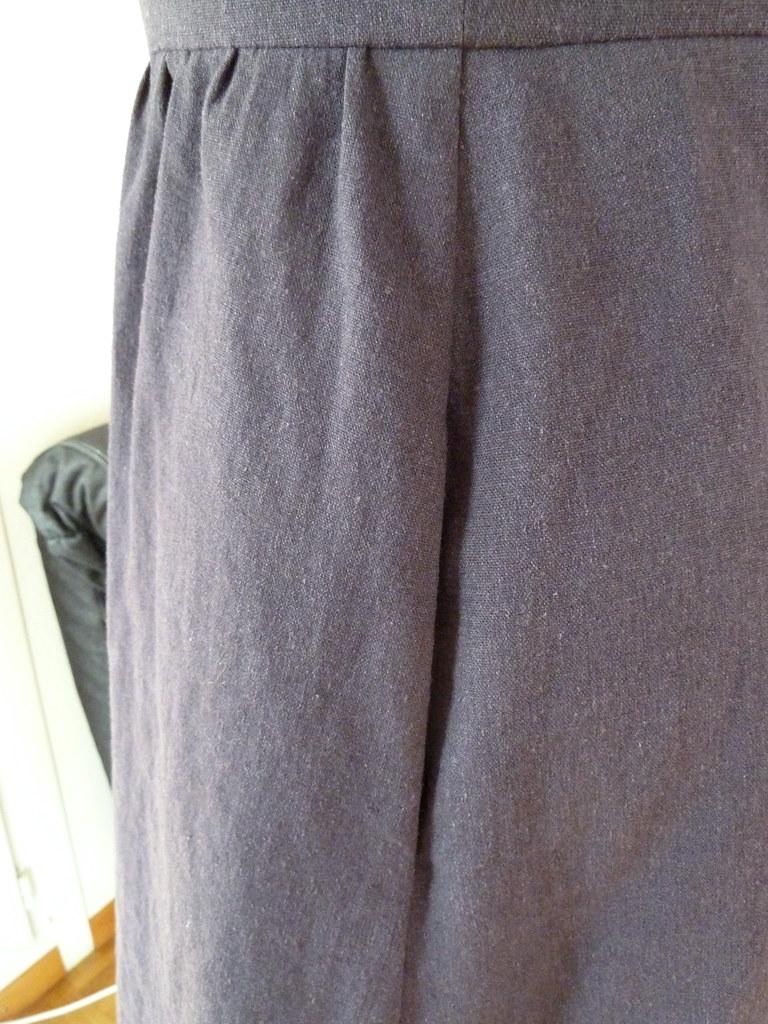
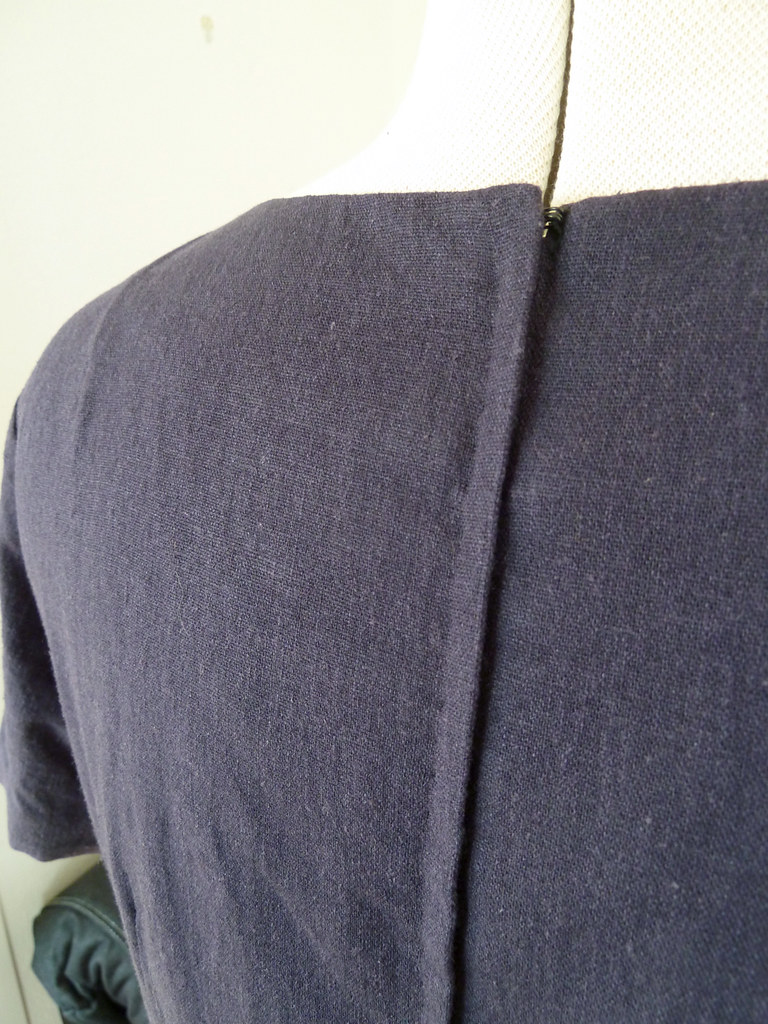
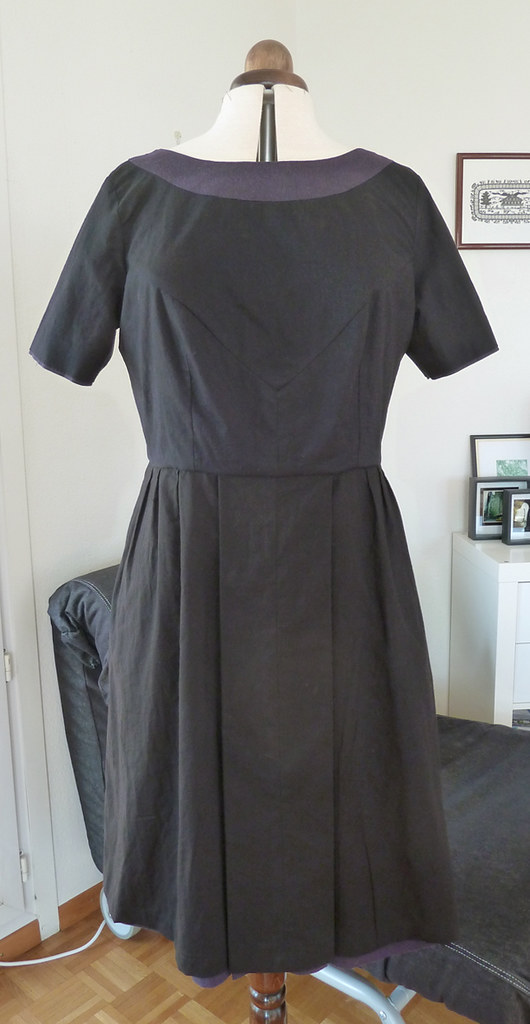
1960s dress

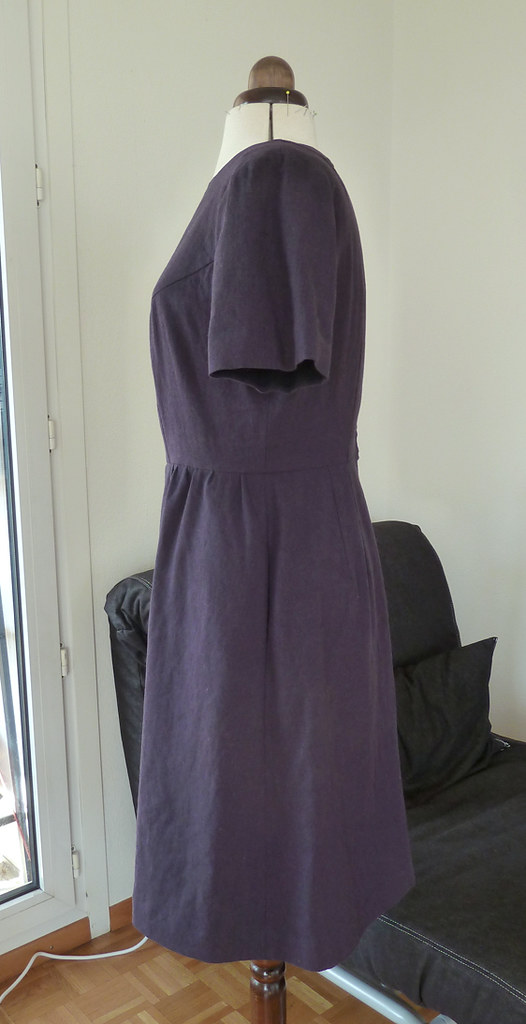
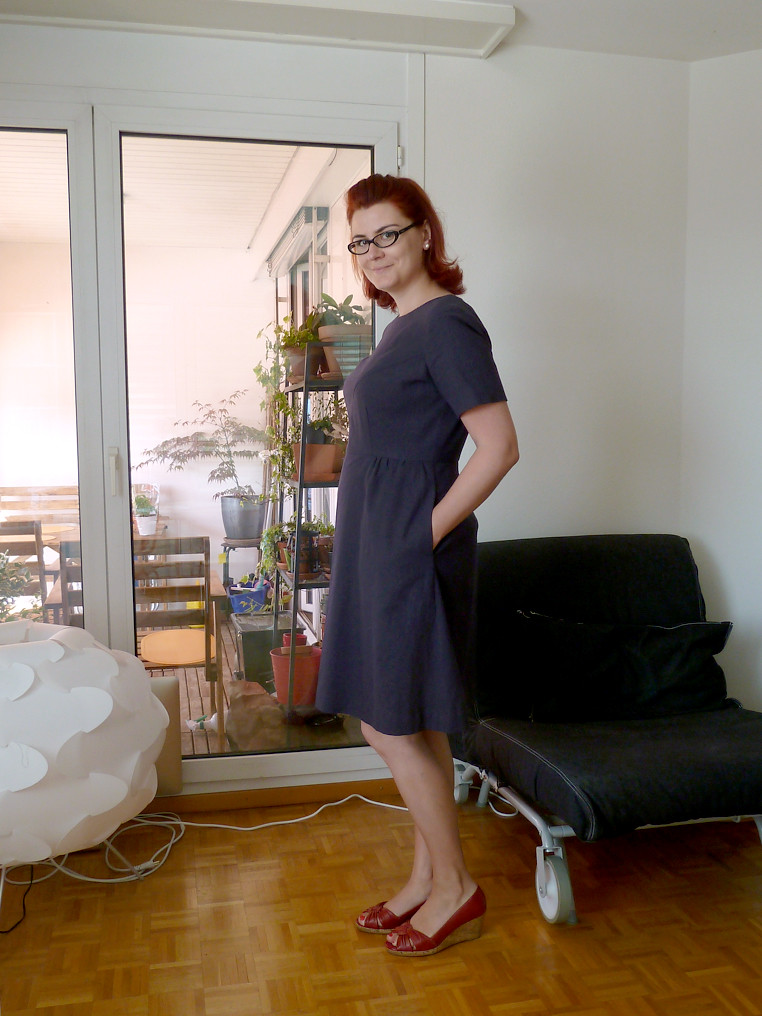
This is the first of my Vintage Pattern Pledge projects - the one I actually started on before signing up! I had originally intended to make this with a (supposedly) wool-mix suiting fabric, but decided against that as I was concerned the check pattern would look terrible with the combination of darts and diagonal seaming across the bust. Ideally, I wanted to make this up in a light suiting weight fabric, preferably a pretty colour or small pattern. The only thing I seemed to have in my stash that was appropriate and had enough of was this linen-rayon mix. Not ideal, but it actually looks quite nice.

Pattern description

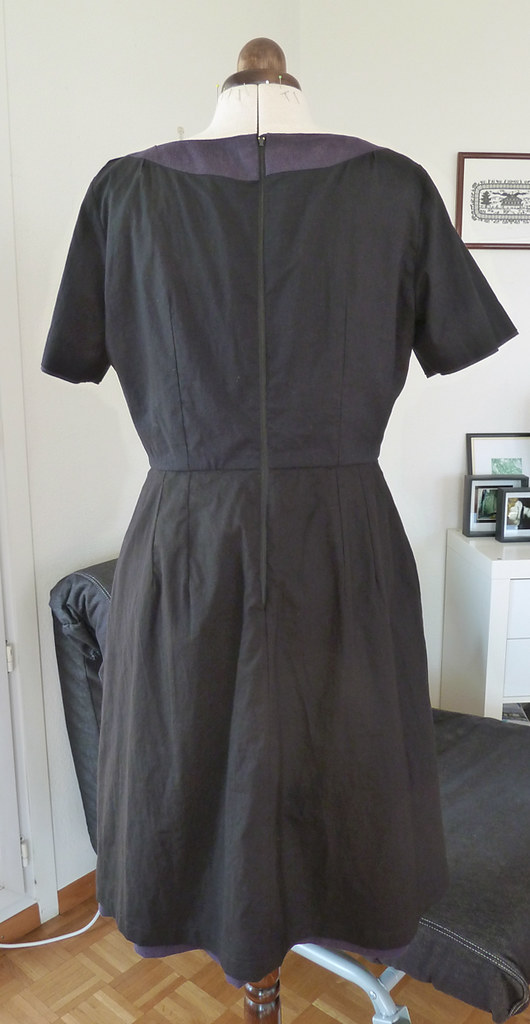
Vintage Simplicity 5237: Dress with close fitting bodice with diagonal seaming, short or 3/4 length sleeves, and flared skirt with gathers and box pleat.

Pattern sizing

18 1/2 (39" bust). This is their sizing for petite. I un-petited it as described below.

Fabric used

Linen-rayon blend, lined with cotton batiste, all from Fabric.com (the bodice and skirt lining look slightly different colours in the photos because they are different fabric - I ran out and had to order more halfway through!).

Did it look like the photo/drawing on the pattern envelope when you were done?

Actually yes, quite a lot.

Were the instructions easy to follow?

Yes. Although the instructions are much more succinct than those you get in modern patterns, I think they are generally much better. The diagrams are clear, and also indicate the stitching direction - this is something I was always taught was important, but often isn't mentioned in modern patterns. One thing I particularly like about these instructions was the way of stitching the sleeves: when sewing them in, they have you start at one notch, stitching towards the underarm seam. You stitch all the way around the seam, then when you reach the first notch again, you keep going, sewing a line of reinforcement just outside the the seam line to the notch the other side of the underarm. You can then trim this area quite closely. Neat!

What did you particularly like or dislike about the pattern?

Apart from the un-petiting, and ignoring the sleeves, the bodice required minimal fitting - no FBA here! The shape is very flattering, and quite timeless.

Pattern alterations or any design changes you made

This was sized for petite. In order to un-petite it I added length across the top of the bodice, front and back, in the top third of the armscye (I didn't alter the skirt to un-petite it between the waist and hip, as I figured the A-line shape was fairly forgiving). I made my usual alteration to the bodice back for swayback by rotating the shoulders and neckline down, and lowered the front neckline slightly.

The sleeves drove me a bit crazy - as drafted, they looked ok-ish with my arms by my sides, but I couldn't lift my arms. I eventually solved the problem by extending the shoulders, raising and reshaping the armscye a little, removing the ease from the sleeve cap, and shifting the shoulder point forward.

Apart from adding in-seam pockets and shortening by about 10cm, I made no changes to the skirt.

Construction details

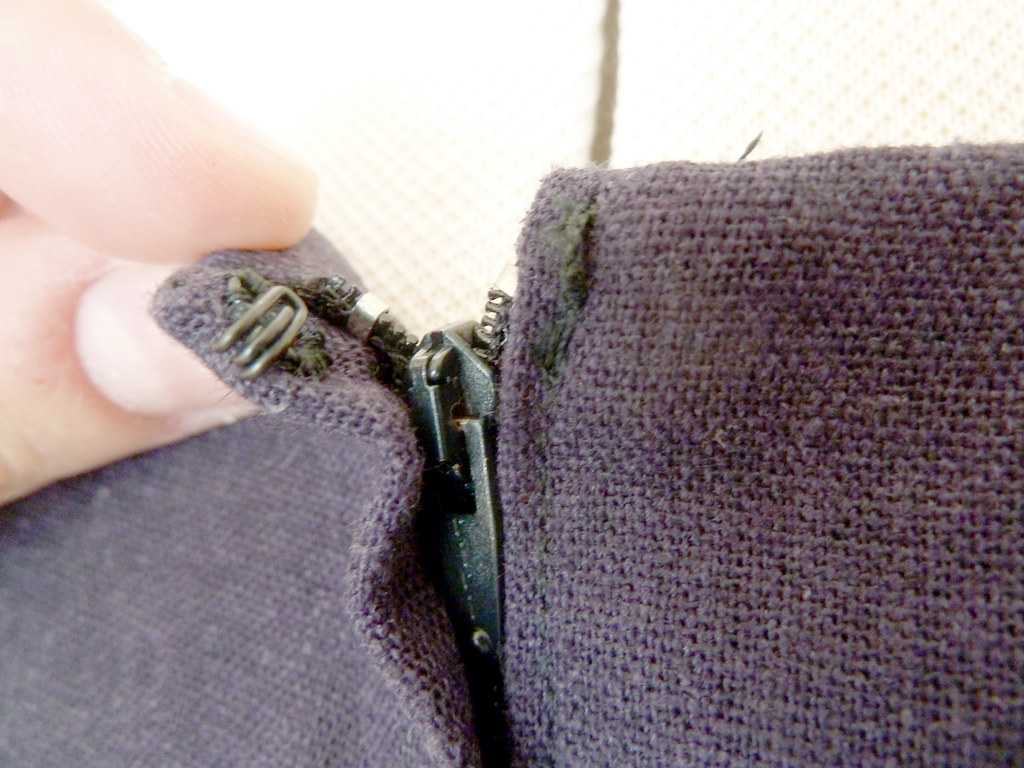
In order to keep the vintage vibe of this dress, I chose to use a lapped zipper, with the overlapped side hand-picked. I'm really pleased with how this turned out. The hand stitching is much more unobtrusive than machine stitching, and retains the flexibility of the zipper much better. I added a hook and thread bar at the top of the zip.

The neckline is faced, with the bodice lining attached to the facing. The skirt lining was a bit made up on the hoof. In order to give weight to the pleat, I included the lining in it, but made small pleats at the front waistline instead of gathers to reduce bulk. I think one of the layers is a bit off-grain as the skirt hangs with a bit of an odd a fold on one side, but this isn't super noticeable when the dress is being worn and I'm moving around. The lining has a narrow machine hem, and the skirt is hemmed by hand.

Would you sew it again? Would you recommend it to others?

I have already sewn the bodice part of this again (you'll have seen a sneak peek of it if you follow me on Twitter or Instagram). It's nice having a bodice that fits really well, although I'd like to find another one with less distinctive seaming - I'm going to look at the vintage half size ones again!

Conclusion

I was really satisfied when I finished this dress, but I haven't actually worn it. Having sewn the second version (which I altered to be sleeveless), I think this is because of the sleeves. I really love the look with sleeves, but it's just not a good combination of fabric weight and fit/style for me. I think I will mull it over a little more, but I'm pretty certain I'm going to take off the sleeves, I really think this alteration will turn it from a dress that may look lovely but languishes in the wardrobe, into a dress that will get worn a lot, which is really what I need more.