Showing posts with label Burda. Show all posts

Monday, 4 May 2015

Parisienne poodle cocoon coatigan

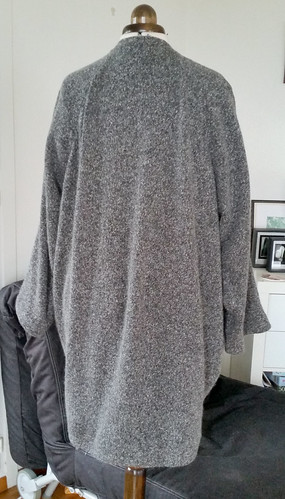
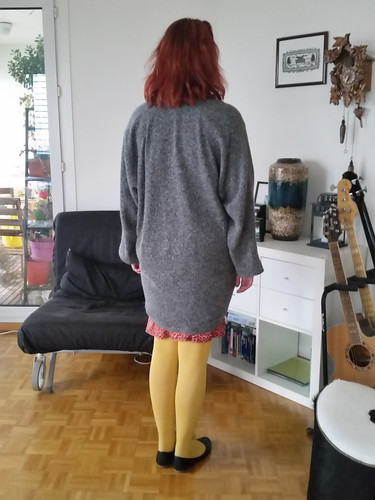
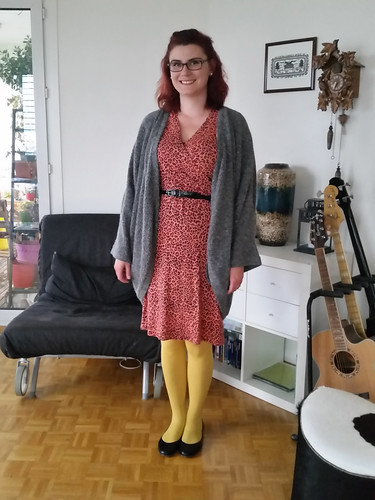
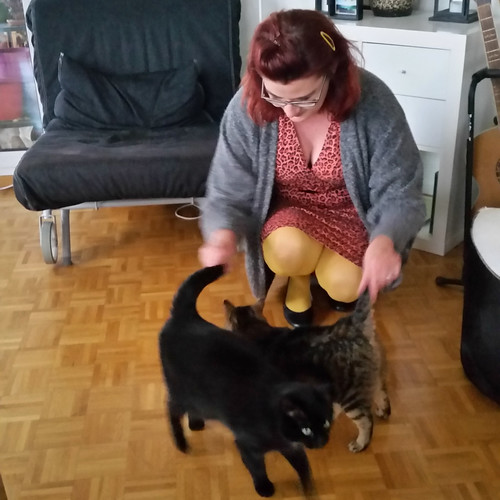
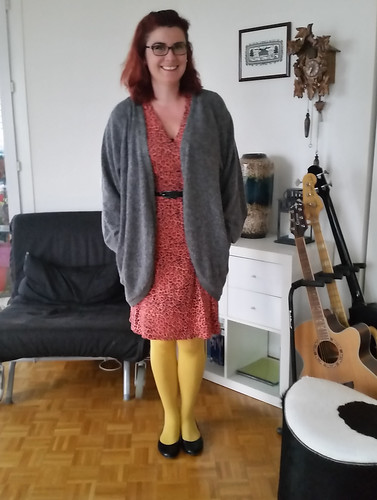
I love it when a plan works out...! This is fabric I bought back in March last year during my trip to Paris, and as soon as I saw it I knew exactly what pattern I wanted to make: BurdaStyle Magazine 2013/11/107. I've finally got around to making it, and it's pretty much exactly as I envisioned!

Pattern description

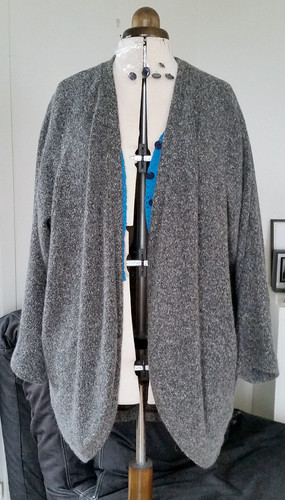
BurdaStyle Magazine 2013/11/107: Long-length cocoon-style jacket, with raglan sleeves, pockets and continuous hem band, and without fastenings.

Pattern sizing

36-44. I traced a 44.

Fabric used

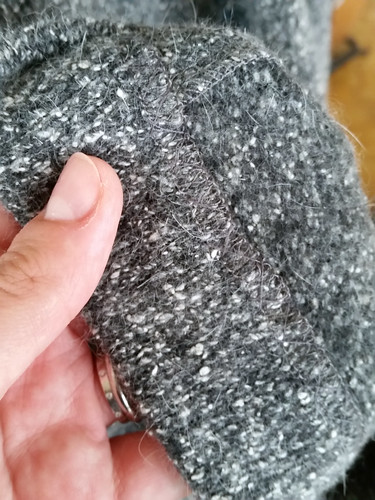
Mystery blend wool knit from Coupons de Saint-Pierre. It was marked as wool and definitely includes it, as it has that slight wet dog smell after washing and when using steam, but there's also probably poly in there, as it didn't shrink or felt with machine washing, and without a pressing cloth it was a little melty on the iron. It also sheds like crazy on dark colours, hence the title - after sewing it, I looked liked I'd been rolling around in pale dog hair... I'm hoping this will reduce a bit in time.

Did it look like the photo/drawing on the pattern envelope when you were done?

Yes!

Were the instructions easy to follow?

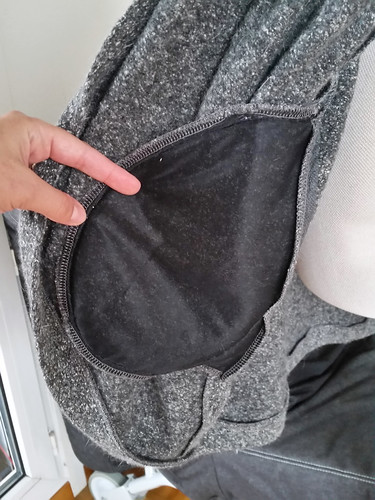
Mostly straightforward. I didn't really understand the directions for the pockets, but then I never do for Burda. I always do mine the usual way of sewing the pockets pieces separately to the front and back pieces, then sewing the side seams including the pockets.

What did you particularly like or dislike about the pattern?

Likes: I really love the cocoon shape - once again Burda were ahead of the game with on-trend styles (although of course us Europeans are terribly fashionable - my three-year-old winter coat is also a cocoon shape). I think it's a surprisingly flattering shape - I am a long way from the slim model they use, and according to the "rules" I should probably emphasise my waist, but I really like how I look in this shape. Plus no issue after a big meal. Or over a big jumper I suppose.

Dislikes: It would have been really useful to have some notches on the hem band in order to distribute it evenly. As it is, only CB at neck and hem are match points. The pocket openings are also a bit narrow and a bit low for me.

Pattern alterations or any design changes you made

Be warned - this jacket is really long. I knew from previous reviews that this was the case, so I shortened it 15cm so it fell between mid-thigh and knee (for reference I'm pretty tall, 178cm or 5'10" in old money) - I actually need to refine the shape of the front just a little bit more to soften the front curve at the bottom, and shorten the hem band slightly more to draw in the bottom of the back to more of a cocoon shape.

I also shortened the sleeves about 4cm. Apart from slightly enlarging the pockets I made no other changes.

Construction details

As I was using a fairly beefy but not super stable knit, I stabilised the seams with Vilene bias tape (love this stuff, buy it by the roll when I visit London). I also stabilised the front of the pocket openings with silk organza selvedge.

As the knit wasn't super stable I knew I'd also need to stabilise the pocket bags. I'd originally planned to use silk organza, and totally should have gone with this (or at least regular lining fabric). In the end I used a nylon tricot, but this is surprisingly heavy and bulky, and makes the pockets pull downwards a little weirdly. In order to try and counteract this, I pick stitched the top and bottom of the pocket to the jacket front, as well as the pocket opening. This supports the weight of the pocket a little so there's a bit less distortion, but is also fortunately pretty much invisible with this fabric.

Although I could have constructed it mostly on the serger, I actually serged the edges and then sewed nearly all the seams with my regular machine, with a straight stitch as stretch wasn't important in such an oversized garment.

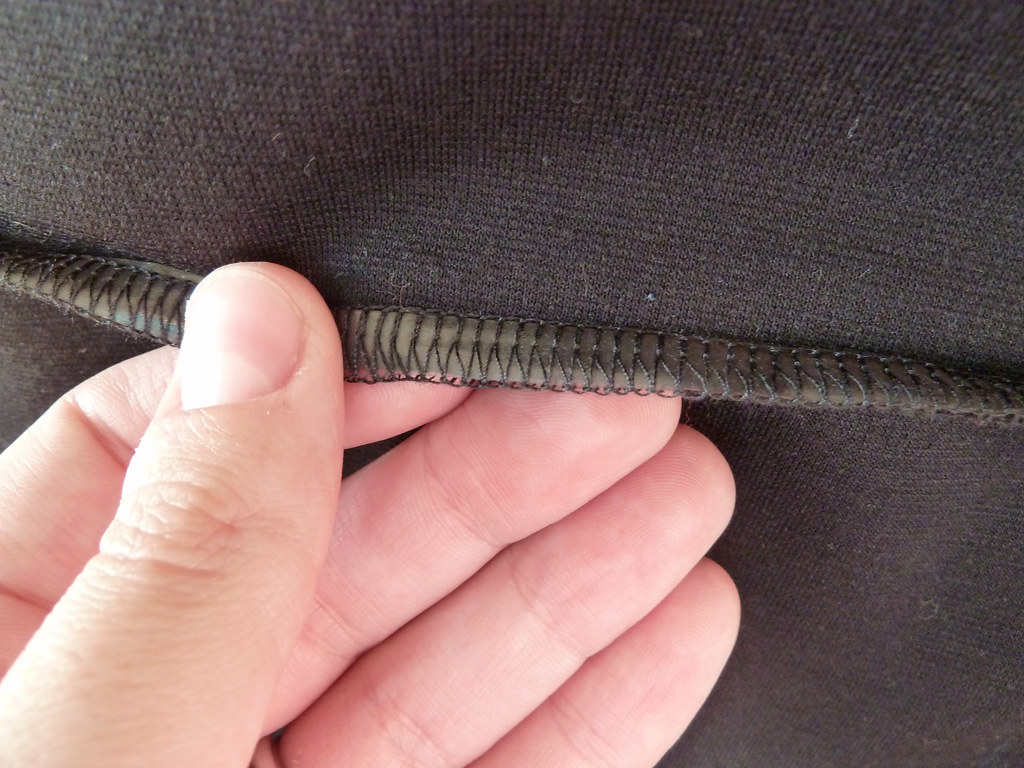
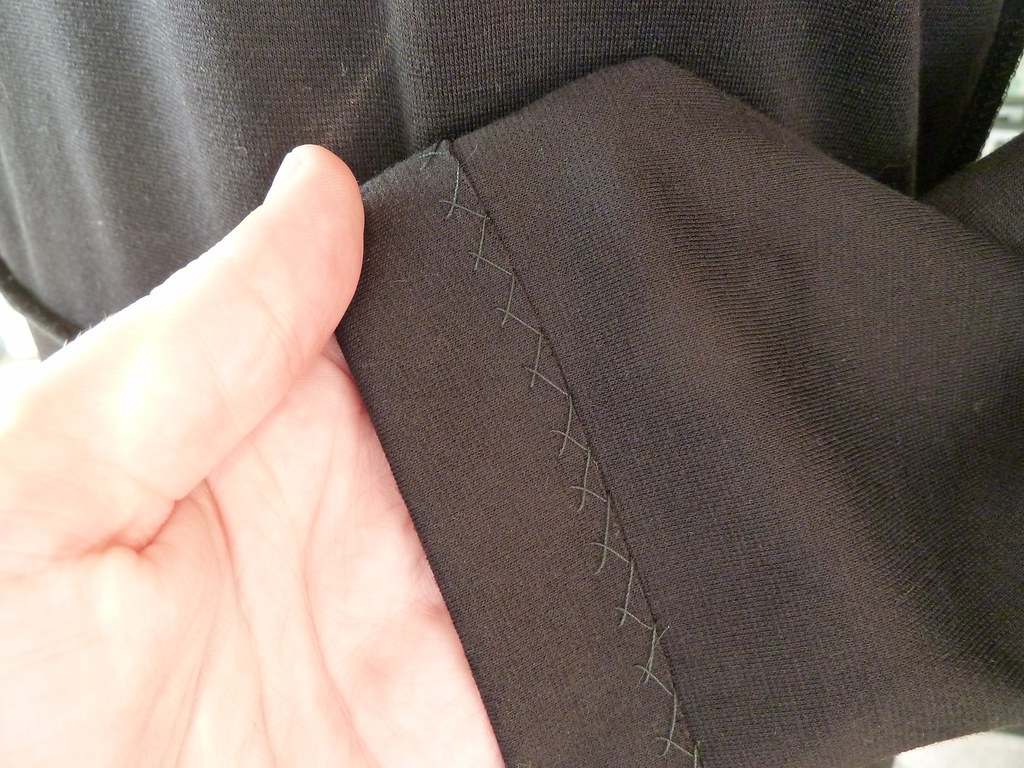
The hem band is interfaced with the same nylon tricot used for the pocket interfacing (although here it was the perfect choice). I had originally contemplated sewing just one half of the hem band to the edge of the jacket, then folding the other seam allowance in and hand sewing that edge to the jacket so that the seam was fully enclosed. I'm not entirely sure why I didn't do this, possibly I thought it might be too bulky - in the end I attached it as directed (folded in half and serged), and it's not too bad. Maybe I'll pick stitch the seam allowance here too to keep it flat. The sleeve hems are catch stitched and invisible from both the outside and inside - I needed very good lighting whilst I was doing this bit!
Would you sew it again? Would you recommend it to others?

I might sew this again in a lighter weight knit for the summer, or even in a lightweight woven (there's a lovely version on the Russian BurdaStyle website in a bias cut yellow plaid...). It's a very quick make, and a fashionable and easy-to-wear shape too.

Conclusion

Despite being very pleased with this, I've managed to finally make it just in time for it to be too warm to wear it! I wore it on Friday night (when these photos were taken), but I think that's going to be the last time for a while... But it's a still a useful garment that means I'll have something to pull out when the weather does cool down again - I just need to work on a summer jacket now!
Tuesday, 11 February 2014

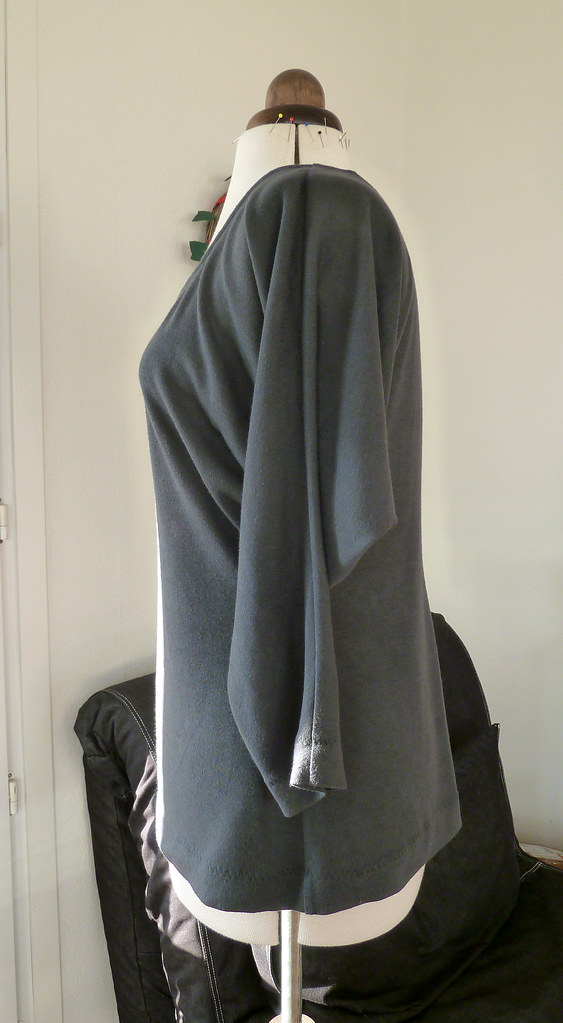
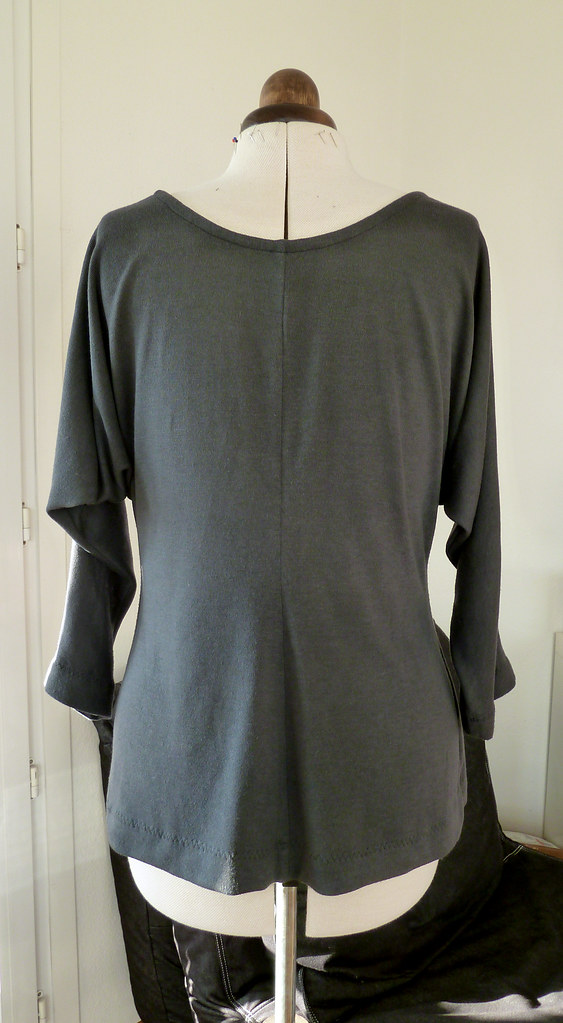
Another batwing top

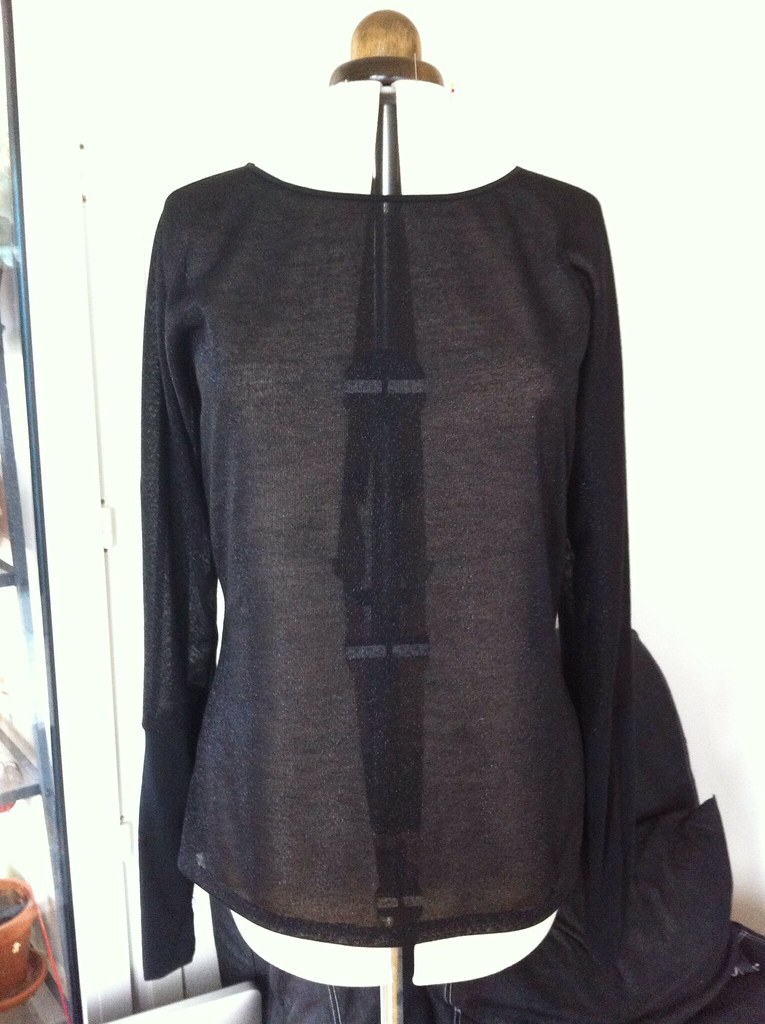
So, this is the December Burda Challenge from last year. The eagle-eyed amongst you may notice there's not been a November one... So close to completing my challenge, but so far! I think Burda fatigue had well and truly kicked in by then, and despite objectively liking a few of the patterns in the November magazine, nothing really grabbed me enough that I wanted to spend the time making it. Oh well, I WILL complete this challenge, just not in twelve months as I'd intended. In the spirit of just getting it done already, I chose this pattern as a quick one to sew up (although it's ok, I do need some comfortable but slightly more dressy tops...).

Pattern description

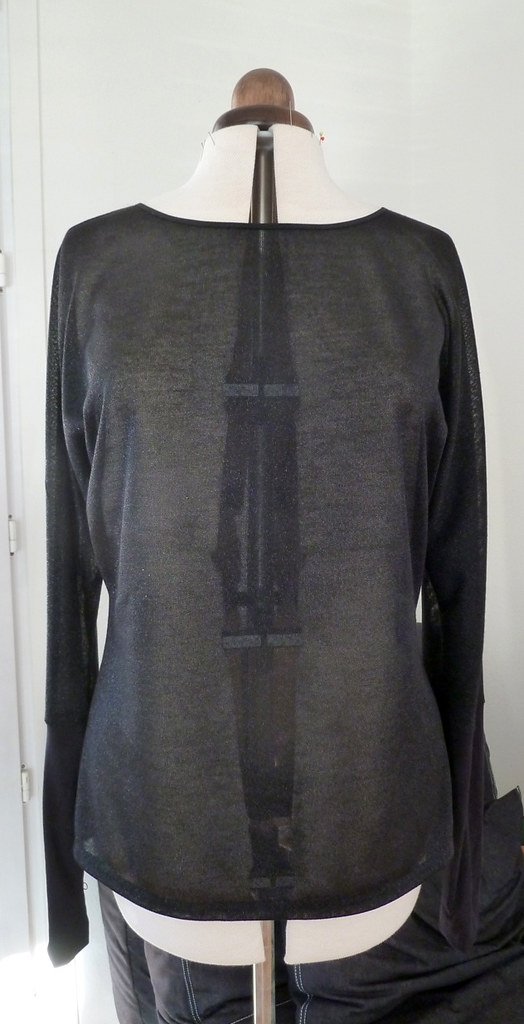
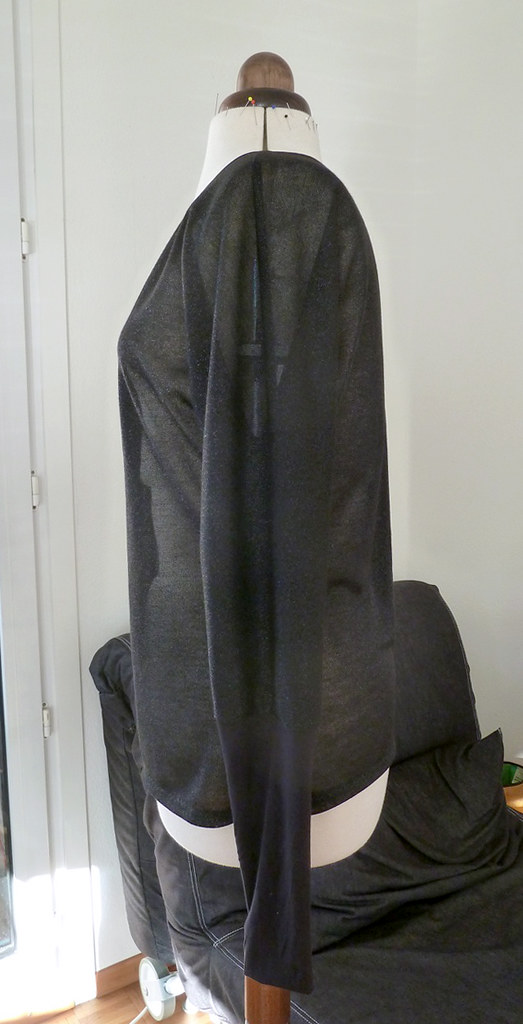
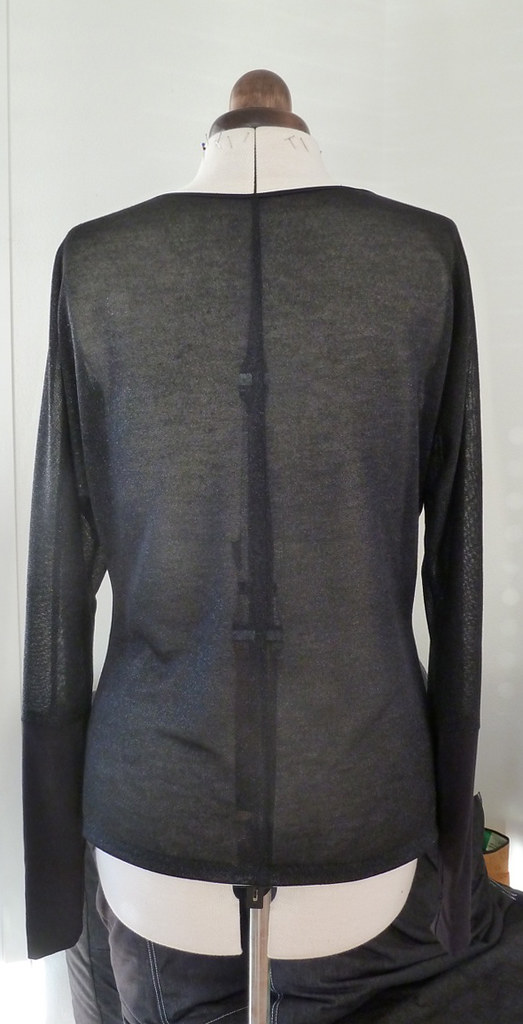
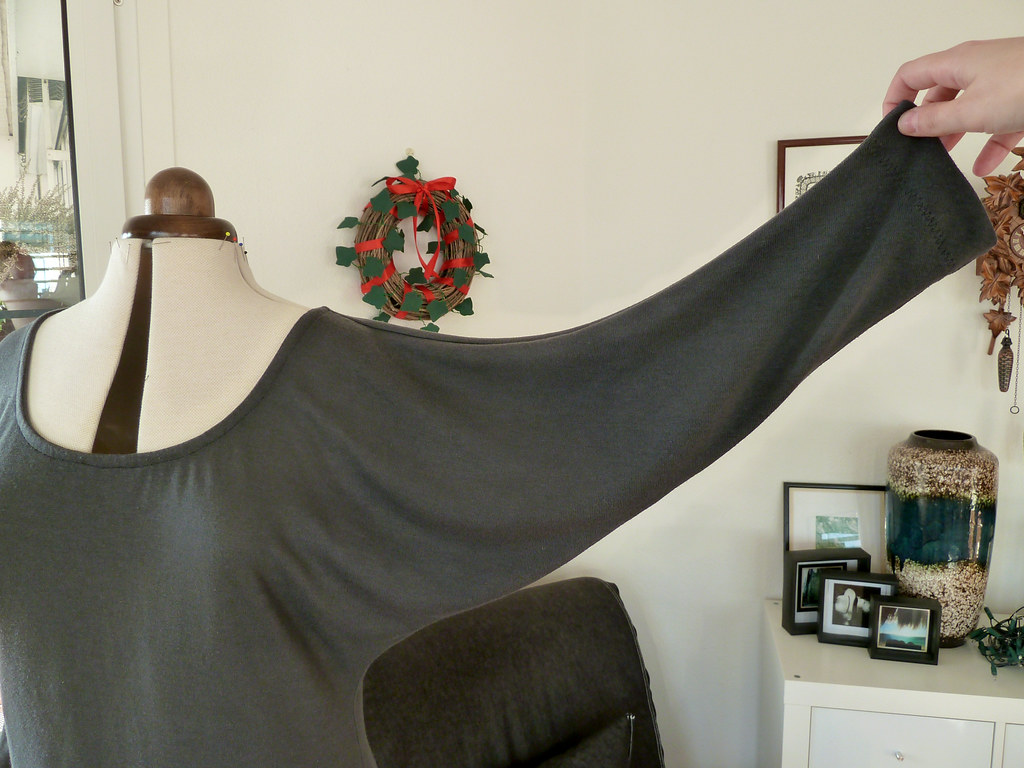
BurdaStyle magazine 12/2013/128: Batwing top with long cuffs.

Pattern sizing

34-42. I graded up to 44.

Fabric used

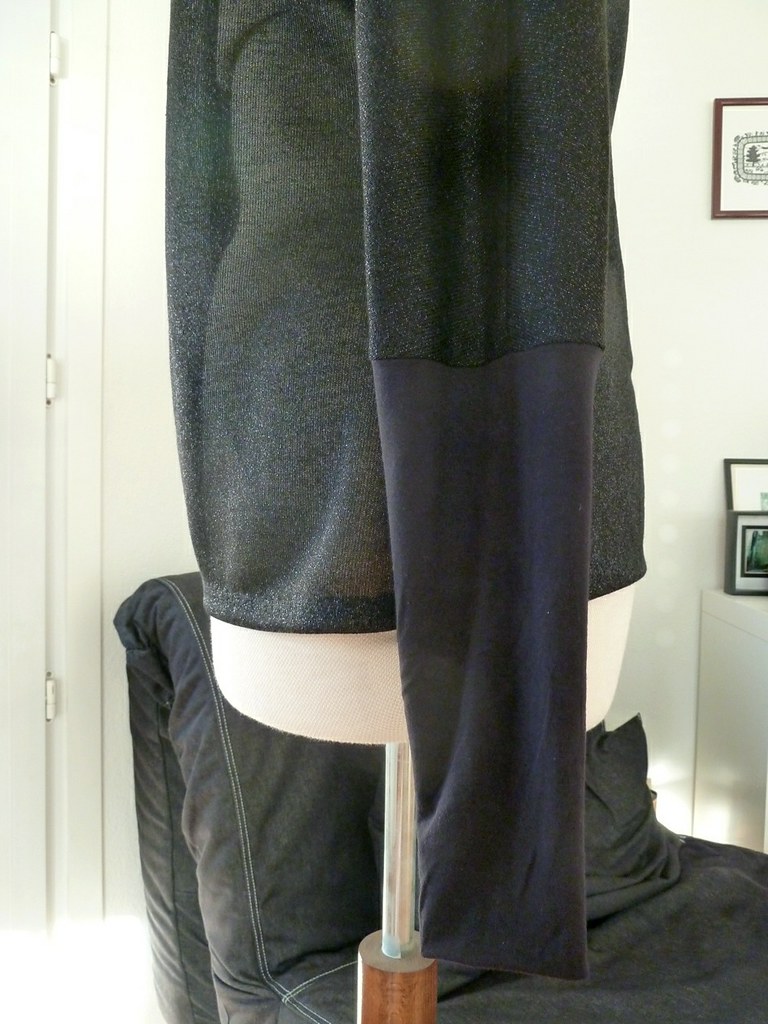
A sheer sparkly knit, plus bamboo jersey for the cuffs.

Did it look like the photo/drawing on the pattern envelope when you were done?

Mostly, although with the fabric I used mine was a lot less drapey.

Were the instructions easy to follow?

I didn't really use them as this is a very simple top, however, from my quick glance through, they seem fairly straightforward.

What did you particularly like or dislike about the pattern?

I really like the long, narrow cuffs, I think it streamlines the casualness of the batwing sleeves. No dislikes!

Pattern alterations or any design changes you made

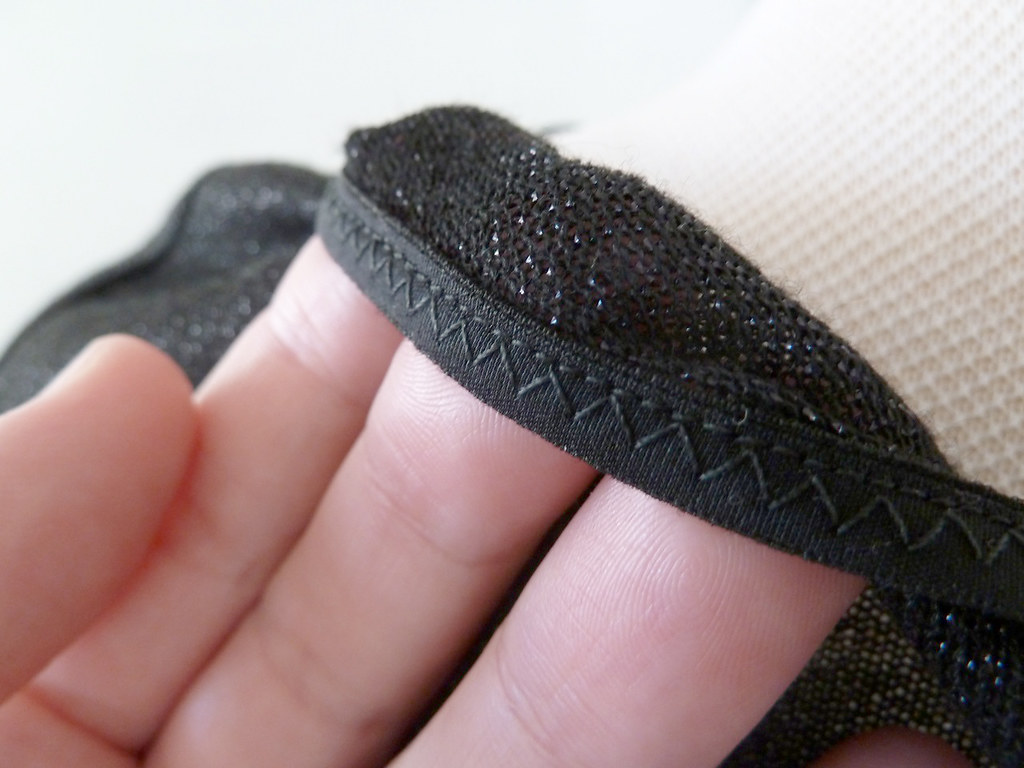
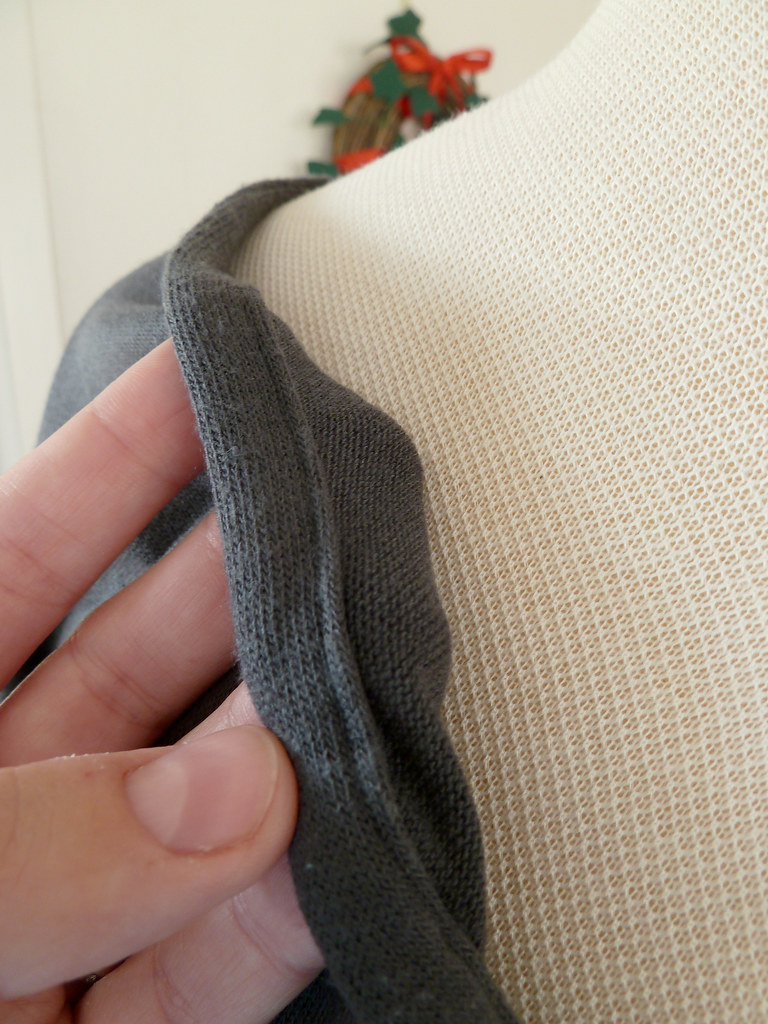
I made a swayback adjustment using the quick method of rotating the back shoulder and neckline down (I could have taken a bit more off here actually) and added a bit more width at the hips as my fabric wasn't super stretchy. This sparkly fabric is also a bit itchy, so I decided to use a contrast fabric for the cuffs. This meant that the cutting layout would have been very wasteful, so I cut the back piece with a centre back seam. I narrowed the cuff sections a fair amount as they were quite loose as drafted, and I finished the neckline with fold-over elastic instead of the suggested binding strip.

Construction details

Seams were sewn on the serger, with the neckline elastic and hem finished with my regular sewing machine. FOE is much easier to apply (especially narrow ones like this) when sewn in two passes: first sew the inside half with a zig-zag stitch, then fold over and stitch the outside down (I used a straight stitch as it didn't need to stretch much).

Would you sew it again? Would you recommend it to others?

I might sew this again in a drapier fabric - it will be a nice quick project as a palette cleanser between others! I would recommend this to others, it is nicely drafted, and super quick to make up.

Conclusion

Despite the itchiness of the fabric, it's actually fairly comfortable to wear out, and not too hot either. This wasn't quite the fabulous way I was hoping to finish this challenge, but it is still a useful top that fills a hole in my wardrobe.

Friday, 24 January 2014

A quick top and two quick dresses

A couple of things from the end of 2013 to catch up on, all quick makes.

Sweater-knit batwing top

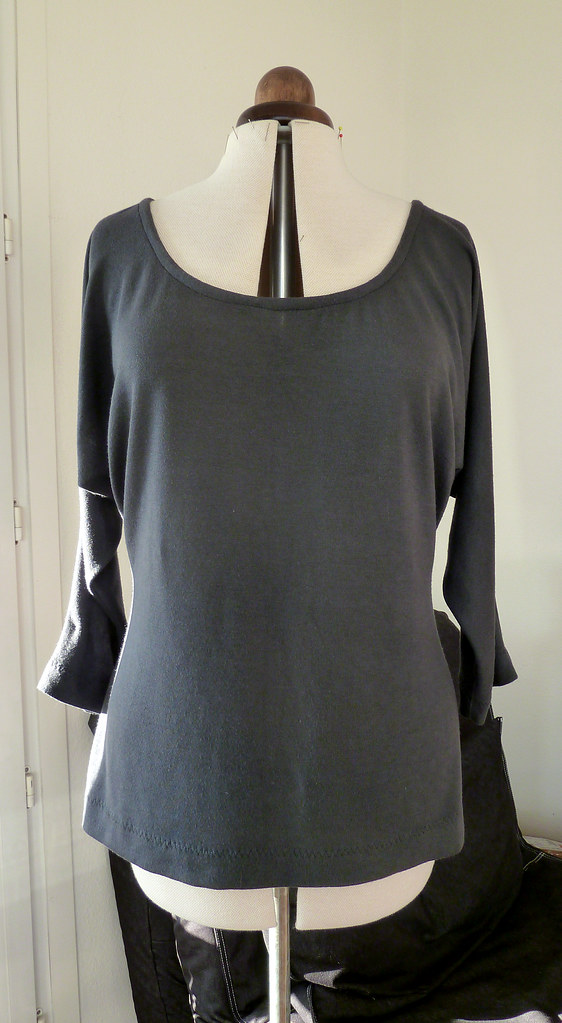
I'd been fiddling around with a skirt that ended up being a time-consuming wadder, so I wanted something quick and palate-cleansing, and a knit top always fits that bill. I also like doing this sort of quick thing between longer projects as I'm trying to replace my RTW basic tops with nicer and better fitting self-made ones. This was super simple: just the sleeves from a Burda dress frankensteined onto my stretch block, with a low-ish round neckline.

This is made from a rayon-poly sweater-knit from Fabric.com. The neckline is stabilised with fusible bias tape, and finished with a strip of self fabric turned to the inside and topstitched (the same way a bias facing would be applied). This looks nice, but was a bit fiddly with this fabric as it doesn't press terribly well, so needed basting, which sort of defeats the purpose of a quick top... The sleeves and hem are finished with a three-step zig-zag. You can see me wearing this top in the picture from when I met Melissa.

Doubleknit dresses

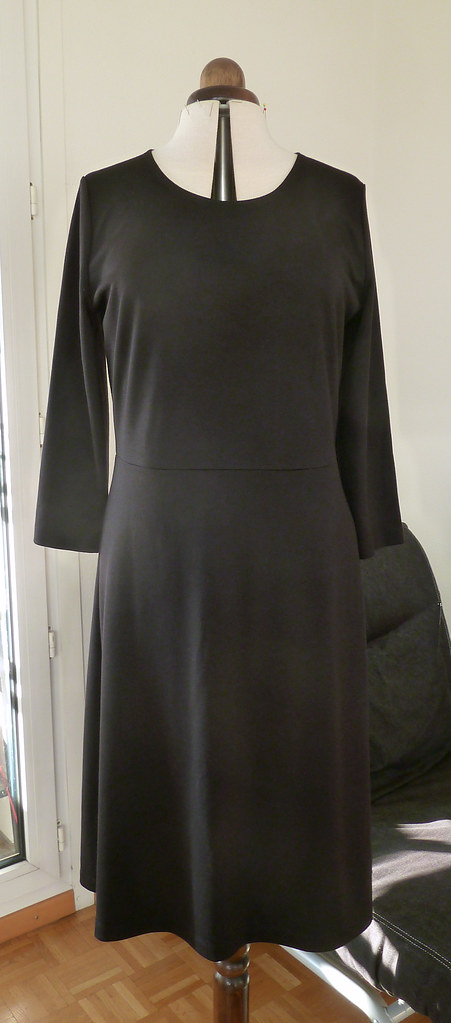
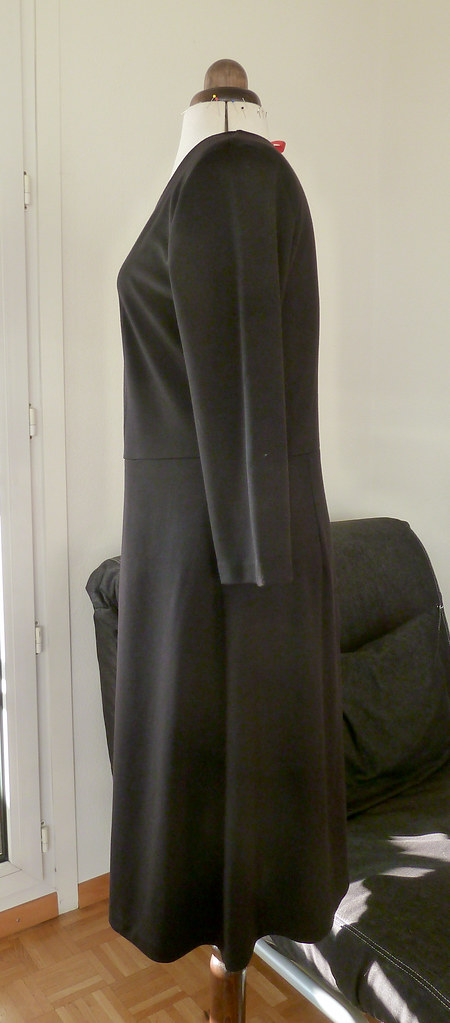
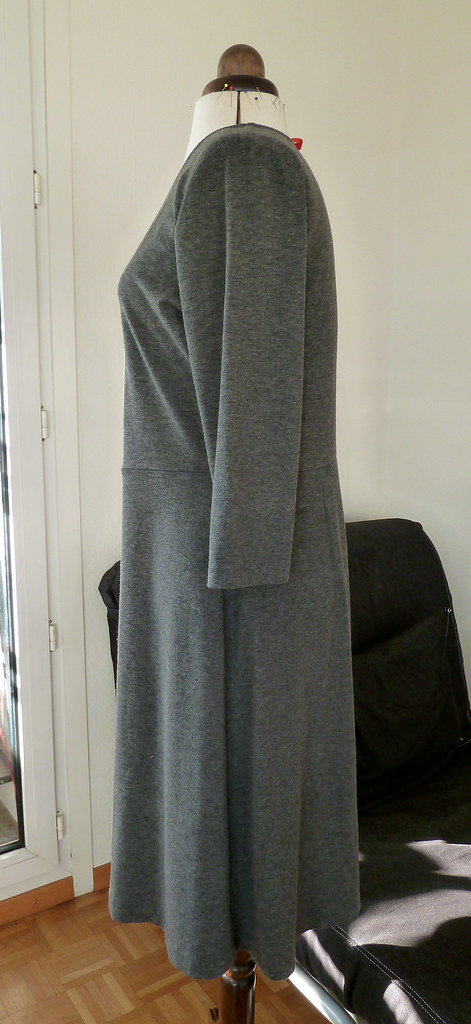
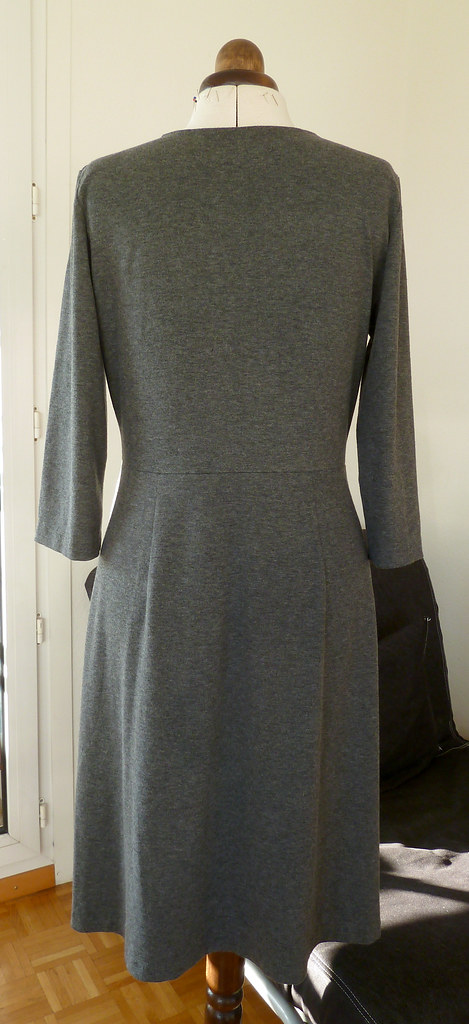
These were whipped up before going back to the UK in November, with the intention of being warm and comfy travelling outfits. The bodice is based on the Burda peplum cardie-jacket, and the skirt is just a simple A-line. I left the darts in the back of the skirt, but used my usual method for a dart-free bodice. I think in this heavier and less stretchy fabric it would have been better to add bust darts.

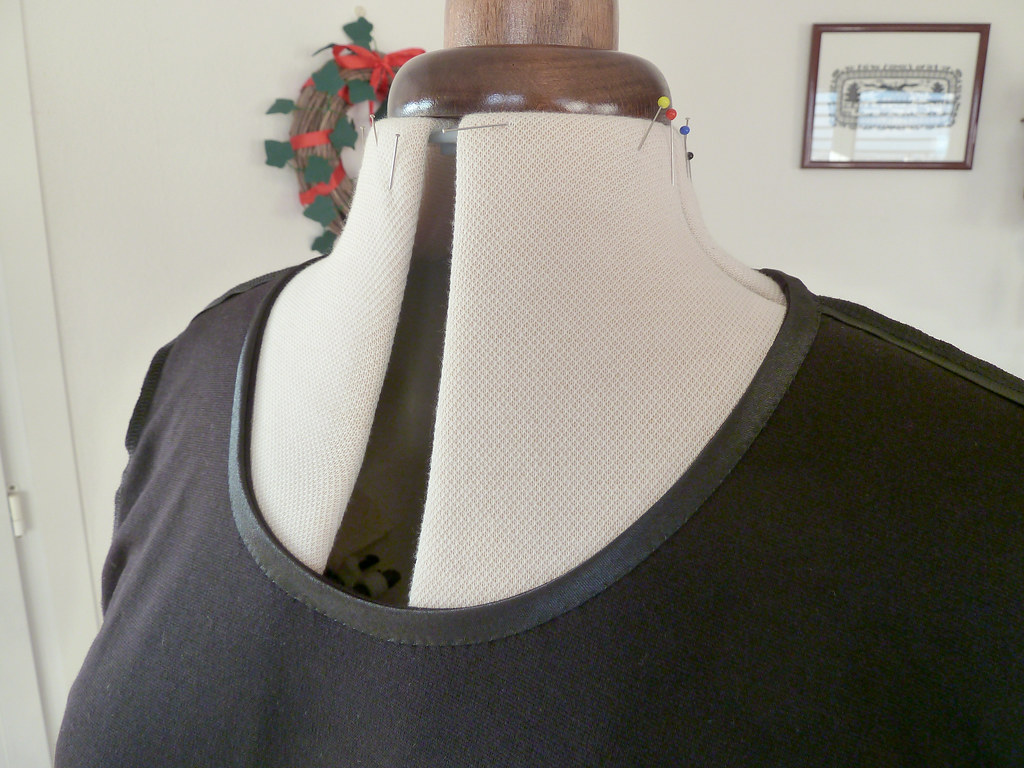
The shoulders in both are reinforced with grosgrain tape and the waistband with clear elastic. I've actually replaced the clear elastic with regular elastic in the grey dress - it's a slightly lighter weight fabric and the clear elastic just made it look ripply and horrid. The neckline is stabilised with fusible bias tape and has a (purchased) bias facing, which is finished by hand to avoid visible stitches on the right side. I decided to finish the sleeves and hem by hand as well, to keep the look nice and clean.

I think the black one works better than the grey one, there's something about the latter that just seems a bit frumpy. I'm trying to put my finger on it so I can change it - I think I will make a matching tie-belt to soften it a bit, and possibly shorten it a bit. I haven't actually worn these as much as I thought I would. One reason is that they could really do with having pockets, and the other is that they don't look very good with the winter coat I have. It's an "egg"-shaped one (as Burda like to describe it), so anything that's not slim at the bottom gets all bunched up. Maybe time to make a winter coat...?

Burda Challenge

Err, yeah. I got stuck on November's issue. There were several things in there that I liked well enough, but nothing I really needed enough to want to spend time on. And then I felt I couldn't do December's until I'd done November's, and then Christmas came along and blah blah blah... So, November still hasn't been done (although I did cut out the ponte trousers: disaster), but I've made December's. A full review coming up, but here's a sneak preview:

Sunday, 5 January 2014

Christmas 2013

So, before I join the masses with the Top 5 lists, I'll squeeze in a quick Christmas post (well it is still before twelfth night - just). There's actually a few me-made and sewing/knitting/crocheting/crafting-related things to show you, so let's go in chronological order I suppose!

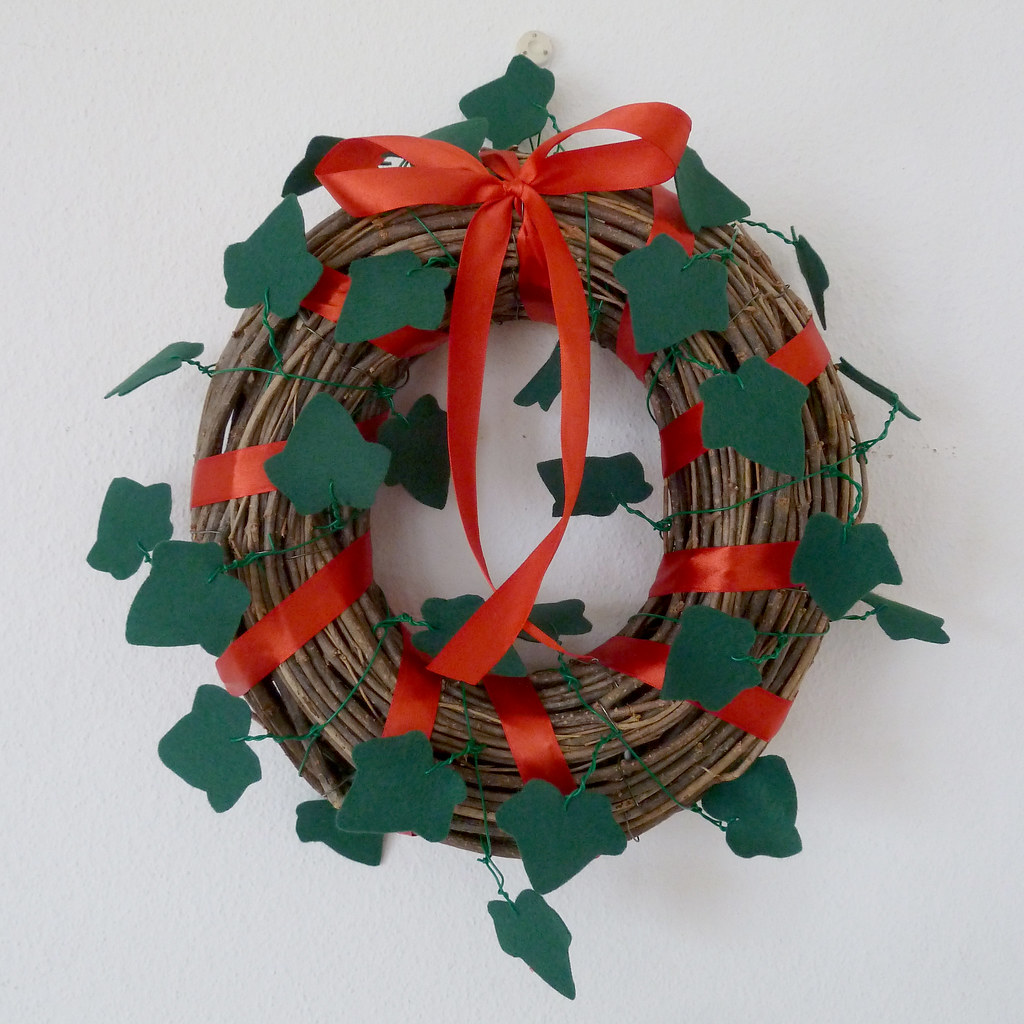
Ivy wreath

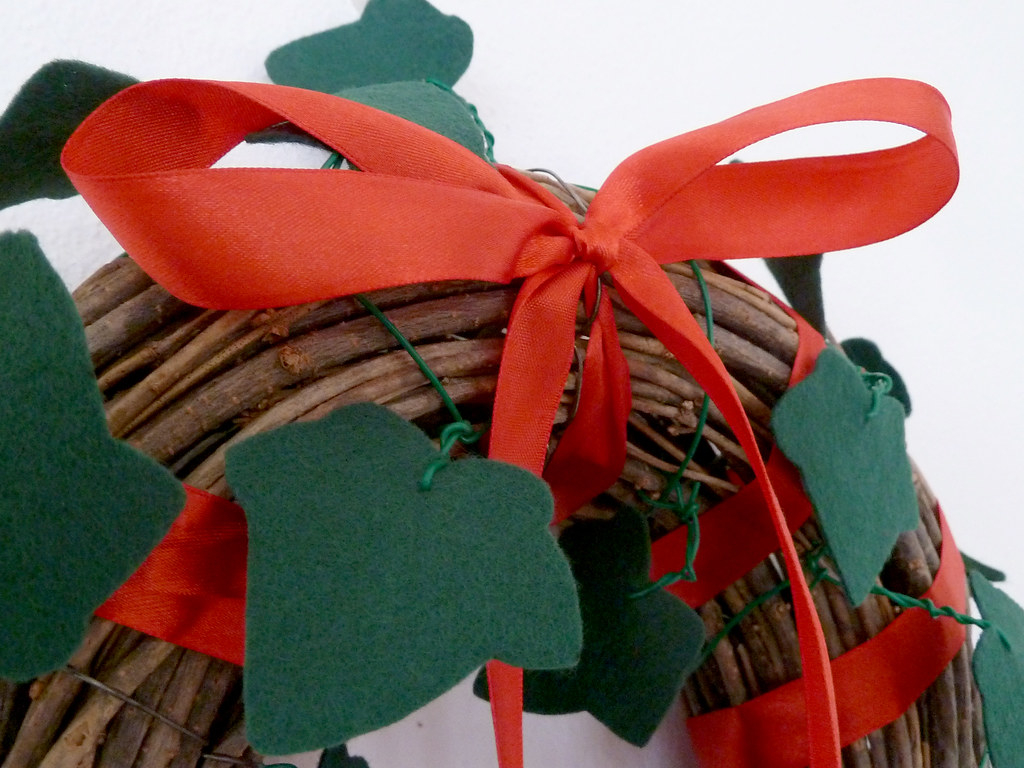
I made this wreath at the beginning of December, intending for it to go on the door to our flat. However, I hung it up for some pictures before I put a nail in the door, and decided I actually liked it far too much for it to go outside, where I would only see it intermittently. The wreath base is shop-bought, and I made the decoration with felt, covered wire, and ribbon.

Christmas dress

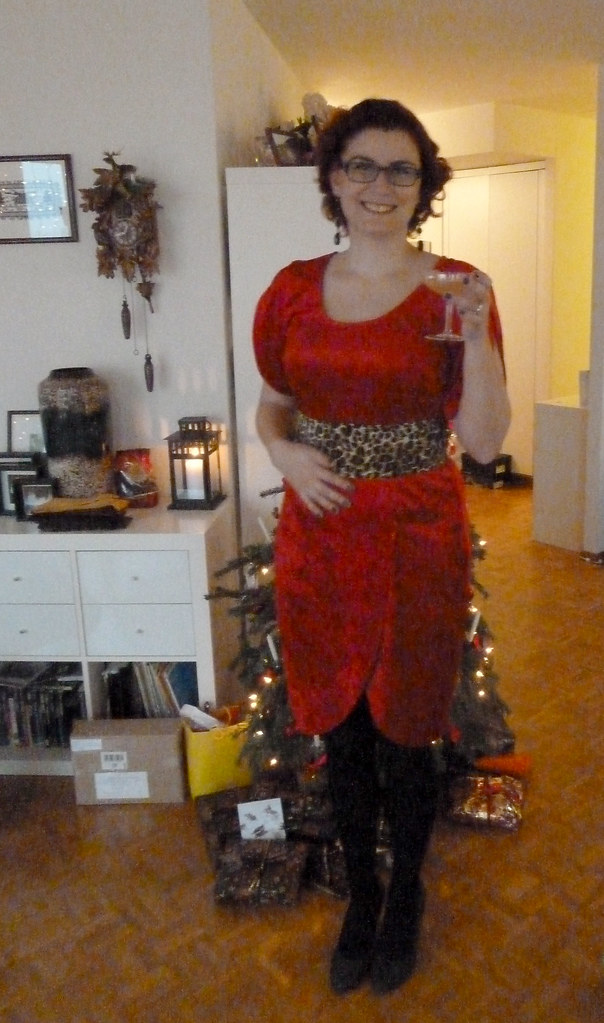
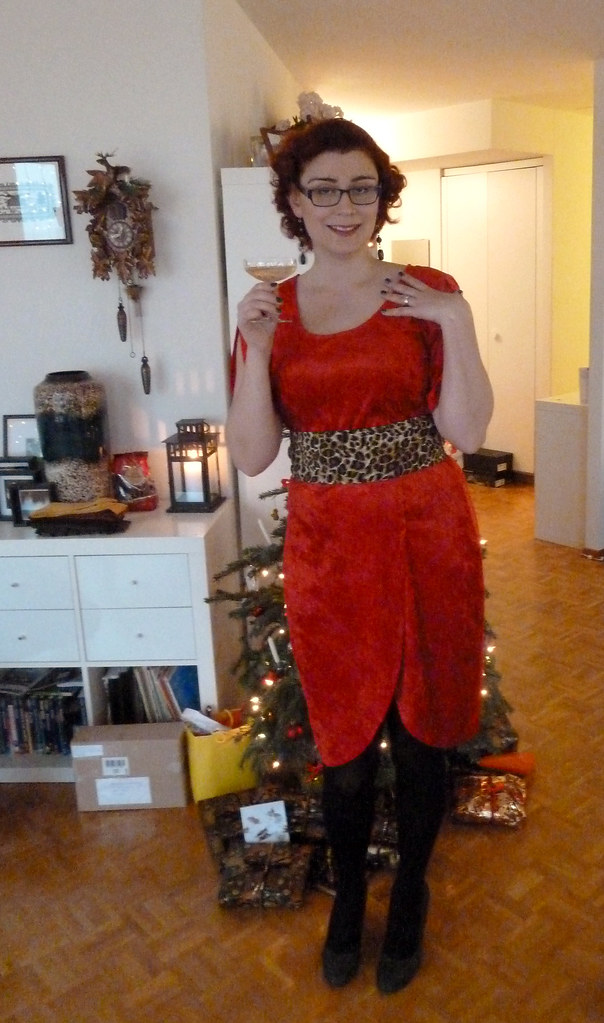
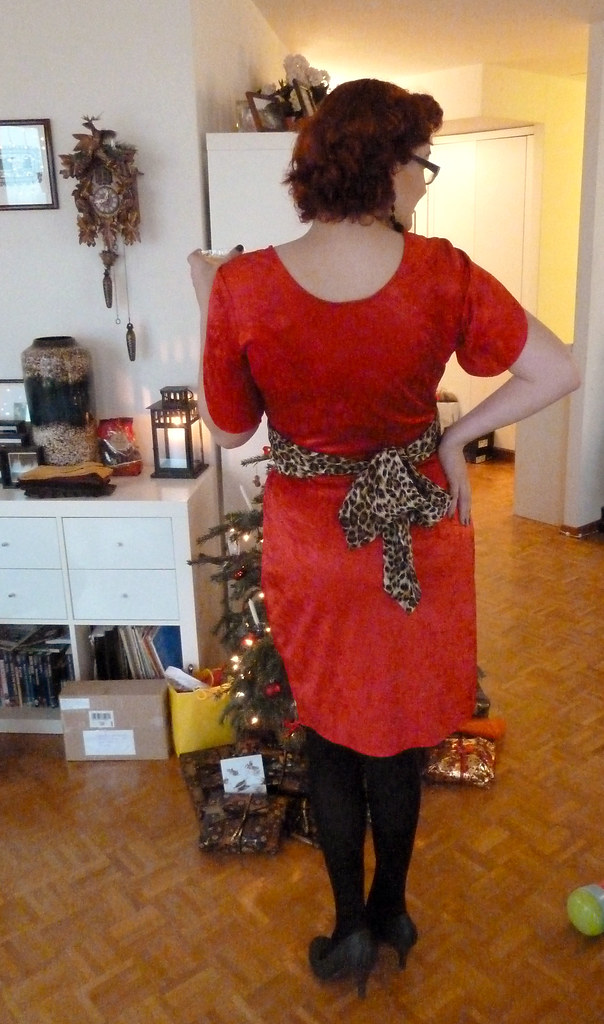
I bought some cute retro printed cotton in November to make this year's Christmas outfit, and this dress was originally started (but not completed) for some pre-Christmas drinks with friends. As it was by that time only a week to go and I hadn't made a start on a Christmas dress, I figured I'd just finish this one, it being suitably festive (and also stretchy: key when doing the amount of eating I tend to do at Christmas...).

This is a bit of a bodged together pattern, a modified combination of a BurdaStyle Magazine pattern, and my stretch block. The lapped curves of the sleeves and the skirt were judged by eye rather than properly drafted, but they work well enough (well, apart from the skirt needing a leeeeetle more overlap - there is a safety pin preserving some sort of decency in these photos).

It is made from a fairly hideous velour knit that was given to me by my mother-in-law. I cut them with the nap running from bottom to top to minimise the shiny-ness, and it actually doesn't look too bad made up into a dress. To finish the neckline, hem and sleeve hems I just turned the edge under and topstitched it, first stabilising the neck and hem with bias tape.

The bodice ended up being a bit too short, so I just added a strip of fabric as a sort of midriff band. I underlined this with powernet, hoping that this would give a nicely defined waist on the dress, but the strip was a bit too long and this didn't really work. Never mind! I covered this up with the sash from my Budapest dress, which didn't look quite as glamorous as intended - it would have looked better with a slimmer waist, but I work with what I have! All in all, this isn't my best ever make (and was only ever intended to be a stunt dress), but was comfortable to wear and definitely festive.

Gifts for others

I only made a few small bits and pieces for other people this year. Once again, I'd intended to make a shirt for my husband, but once again time slipped away and it didn't get done... Oops! I've promised it as a new-ish year gift instead, so we'll wait and see if it does appear. Other than that, I made a necklace and a brooch for my mum, a pair of earrings for my sister, a pair of earrings for a friend, and a scarf for my husband.

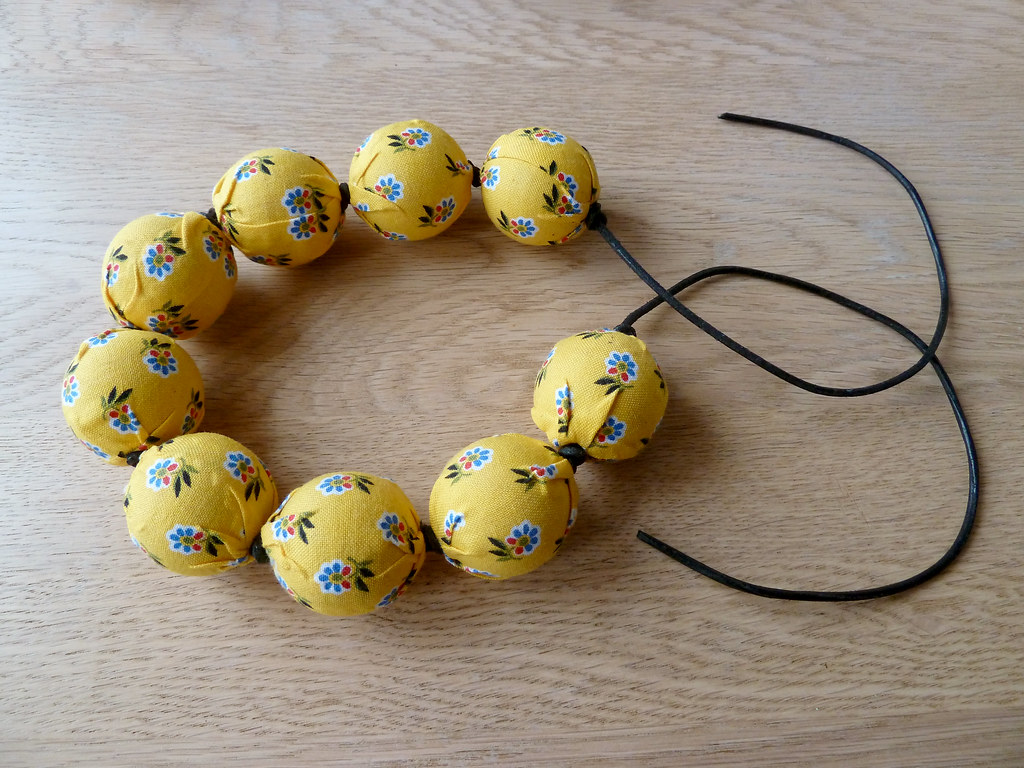
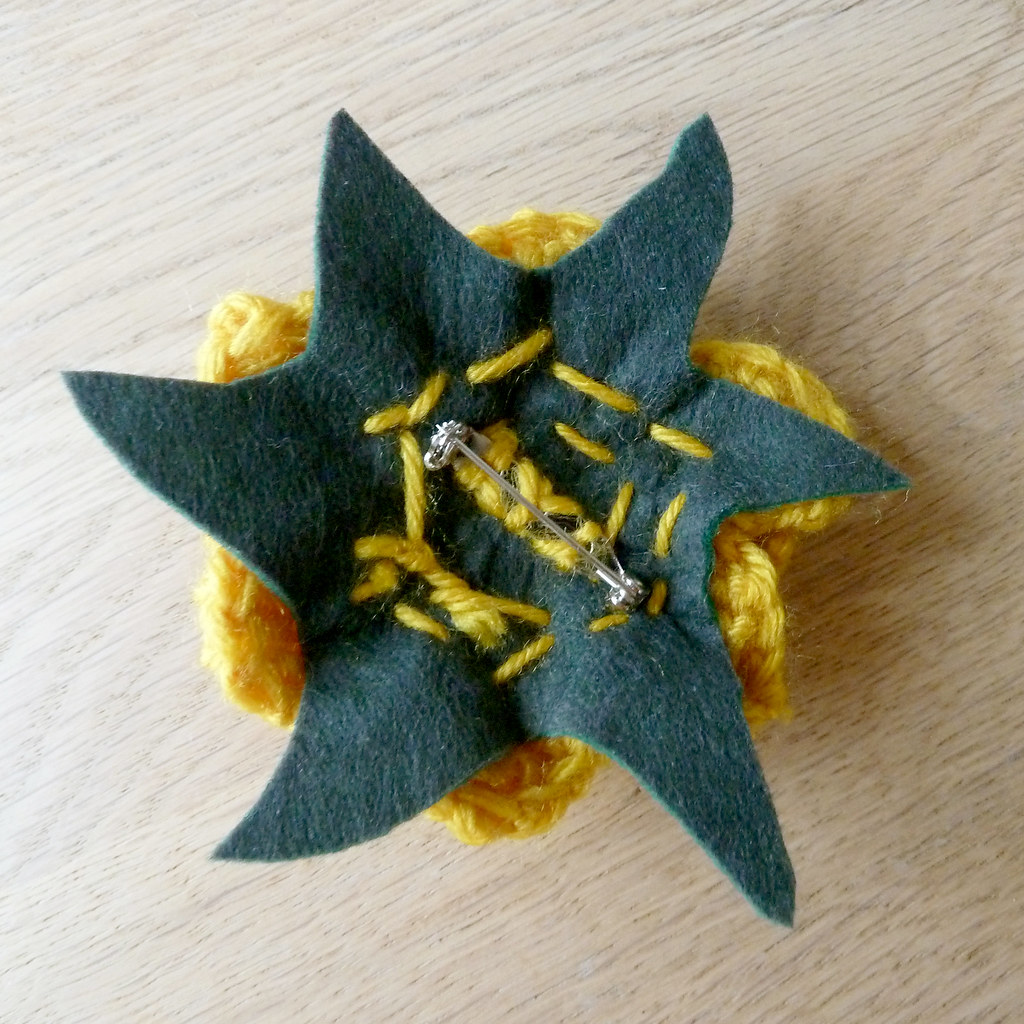
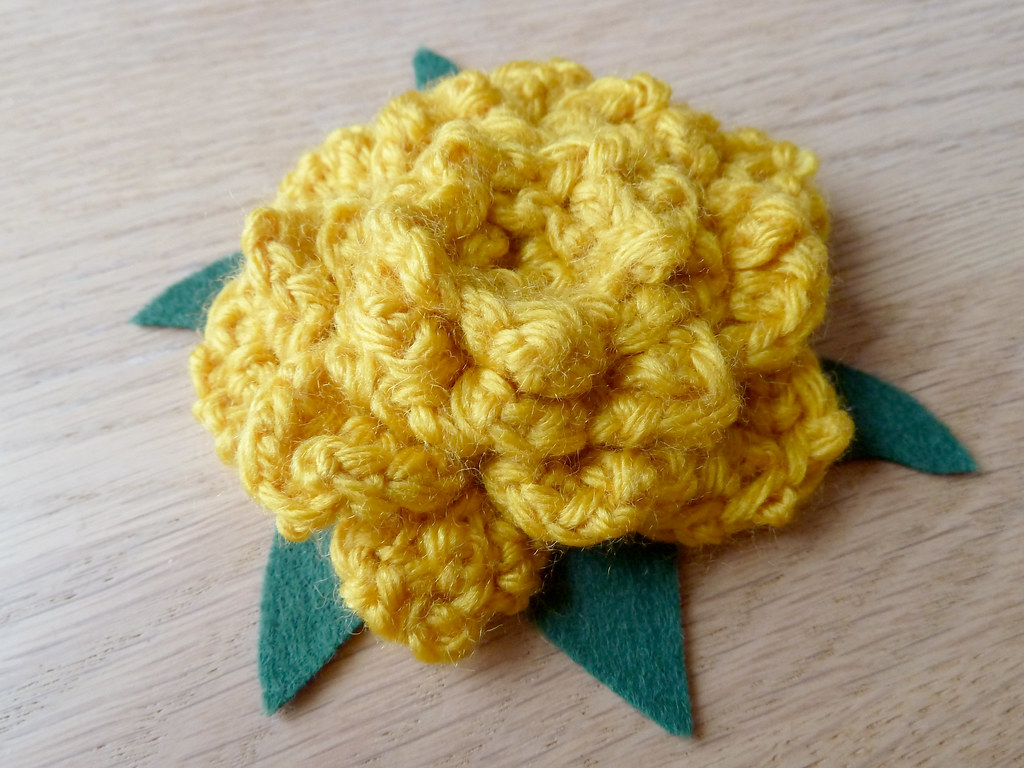
The necklace is identical to the one I made myself a couple of years ago, as she's always admired it, and shares the same taste as me for bold and bright jewellery. The brooch is crocheted, just "freestyle", starting with a chain loop. The backing is interfaced felt. I made Mum another brooch ages and ages ago (before starting my blog), and she's always asking me to make more. Unfortunately I freestyled the first one and can't remember quite what I did... I'm not as pleased with how this one turned out, but Mum still likes it.

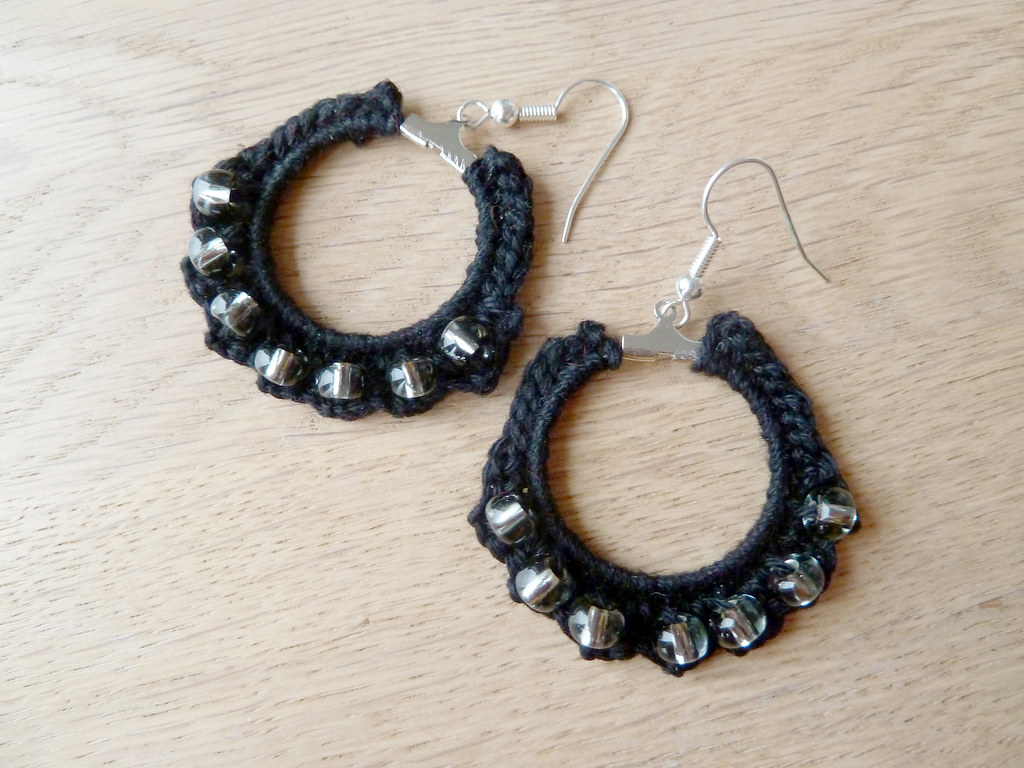
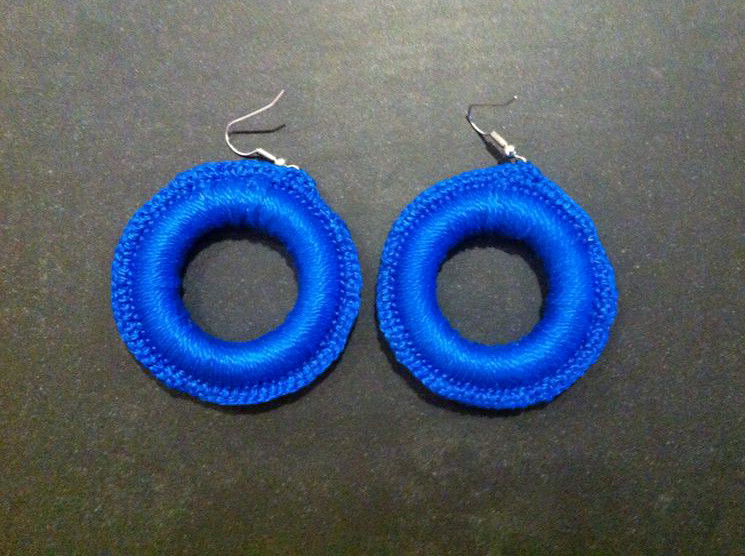
The two pairs of earrings are both effectively just covered hoops, but done in slightly different ways. The turquoise pair (for a friend) are made from wooden curtain rings, covered, then another row of singles worked around (or maybe doubles, I can't actually remember). They're quite large, about 2 inches across. The black pair (for my sister) use a smaller "silver" jewellery hoop, and I included black glass beads in the second row of stitches.

The scarf for my husband is almost exactly the same as the one I made for my dad last year, just shorter (2 balls of wool rather than 3) and again joined with a twist so it sits better when worn.

So, I think that's Christmas done and dusted, I'll leave you with my new favourite mug (a gift from my husband), which of course I use solely for Earl Grey tea, hot...