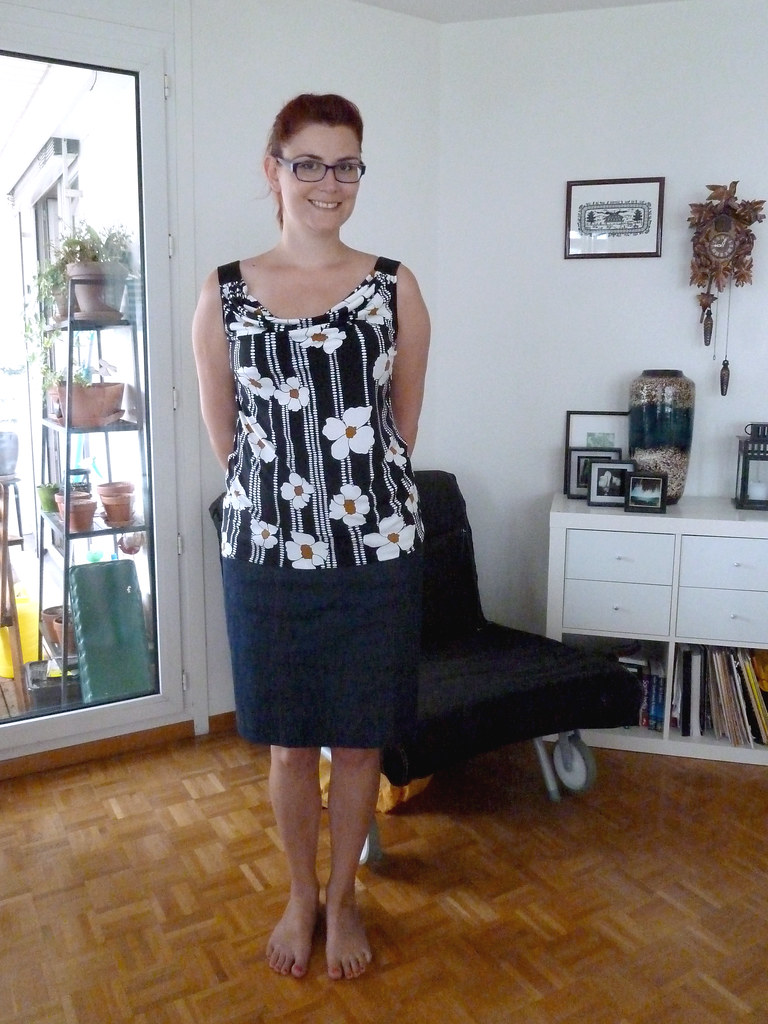
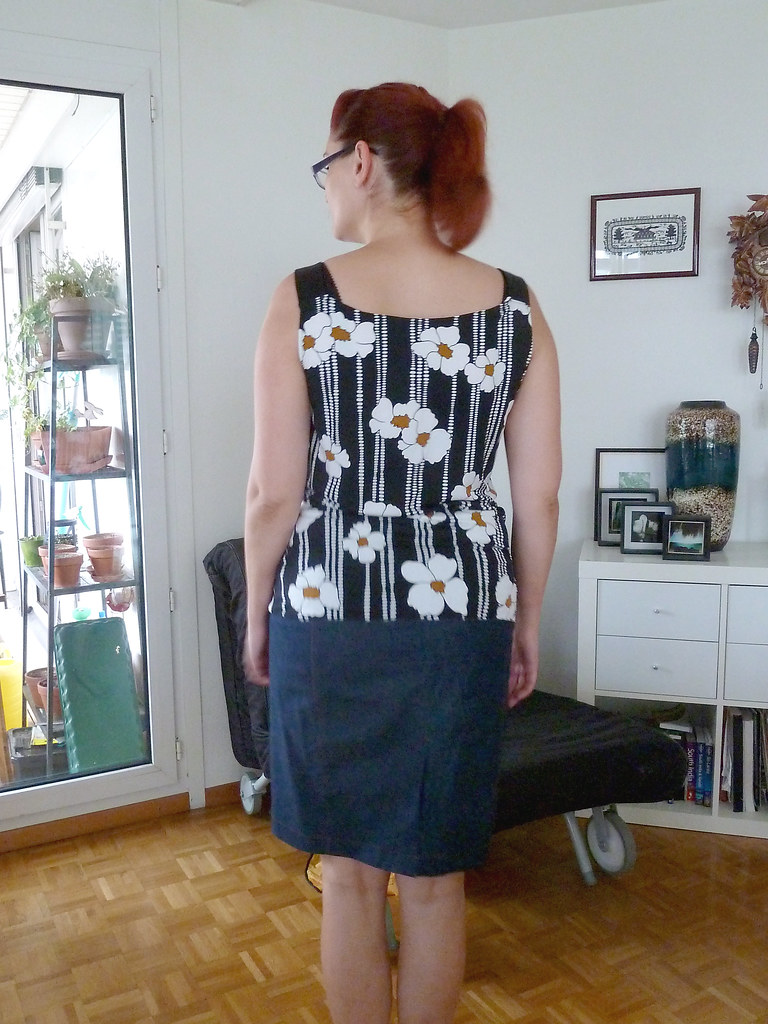
Here's my July Burda Challenge! Although I'm posting it in August, I did actually make it on the very last day of July. You see it here worn with my re-re-make of my self-drafted jeans skirt, which I will make a post for shortly to show you the fit and details better.
Pattern description
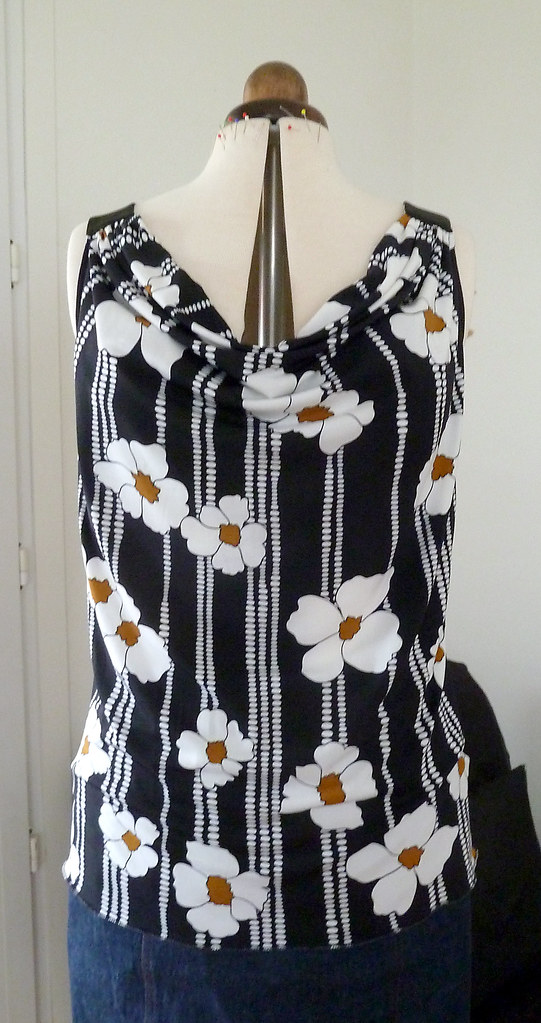
BurdaStyle Magazine 07/2013/110: Loose-fitting sleeveless jersey top with gathered cowl at front and contrast straps.Pattern sizing
36-44. I cut the 42.Fabric used
A very drapey ITY knit from Fabric.com (I think it's poly), with a poly duchesse satin for the straps.Did it look like the photo/drawing on the pattern envelope when you were done?
Pretty much, yes!Were the instructions easy to follow?
Hmm... I don't usually think Burda instructions are as bad as everyone makes them out to be, but these were actually pretty terrible, despite it being a very simple pattern with only 3 pieces! I got extremely confused by the instructions for sewing the cowl and facings...What did you particularly like or dislike about the pattern?
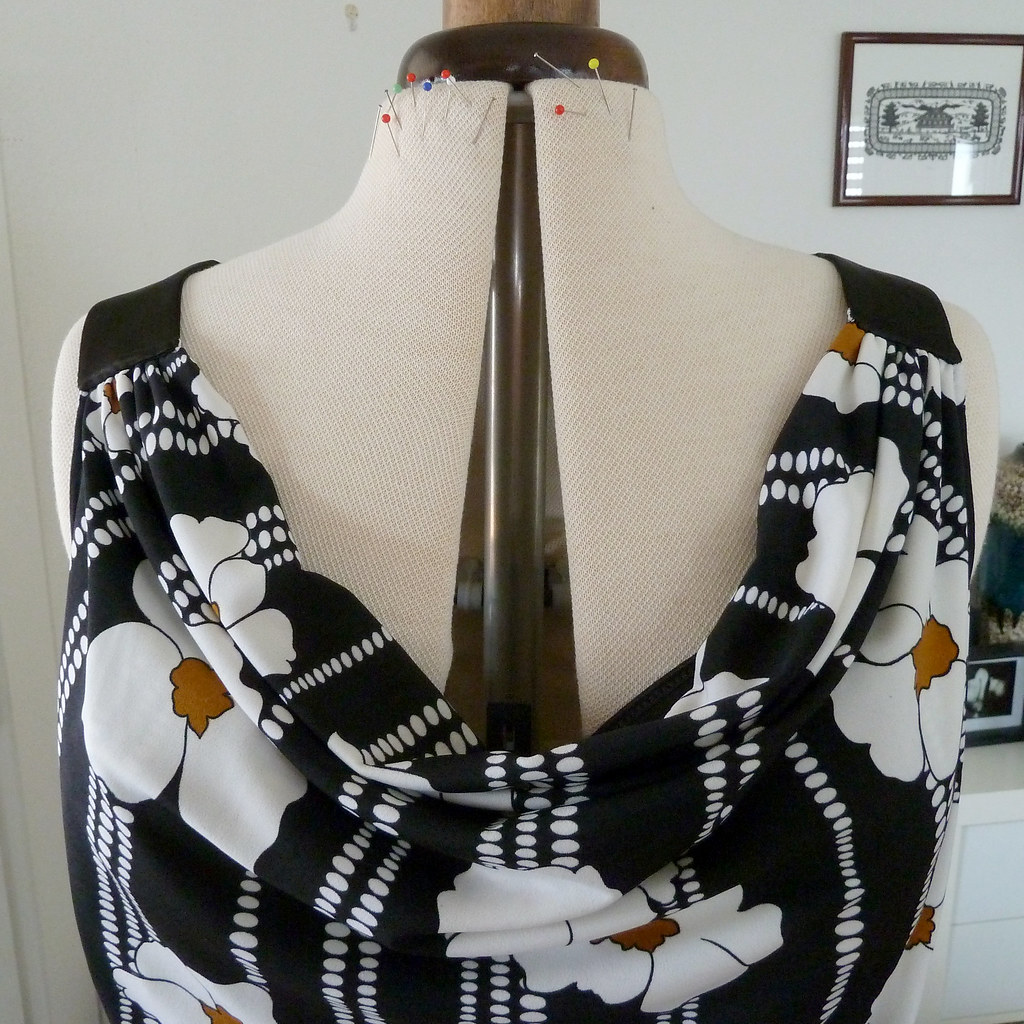
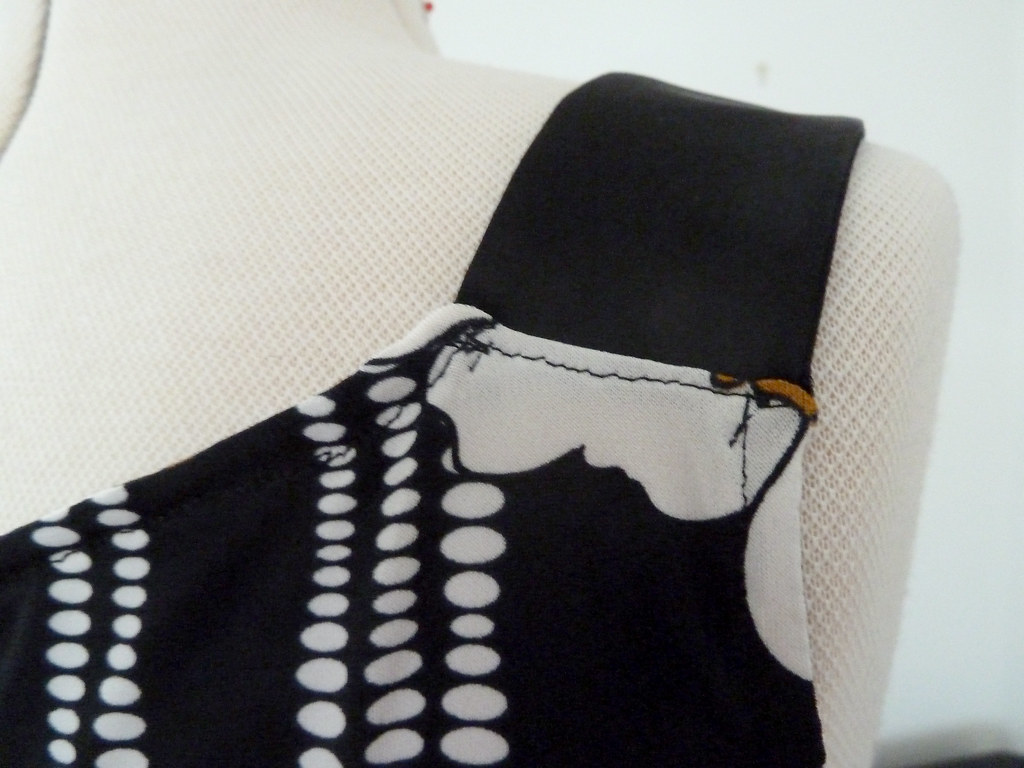
... But once I'd figured them out, it actually gives a really nice finish! (Although I forgot to take any photos). Sadly, this nice finish doesn't extend into the strap attachment. I've spotted that Kristy also made this top and figured a simple and neat way of finishing the strap attachment and arms, by adding a back facing and sewing the straps on as the facings were sewn.I like that the strap pieces are slightly shaped, rather than just rectangles - this is well drafted and means they don't slip off your shoulders. Be warned that the cowl is quite low - it's totally fine and flattering when you stand upright, but when you lean forward, there's a lot on view...
Pattern alterations or any design changes you made
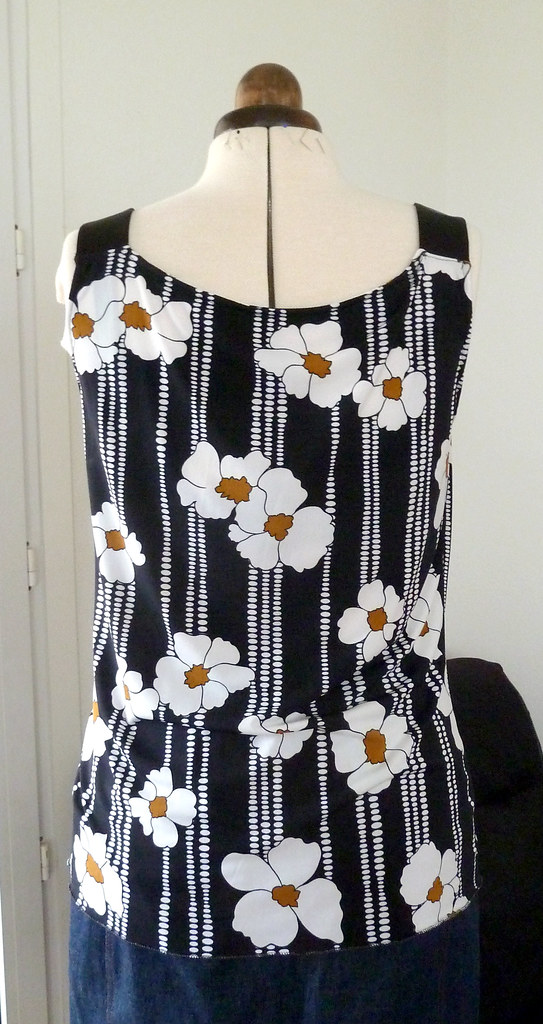
From flat pattern measurements, I could tell that the back was way too wide between the straps. I didn't want to change the loose fit too much, so I took the width out the centre back and added it on at the sides. I could have actually taken more out the centre and added less on the edge, but it's not too bad as it is. I also added a facing strip to the upper back edge, rather than just folding it over as suggested in the instructions.I did a slight fudge FBA - I added a small amount in length at the level of the bust point, easing this to the shorter back side seam, and then just added width at the side at bust level. With the cowl neck though, it doesn't really need extra length added, so I'll take this out if I make it again.
I didn't want to add a centre back seam, so I did a slight swayback adjustment by rotating the back shoulder and neckline down (see the explanation for this here). There is still a lot of pooling at the small of my back, so I will probably increase this a bit if I sew this again - although I know I won't be able to completely get rid of this without a CB seam, as it's also because of a large bottom/back high hip, not just the swayback. I also shaped the side seams in a little at the waist, as I knew the rectangular shape as drafted is very unflattering on me.
Construction details
This was mostly constructed on the serger, using a three-thread overlock to reduce bulk at the seams and keep it drapey. I didn't bother to add the interfacing on the armholes and upper back as I didn't want it too stiff, and I figured the topstitching would keep these areas from stretching too much.The straps are just serged to the back piece, with the seam allowance held downwards by the topstitching. The front of the straps are sewn to the front piece by hand. I think I will use Kristy's method if I make this again, as it would give a much neater finish.
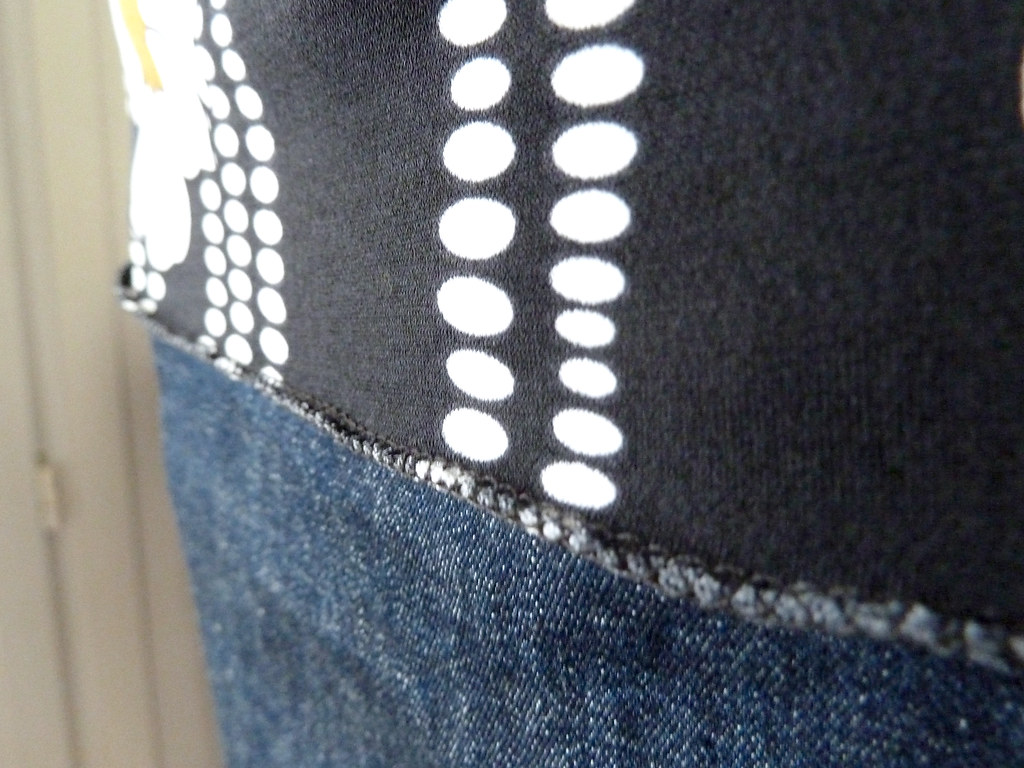
I finished the hem with a rolled hem on the serger. I haven't used this much before, and I think I could probably do with tightening the looper tension a bit more so that it rolls more. Any advice is welcome from those who use this stitch more often...
I decided against adding the topstitching on the straps - with the patterned jersey, they looked much better plain.
