Monday, 23 September 2013

Walking top(s)

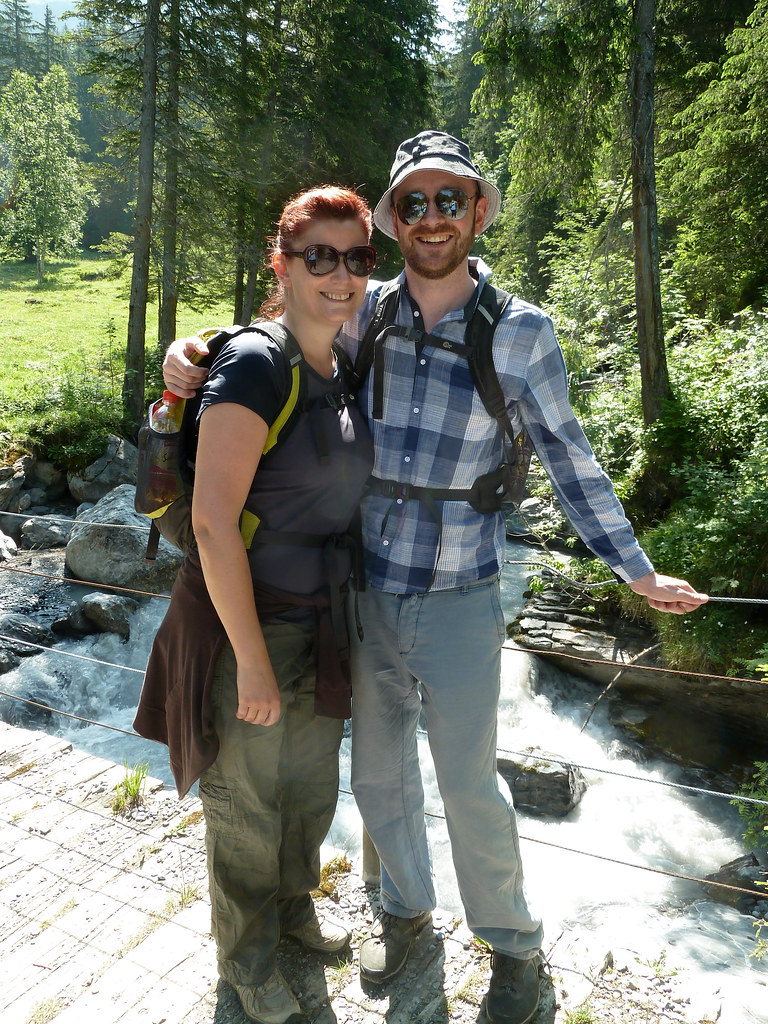
My parents came to visit over the summer, and I went with them to central Switzerland to go hiking. I have been meaning for ages to make some suitable tops for exercise, so this seemed like a good opportunity.

Gathered raglan sleeve top

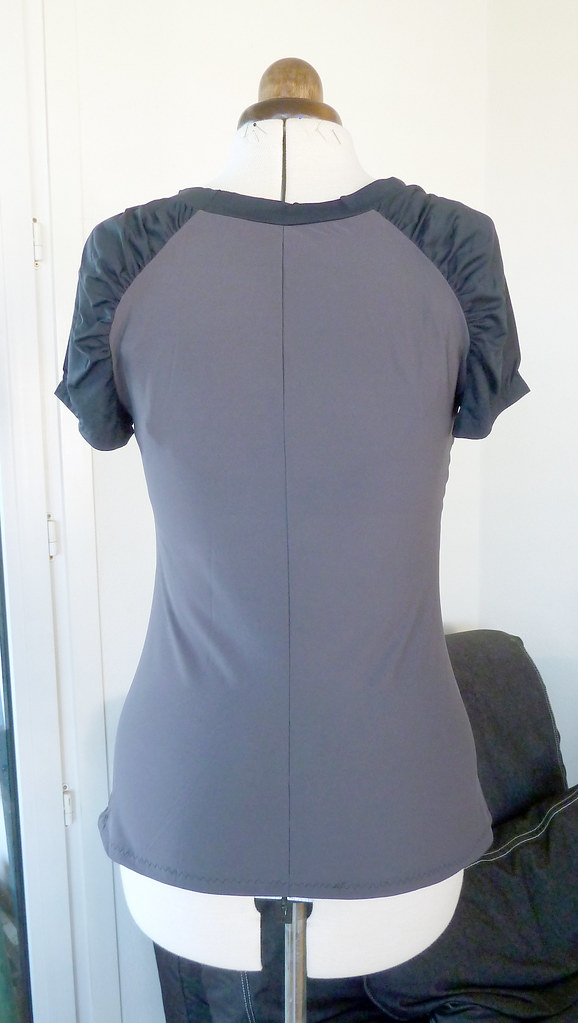
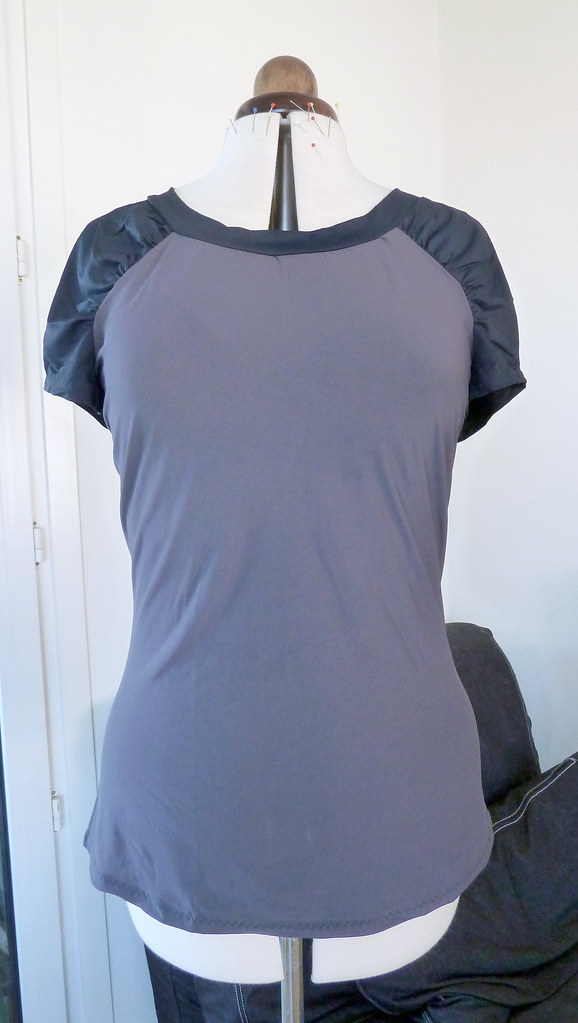
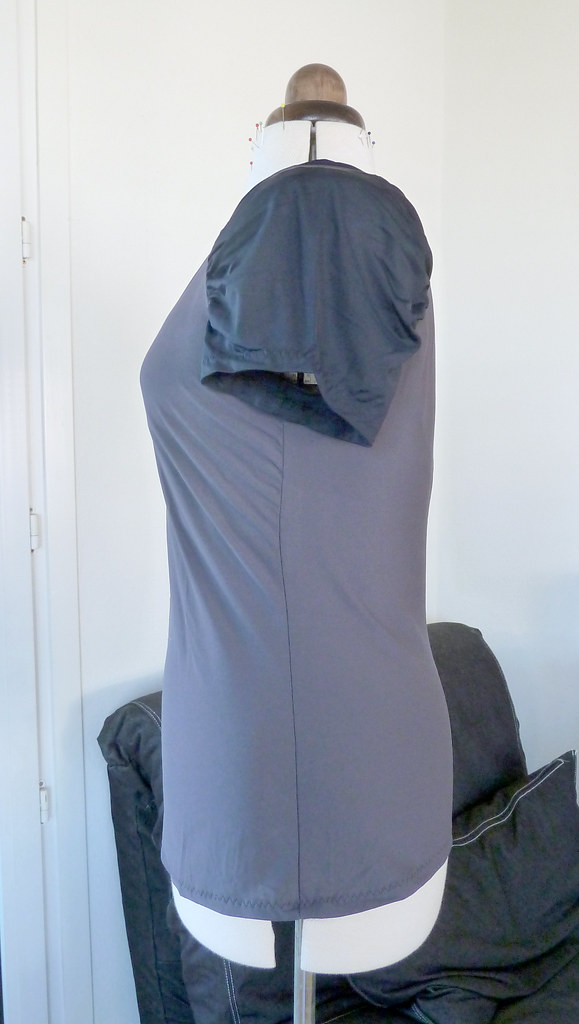
You may recognise this from my February Burda Challenge... I made the short sleeved version here to give my shoulders a bit of coverage in the sun, using a wicking fabric (from Fabric.com) for the front and back sections, and a slinky knit for the sleeves and neck band.

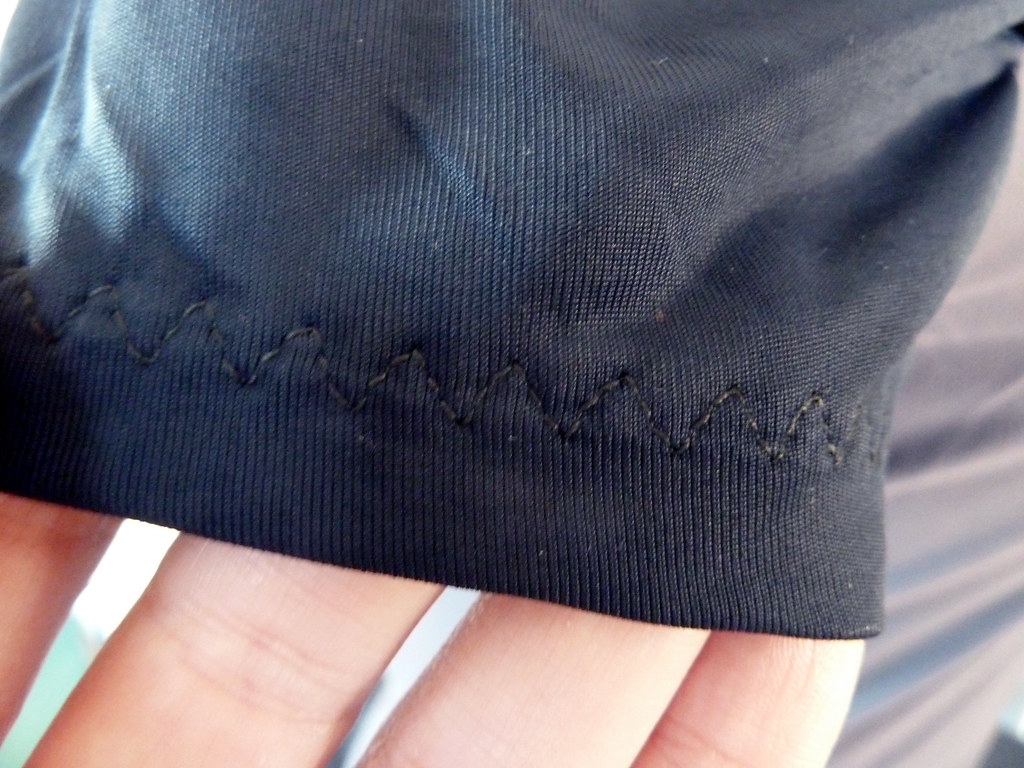
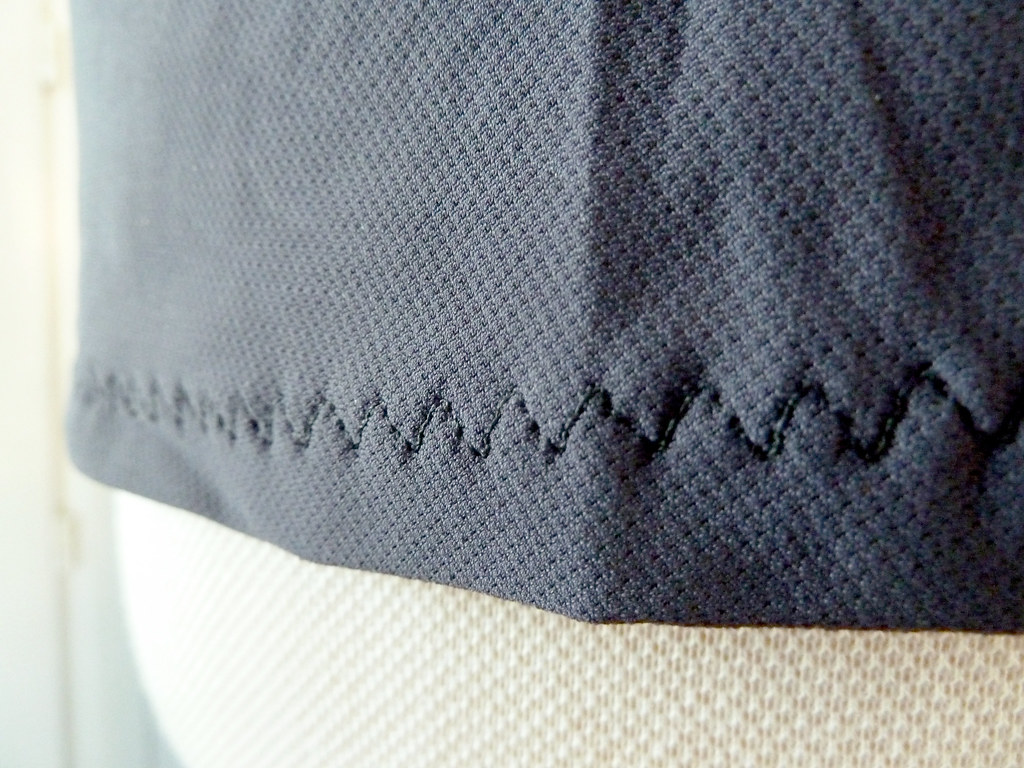
I wanted the neck band a little wider, to make the most of the contrast fabric, but this has made the band gape a bit at the front. This doesn't really bother me for a walking top, but if I wanted this effect again I guess the solution would be to make a separate piece for the neckline, rather than using a band. The hem and sleeve hems are turned up and stitched with a three-step zig-zag. Whilst not as RTW look as a coverstitch would be, it looks much better on this sort of fabric and style than a plain zig-zag or a twin needle.

This turned out really well. The contrast raglan sleeves look sporty, but the gathering keeps it "pretty" looking. The fabric is also much nicer to walk in than cotton, it dries really fast and doesn't show the sweat too much (yum). It has pilled a bit on the front from the chest strap of my rucksack, but other than that it has stood up well to a fair amount of use this summer.

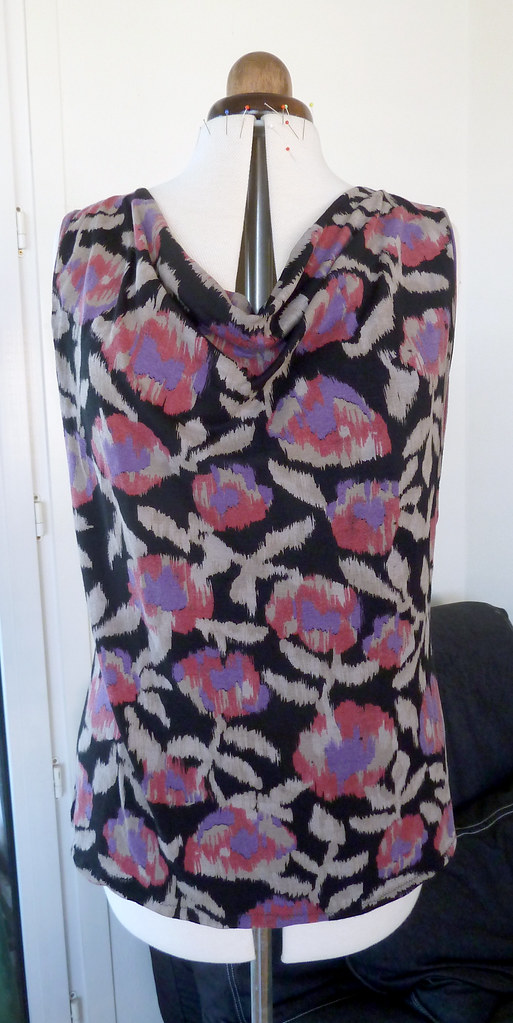
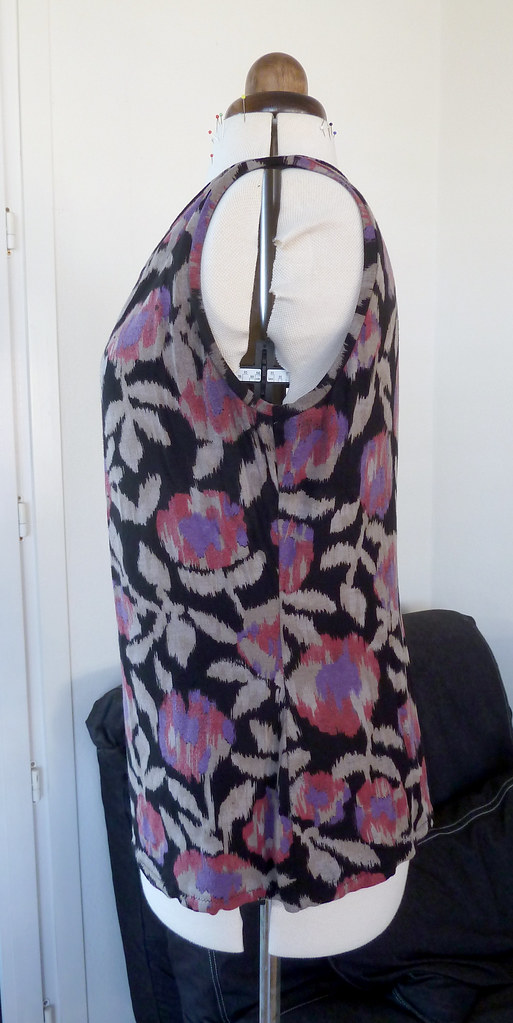
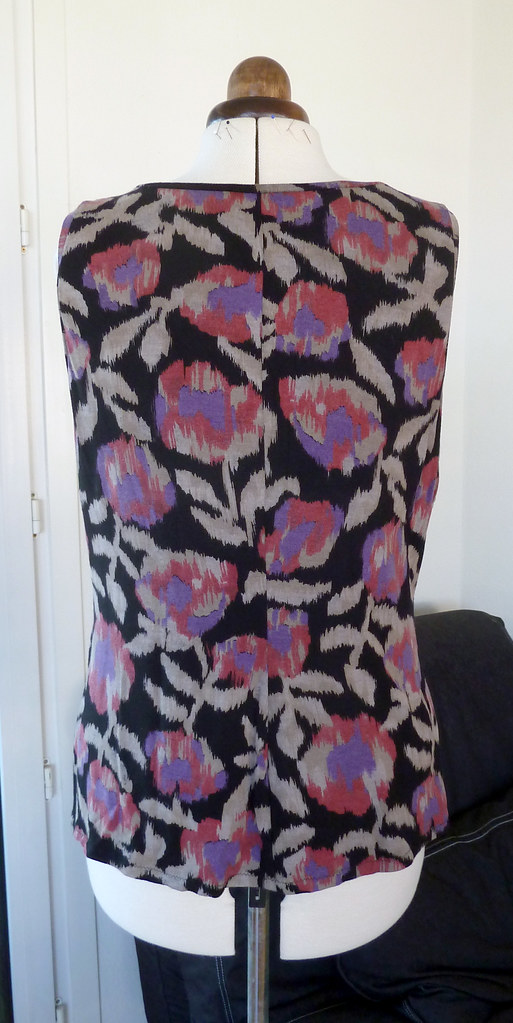
Cowl neck sleeveless top

Whilst this isn't a wicking fabric, this rayon jersey is lovely to wear in warm weather (you may remember the dress I made from it last year), and doesn't get hot or sweaty. This top was originally intended as another walking top for the same holiday as the one above, but wasn't finished in time. When I did finish it, I found I liked it so much that it's been a regular wear instead!

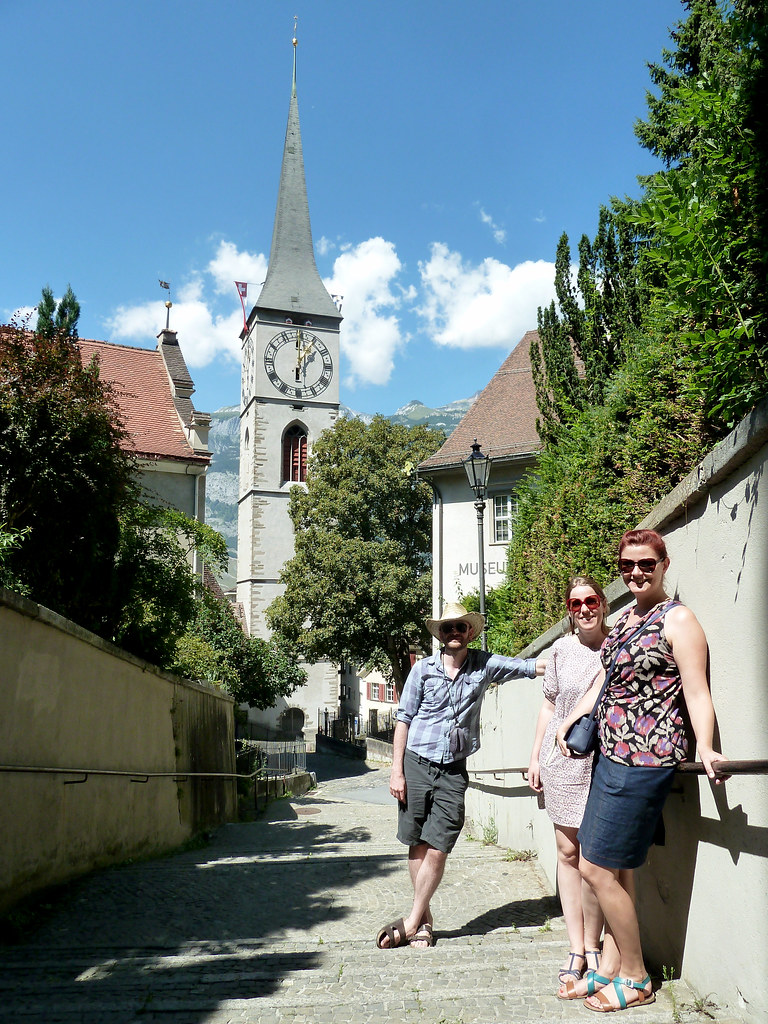
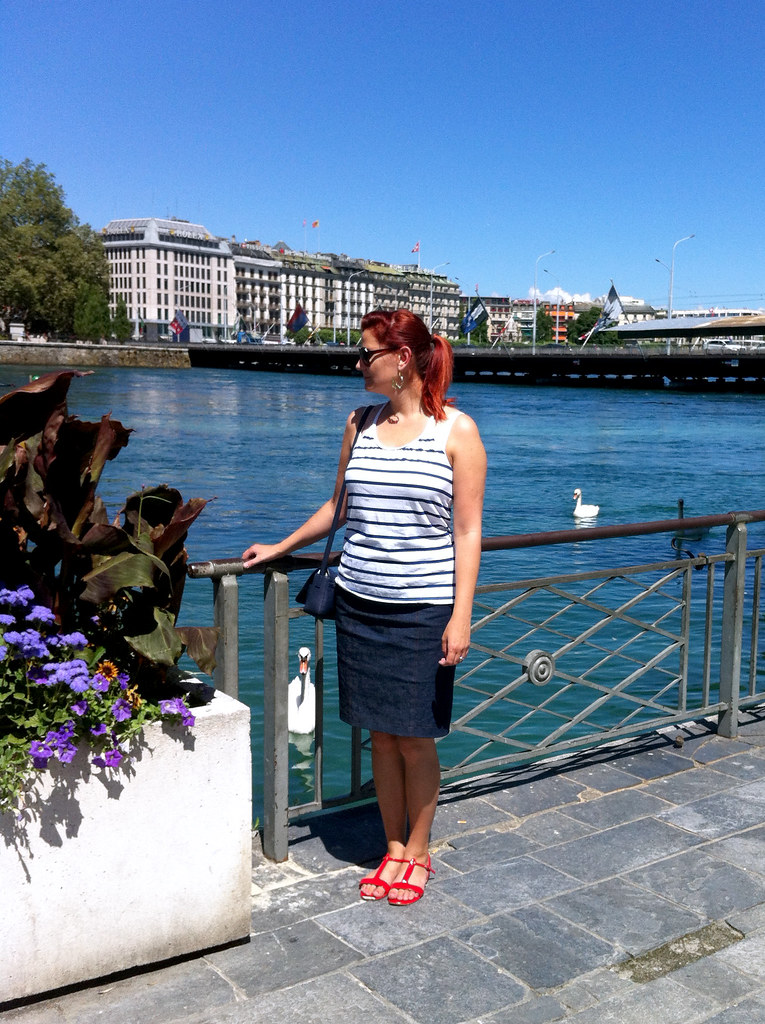
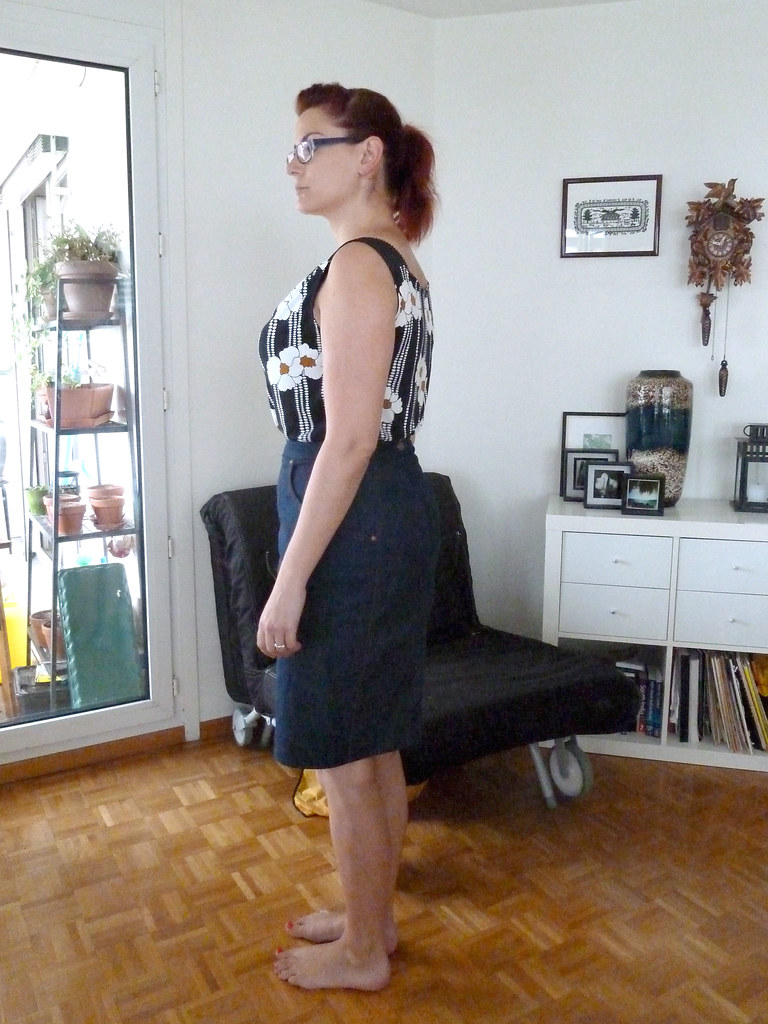
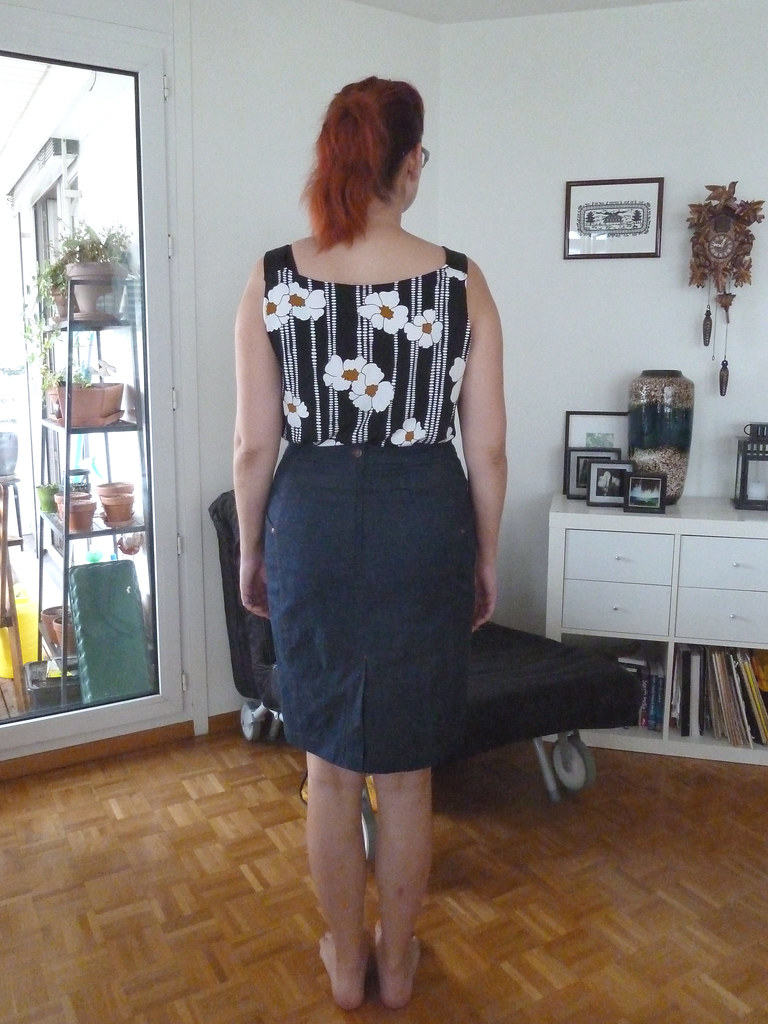
It is self-drafted, with the cowl kept quite high to keep the sun off my chest. The back neckline and armscyes are finished with my usual method of serging on folded strips. I surprisingly don't have many photos of me wearing this, given how often I do wear it! In this photo I'm also wearing my new jeans skirt.
Wednesday, 18 September 2013

Jeans skirt re-re-make (bo selecta!)

One of my aims during this year in general, and Me-Made-May in particular (gosh, that was a long time ago, wasn't it!) was to make a new version of my self-drafted jeans skirt. I did actually make a new version just before the end of May, but it was sadly a disaster: the denim was too heavyweight, the redrafting I did made it way too tight at the waist, the zip was ripply and ugly, the front panel was off-grain, and it wasn't pegged enough. Urgh. Of course I discovered all this after finishing the whole thing, including topstitching and rivets... This was very frustrating, so it got put to one side (read: thrown into the corner) for a while until I mustered up the mental strength to make it again. I'm very glad I did, as this version has turned out great, and has had a lot of wear already (I actually finished it almost two months ago).

Pattern description

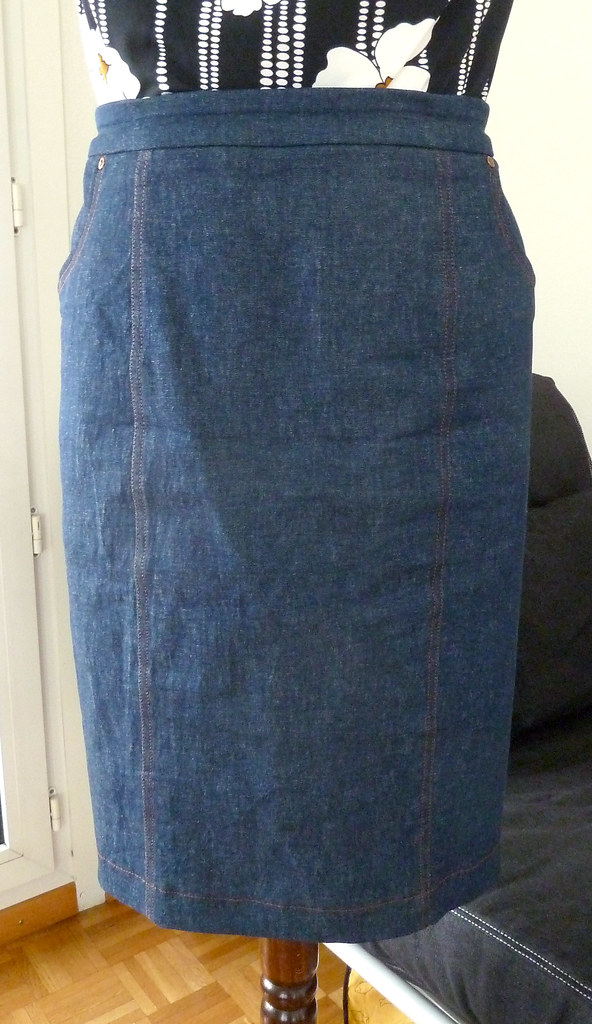
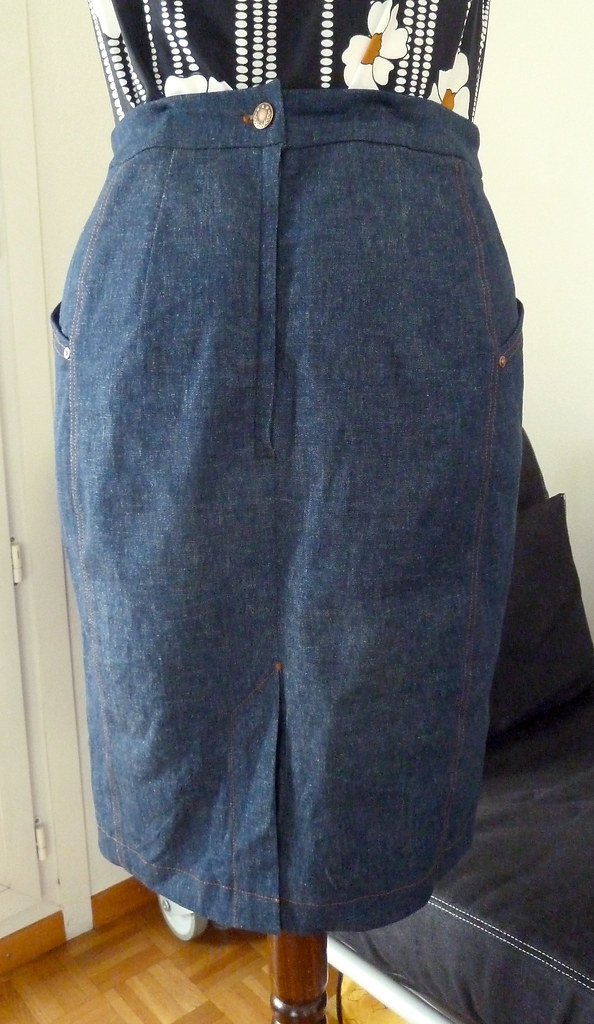
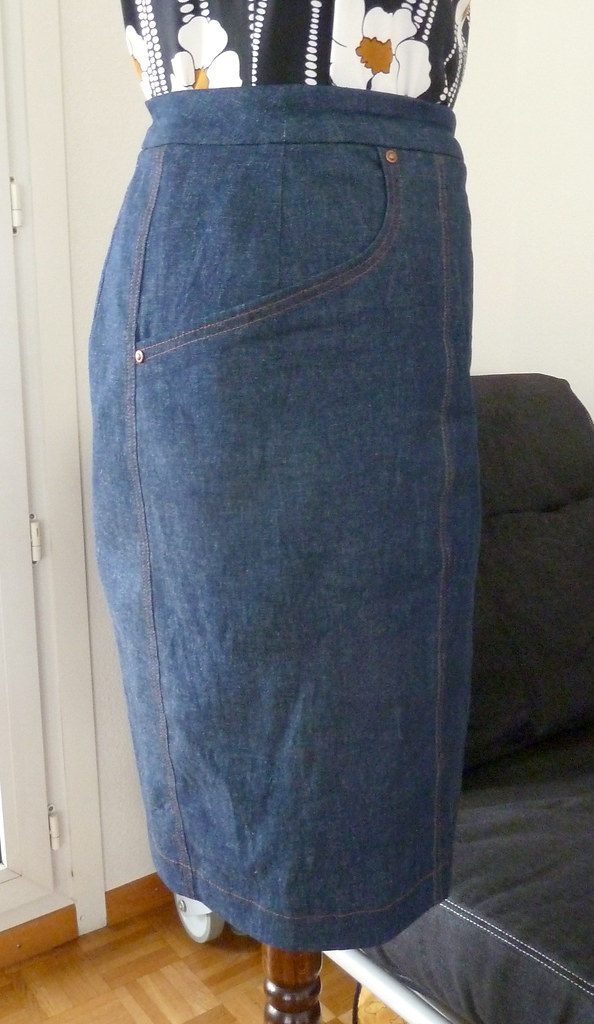
Self-drafted jeans skirt, with shaped side hip-yoke pockets, back vent, and back lapped zipper.

Fabric used

Lightweight stretch denim, probably from Fabric.com. Stretch cotton batiste for the pocket facings.

Pattern alterations or any design changes you made/Drafting details

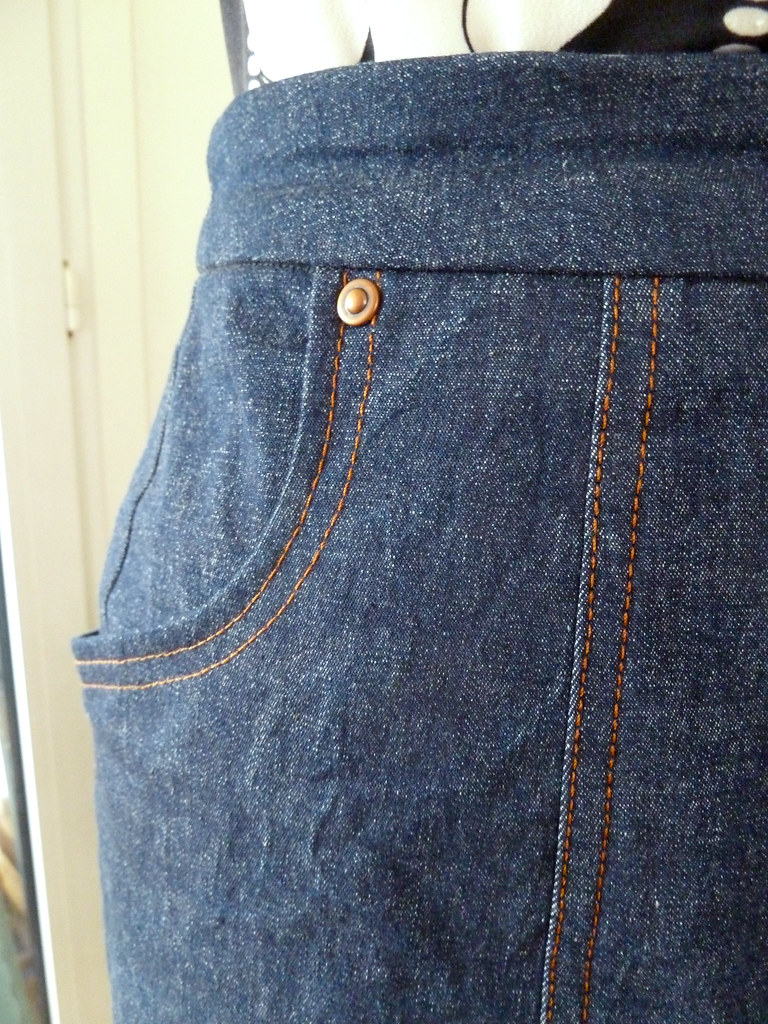
I have lost a little weight since I made the first skirt, so took in the skirt at all the vertical seams, redrafting the pocket pieces accordingly. I changed the waistband from a simple rectangle to a shaped waistband with the top of the waistband at the natural waist. Whilst I really liked the pockets on the first skirt, the line of the opening hit right at the widest point of my hips. I figured this wasn't the most flattering, so raised the curve of the pocket opening. I also pegged the bottom of the skirt, and added a little length.

Construction details

Generally the construction was much the same as the first one (sewn on the regular machine and the seam allowances finished with the serger), but with the following differences:

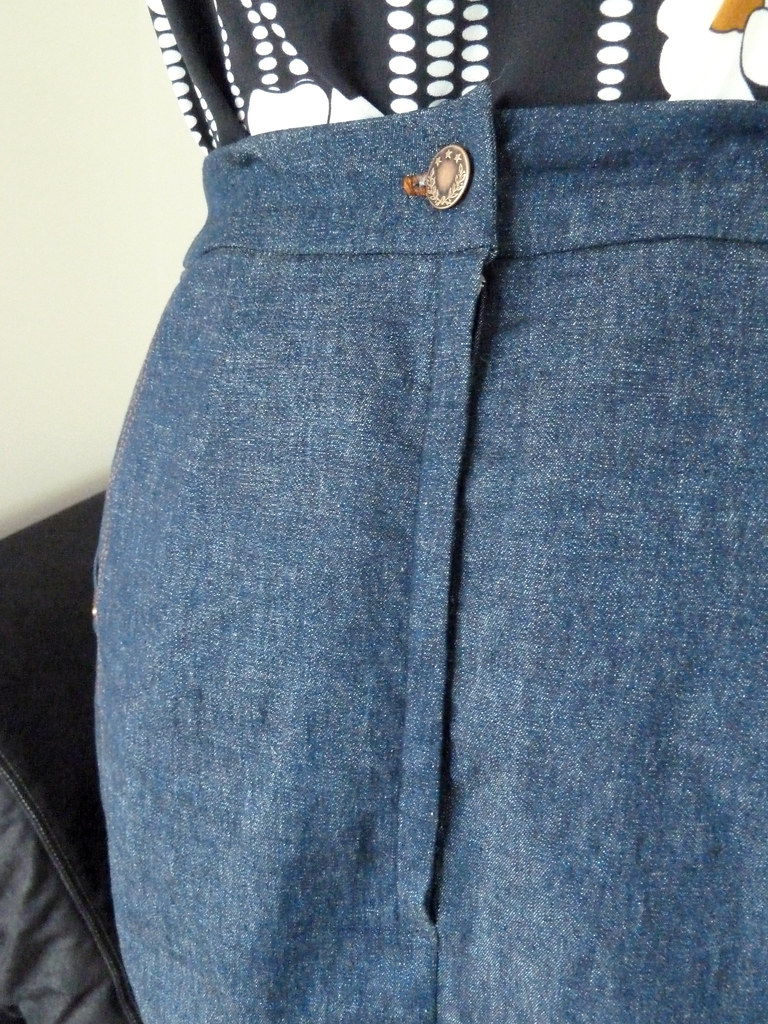
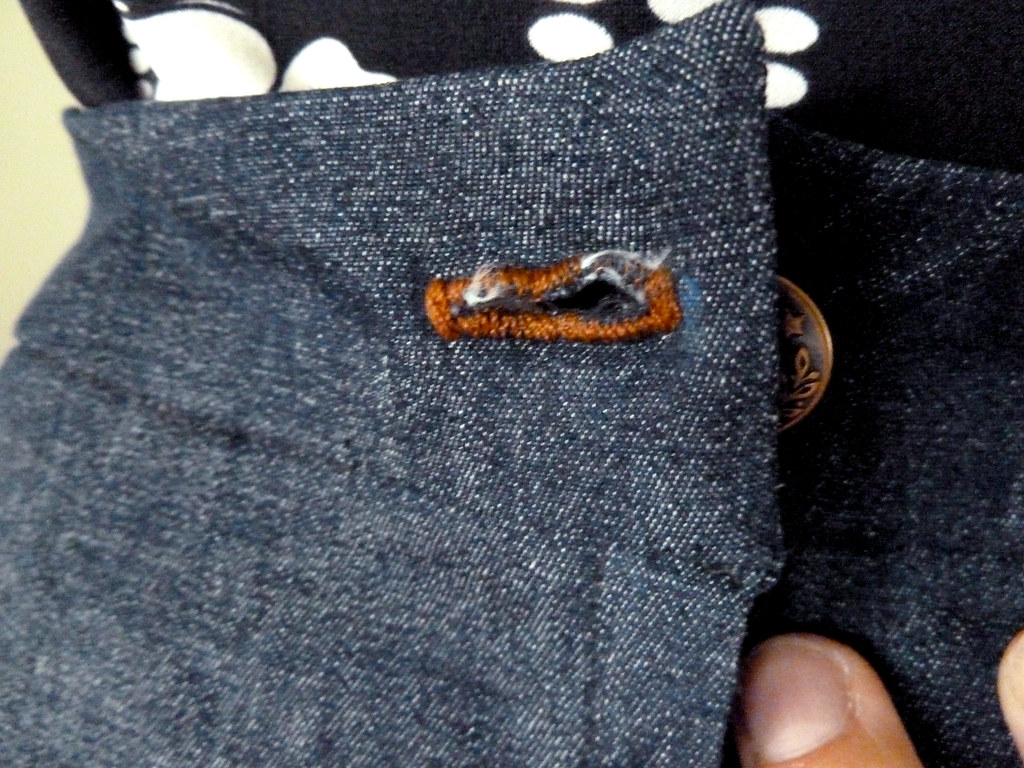
Waistband: I cut both the top and facing pieces from the denim to give it a bit more structure. I also used a jeans button instead of hook fastenings. The buttonhole is stitched with the topstitching thread, but despite practicing, it is not the neatest. It also would benefit from being a keyhole shape, but I can't do this on my machine.

Interfacing: Both the top and facing pieces of the waistband were interfaced with fusible tricot to help keep them from collapsing. Fusible tape was applied along the side seams where the pocket joins and along the centre back seam - both these areas had pulled badly in the first skirt.

Topstitching: I didn't topstitch the waistband, so that the stretch was maintained.

Would you sew it again? Would you recommend it to others?

I'm sure I'll end up making another at some point in the future, but not just yet!

Conclusion

There's still a little bit of fine tuning needed to this pattern (mainly the back waistband), but this has already got plenty of wear.