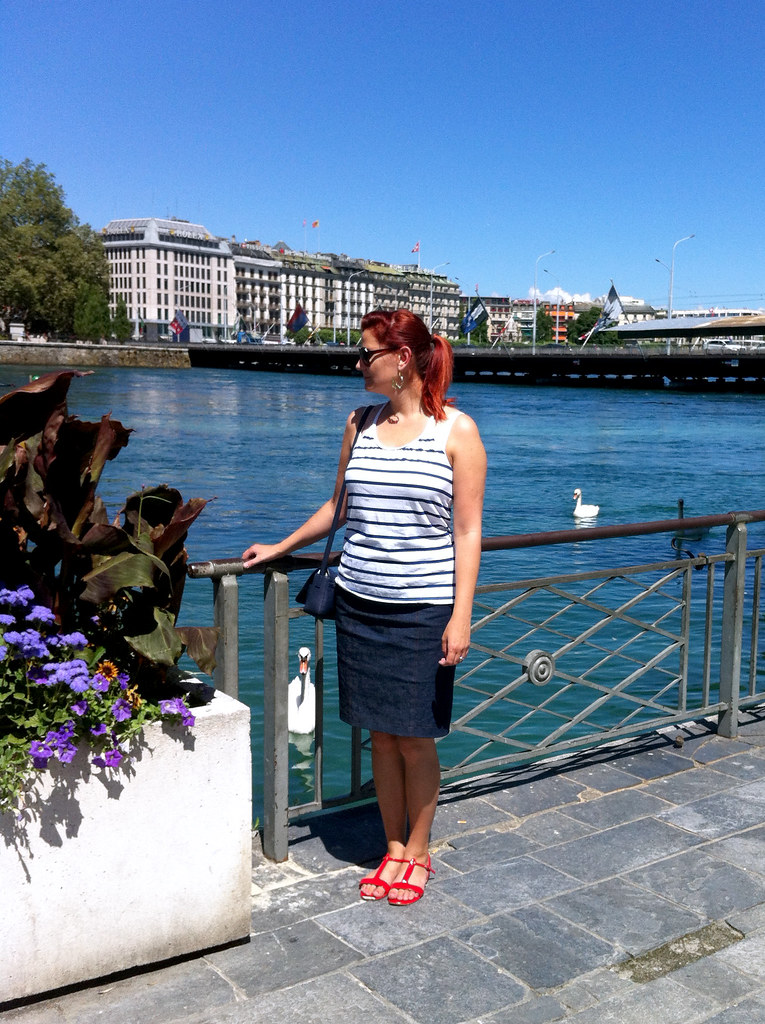
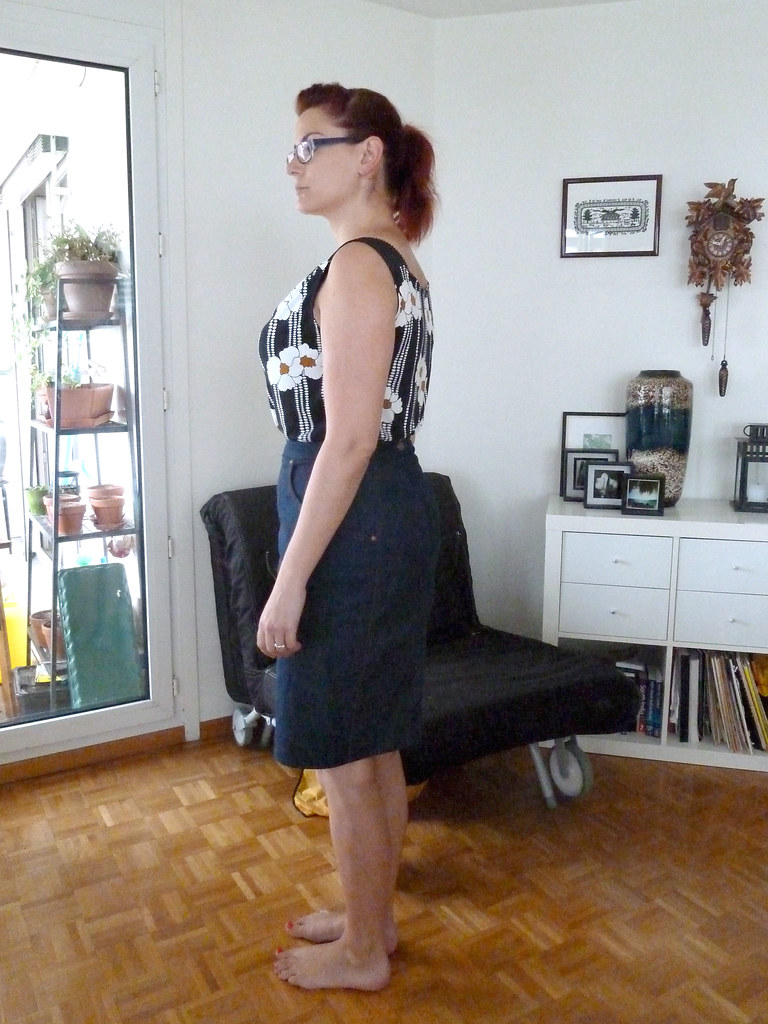
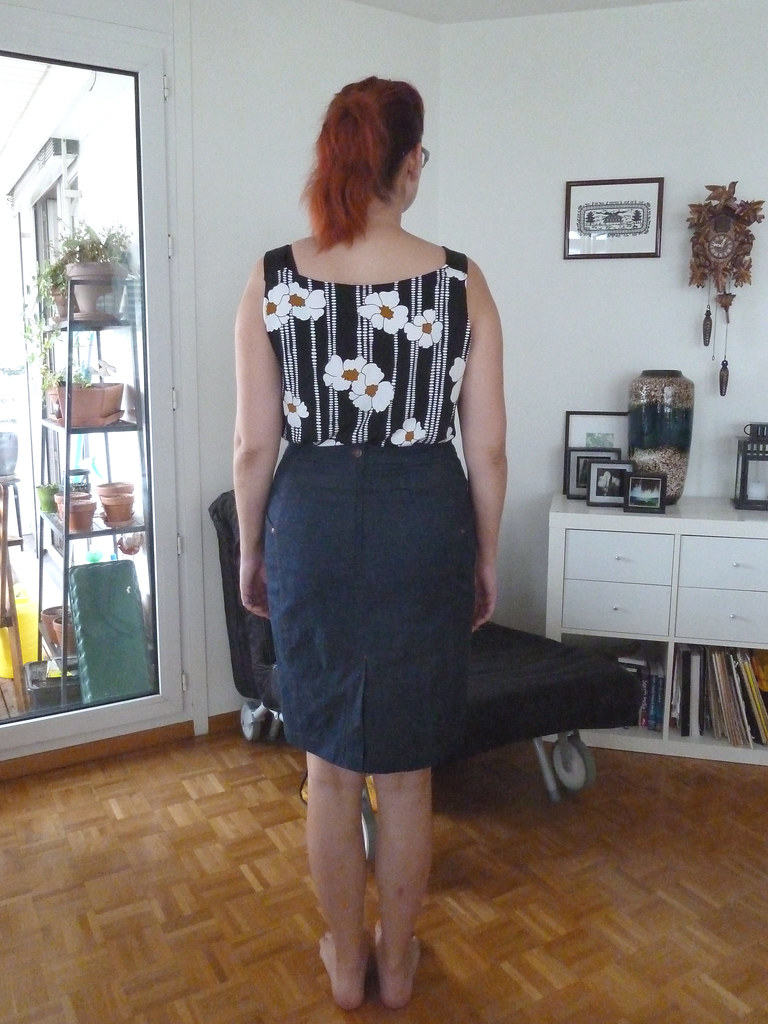
One of my aims during this year in general, and Me-Made-May in particular (gosh, that was a long time ago, wasn't it!) was to make a new version of my self-drafted jeans skirt. I did actually make a new version just before the end of May, but it was sadly a disaster: the denim was too heavyweight, the redrafting I did made it way too tight at the waist, the zip was ripply and ugly, the front panel was off-grain, and it wasn't pegged enough. Urgh. Of course I discovered all this after finishing the whole thing, including topstitching and rivets... This was very frustrating, so it got put to one side (read: thrown into the corner) for a while until I mustered up the mental strength to make it again. I'm very glad I did, as this version has turned out great, and has had a lot of wear already (I actually finished it almost two months ago).
Pattern description
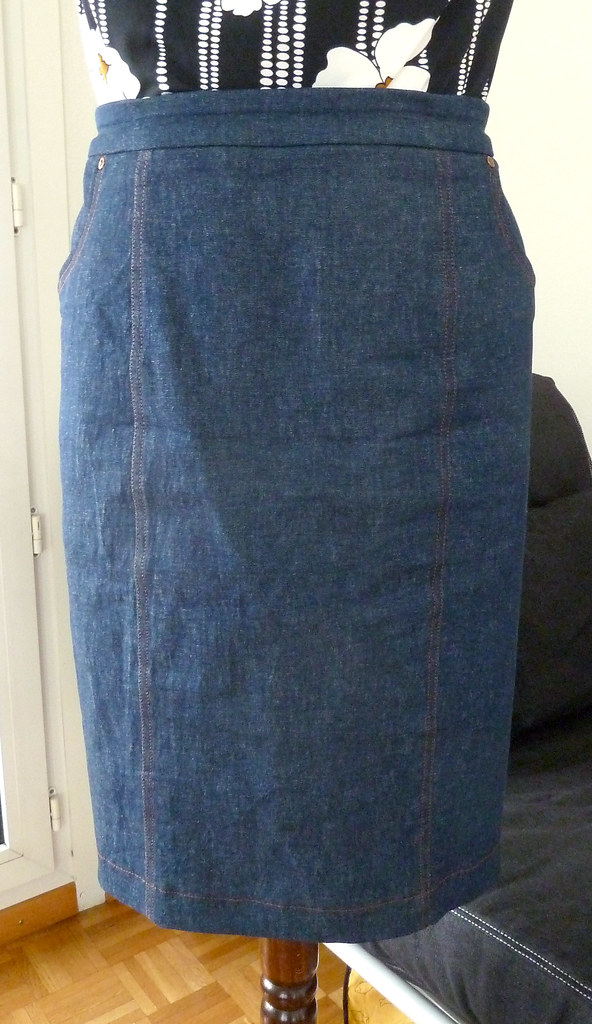
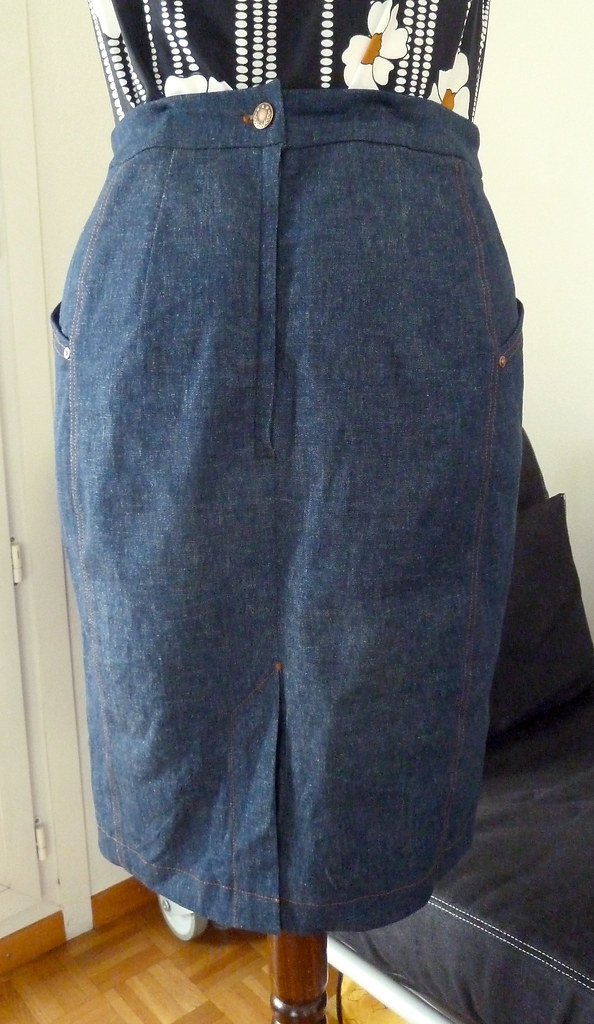
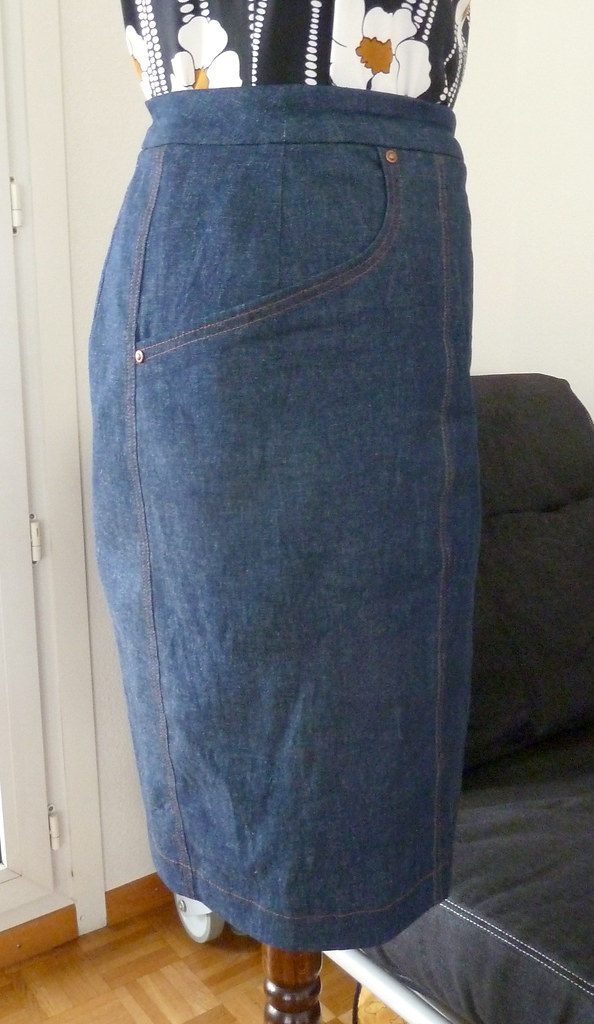
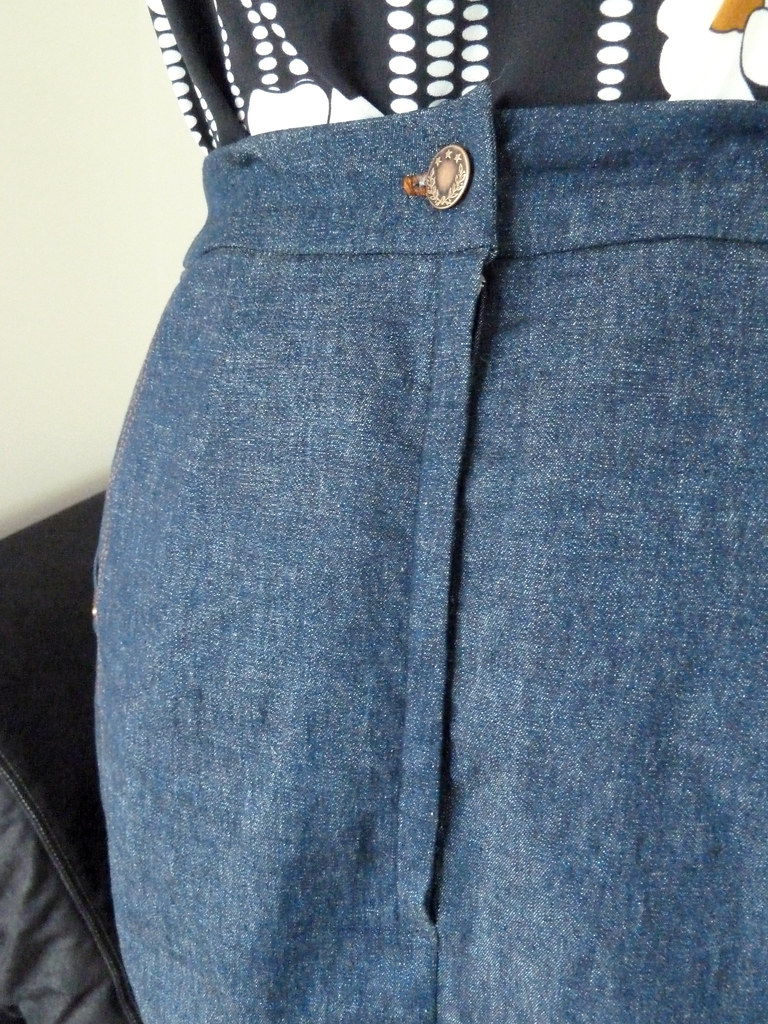
Self-drafted jeans skirt, with shaped side hip-yoke pockets, back vent, and back lapped zipper.Fabric used
Lightweight stretch denim, probably from Fabric.com. Stretch cotton batiste for the pocket facings.Pattern alterations or any design changes you made/Drafting details
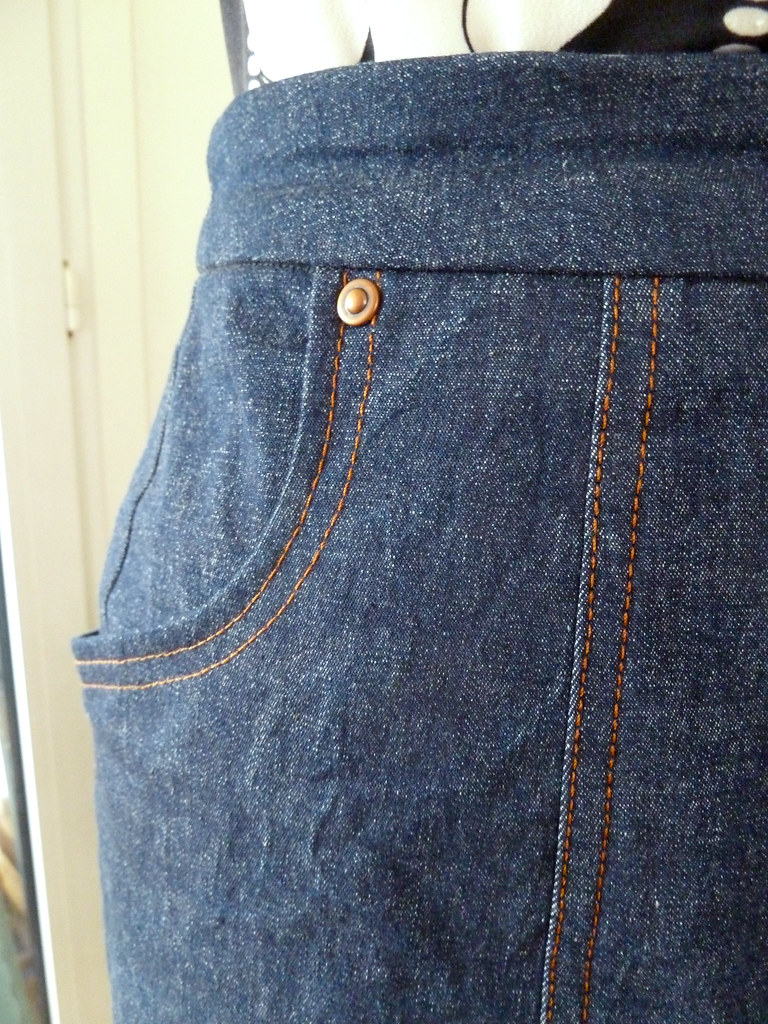
I have lost a little weight since I made the first skirt, so took in the skirt at all the vertical seams, redrafting the pocket pieces accordingly. I changed the waistband from a simple rectangle to a shaped waistband with the top of the waistband at the natural waist. Whilst I really liked the pockets on the first skirt, the line of the opening hit right at the widest point of my hips. I figured this wasn't the most flattering, so raised the curve of the pocket opening. I also pegged the bottom of the skirt, and added a little length.Construction details
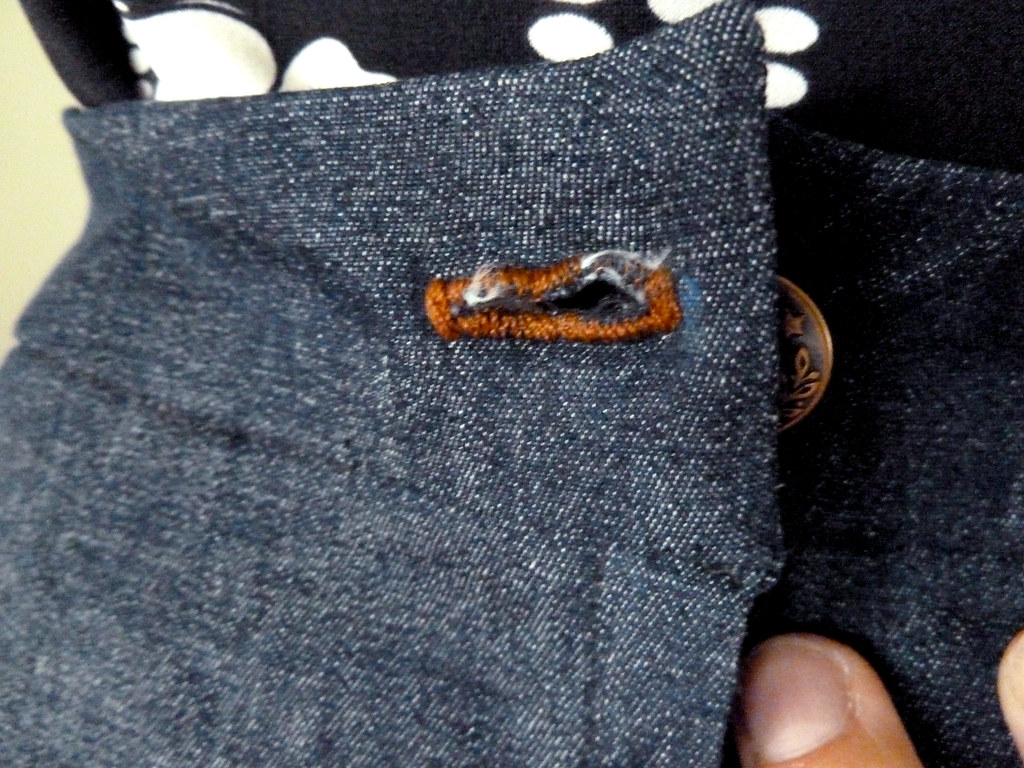
Generally the construction was much the same as the first one (sewn on the regular machine and the seam allowances finished with the serger), but with the following differences:Waistband: I cut both the top and facing pieces from the denim to give it a bit more structure. I also used a jeans button instead of hook fastenings. The buttonhole is stitched with the topstitching thread, but despite practicing, it is not the neatest. It also would benefit from being a keyhole shape, but I can't do this on my machine.
Interfacing: Both the top and facing pieces of the waistband were interfaced with fusible tricot to help keep them from collapsing. Fusible tape was applied along the side seams where the pocket joins and along the centre back seam - both these areas had pulled badly in the first skirt.
Topstitching: I didn't topstitch the waistband, so that the stretch was maintained.



Lovely job on this! I am impressed that you went all out with the rivets and everything. Your topstitching is perfect!
ReplyDelete