Yeah, so I've got just a leeeeeetle behind with my Burda Challenges. I think I had too much fun over the summer, which ate into my sewing time - must learn not to do that... Right, so this is my August challenge. I really really wanted to make the blazer on the cover (have you seen Kristy's awesome version?), but then decided I wanted a quicker make, and one that I would get more use out of (I very rarely wear smart jackets). I still plan to make the blazer (I have fabric, lining and button all chosen), but will postpone it a little until after some more practical things.
Pattern description
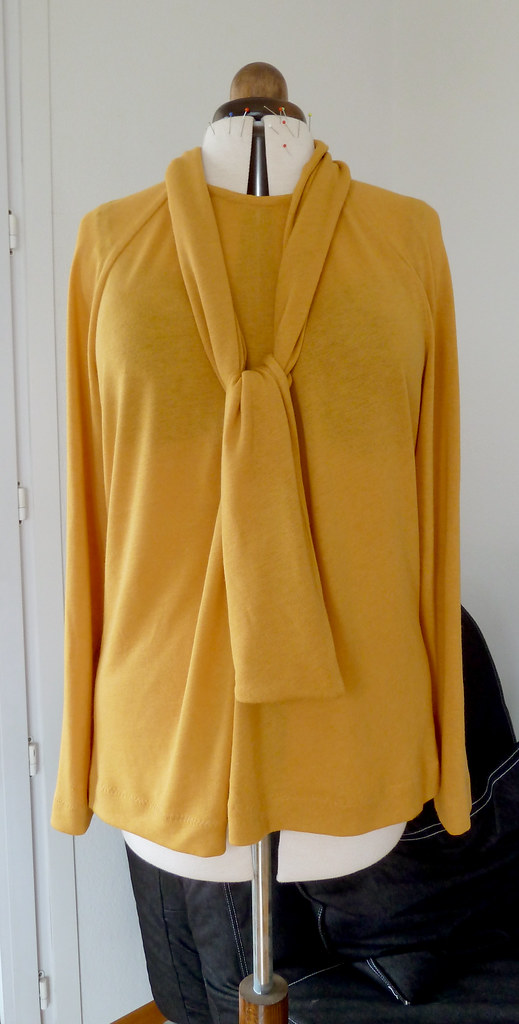
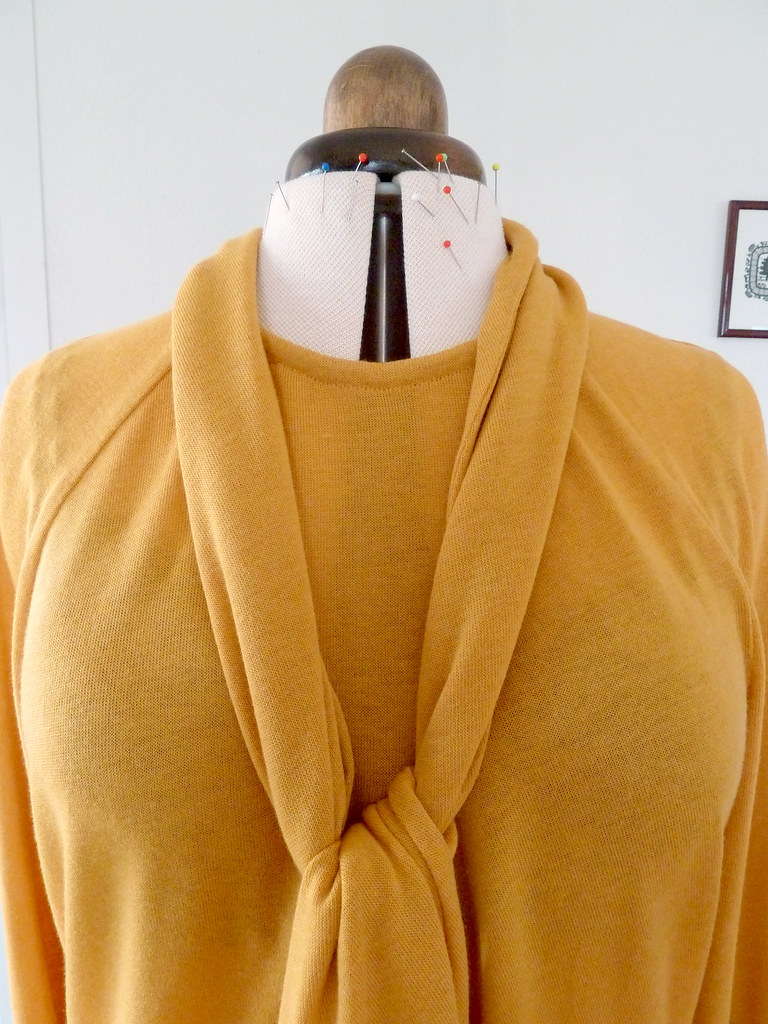
BurdaStyle Magazine 08/2013/131: Knit top with long raglan sleeves, high round neckline and integrated scarf.Pattern sizing
36-44. I cut the 42 at the bust, grading out to 44 at the hips.Fabric used
Poly-rayon sweater knit from Fabric.com.Did it look like the photo/drawing on the pattern envelope when you were done?
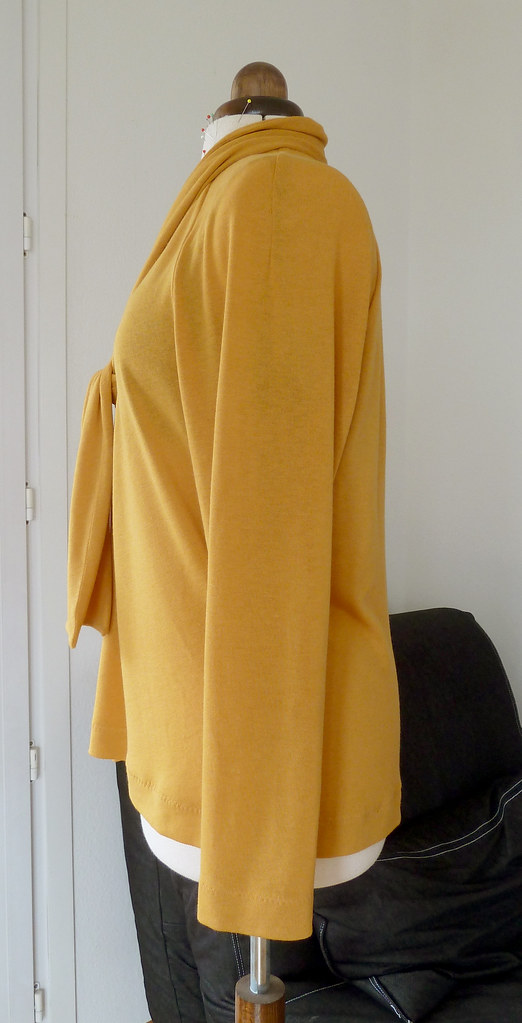
Mine is much looser fitting, I don't know whether this is just my fabric, but I think from the flat pattern measurements this is drafted larger than the photo would have you believe.Were the instructions easy to follow?
The first part of the instructions confused me a bit at first (for sewing the seams that join the sides of the scarf, and the two halves of the front), but then I realised it's just folding the scarf in half lengthwise and sewing the front and scarf seams in one long pass. Other than that very straightforward - but then it is effectively just three pattern pieces!What did you particularly like or dislike about the pattern?
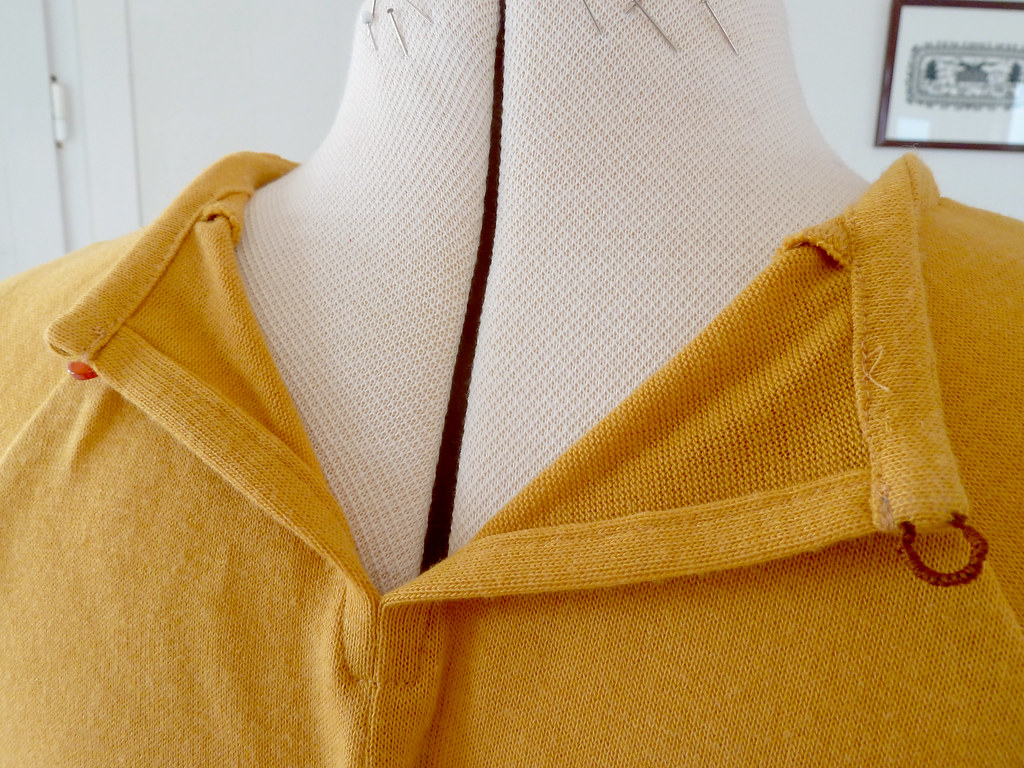
I really like the integrated scarf, it's a clever bit of drafting that brings to mind the Pattern Magic series of books (that I still haven't got round to making anything from). It's also nicely drafted so that the front seam is hidden by the scarf when worn.Overall it's quite a boxy pattern, so unless you're very slim it benefits from a bit of extra waist shaping. I'm also not convinced by the raglan sleeves, for my body shape I think the diagonal seam comes too low and would look better if it was shaped more upwards.
Pattern alterations or any design changes you made
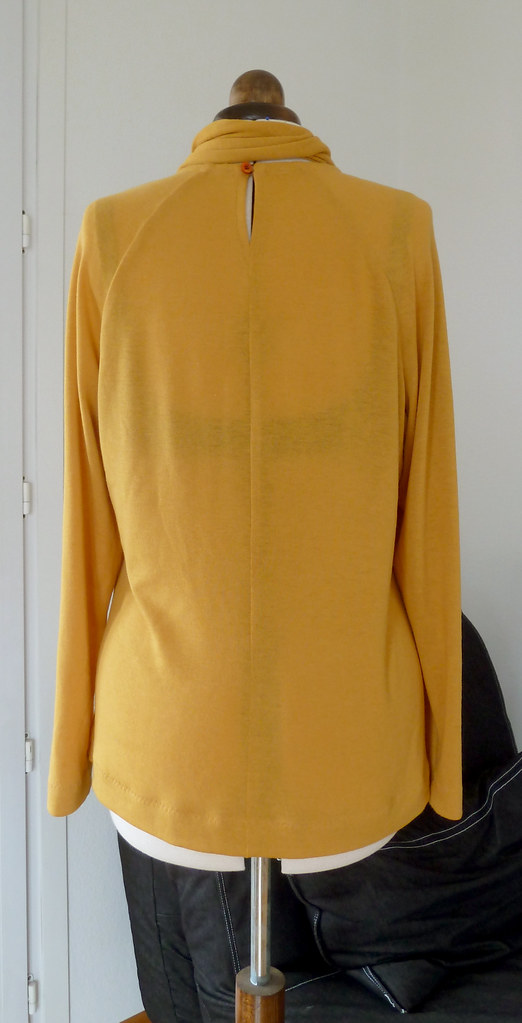
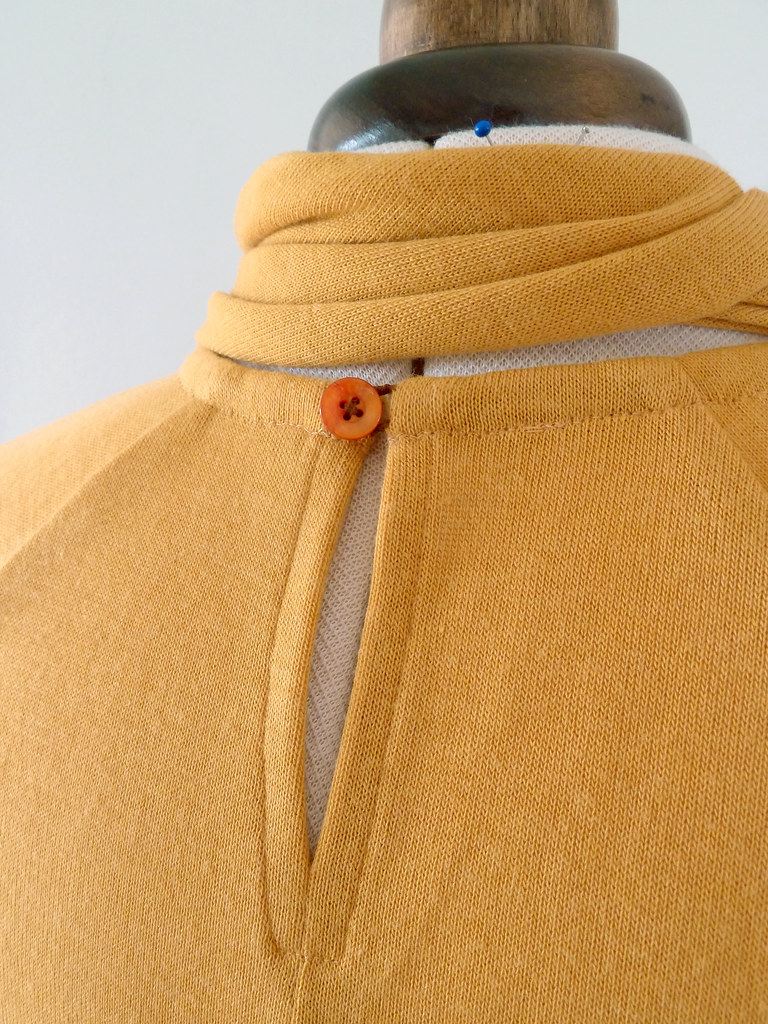
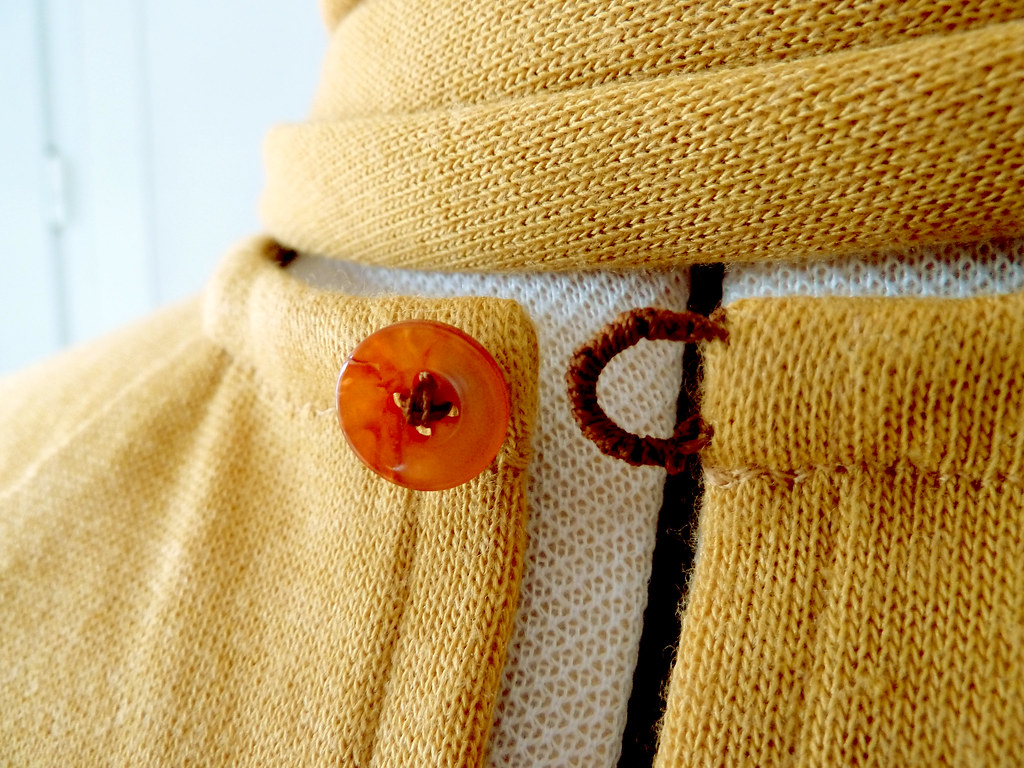
I added a centre back seam so I could shape the back slightly (any tops that come past my waist really need at least one seam in the back in order to accommodate my, ahem, "full high hip" and stop me looking too wide from the side) - I think I could have taken more off the waist. I also added a keyhole with button and loop at the back so I could get the top over my head without stretching the rather high neckline too much (I wasn't sure how this fabric would recover), and also to balance the interest in the front.I made a sort of forward shoulder adjustment by shifting the shoulder dart forward by 5mm at the top and 10mm at the bottom, plus adjusting the top part of the shoulder seams forward slightly.
I added a little width at the sides at bust level, and shaped in the waist at the side seams slightly. I also added 2cm at the bottom of both front and back, and ended up lowering the neckline at the front by 2cm.
Construction details
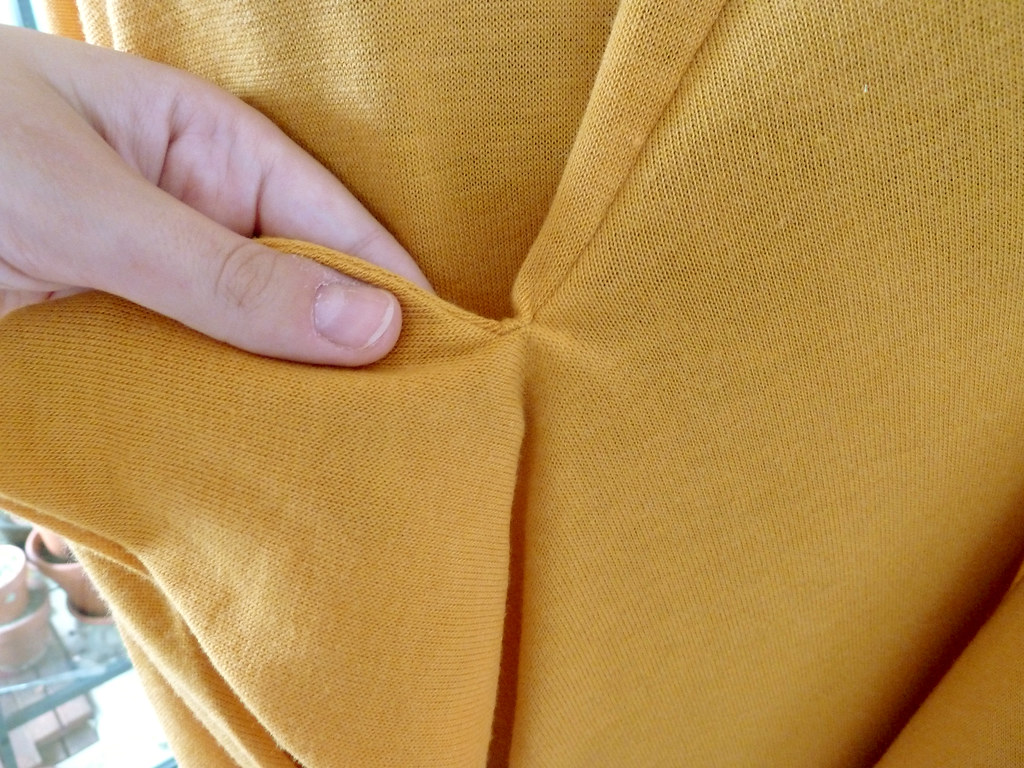
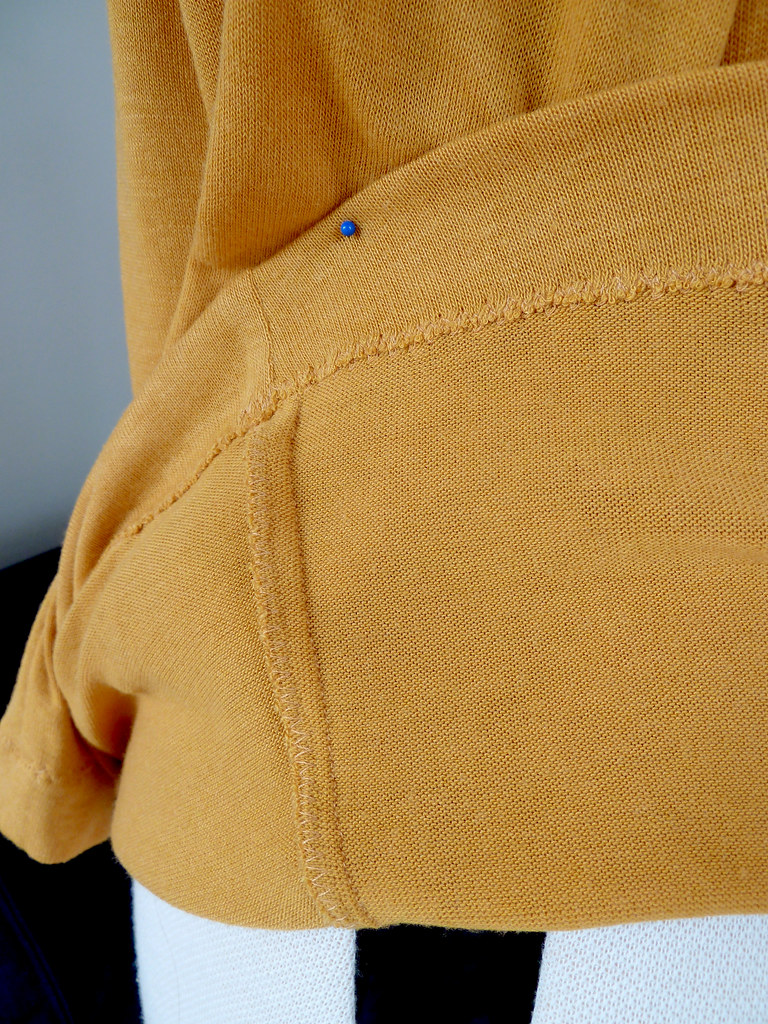
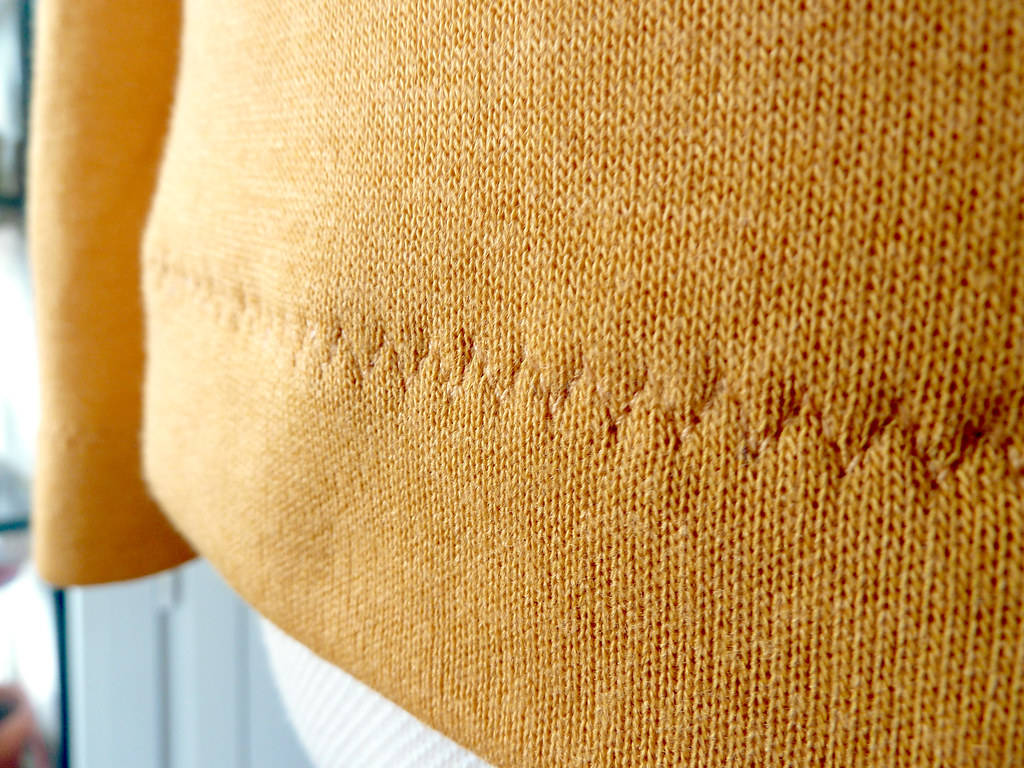
I used strips of tricot fusible interfacing rather than Vilene bias tape to keep the fabric stretchier. In addition to the areas they instruct you to interface with tape, I also applied a strip to the neckline facing, and small patches to the points of the front/scarf seam.I would normally construct knit tops with my serger as much as possible, but the combination of the seams that couldn't be sewn by serger and the fact I only had one spool of matching thread meant I decided to sew it all on my regular machine and just overcast the edge with a zigzag stitch. Unfortunately this has all turned out rather ugly, as I managed to break my overlock presser foot halfway through the first seam, so the rest was done without it. Oh well. On most knits I would have just left the seams unfinished, but this fabric was very loose and ravelly, so I had to neaten the seams so it wouldn't just shred when it was worn and washed. Look away now if you are of a nervous disposition...
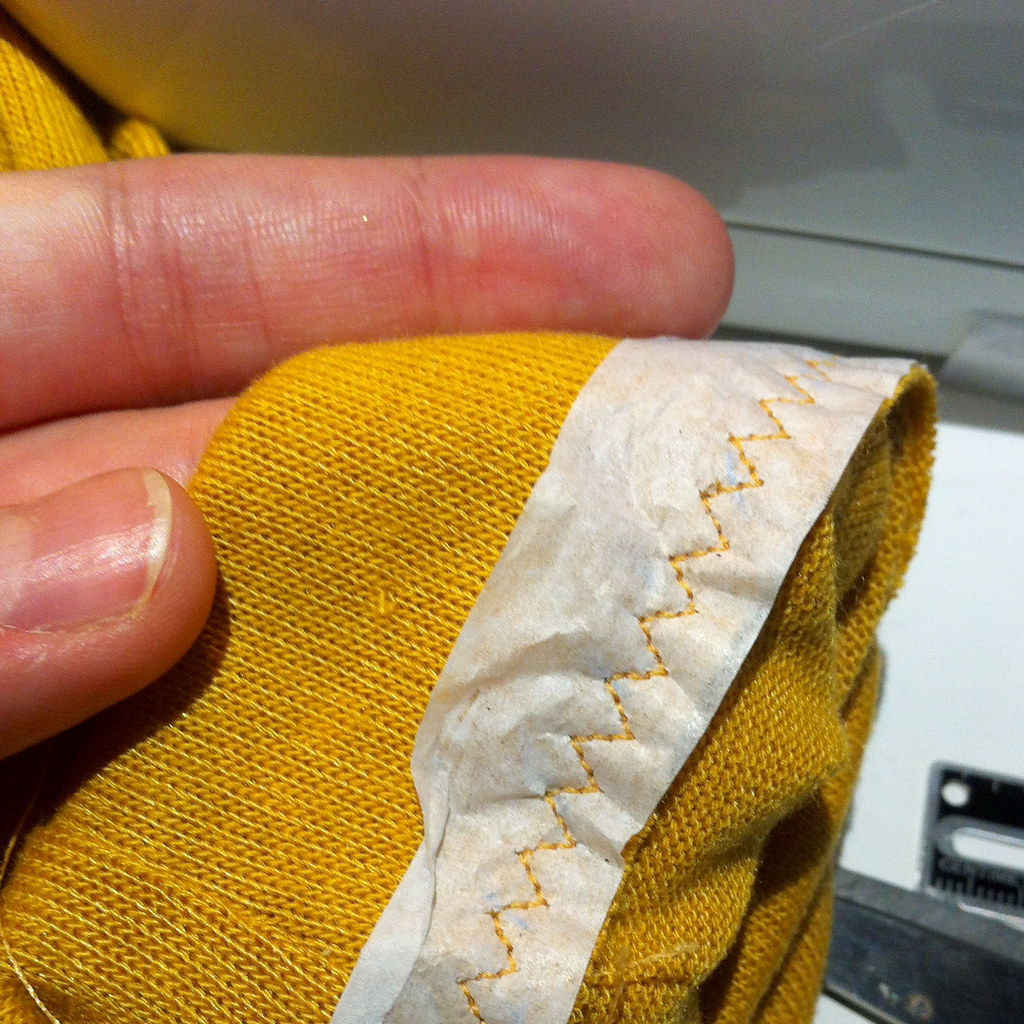
Actually, it doesn't look too bad in that photo. I think I subconsciously chose the neatest part to photograph. To hem the sleeves and bottom, I used a three-step zig-zag.
To stop it stretching, I sewed through strips of tissue paper. A little tip: when doing this, make sure you cut the strips widthwise, i.e. so the DoET™ (that would be the Direction of Easiest Tear) is widthwise not lengthwise along the strip, otherwise it's going to be a blimmin' nightmare to get it out the stitching.
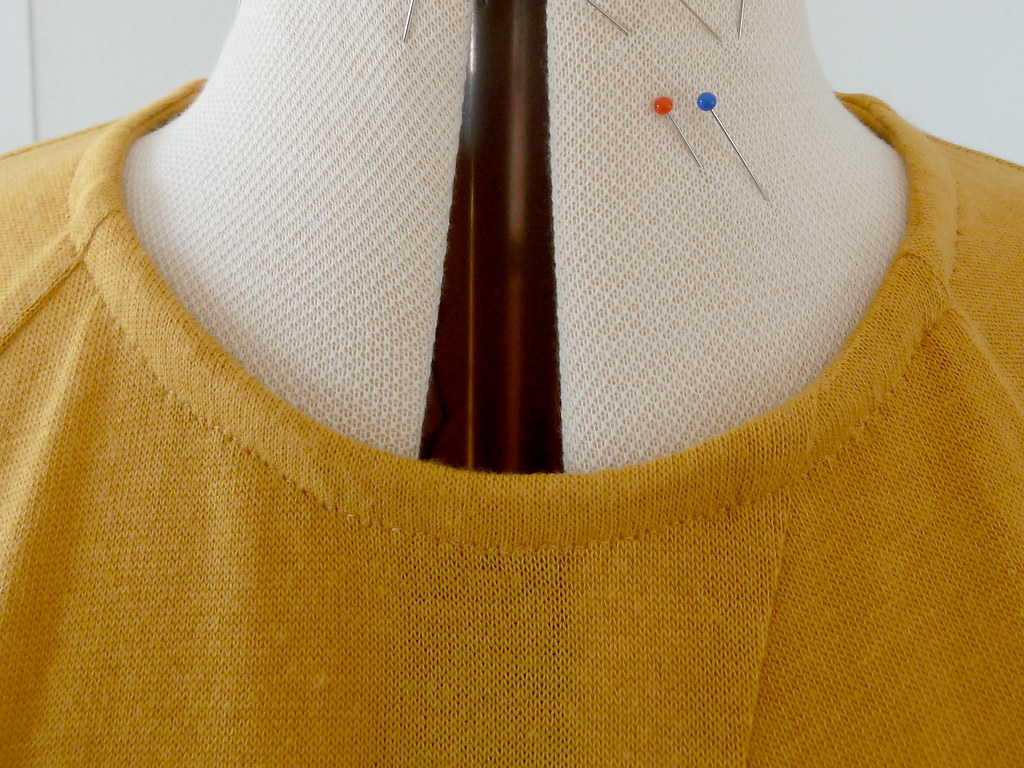
The neckline was finished as Burda suggested, with a folded strip used as the facing. Finally, I added the button and a thread loop at the back neckline.
Would you sew it again? Would you recommend it to others?
I might actually sew this again. I'm trying to replace the boring and ill-fitting store-bought basic tops in my wardrobe, the things I wear round the house, but don't make me feel good. This is a nice and generally simple top, but the interesting drafting elevates it a little. It'll have to wait a little bit though whilst I catch up with my September and October Burda Challenges! I think it would look really nice in an elegant shimmery dark fabric, for a casual evening top (although I would probably make a smaller size if I do this).I would definitely recommend this to others, with the following things to watch out for: it runs very large, the neckline is very high at the front, and the arms are pretty long.


beautiful color and awesome sweater! I especially loved the tip with the tracing paper to stitch the hem - why didn't I think of that!!! :D thanks so much
ReplyDeleteWhere sweaters are concerned, many examples of loose, cowl necklines can be seen and there are also a few hooded, knitted sweaters and cardigans available. cashmere sweater womens
ReplyDelete