Thursday, 27 February 2014

Sew Grateful Week: Sharing resources day

Ooops! I got the days and themes a bit confused, so this should have appeared yesterday. (At least it's still in the right week...)

So today is all about sharing sewing resources. I don't have a tutorial to offer, but I do want to share a few links to resources I've found really helpful in my sewing adventures. I'm super grateful for the online sewing community, both for the (passive and active) encouragement it gives me to keep sewing and stretch myself, but also for all the advice and tutorials out there. My friends aren't particularly into sewing, I live in a small town in a different country to my mum, and don't speak the language that well, so have a limited amount of "real-life" advisors I can turn to. So I turn to the huge wealth of knowledge that is the internet...

Fitting

Fitting is a bit of a bĂȘte noir for me (ooh, I do speak French!), but one of the main reasons I started sewing was to have clothes that fit my entirely non-standard body. It's all very much still a work in progress, but these are some of the techniques and advice that I have found helpful.

Full bust adjustment (FBA)

Sway back

  • I've started using a new method of adjusting for this, which preserves the CB fold if needed. There's a great explanation on Sherry's blog, plus another way of thinking about it here.

Forward shoulders and sleeves

  • Sleeve cap ease is bogus! And you will believe this too when you read Kathleen's explanation. I've found that sleeves to fit so much better when the ease is taken out - although the shoulder needs to be wide enough, and the armscye needs to be shaped well. There is some information about this here, here and here, and also in the comments of this post.
  • Linked to the fit of sleeves is adjusting for forward shoulder. This is effectively a more exaggerated version of Kathleen's reshaping of the sleeve head, plus adjustment of the shoulder line and neckline on the bodice. There's a nice explanation here, and I normally use Gigi's method for reshaping the sleeve head.

Books I've found useful

Sewing techniques

There's also a wealth of information of sewing techniques out on t'interweb. I'm always a bit wary of online "tutorials" as there are many terrible methods and finishes being sewn. I like to learn from those with experience, and that's one of the reasons I don't describe anything I do as a "tutorial", as I don't think I have the experience or skills to say "that's the way to do it". Anyway, these are a few things that I refer to frequently.

Zips

  • Inserting the zip is always something that can make or break the look of a garment. After reading Els's tutorial, I much prefer sewing invisible zips after the seam is sewn up (You can actually still use an invisible zipper foot here, you just have to do the diagonal backstitching by hand). She also gives a tutorial on a neat way to sew the a facing with an invisible zip, and Kathleen shows a similar method here and here.
  • For centred zips and lapped zips, I like to use Kathleen's methods. She gives good explanations to show the construction of both centred zips and lapped zips plus facings.
  • For a neat way to sew an exposed zip in a seam, I like to use Pattern Runway's method.

Buttonholes and loops

Linings

General

There's some good techniques, tutorials and tips gathered in the following places.

Many, many thanks to all those people who share their knowledge on the internet - there are SO MANY more links and books I find useful, but this post has got a little longer than intended! I always try to reference the techniques I've used when I write my blog posts, so you'll find more information there and I hope this little collection of links here proves useful to at least some of you.

Finally, a big thank you to all those who've entered my giveaway so far - I'm so pleased that I've managed to put together something that people like! A reminder that the giveaway closes at the end of Sunday 2 March, so add your comment if you would like to enter.
Monday, 24 February 2014

Sew Grateful Week 2014: Giveaway day

Debi over at My Happy Sewing Place is running her annual Sew Grateful Week. This is the first time I've come across it, but I think it's a lovely idea to spread the love of all things sewing, and learn a bit more about fellow sewists and their inspiration.

The week starts off with a bang today: giveaways! It's been sunny here the last couple of days, so my giveaway has a definite springy feeling...

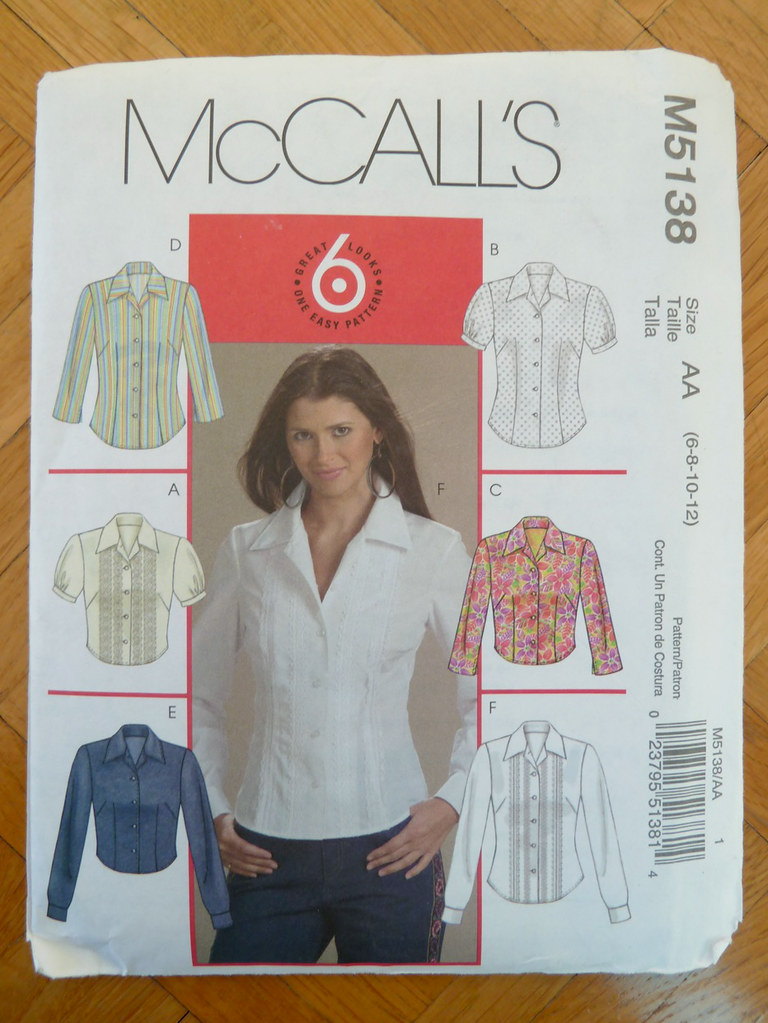
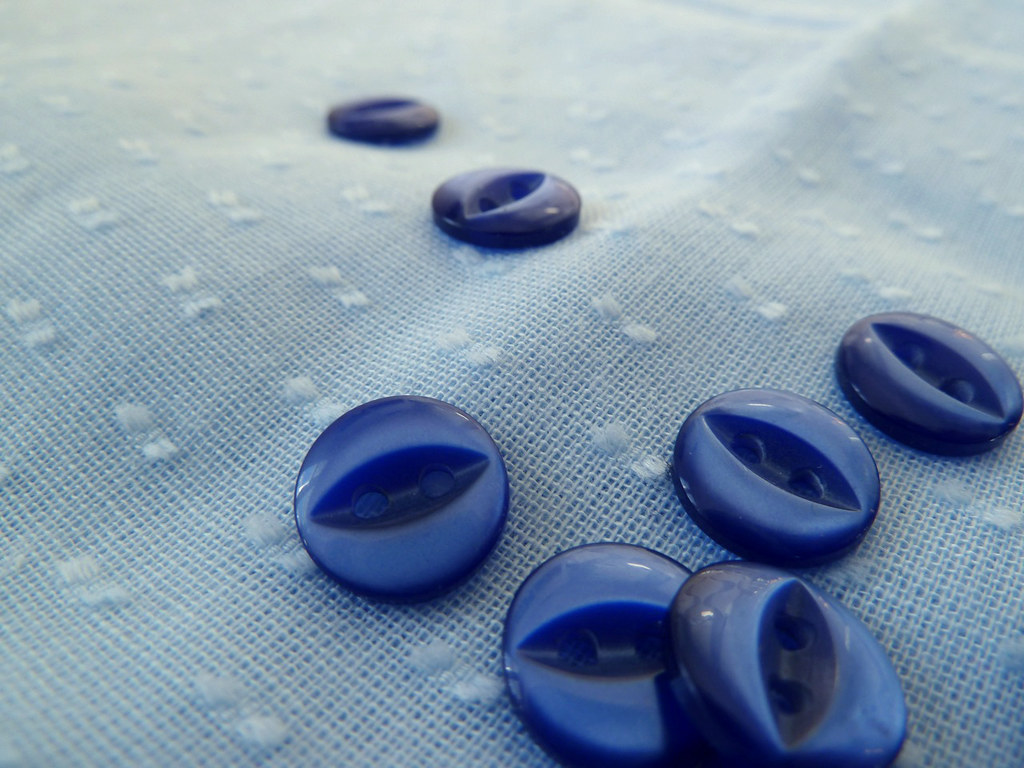
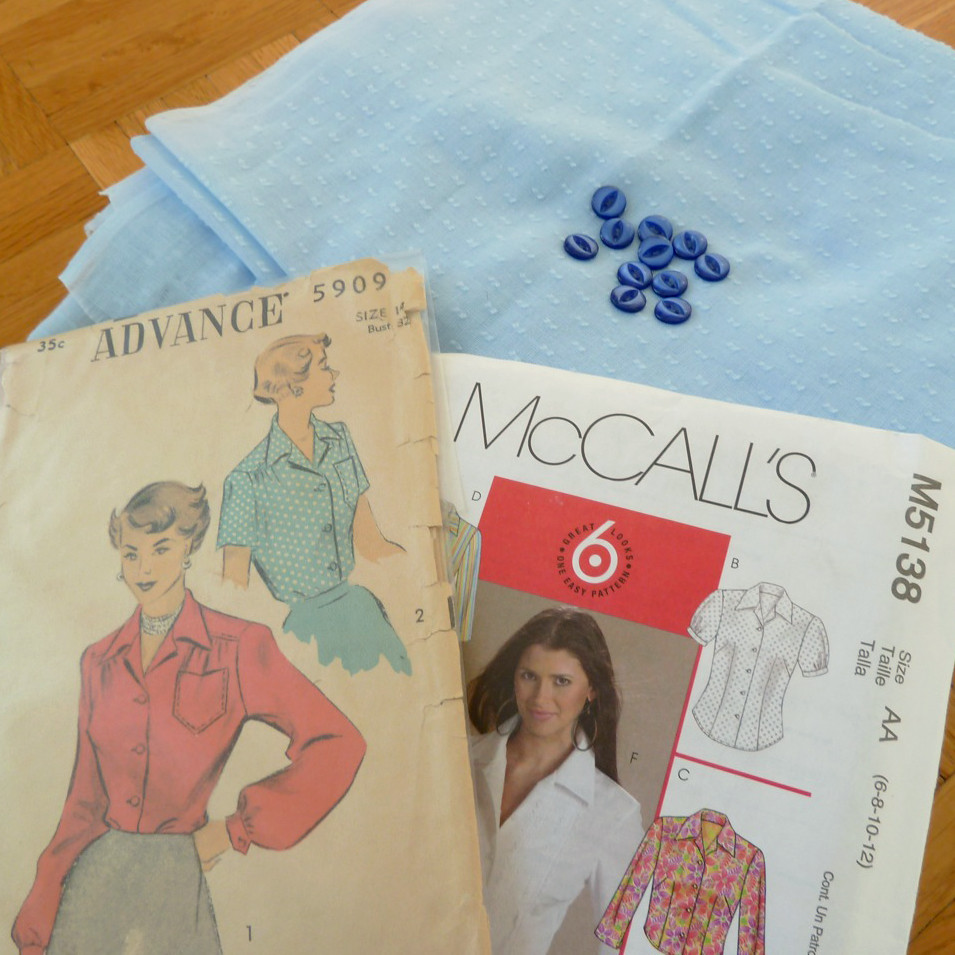
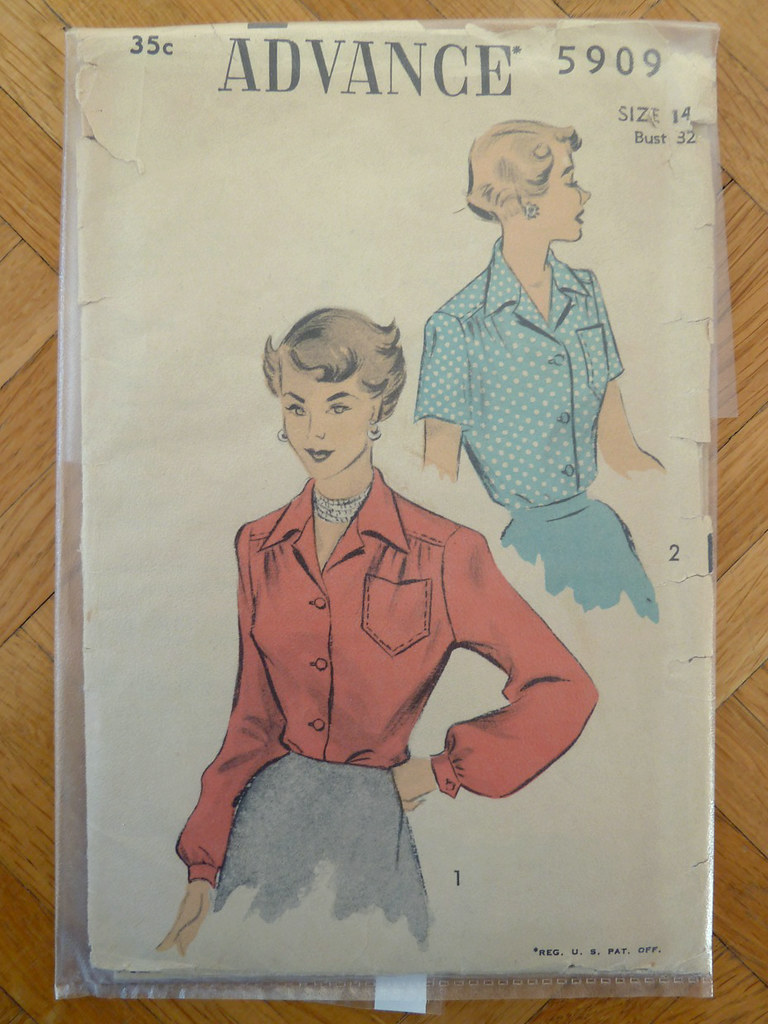
As a thank you to those who read my little blog, here are two blouse patterns, together with powder blue clipped dot cotton batiste and buttons from my grandmother's stash - enough to make the short sleeved versions of either pattern.

The vintage Advance pattern is an unprinted single-size pattern for bust 32", and the modern McCall's one is a multisize pattern for bust 30.5-34". Both are unused (because they're sadly too small for me). Don't you just love the ladies' hairstyles on the Advance? And the eyebrows!

The batiste is very lightweight, so you could either use it as is to wear with a camisole, or underline it for a bit more body and opacity.

If you would like these, please leave a comment plus a way I can contact you by the end of Sunday 2 March, and I'll draw a name the following week - this is open to sewists worldwide too!

Wednesday, 19 February 2014

Birthday dress

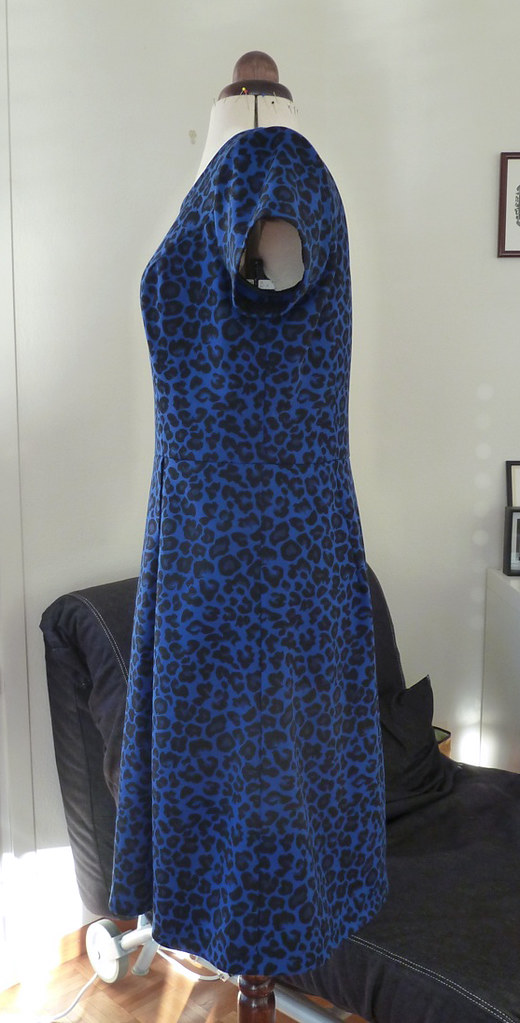
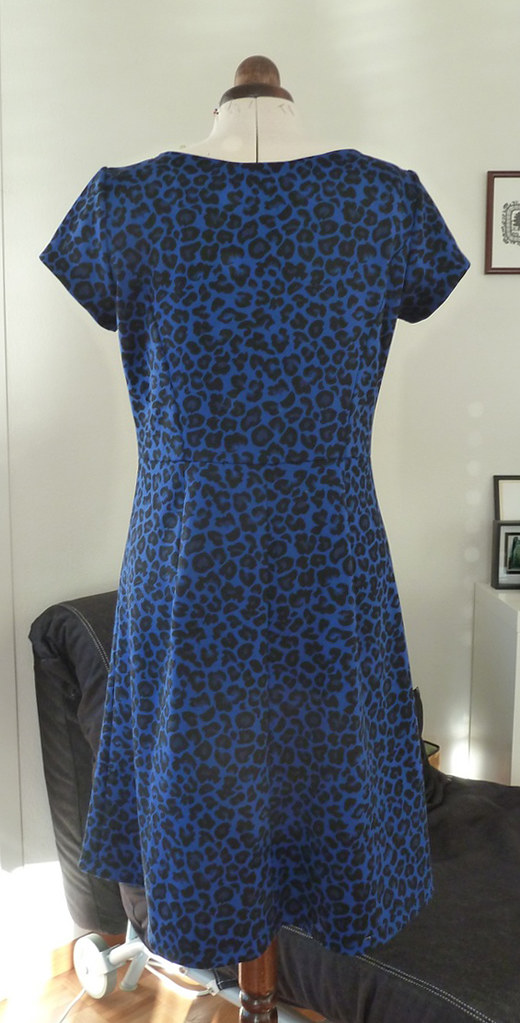
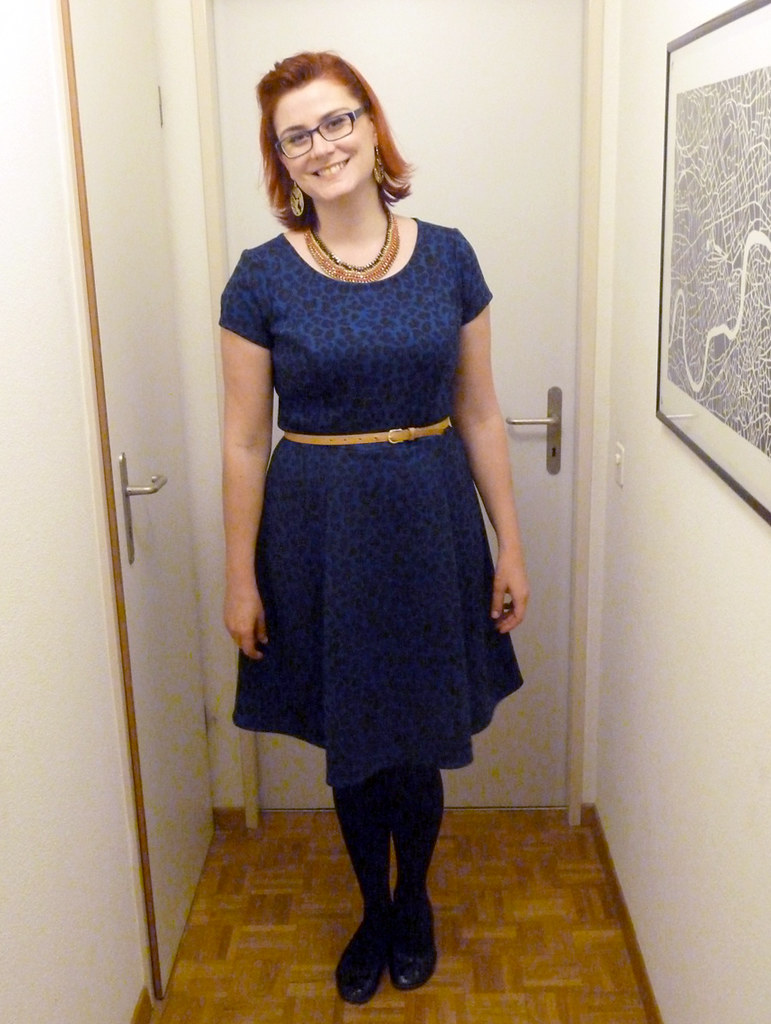
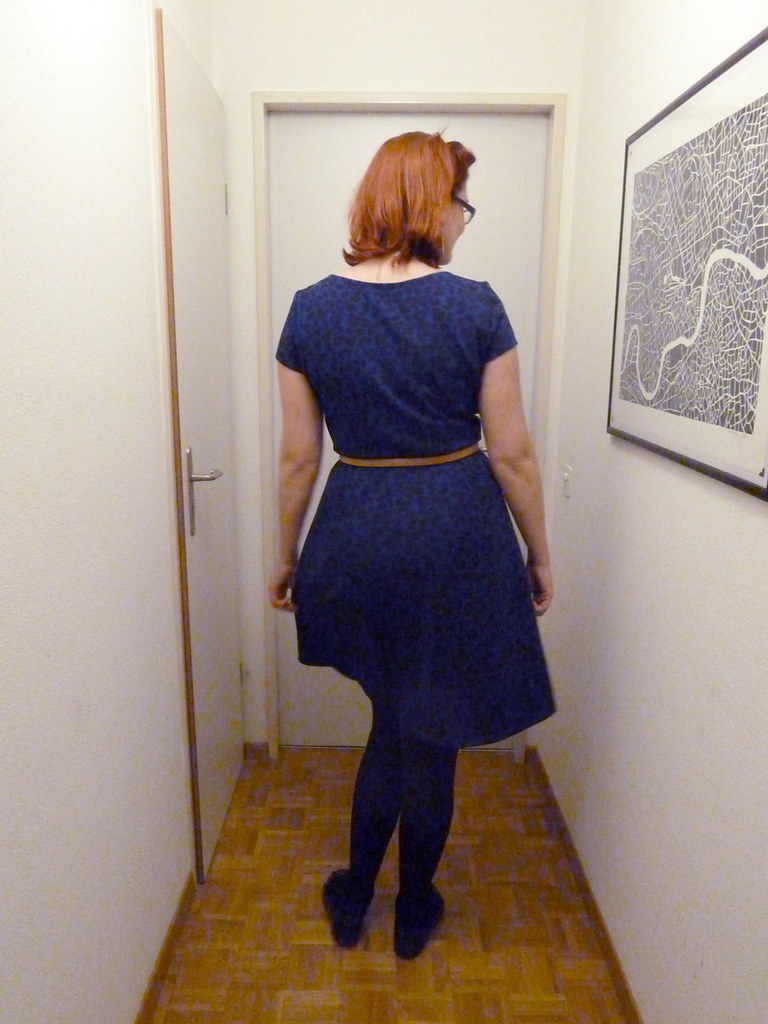
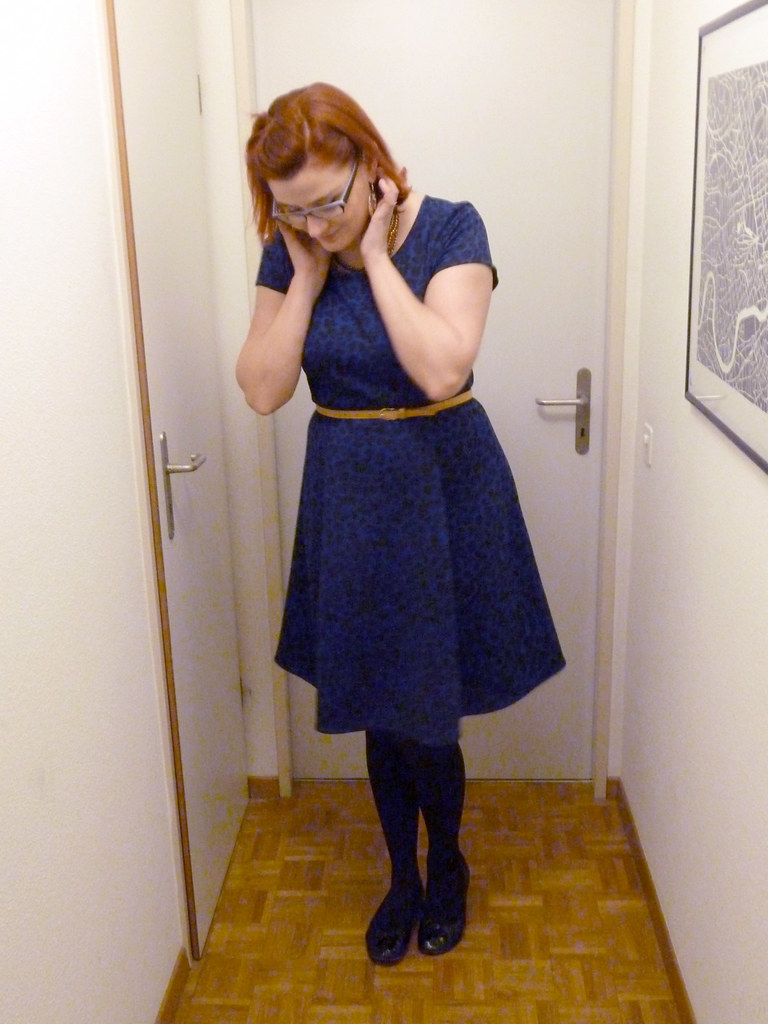
This is a pattern I've been wanting to sew up for some time, and after making a few ponte dresses recently, I realised this would also work well. I didn't have a huge amount of time to make a dress for my birthday, so it occurred to me that this would be a good time to try it out - ponte dresses are a little more forgiving of fit so I tend not to muslin them, which would save time.

Pattern description

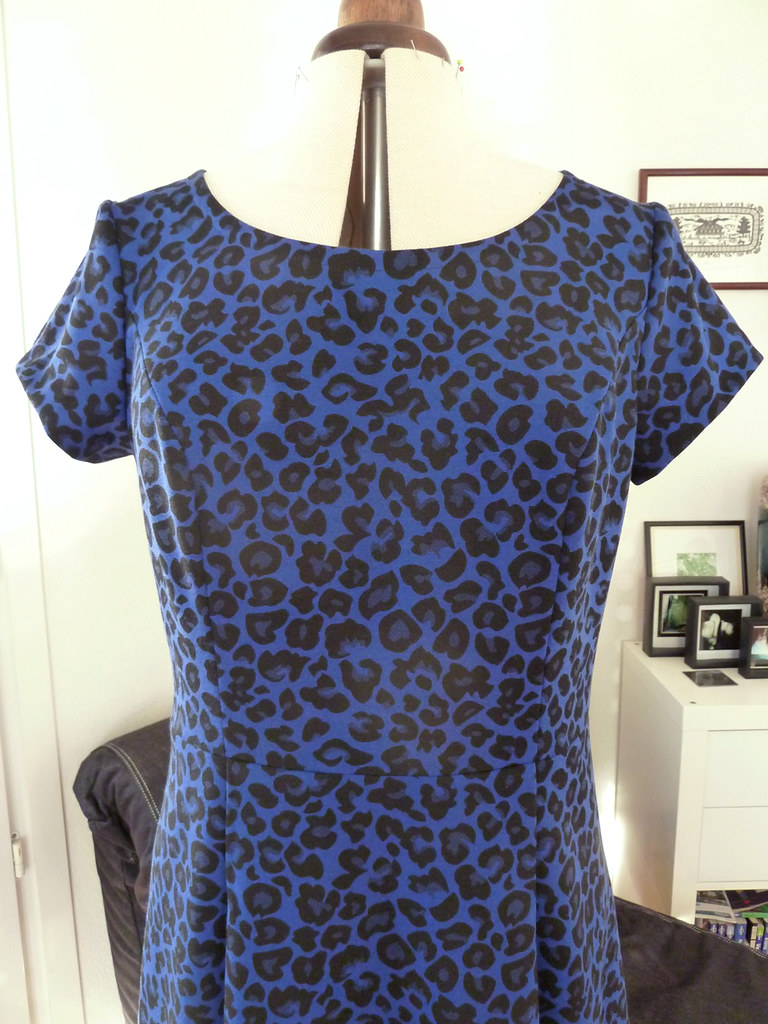
Vogue 8667: Lined, princess seamed dress with fitted bodice, A-line or straight skirt and back zip. Options of cap sleeves and bias-cut collar.

Pattern sizing

8-24. I cut the 16 at the bust, grading out to 18 at waist and hip. I'm glad I checked the finished measurements on the pattern pieces - it is described as a "fitted bodice", but has 3 inches of ease at both bust and waist, which seems like an awful lot (especially given I was making this in a stretch fabric). I cut it a size smaller than would be indicated by the size chart.

Fabric used

Printed ponte from Fabric.com

Did it look like the photo/drawing on the pattern envelope when you were done?

Yep.

Were the instructions easy to follow?

I didn't look at the instructions much, but I did do a read-through and they were mostly ok. I did have a couple of quibbles though from what I saw though, one more minor and one a bit bigger... For all Burda's terrible instructions, at least they do normally tell you which side to press the seam towards. I was following the pictures in the instructions here and pressed the princess seams in the bodice towards the side pieces. It was only after I'd graded them and couldn't get them to lie nicely that I realised in the following pictures they were shown pressed open. Duh. And sort of annoying as I didn't need to grade them so much if I'd pressed it correctly.

The other issue I had was with the insertion of the lining. Although I didn't line this dress I did look at the instructions for future reference. The way they suggest to the lining is inserted in sections is really bizarre, meaning you would end up with exposed seams at the armscyes and a really ugly looking zip. I don't quite understand why they wouldn't suggest the lining was made up completely separately and inserted after the zip was put in.

What did you particularly like or dislike about the pattern?

Likes: The drafting is nice and all the style lines flow nicely from bodice to skirt. I really like the pleats at the front of the skirt, I think they are very flattering - as is the neckline.

Dislikes: As already mentioned the method of inserting the lining is bizarre. For my preferences, there is also too much ease as drafted.

Pattern alterations or any design changes you made

I made an FBA, rotated the back shoulder and neckline down to adjust for swayback, took in the back slightly at the waist, and made my usual forward shoulder adjustment to the armscye and sleeve head. I omitted the zip given I was making the dress in ponte, and therefore cut the centre back bodice on a fold. I decided not to line the dress as I would be wearing it with a slip (and I don't much like knit linings).

Construction details

As this dress involved a bit of easing in the princess seams and the sleeve caps (and the fabric doesn't fray or ravel), I constructed it all on my regular sewing machine, using a very narrow zig-zag stitch (avoiding the serger was also for ease of unpicking in case of adjustment, as I didn't want to make a muslin). To be honest, it probably would have been better to make it on the serger (or at least finish the seams on the serger), as this would have looked much neater on the inside. As it is, it's u-g-l-y on the inside. Oh well.

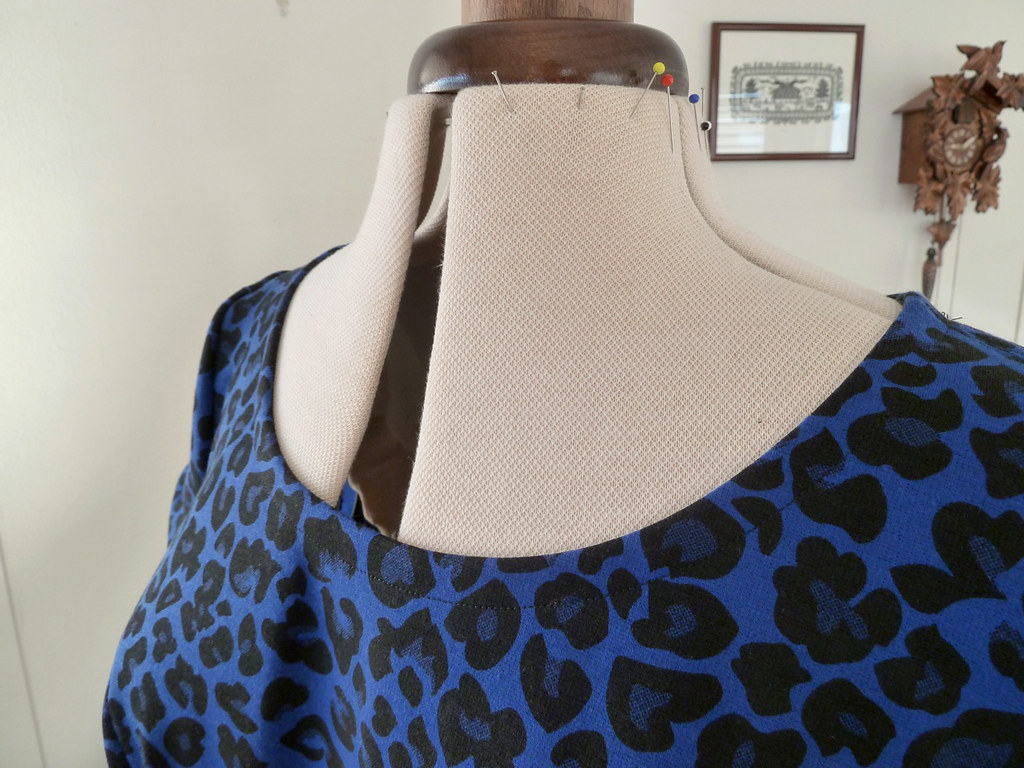
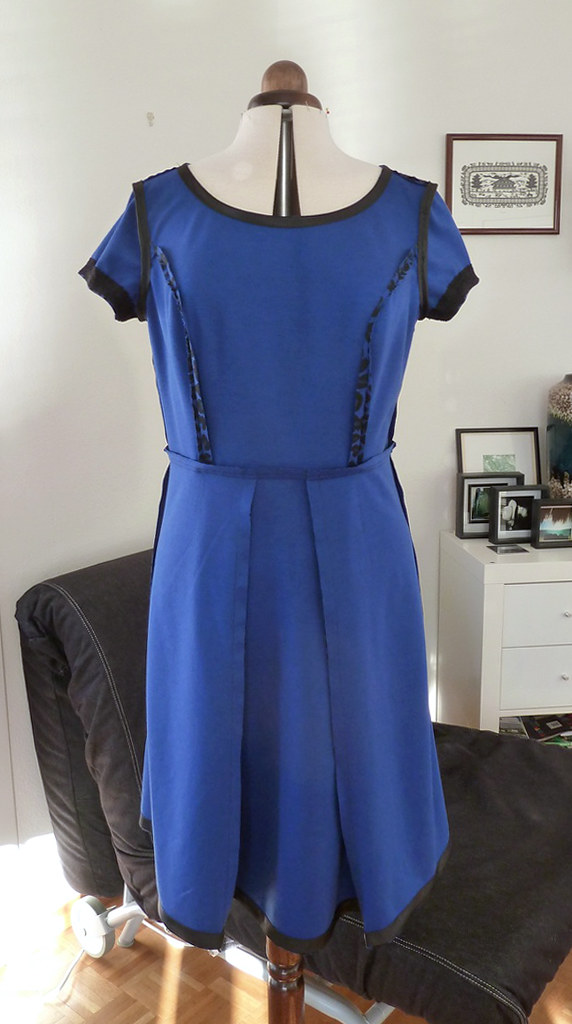
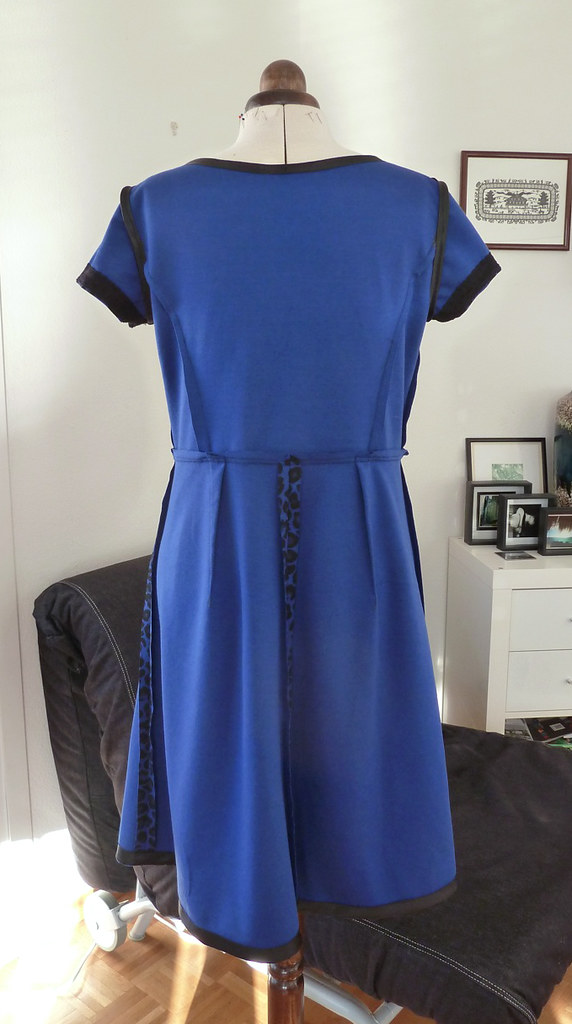
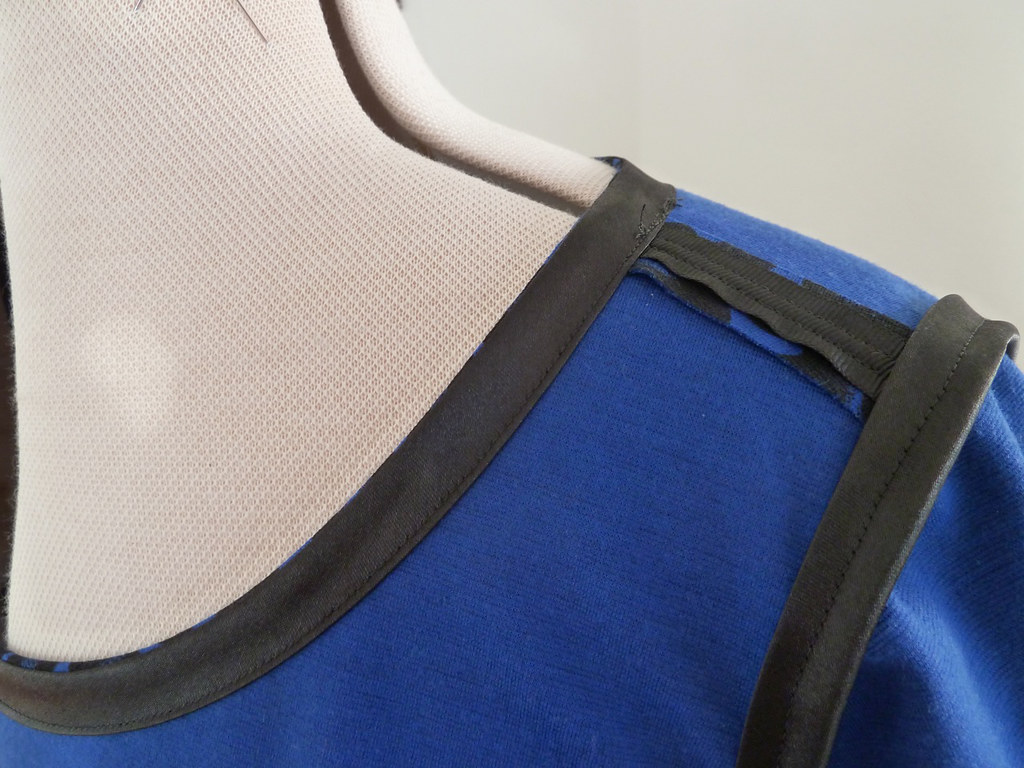
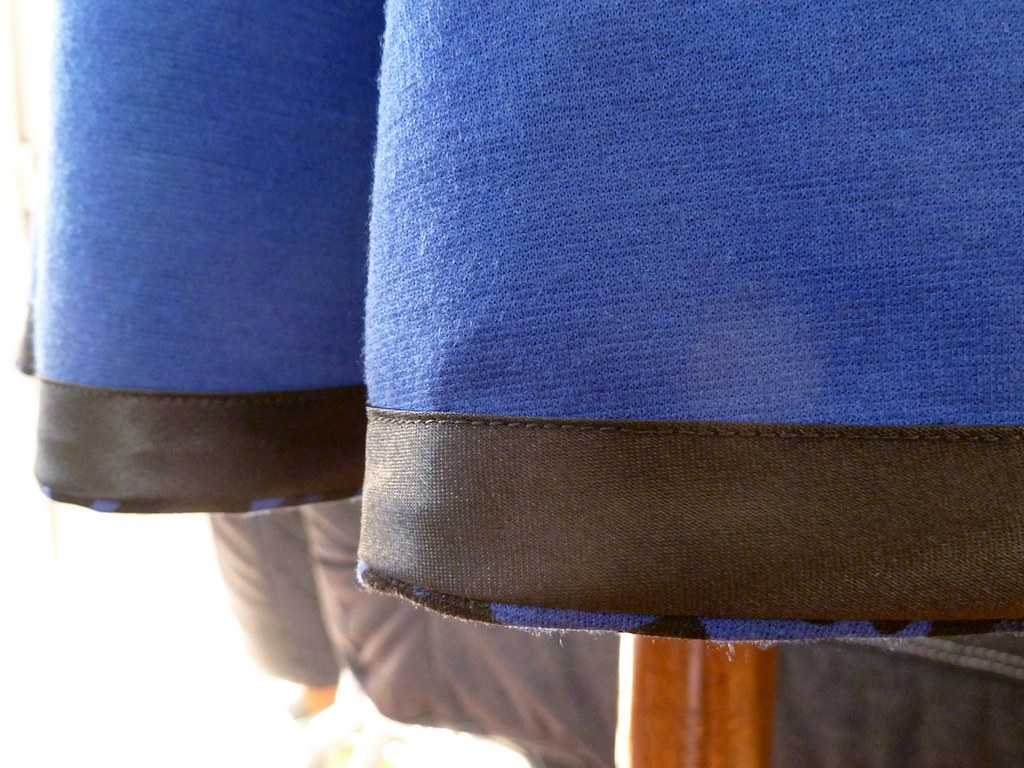
I finished the neckline with bias strip facing, topstitched down, and also finished the armscye seams with bias tape as they just looked way too ugly to be left unfinished. The shoulder seams were reinforced with grosgrain tape. I found that the sleeves and the hem were exactly the right length before finishing, so I finished these with stretch lace and bias tape facings respectively. The bias tape on the hem is reasonably heavyweight, so it also gives the hem a nice bit of structure. I used the "wrong" side of the lace on the sleeves as it is smoother.

Would you sew it again? Would you recommend it to others?

I may well sew this again as I do like the fit and the shape (although the fit over my bust needs a bit of work), and I would like to try the collar. I will probably make it in a woven, with lining, if I do make it again. I would definitely recommend this to others - it is quick to sew and is a very flattering dress.

Conclusion

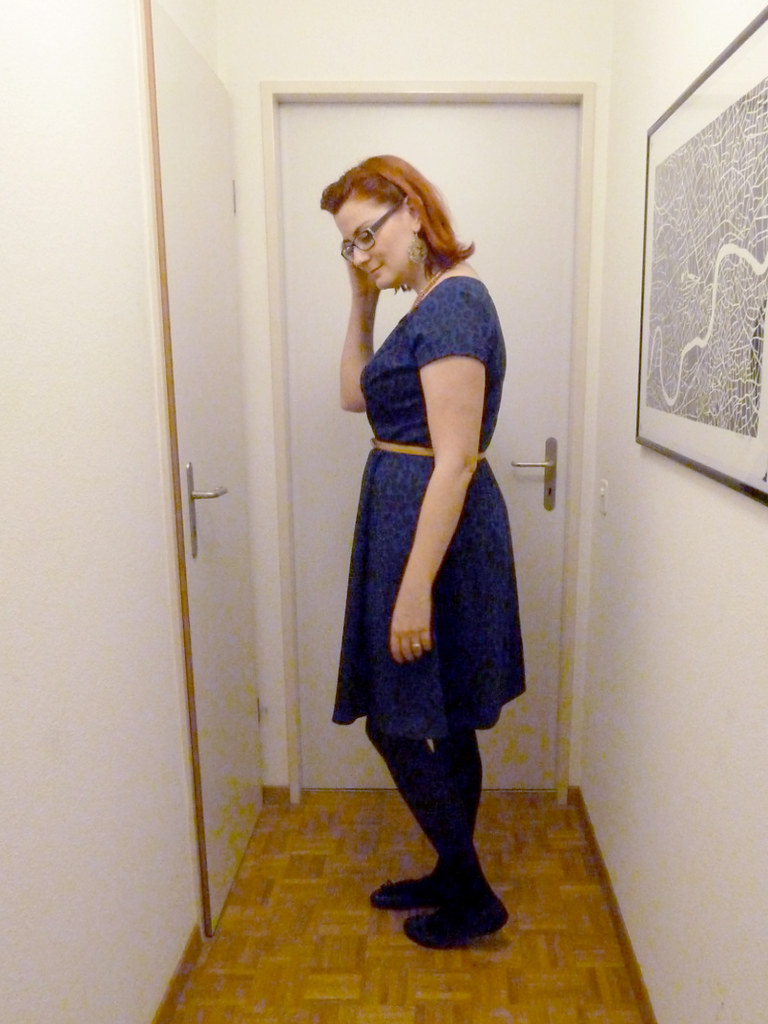
I really enjoyed wearing this for dinner and drinks with friends, and got a lot of compliments on it. I might try to adjust the fit over the bust a little before I wear it again though - whilst it's fine when I'm standing or sitting up with good posture, it looks a bit odd and wrinkly when I lean forward or slouch... (Just don't slouch then?). I love this print and colour, and the fabric is super comfortable to wear. All in all, a pretty successful make.

Saturday, 15 February 2014

Vintage pattern pledge

Vintage Sewing Pattern Pledge

You may have noticed a new badge over on the right there - yes, I've signed up to a new challenge this year:

During 2014, I, Dilly, will sew up at least three of my vintage sewing patterns.

Now, I don't have the greatest track record in completing challenges, but I'm actually feeling quite inspired by this one. In fact, the day before I came across this challenge, I had been considering my (embarrassingly large) collection of vintage patterns, and thinking how sad it is that I haven't sewn up more of them - partly because I would rather like to be wearing them, and partly because it seems so melancholy for them to be sitting in boxes. If I own them, I should use them!

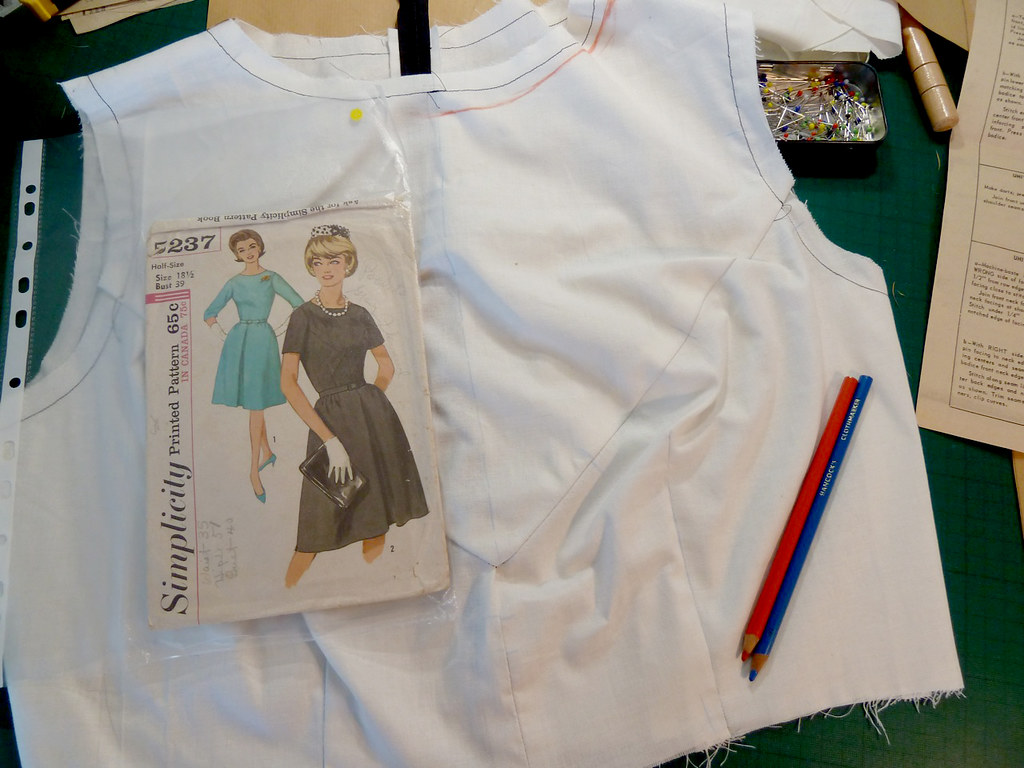
In this frame of mind, I had already re-traced a vintage pattern I had been struggling with before Christmas (having had a new idea about fitting it), so even before signing up, I'd made a good start!

I've kept to just three patterns in my pledge, as I've wanted to keep things realistic. I tend to muslin vintage patterns (as the sizing and fit can be very different to modern patterns), which takes up a fair amount of time, and I don't want to be sewing just vintage patterns this year! Although if I end up making more than three, that is of course a bonus...

Good news about the pattern I'm working on at the moment though - with just the adjustment I had been mulling over (lengthening the bodice and sleeve in the top part of the armscye), the bodice fit perfectly - without an FBA. I've had a bit more of a struggle with the sleeves (if you follow me on Twitter you'll know about that...), but I've got them fitting well enough that I'm about to start cutting the real fabric.

Wednesday, 12 February 2014

Split sleeves from Christmas dress

Follow my blog with Bloglovin - just claiming my blog, read on!

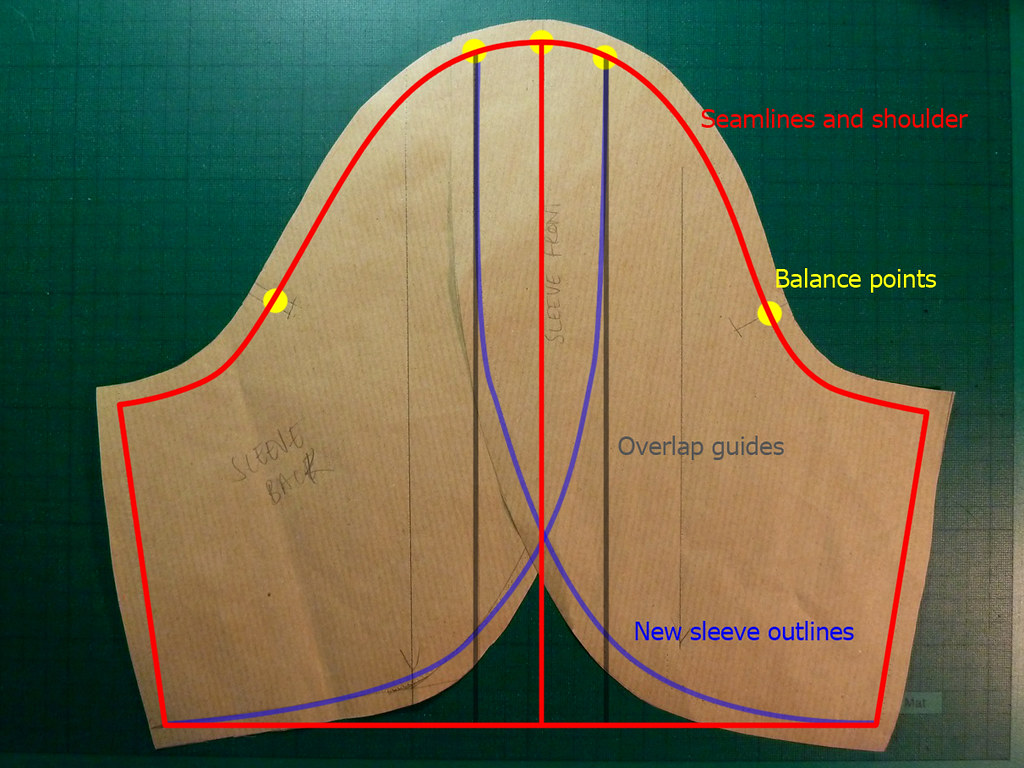
Trena asked if I could share how I drafted the sleeves for my Christmas dress, so here it is! This dress was made super quickly as a bit of an experiment, so the drafting was rather rough and ready... Rather than redoing the draft to show the steps, I've done a pretty picture to show the main steps!

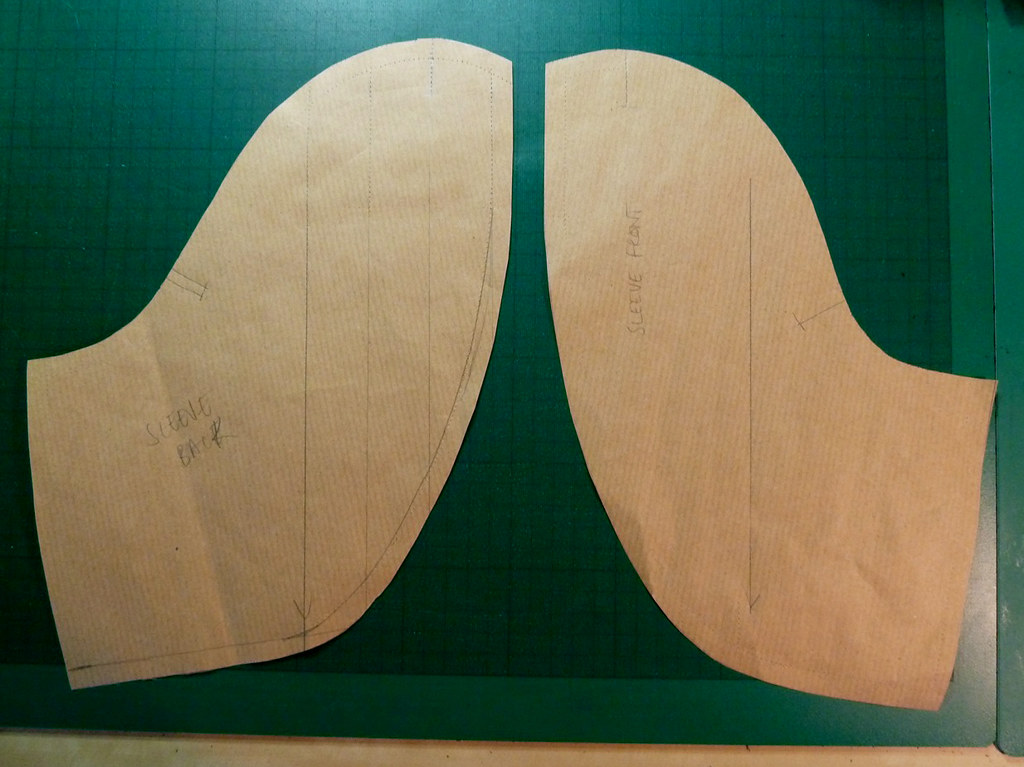
The red outline shows the original sleeve shape (after my adjustments for forward shoulder, and removing the ease), plus the "centre" line, which is dropped from the shoulder point. I decided how much to have the pieces overlap and marked these lines parallel to the centre line (shown in grey), then drew in the curves for the new shape (shown in blue). After that, it was simply a matter of tracing off the two sides, with balance points marked, and adding seam allowances.

You'll notice that I ended up with two pieces. This is because I decided to shape the underarm seam slightly. This was really completely pointless (and possibly contributed to the halves pulling apart too much when wearing the dress) - I would recommend just putting the two pieces together at the underarm seam (remember to mark this as a balance point on the pattern piece!) and cutting the sleeve as one piece. I would also probably increase the overlap. I think these would also look nice with a pleat or gathering in the overlap to add a bit of drama to the shape.

Hope this is helpful!

Tuesday, 11 February 2014

Another batwing top

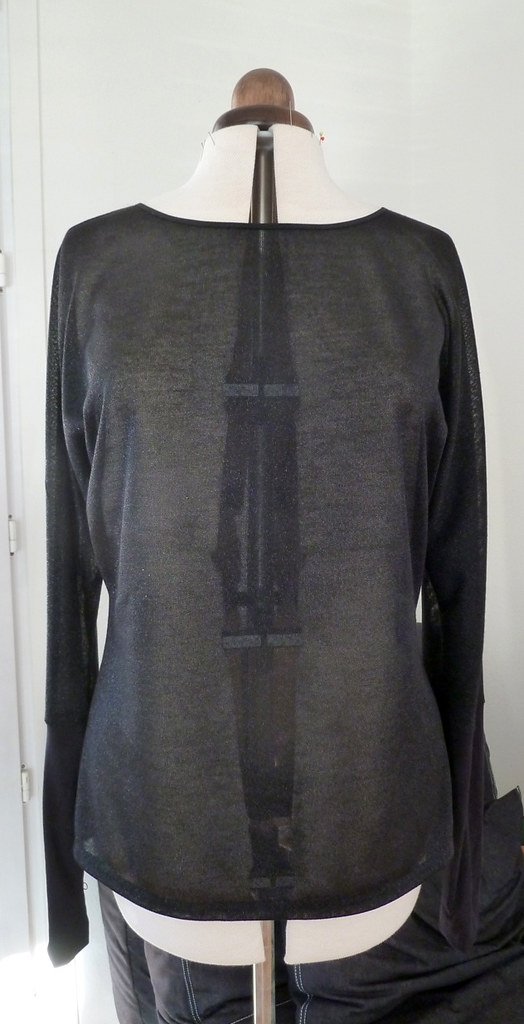
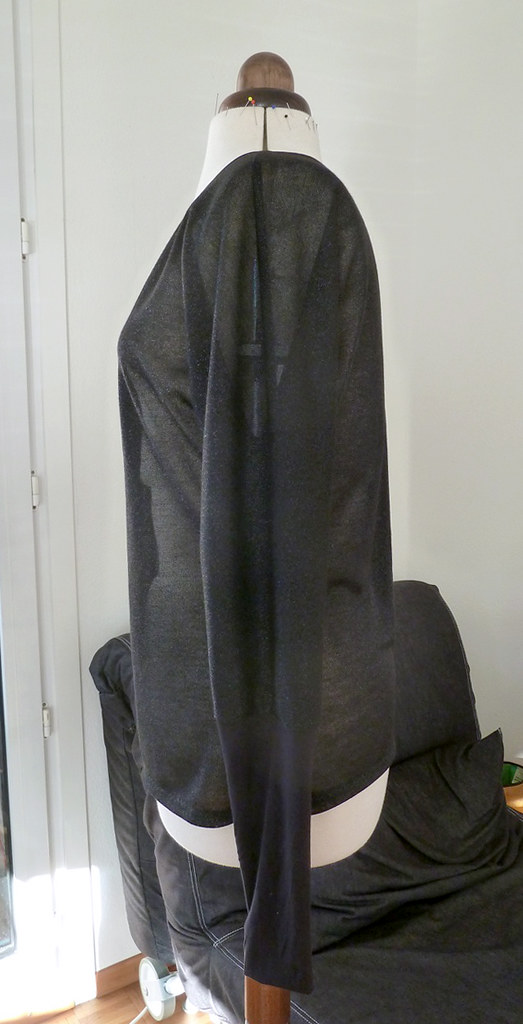
So, this is the December Burda Challenge from last year. The eagle-eyed amongst you may notice there's not been a November one... So close to completing my challenge, but so far! I think Burda fatigue had well and truly kicked in by then, and despite objectively liking a few of the patterns in the November magazine, nothing really grabbed me enough that I wanted to spend the time making it. Oh well, I WILL complete this challenge, just not in twelve months as I'd intended. In the spirit of just getting it done already, I chose this pattern as a quick one to sew up (although it's ok, I do need some comfortable but slightly more dressy tops...).

Pattern description

BurdaStyle magazine 12/2013/128: Batwing top with long cuffs.

Pattern sizing

34-42. I graded up to 44.

Fabric used

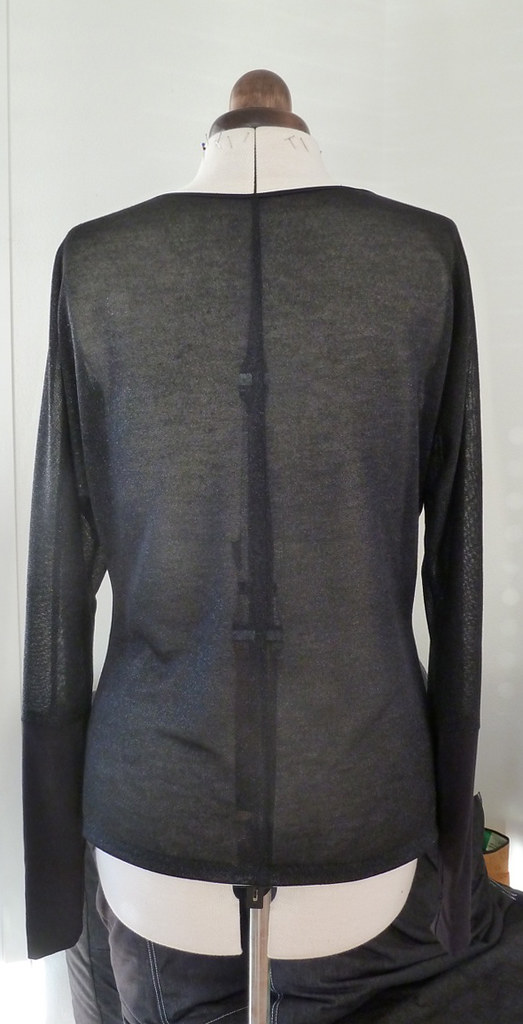
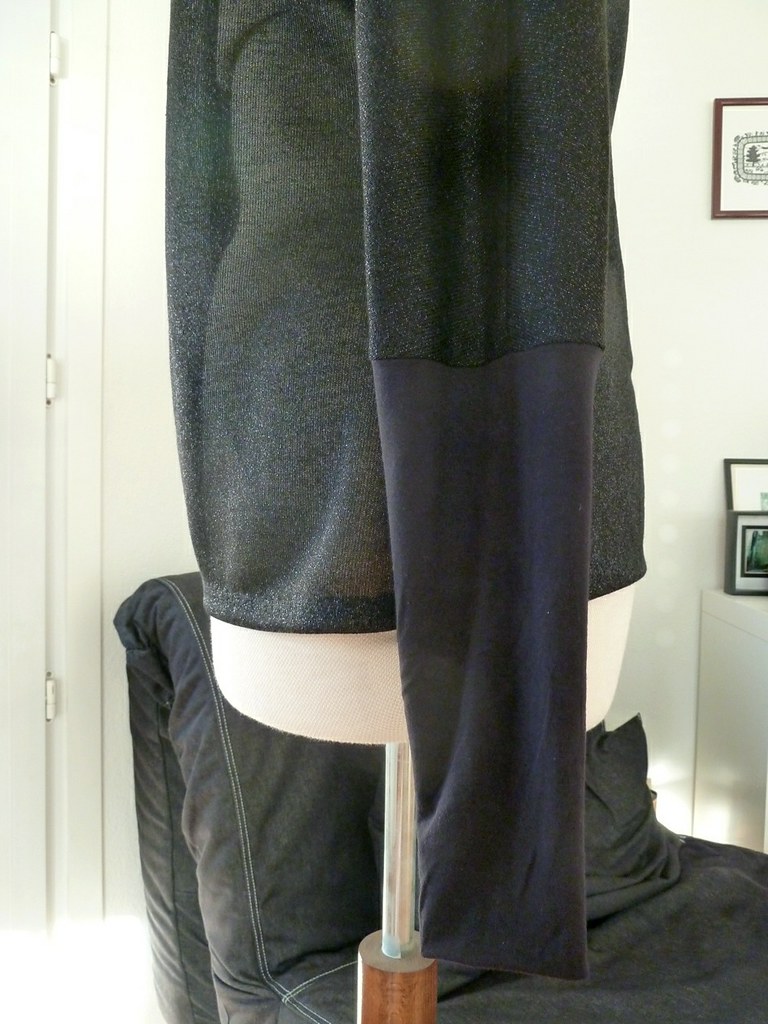
A sheer sparkly knit, plus bamboo jersey for the cuffs.

Did it look like the photo/drawing on the pattern envelope when you were done?

Mostly, although with the fabric I used mine was a lot less drapey.

Were the instructions easy to follow?

I didn't really use them as this is a very simple top, however, from my quick glance through, they seem fairly straightforward.

What did you particularly like or dislike about the pattern?

I really like the long, narrow cuffs, I think it streamlines the casualness of the batwing sleeves. No dislikes!

Pattern alterations or any design changes you made

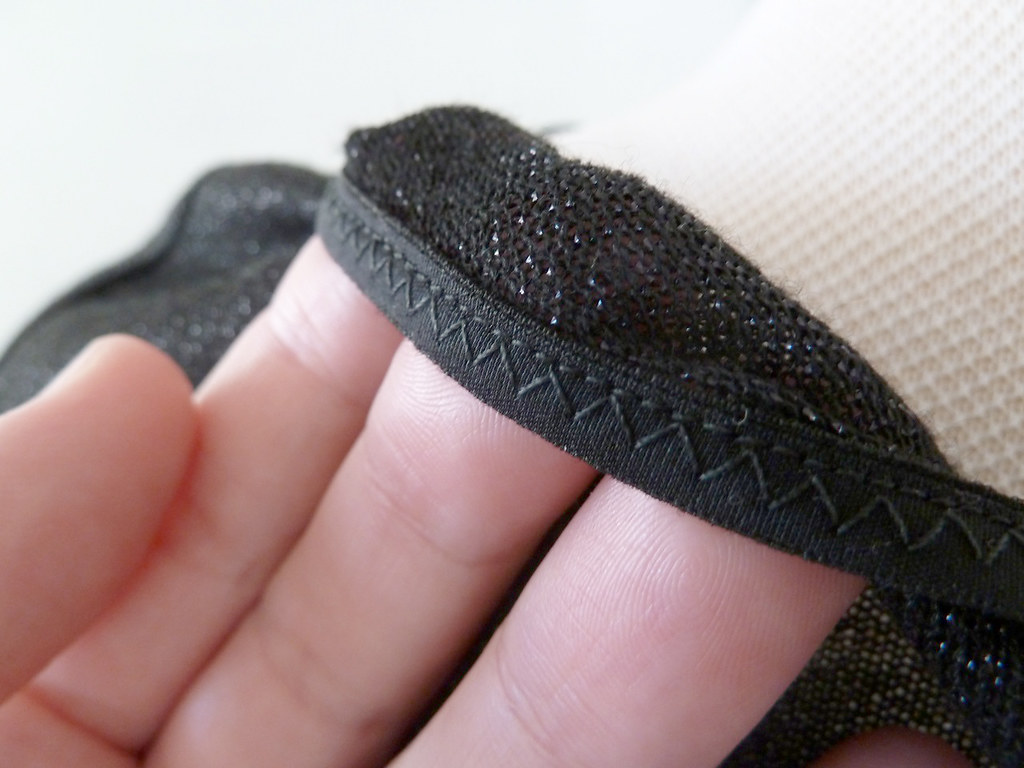
I made a swayback adjustment using the quick method of rotating the back shoulder and neckline down (I could have taken a bit more off here actually) and added a bit more width at the hips as my fabric wasn't super stretchy. This sparkly fabric is also a bit itchy, so I decided to use a contrast fabric for the cuffs. This meant that the cutting layout would have been very wasteful, so I cut the back piece with a centre back seam. I narrowed the cuff sections a fair amount as they were quite loose as drafted, and I finished the neckline with fold-over elastic instead of the suggested binding strip.

Construction details

Seams were sewn on the serger, with the neckline elastic and hem finished with my regular sewing machine. FOE is much easier to apply (especially narrow ones like this) when sewn in two passes: first sew the inside half with a zig-zag stitch, then fold over and stitch the outside down (I used a straight stitch as it didn't need to stretch much).

Would you sew it again? Would you recommend it to others?

I might sew this again in a drapier fabric - it will be a nice quick project as a palette cleanser between others! I would recommend this to others, it is nicely drafted, and super quick to make up.

Conclusion

Despite the itchiness of the fabric, it's actually fairly comfortable to wear out, and not too hot either. This wasn't quite the fabulous way I was hoping to finish this challenge, but it is still a useful top that fills a hole in my wardrobe.