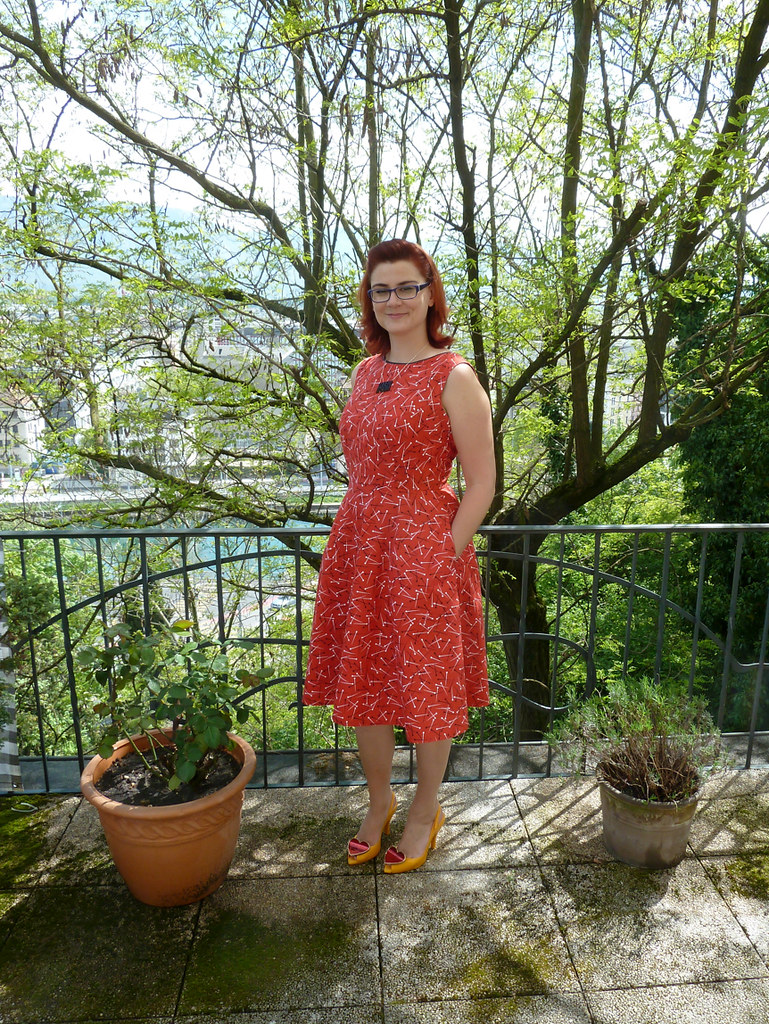
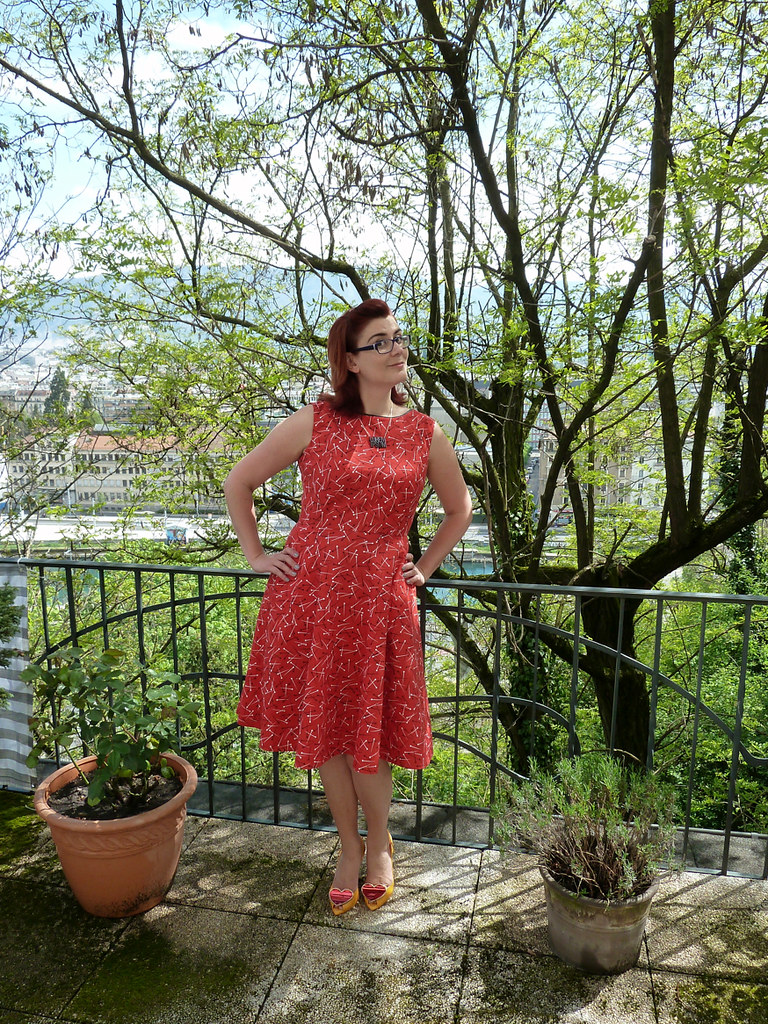
If you've noticed a rash of full-skirted, novelty print dresses and grinning faces on sewing blogs, you're not going mad - it's Sew Dolly Clackett! This adorable idea was dreamt up by Sarah of Rhinestones and Telephones to help the sewists of the world celebrate Roisin's (a.k.a. Dolly Clackett's) wedding. I have a stash of novelty print quilting cottons that I bought when I first started sewing, so this was a perfect opportunity to use some up! I figured this print was appropriate for a sewalong honouring a fellow seamstress, and it's novelty and bold enough to be suitably Roisin-ish but not so in your face that I wouldn't feel comfortable wearing it.
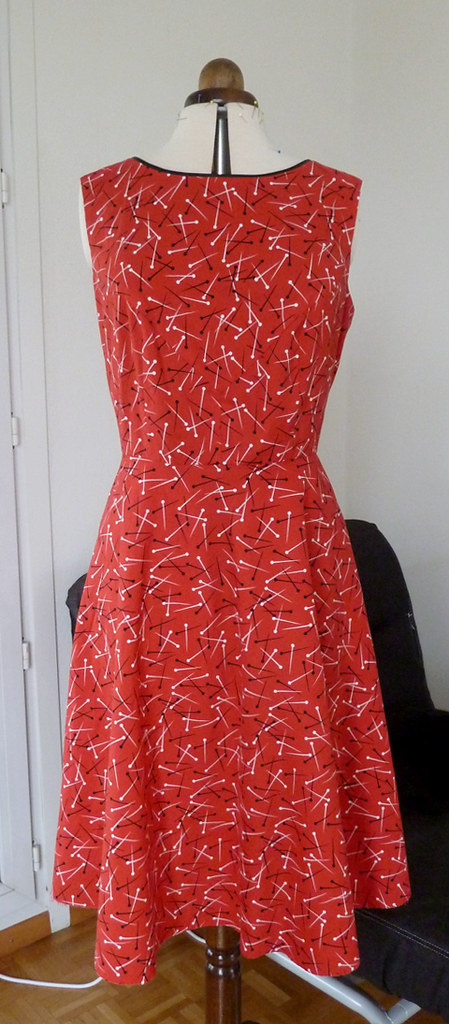
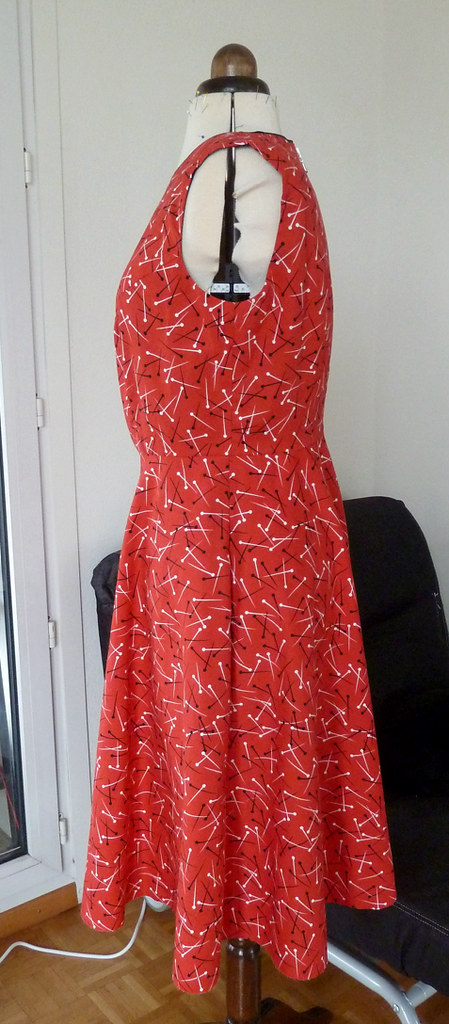
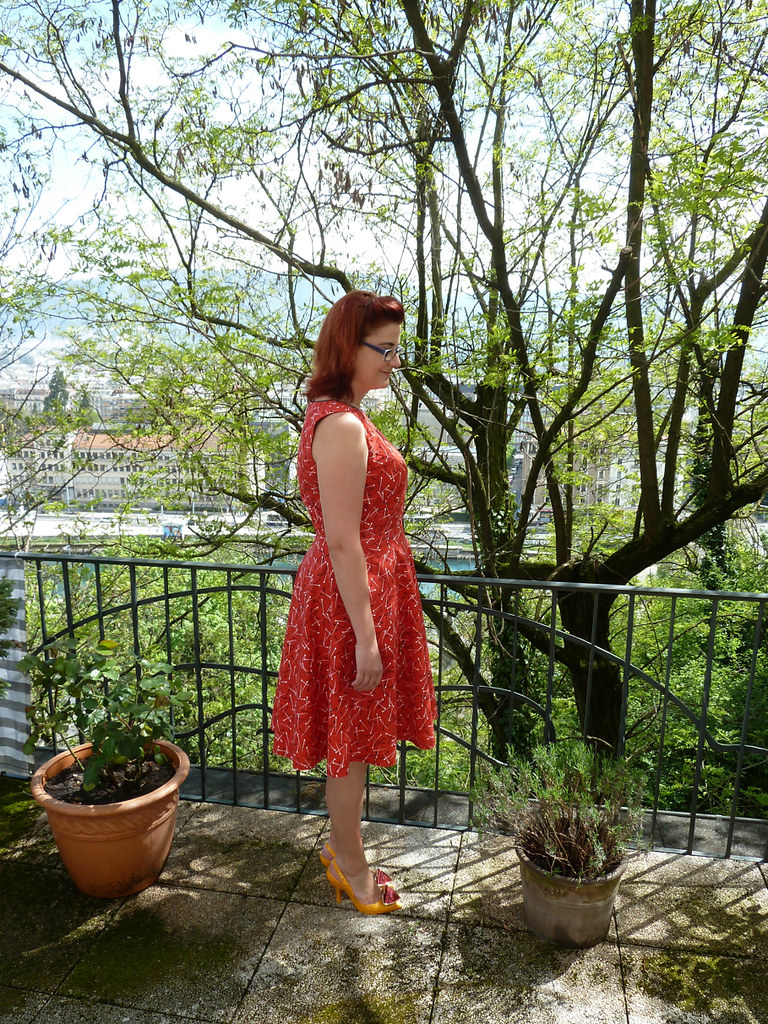
In true Dolly Clackett style, I hacked a pattern to create a personalised dress. As I mentioned in my last post, this is the bodice from (vintage) Simplicity 5237, adjusted to be sleeveless. If you just take the sleeves off a pattern, the likelihood is that it won't fit that well around the arm, as a pattern with sleeves will have a bit of extra ease in this area. I took about 1.25cm off each side seam (front and back) at the bottom of the armscye tapering down to a few mm at the waist (the first dress could do with being brought in a little at the waist). I also took a few mm off the diagonal seam at each armscye. After wearing it, I realised, I've actually taken a bit too much off the side seams right at the bottom of the bodice, so that the bodice rides up a bit because the smallest part is now a little below my actual waist. (The other solution to this would be to shorten the bodice a little, but that's not so easy once the zip's in!)
Instead of the original skirt, I drafted a half-circle skirt, and added side seam pockets. The bodice is lined in black cotton batiste, but I left the skirt unlined. I referred to Trena's handy picture tutorial for lining the bodice, and the skirt is hemmed with black bias tape (made from the same soft batiste as the bodice lining) to echo the black piping at the top if you see a flash of the inside of the skirt. I finished the hem by hand to keep it invisible from the outside.
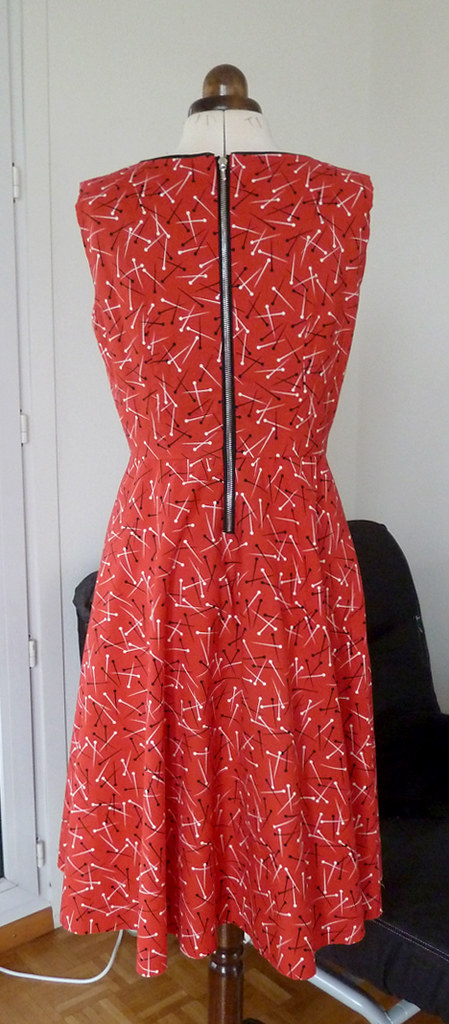
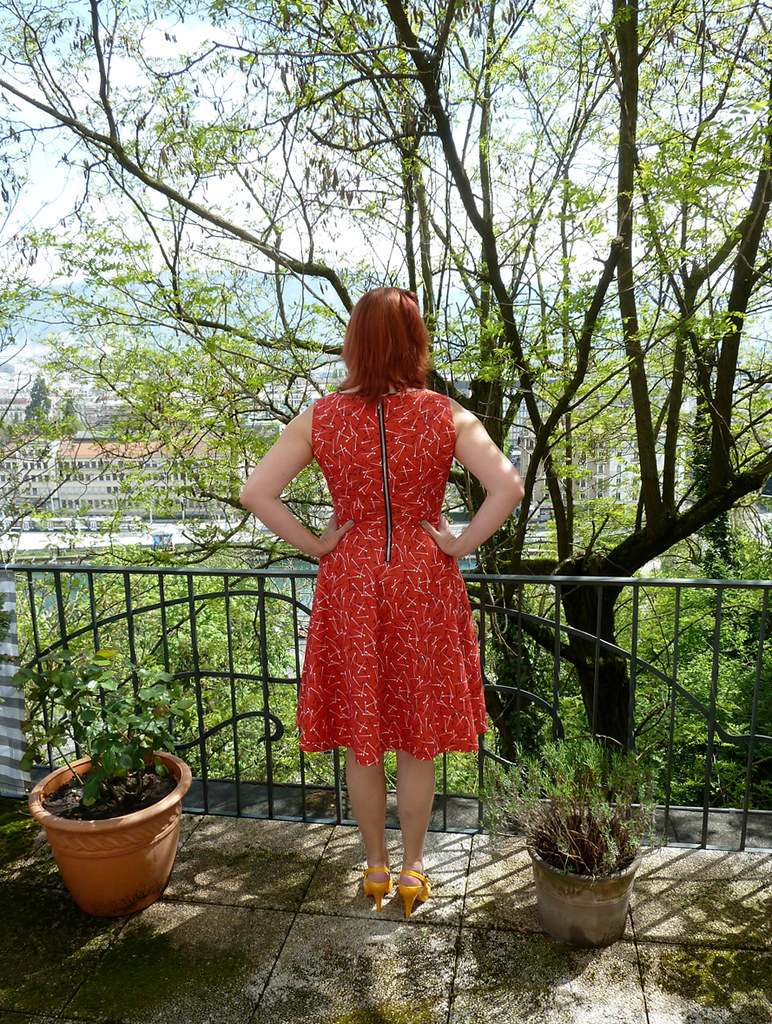
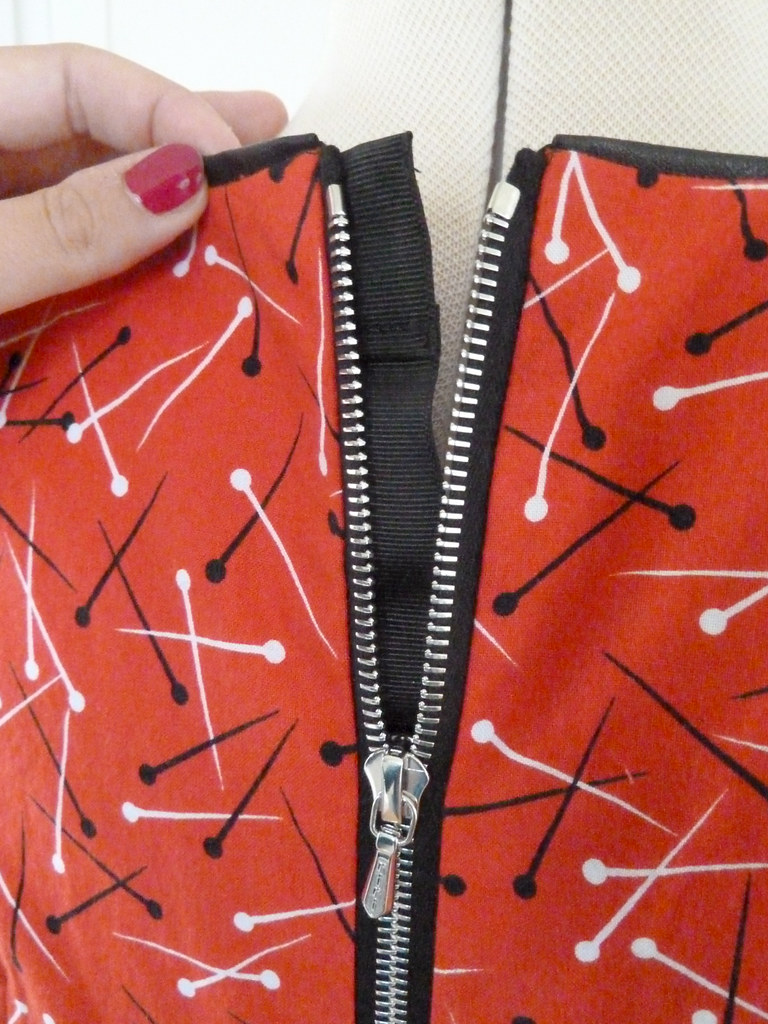
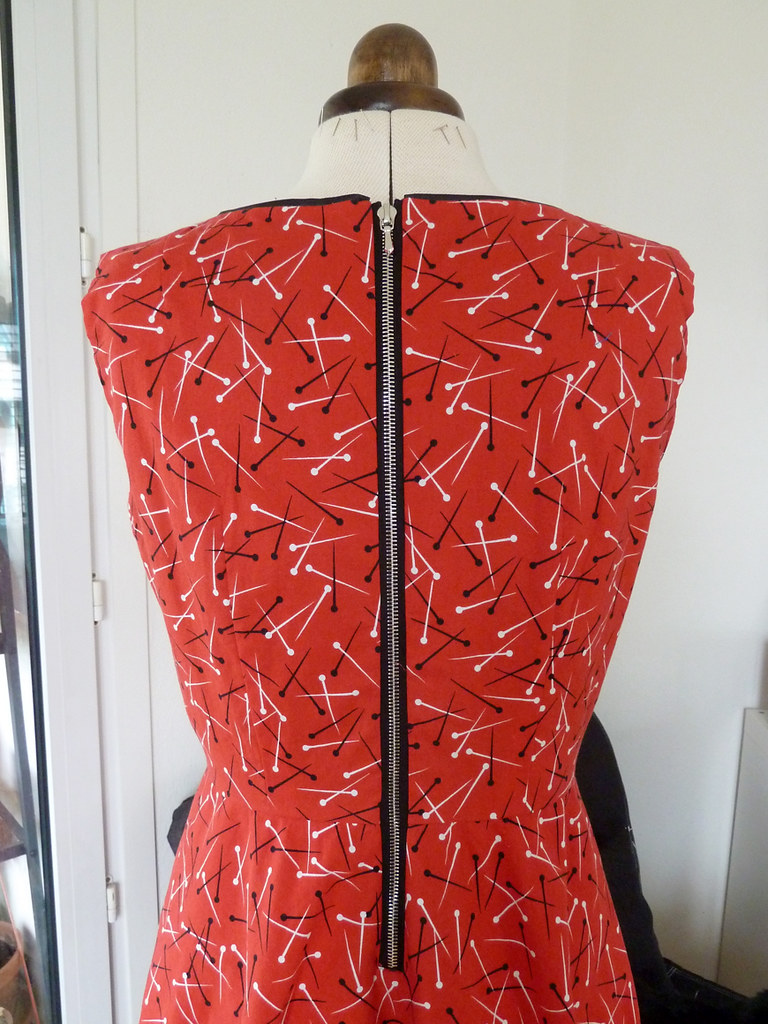
Whilst this is obviously inspired by Roisin's style, I added a couple of details to make it my own. At the neck I added black leather piping, plus an exposed metal zip at the back. I like the slightly harder edge these give to what might otherwise be a rather novelty dress for my taste. I had been planning to use the leather piping at the arms too, but decided against it in the end, partly because I thought it might be a bit "sticky" there, and also because it was fiddly and I couldn't be bothered with it...!
The zip was inserted using the method shown over at Pattern Runway, and I added a grosgrain ribbon zipper guard so the metal wouldn't be cold or irritating against my skin. The zip is actually a little short - I can get the dress on and off fine over my head, but can't step into it like I prefer. It's also too tight to get onto Wilma comfortably, so the pictures at the top are actually before it's hemmed - I didn't want to strain the zip putting it back on her again for more photos.
I wanted to find a nice doorway to pose in front of, but front doors of the buildings in town over here all have glass in them, which is pretty, but not so great for a backdrop, what with all the reflections of cars and my photographer. However, I did manage to include a couple of authentic Roisin details: Lady Dragon shoes, and an alcoholic drink...
Here's to you, Dolly Clackett! And here's to many years of happiness ahead with Nic! (And to many more crazy dresses, fabulous shoes, and tasty gin-based cocktails!)





I love it! Your exposed zipper is just perfect for this project, very inspiring!
ReplyDeleteGorgeous dress! Love both the pattern and the fabric. Perfect fit
ReplyDeleteThe pin fabric is so fun! Great design, too.
ReplyDeleteWhat a gorgeous dress! The pin print fabric is such fun and I love the colour :)
ReplyDeleteGreat dress and so flattering on. Thanks for sharing the zipper technique. I like the idea of a crossgrain ribbon guard - much less bulk than trying to do a skirt style zip guard for a dress length.
ReplyDelete