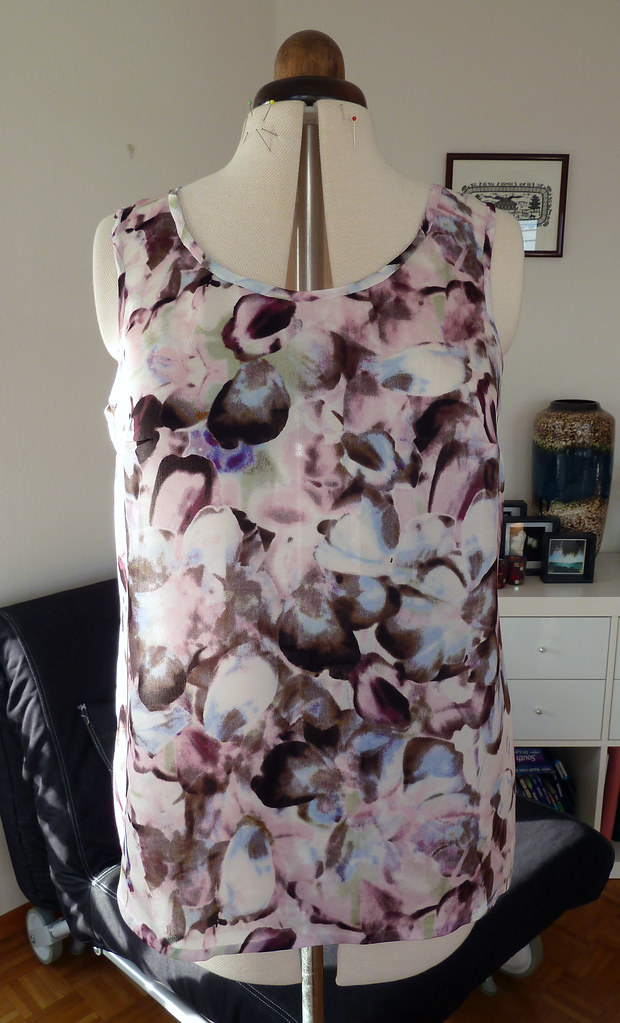
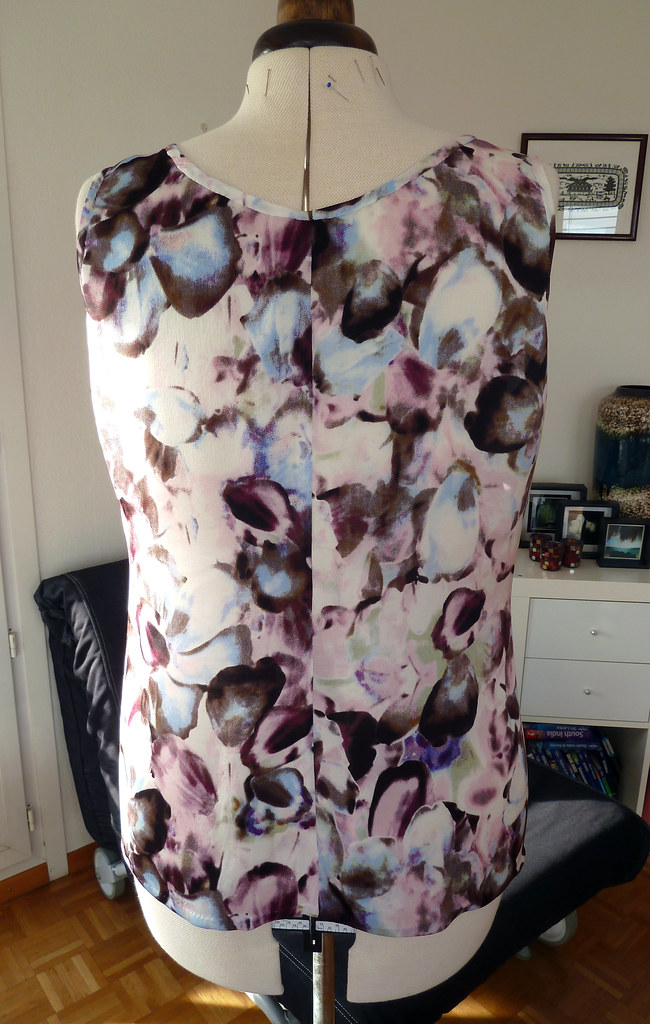
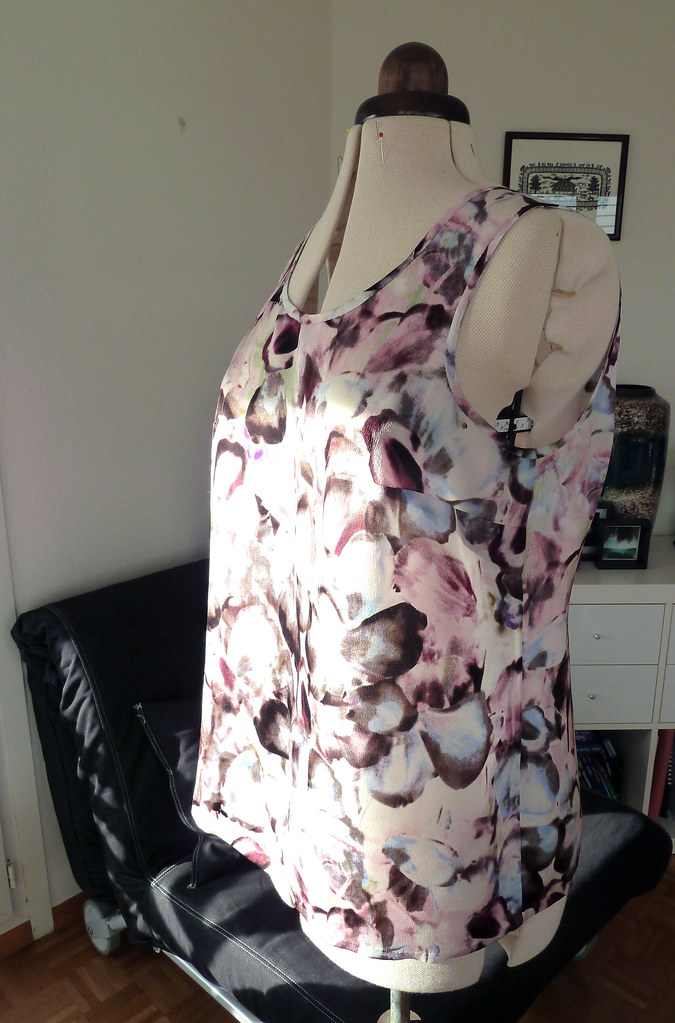
Yet another Sorbetto variation for me (See my previous versions here, here and here), made before the previous peplum top, but I'm very behind with my blogging. This one is back to the original shape, but without the front pleat. I used the fitting refinements at the hip that I made for the V&A Sorbetto, and remembered to finally add the seam allowance on the centre back... I'm not going to do a full on review for this, as I think you must know all my thoughts on the standard Sorbetto by now!
Part of my sewing plan is to make more pretty "going out" tops, so this was made to help fill that hole in my wardrobe. It's turned out to be quite versatile as it's cool enough to wear when it's warm (i.e. when summer returns, or currently in the overheated Swiss winter interiors), but also works for layering when it's cooler.
The fabric is a very lightweight silk crêpe de chine from Fabric.com with a lovely subtle sheen. It's actually slightly sheer, so I tend to wear it with a cami underneath - I didn't want to interline it as I didn't want to lose the fluidity. Although a little fiddly to sew as it's slightly "bouncy", because of the crêpe texture it's not too slippery, and it presses beautifully. (As an aside, I'm really quite hacked off with Fabric.com lately - has anyone else had problems with them? They used to be excellent, but now everything is so slow, and half the order has gone out of stock by the time they send it... Ah, I will save a whole post to rant I think!)
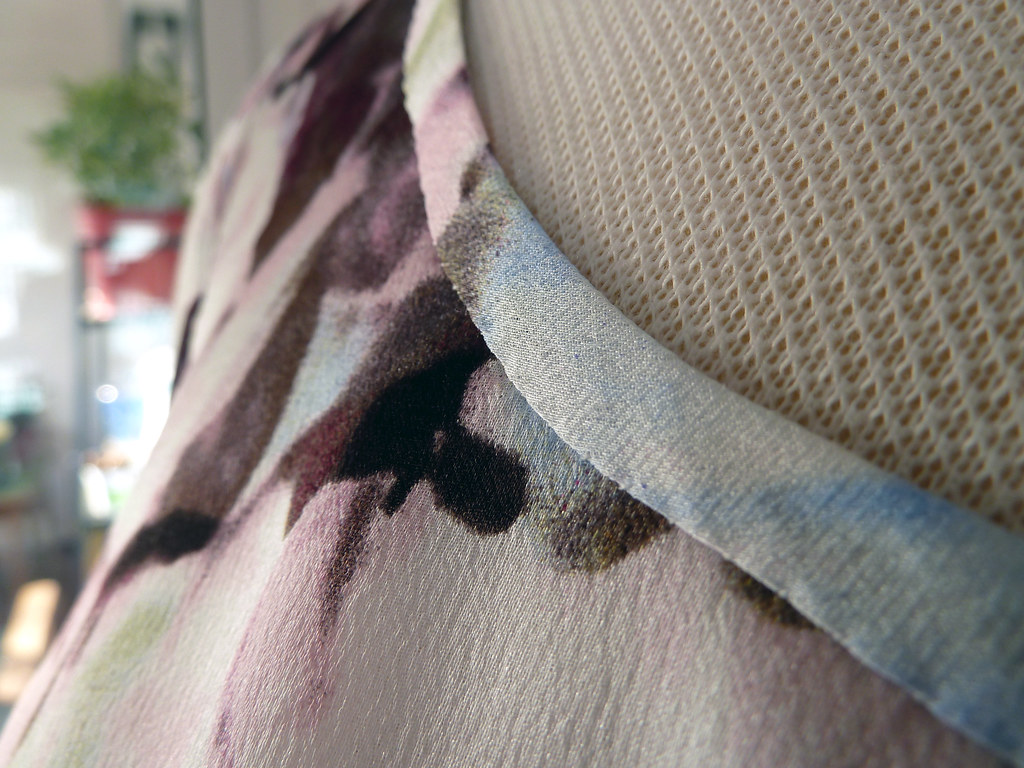
This top is sewn with French seams, and the neckline and arms are finished with bias strips. I missed off the side slits at the hip as I couldn't work out how to do them with French seams, but it would have actually benefited from having them. If you follow me on Twitter, you will already know that the binding was... fiddly. I wanted it fairly narrow, so I cut it 2cm wide: 1cm plus 2 x 5mm seam allowance. However, it didn't occur to me that the crêpe would be very very very stretchy on the bias, meaning it became very narrow as I sewed it. Urgh. This meant it was super hard to control when making the first pass to sew the binding to the bodice, and impossible to turn under and press as usual to sew the second pass by machine.
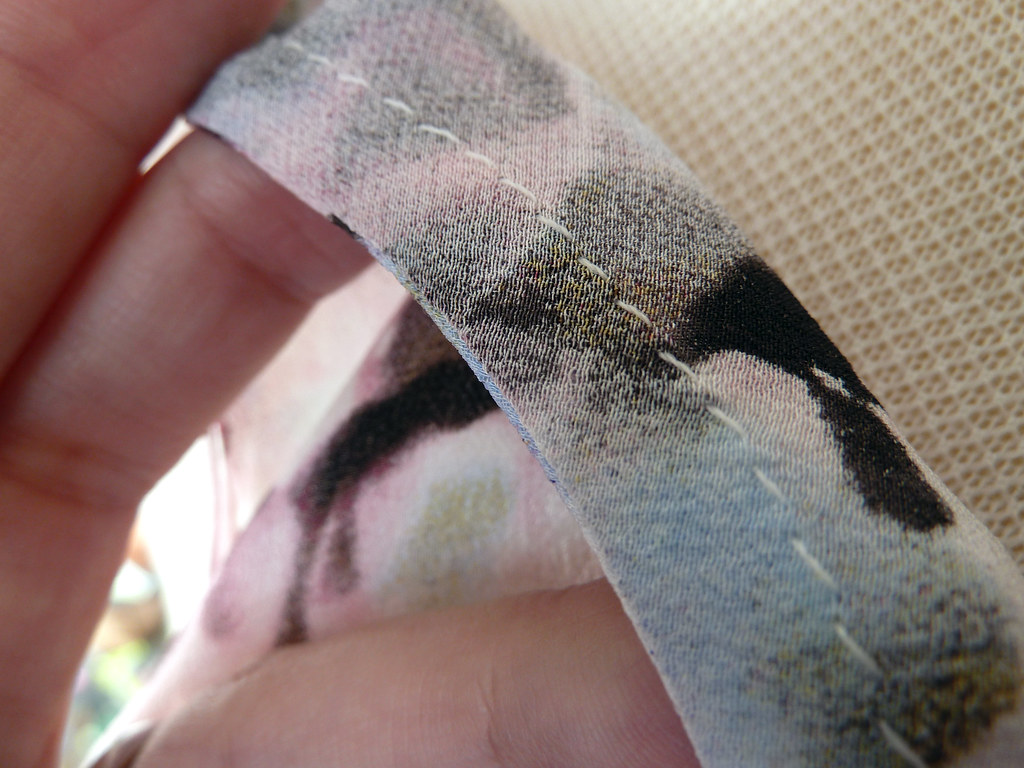
I ended up doing an awful lot of hand basting: sew the first pass by machine, right side of the binding to wrong side of the bodice, stretching slightly but not too much; press the binding away from the bodice; fold the binding to the outside and baste close to the fold; press; fold the edge under and baste; slipstitch down; remove basting; press. I didn't take any photos of this process. I was too busy swearing. At least the benefit of doing so much handsewing meant I could sit at the dining table and watch Masterchef whilst I did it...
The hem was also sewn by hand: pin up about 7mm; press, removing pins as you go; fold up again to enclose the raw edge and baste; press lightly; slipstich the hem, picking up only a couple of threads on the bodice each time; remove basting; press. I'm actually quite glad I ended up finishing it by hand, as it's pretty invisible so gives a very clean finish.
I used a couple of new techniques with this top. The first was using the walking foot for my machine. For the rest of the sewing I used the teflon foot, but when I was staystitching the neck and arms, I just couldn't get the tension and feed right when sewing a single layer and the fabric was just puckering up. The walking foot stopped this completely, but I think next time I will try using tissue paper to stabilise it whilst sewing, as I found the fabric very difficult to control with the walking foot, especially when sewing curves. Those who use them regularly: is this something inherent to walking feet, or is this just something I will improve at with practice?
The second new thing was a revelation. Normally when basting, I use cotton basting thread as it's super cheap, and breaks easily which is useful when removing it. However, it's also quite thick, so there's a limit to the smallness of the needle you can use before it is impossible to thread. Here, I wanted to use a fine needle with the delicate fabric, so I dug out the silk thread I'd bought ages ago for basting (partly after seeing that it is all Melissa uses), but had never used (mainly as it seemed very expensive to "waste" on basting). My goodness, I don't think I'll go back to cotton! It's so much smoother to use - none of the catchiness when pulling it through or removing it. Now I just need to find a reasonably priced source to buy more.
This top is definitely a success. It's super comfy to wear but also very pretty - it's had several outings already! I just need to remember to take some photos of me wearing it...
Thats LOVELY! I really like that silk, so simple and beautiful! x
ReplyDeleteThanks Stevie! It feels rather lovely to wear too.
ReplyDeleteThis is so pretty! I love the fabric! Great job on all the hand stitching too!
ReplyDeleteThanks Jenny! Although it was particularly fiddly here, I actually secretly love hand sewing - I find it very relaxing and therapeutic.
ReplyDeleteVery pretty! Sorbetto is such a fantastic basic pattern, and I love that you get get so much wear out of 1m of lovely silk. I'm glad to hear you've gone over to the side of silk basting thread, too - it's just so easy to remove afterwards!
ReplyDeleteBeautiful top! I find a simple shell the best way to show off a small amount of fancy fabric. I can see why you're getting a lot of wear out of it.
ReplyDeleteIt's really nice and a fine example of a Sorbetto :D Good work :D Lovely to find your blog :D
ReplyDeletecaffy from bundana.blogspot.co.uk
xxx
Thanks all! Melissa, definitely silk basting thread from now on... Trena, yes it's good to have a fairly inexpensive way of using lovely fabric. Caffy, thank you so much!
ReplyDeleteIt is especially decent, though look into the tips during this home address. Womens silk shirts
ReplyDelete