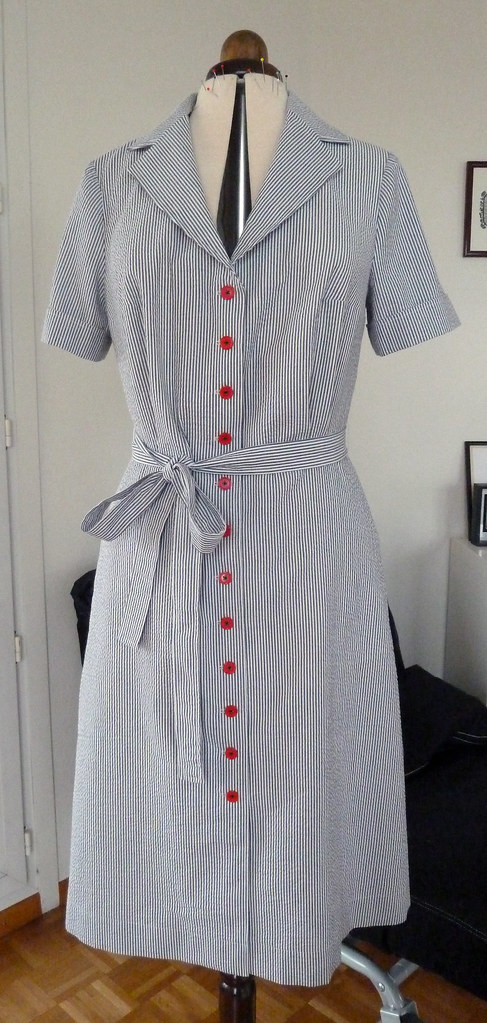
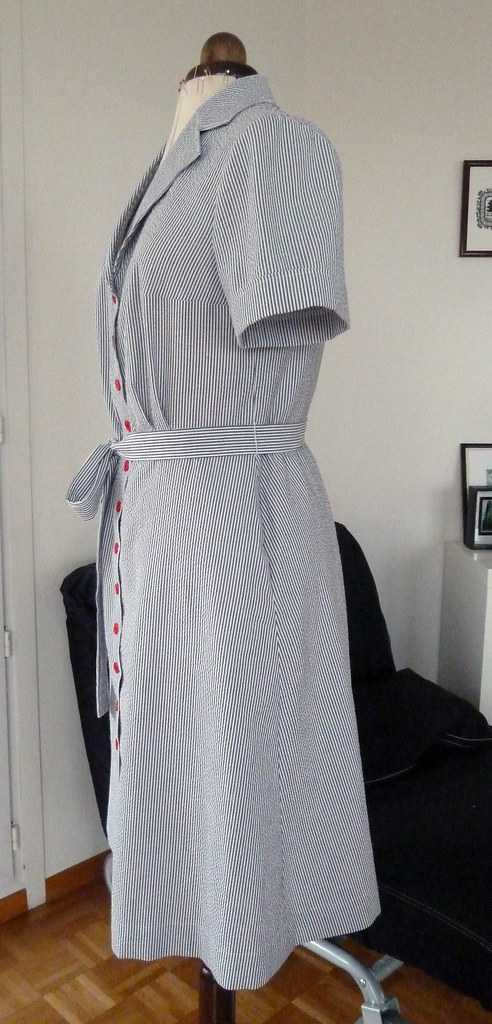
I've been on a kick of summer clothes lately with all the holiday sewing, and something I've been wanting to make for a while is a seersucker shirt-dress - I had a lovely sleeveless one from Monsoon a few years ago, but it never really fit that well (anything RTW button-up is unlikely to fit that well for me, unfortunately), so it went to charity. I have a ton of vintage shirt-dress patterns, but most of these need grading up in size, and I wanted something a bit quicker, so I had a look through my commercial patterns. I settled on BWOF 05/2010/137, as it had pretty much all the features I wanted: wide neckline, A-line skirt with pockets, and short sleeves.
Pattern description
Shirt-waist dress with notched collar and in-seam side pockets.Pattern sizing
44-52. I cut the 44.Fabric used
Black and white striped cotton seersucker, with plain white polycotton for the pockets.Did it look like the photo/drawing on the pattern envelope when you were done?
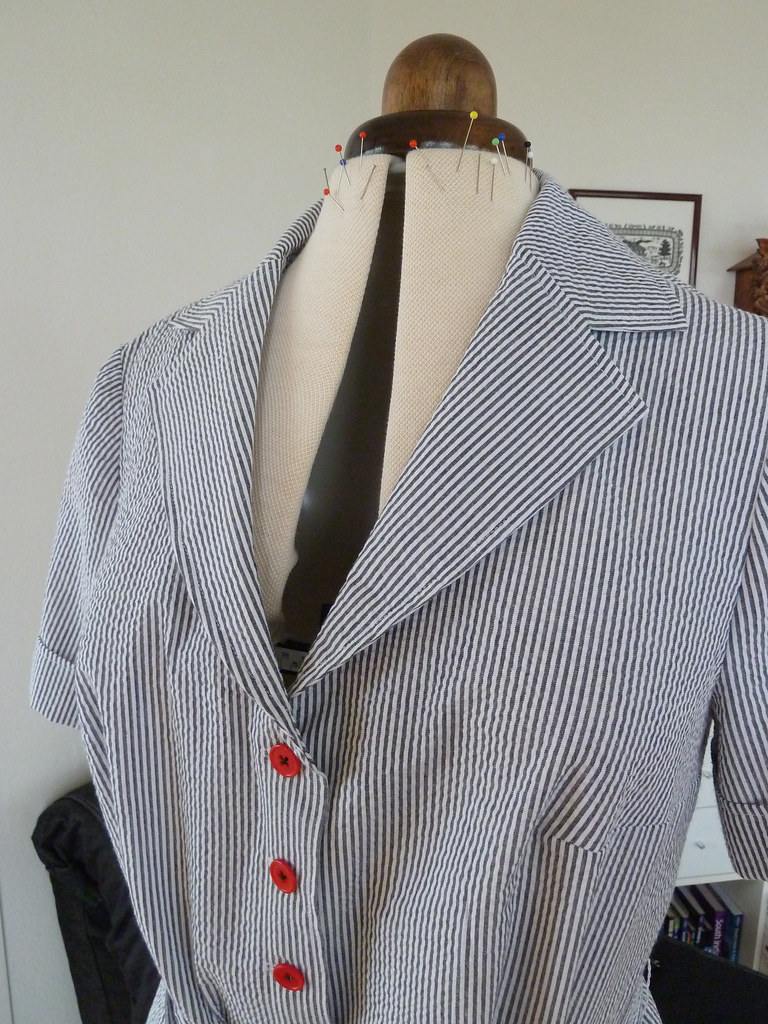
It looked like the line drawing. Although this dress looks gorgeous in the photo (as do nearly all the plus size dresses in this issue - possibly helped by the gorgeous model!), it's actually quite hard to see details of the fit, especially around the neckline - she has the top few buttons undone. Be warned that in addition to the usual Burda low-ness, the neckline is also very wide.Were the instructions easy to follow?
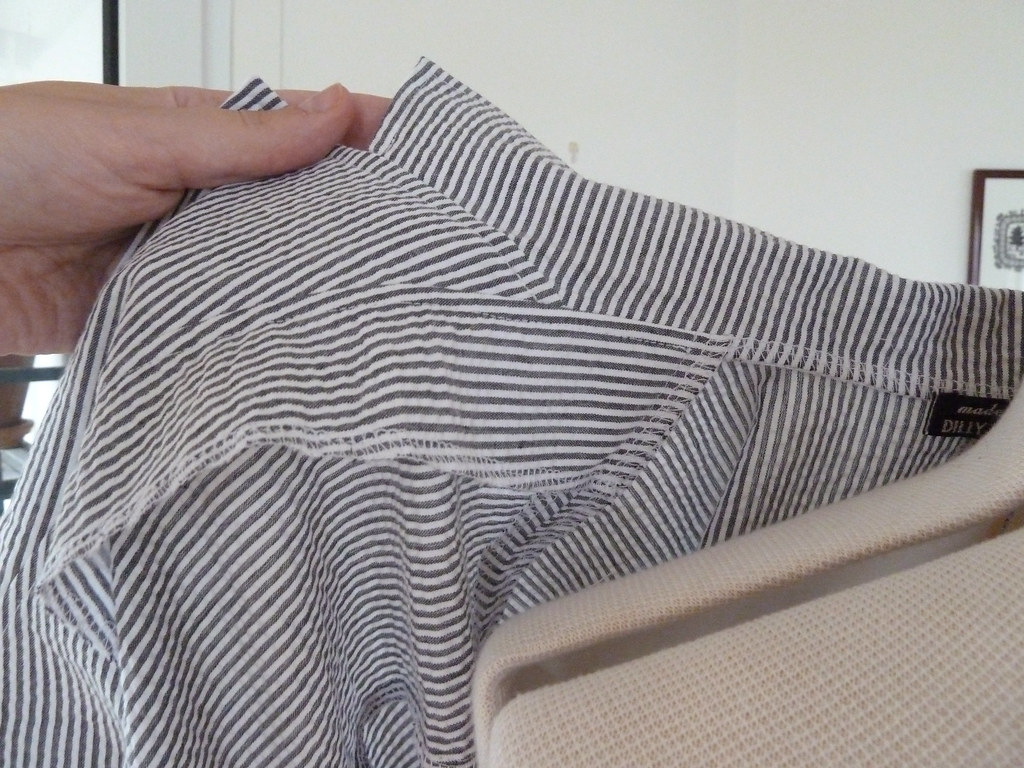
I had a couple of issues with the instructions for this dress: the collar and the pockets.As the instructions have it, the edges of the facings are not properly finished, and there is just a vague mention of "neatening the edges" after the collar is sewn. I finished the edges of the facings before attaching them, and then sewed the collar on with the serger to finish it at the same time. However it's done, the finishing needs to be done before turning the facings and lapels the right way out.
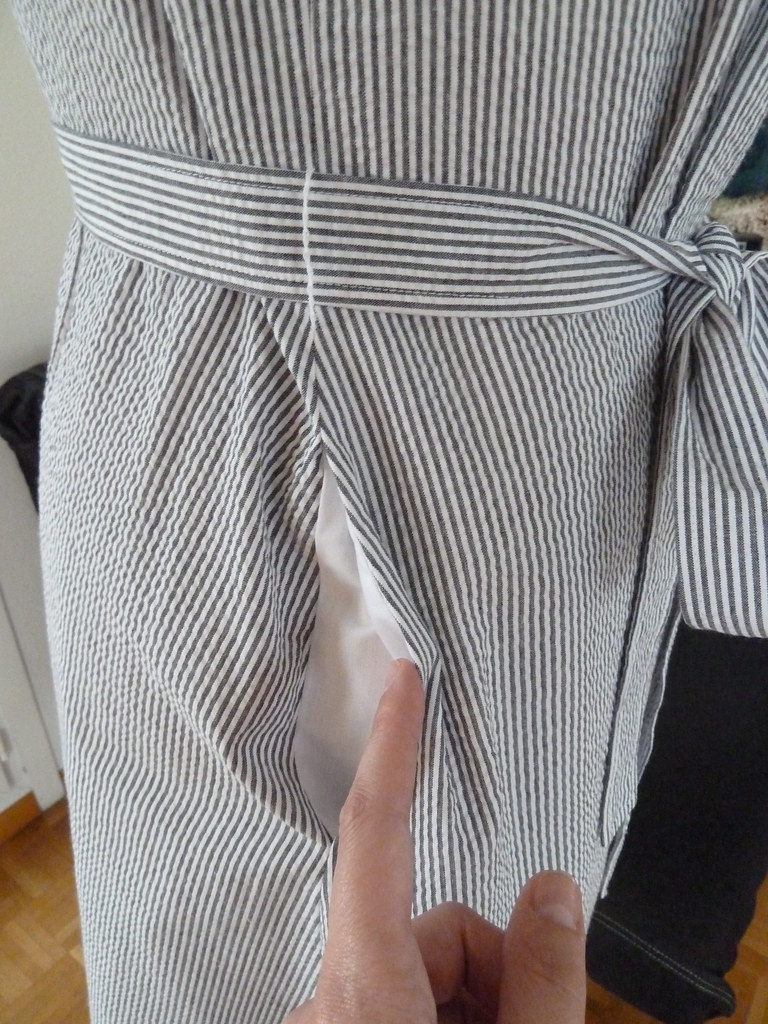
I have to say, I've never come across instructions for attaching the pockets like those given here. Burda instruct you to sew the side seams first, leaving a gap, then sewing the pockets together and somehow fiddling them into place. I ignored Burda, and sewed on the pockets in a more sensible fashion (Sewaholic has a decent tutorial if you haven't come across in-seam pockets before). I also reshaped the pockets so that they were caught in the waist seam to help keep them in place.
What did you particularly like or dislike about the pattern?
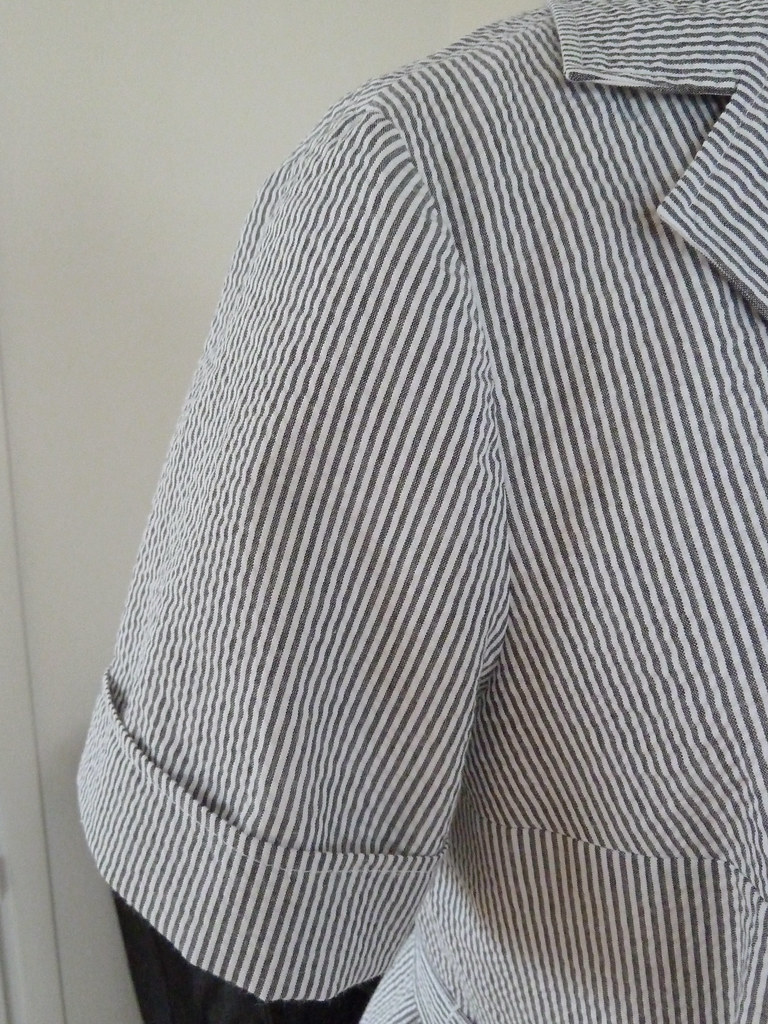
I really like the sleeves on this pattern (after my changes, detailed below), they are probably the best fitting sleeves on anything I've made so far.My only real dislike is the very wide neckline combined with a fairly low neckline. Combined with the overly stiff interfacing I used (doh), this means it gapes a bit around the collar. If I made this again, I would raise the neckline slightly, and shorten the lapel section of the collar so these don't push the collar open so much.
Pattern alterations or any design changes you made
I made a 3cm FBA, but somehow ended up needing none of the length added. This was the first time I've made a BWOF plus size pattern, so I don't know if these patterns are drafted slightly differently. Of course, this was also the time I decided to skip the toile... In making the FBA, I added a bust dart as well as the waist dart. However, when I sewed these both up, the waist dart looked absolutely terrible, not least because of the weird interaction with the stripes on the fabric. I decided to convert each waist dart into two unpressed pleats, and I'm actually really happy with how this looks.I made a forward shoulder adjustment on shoulder seam and sleeve cap, and also removed half the sleeve cap ease (a huge 4cm originally). I didn't reshape the armscye at all when I made this adjustment, and it's worked the best of my forward shoulder adjustments so far.
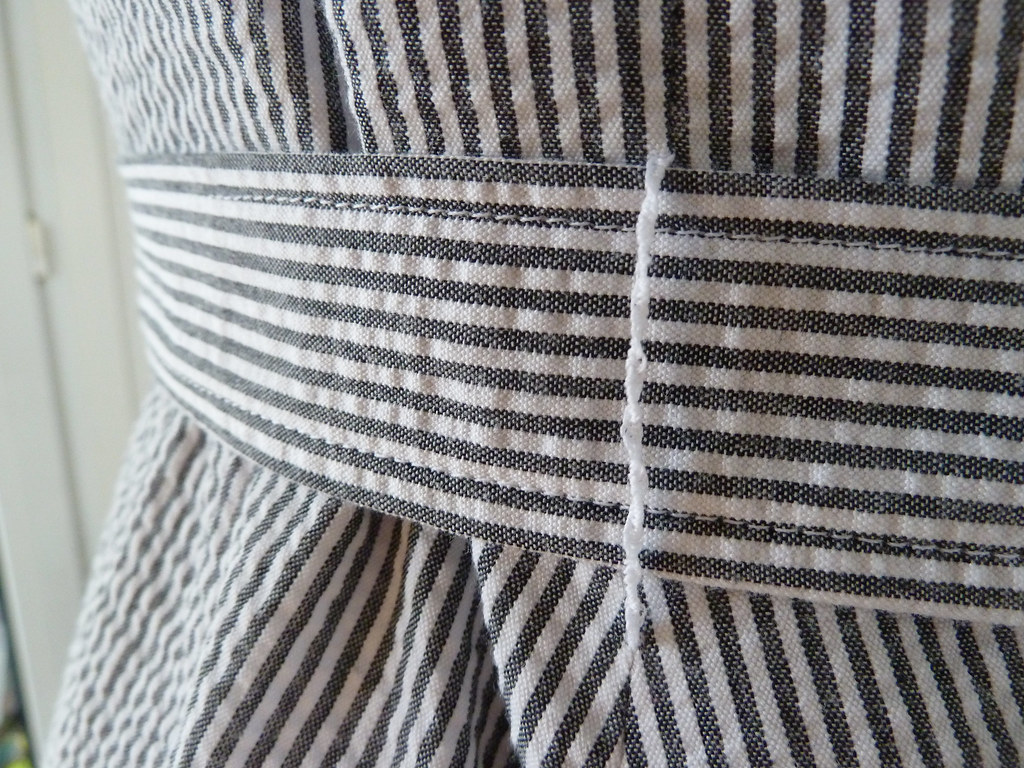
When I finished up this dress, the combination of the shirt-dress style and the fabric meant it looked a leeeetle like a nurse's outfit. To help counteract this, along with switching from white to red buttons, I added a tie belt, held in place with thread loops at the sides.
Construction details
I sewed this with my regular machine, with the seams finished with my serger. As mentioned above, I finished the edges of the facings before the pieces were assembled, finished the collar/lapel joining seam with my serger, and made the pockets in a more sensible fashion. To keep the facings in place, I stitched along the shoulder and waistline seams, meaning the stitches were hidden from the outside.I used fusible interfacing for the collar and facings, but these ended up a bit too stiff. This is the lightest weight white fusible interfacing I have. It's bog standard Vilene from John Lewis; I think I need to source some better interfacing...


That is terrific Dilly! Your interior work is cool too.
ReplyDeleteLovely. Great combo... Blue and red are great. How did you make the belt loops?
ReplyDeleteThanks ladies! I made the belt loops using the traditional method of covering threads with buttonhole stitches. I used my sewing books for guidance, but there's a good online tutorial at http://buzzybeesworld.blogspot.ch/2011/06/tricks-of-trade-handworked-thread-loop.html.
ReplyDeleteWhilst I was looking, I also found a couple of other methods: chain stitch, which I've used before, but isn't so sturdy unless you have fairly heavyweight thread (http://oliverands.com/blog/2010/09/thread-chain-tutorial.html) and an interesting machine version that looks like it would give very neat results (http://www.coletterie.com/books/making-thread-belt-loops-with-nancy-zieman-and-3-ways-to-use-them).
Great shirtwaist dress! I'm hoping to make a number of shirtwaist dresses for summer.
ReplyDeleteI love this! With the seersucker, the notched collar, and the red buttons, it is just too retro fabulous.
ReplyDeleteThis is a lovely dress! I also made a shirtdress out of a similar fabric and also had the nurse feeling. The red buttons give yours a bit of a nautical look, and I really like that! So maybe I'll wear my nurses dress with a red belt today to see if that also takes away some of the nurse-ness :)
ReplyDelete