I'm not doing a full review for these tops, as they are super simple. They are both self drafted and I made both in one afternoon - each is just three pieces, plus binding strips for the neckline, sleeves and (for the stripy one) the hem.
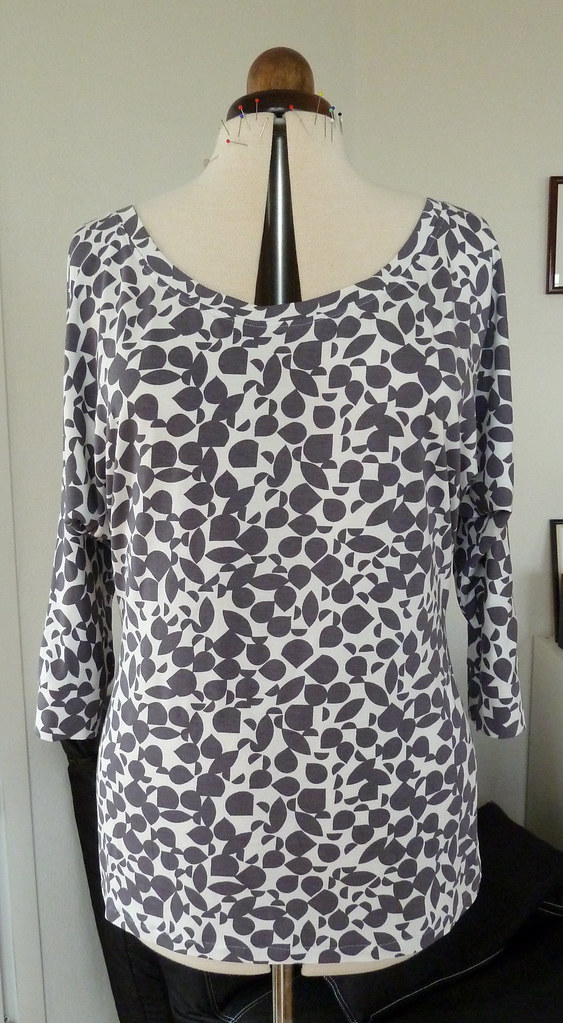
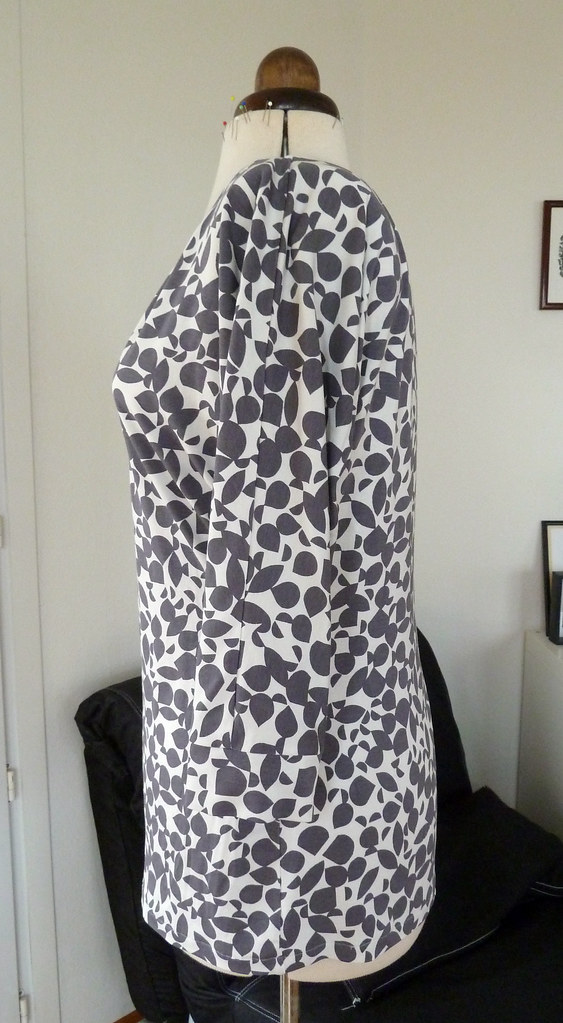
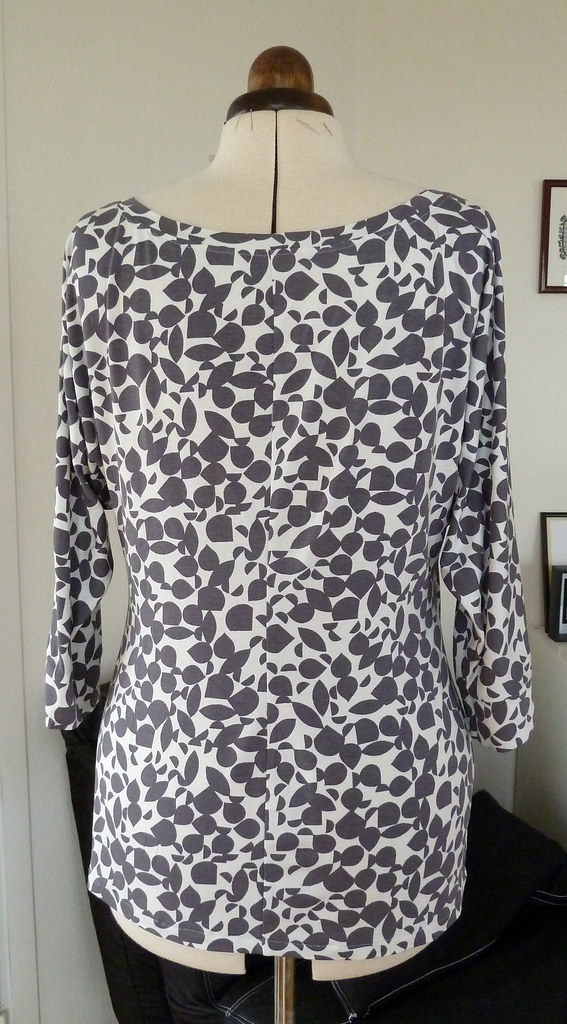
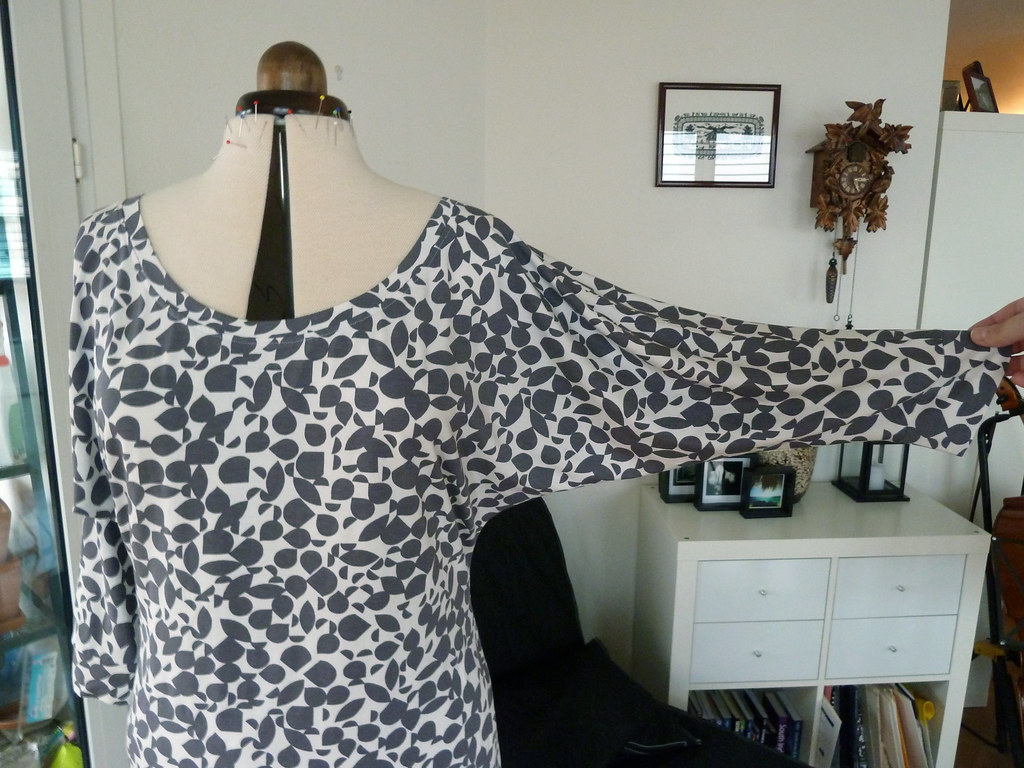
Batwing top
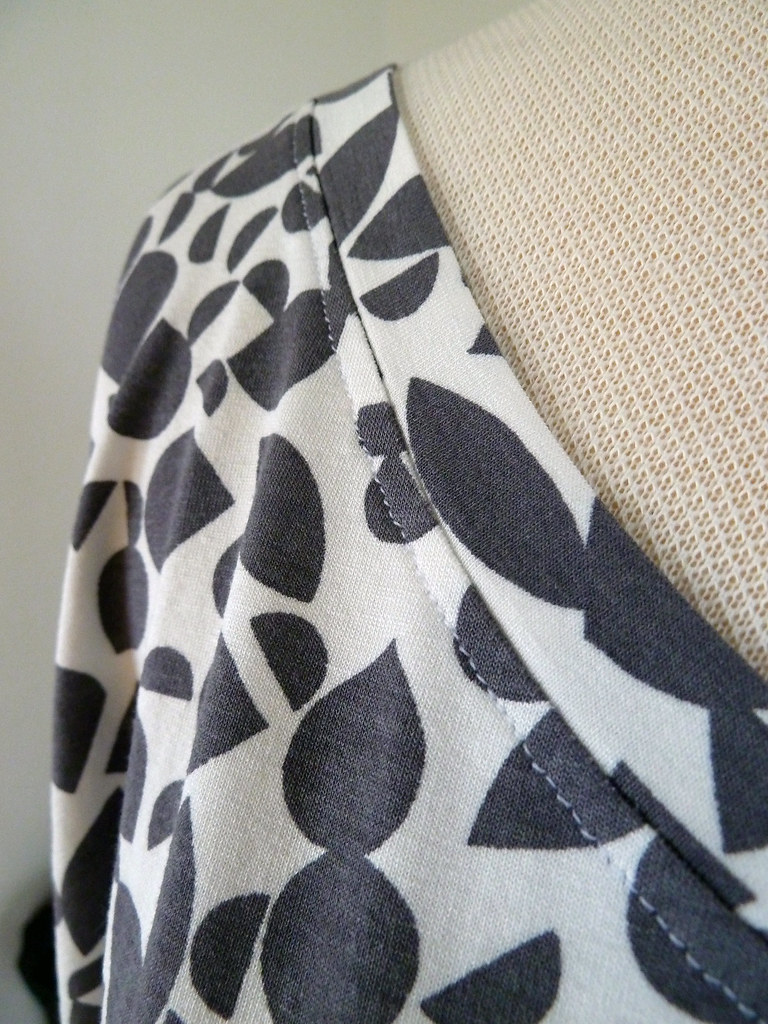
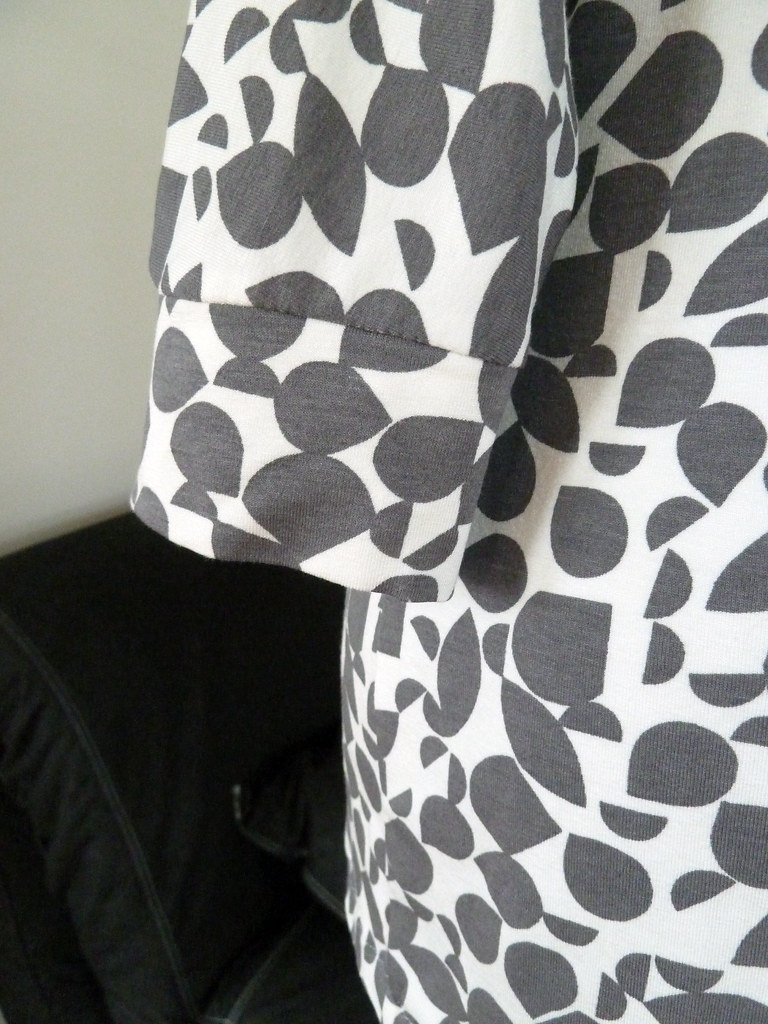
This is the third version of this top that I have made (I never blogged about the first two, but you can see one of them here). It's a very comfortable and flattering style, and nice and cool too because it is loose under the arms.It was super simple to draft from my knit block, and just needed a little refinement in the width of the body and depth of the curve under the arm after the first version. The fabric is a cotton/viscose jersey from Tia Knight.
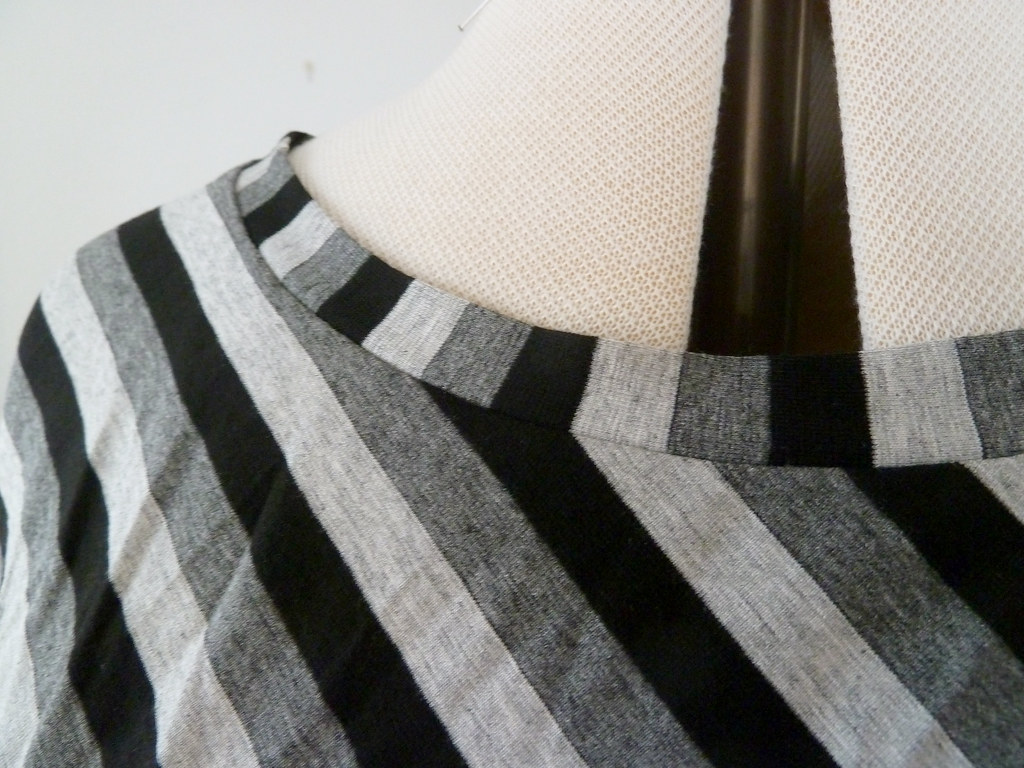
The neckline and arms are finished in my usual way. Cut a strip a little longer than the length of the edge that is being finished (normally on the horizontal grain so it is stretchy), fold it in half with the right side facing out and press. Serge the raw edge of the folded strip onto the right side of the edge, applying a little tension to the strip but not the garment. Flip the strip up and press in place. I also topstitched the neckline binding here to keep it in place, and used a wide strip at the wrists to give a wide cuff effect.
I normally leave one seam open on each edge I'm binding, then sew the binding in one with the last seam to finish it all together, as it is much easier to cut a strip the approximate length you need rather than guessing how much shorter the binding should be and trying to apply it in the round. This meant the order of construction here was:
- Sew CB seam and one shoulder seam.
- Bind and topstitch neckline.
- Sew second shoulder seam.
- Bind arms.
- Sew side seams.
- Finish hem.
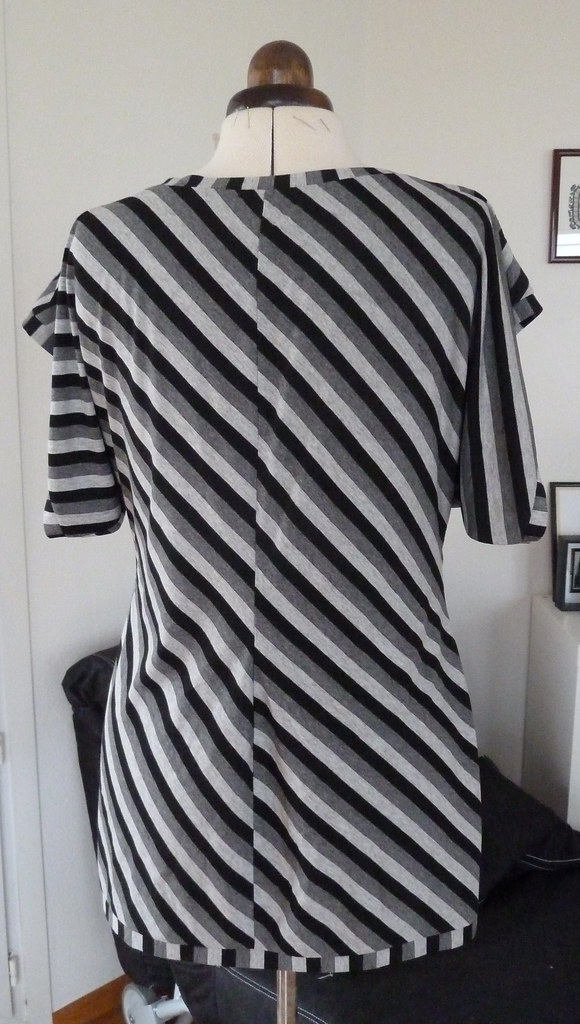
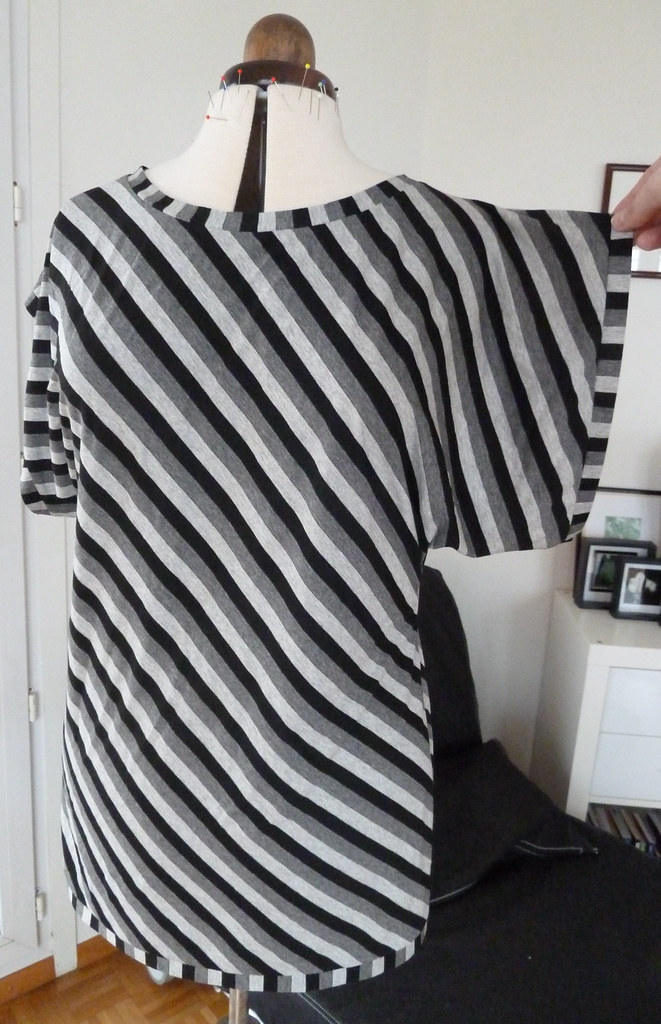
Underarm drape top
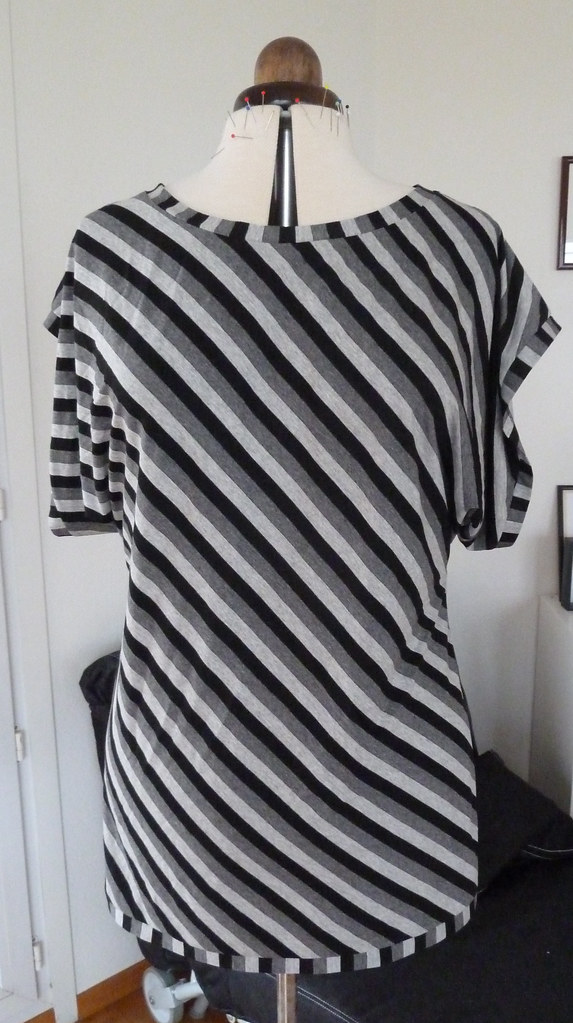
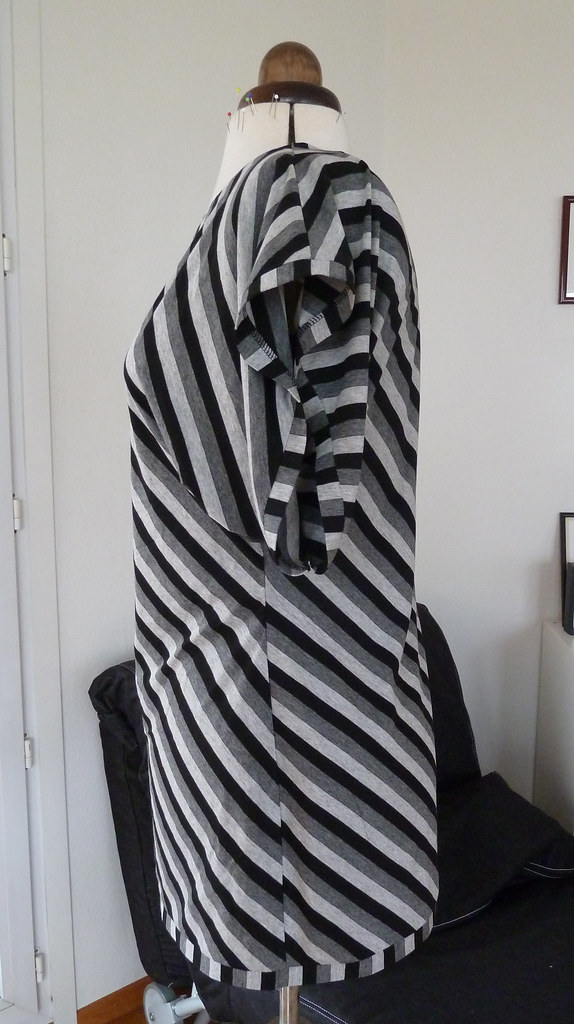
This was drafted from my basic knit block, using this tutorial for the sleeves. I cut the top on the bias for some interest with the stripes, but it didn't work out quite as intended - the CB seam and the drape on the sleeves make the diagonal stripes look a bit odd. I had also intended for the stripes on the back to be going in the other direction (i.e. so that they made chevrons at the sides where front and back met), but I cut it wrong. Neither of these issues particularly bother me much though.I do like these sleeves, but they don't seem to drape as much as Rhonda's. I have a feeling some of this might be because the fabric is on the bias, and I think next time I will also spread the slashed sections a little more.
This fabric (a jersey of unknown fibre and forgotten origin!) has some stretch lengthwise as well as crosswise, so I cut the bindings lengthwise to add some extra interest. The hem was also bound for the top, so the order of construction was:
- Sew CB seam and one shoulder seam.
- Bind and topstitch neckline.
- Sew second shoulder seam.
- Bind arms.
- Sew one side seam.
- Bind hem.
- Sew second side seam.
The sleeve openings on this top are quite deep, and it does show a little bra at the side. However, it's only really occasional glimpses as the draping falls in such a way to hide it most of the time, so it's not at all uncomfortable to wear.
Lovely! I really like the fabric for the first top! Great job x
ReplyDeleteI love these tops and the extra room under the arm is terrific. I have a McCall's tee pattern which is my TNT for loose, casual clothing. The fabric can then be center stage, as is yours!
ReplyDelete