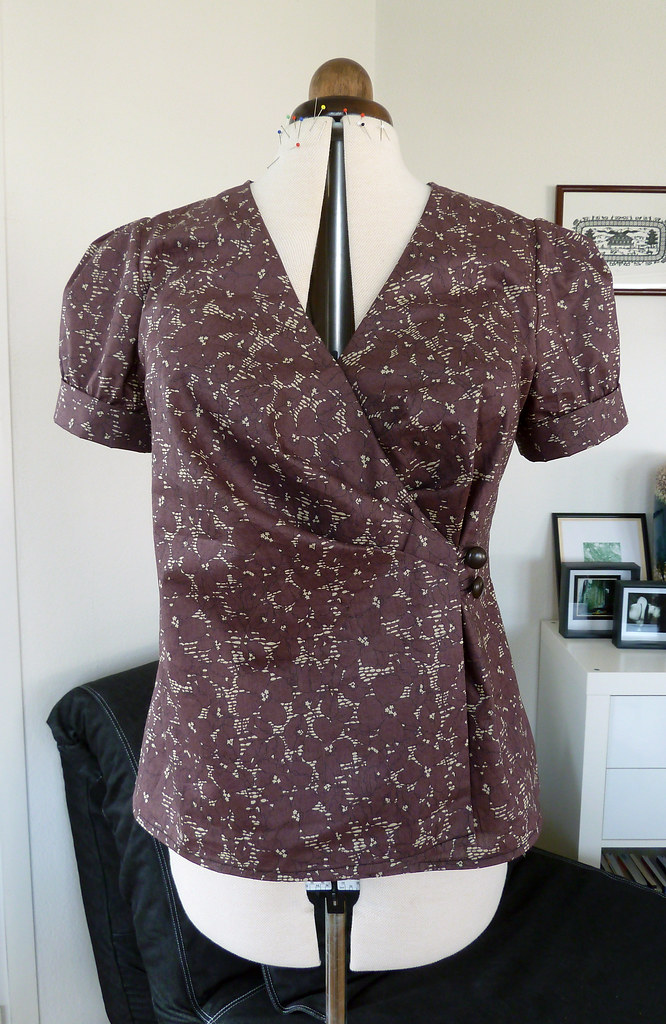
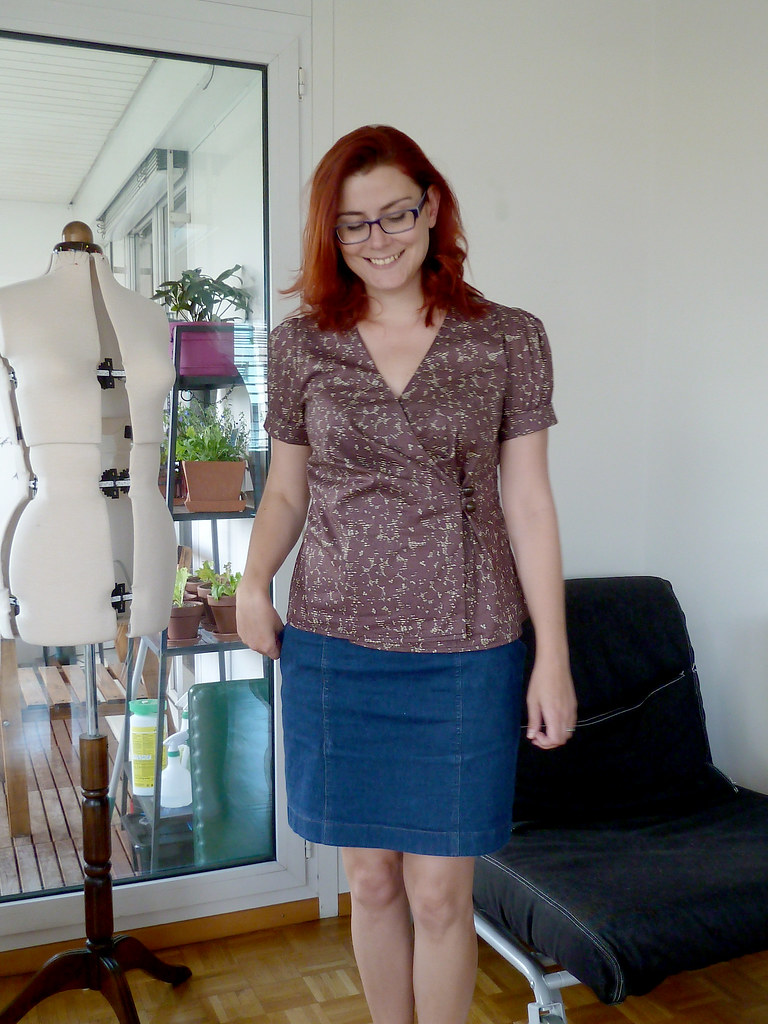
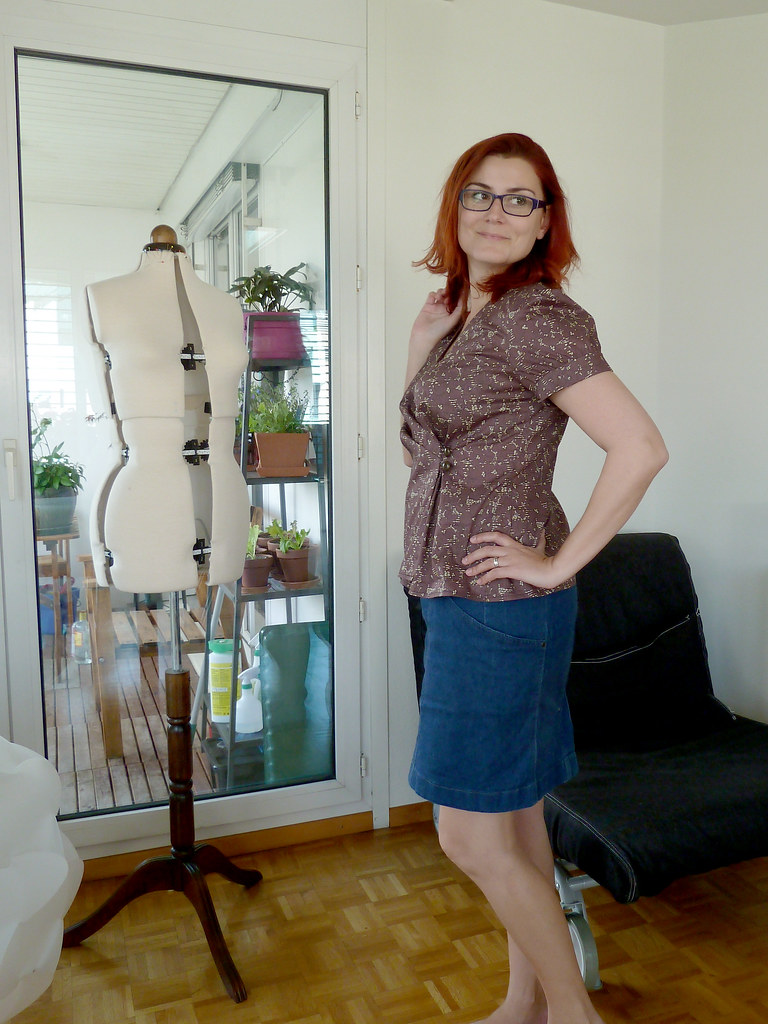
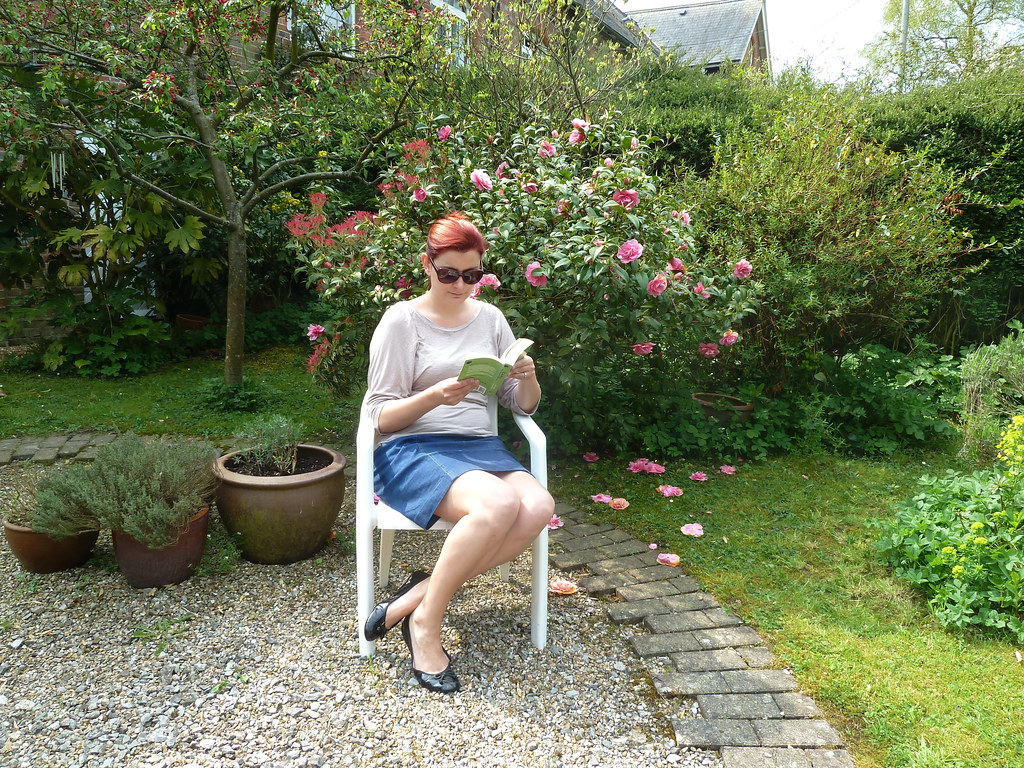
So, rather late, but I'm catching up on my Burda challenge for April. I have to say April's Burda magazine isn't terribly exciting (and May is even worse), but there were a couple of patterns that caught my eye. One was this wrap blouse: I need more separates, and this looked to add variety to my wardrobe, as well as being a shorter length that is more suitable to wear with skirts (I prefer hip-length tops with trousers/jeans, but this can look an odd proportion with a skirt).
Pattern description
BurdaStyle Magazine 04/2013/113: Wrap blouse with front pleats, low-cut V-neck and short puff sleeves.Pattern sizing
34-44. I cut the 42 at the shoulders/bust and blended to a 44 at the hip. (Woo! I've lost weight!)Fabric used
Cotton lawn purchased many years ago at Abakhan Fabrics, on a shopping trip with my mother-in-law! It's very lightweight, with a smooth finish and a slight sheen.Did it look like the photo/drawing on the pattern envelope/sketch/idea when you were done?
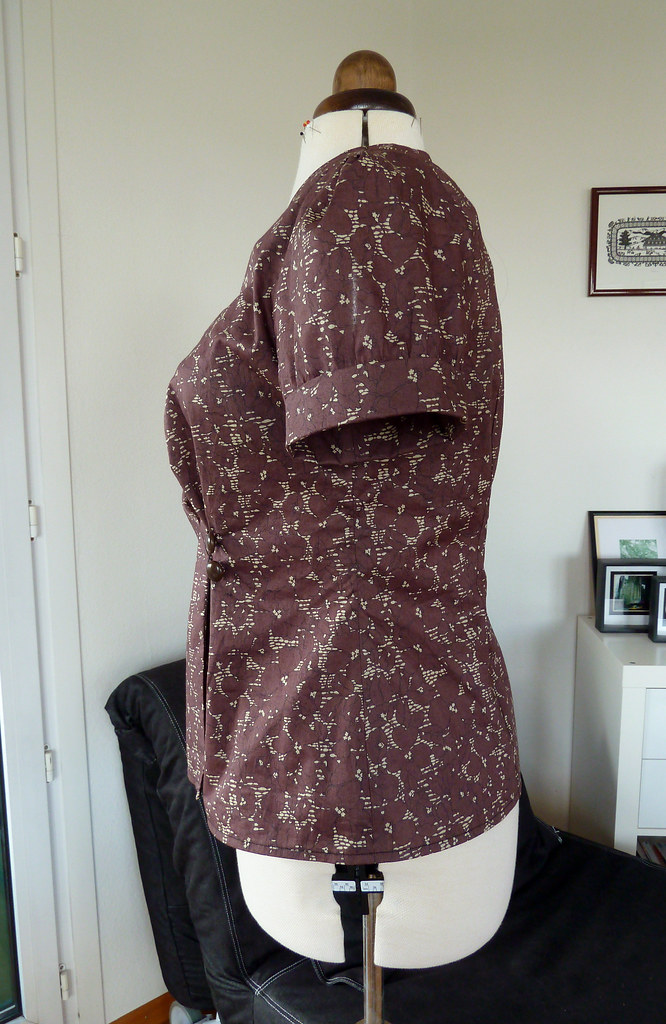
Mostly. Mine isn't as close-fitting around the mid-section as in the photograph on the model, and I'm not entirely sure why.Were the instructions easy to follow?
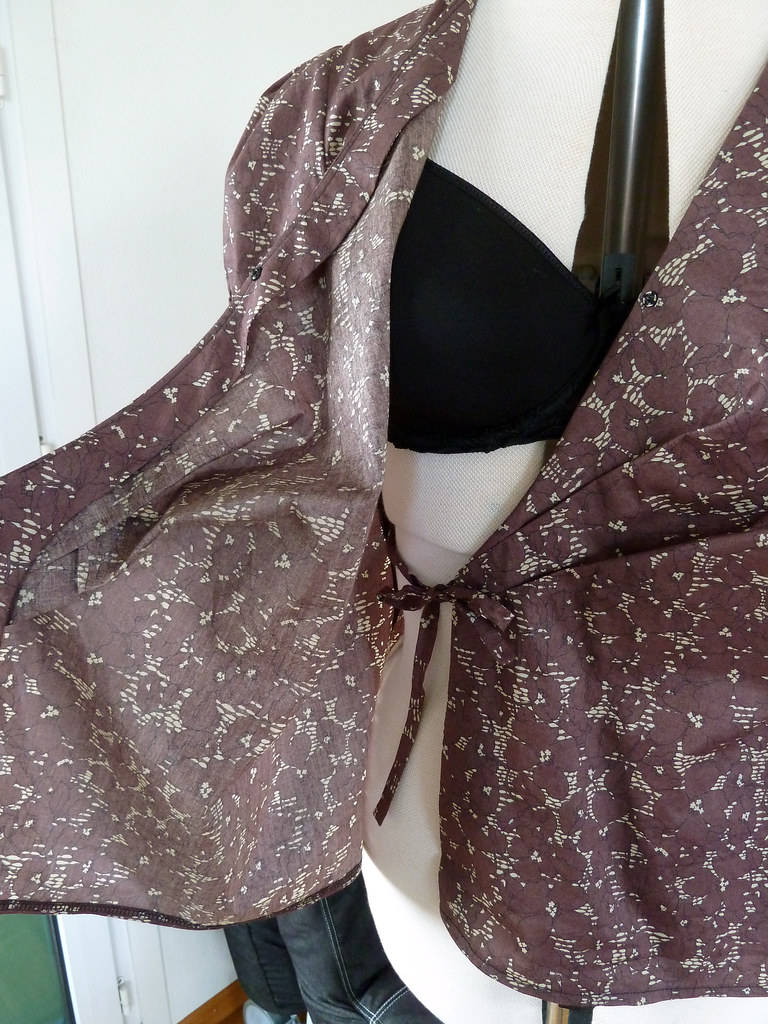
I thought the instructions were fairly good for this pattern. The steps were clearly explained and there wasn't anything missed out or glossed over. The only thing that isn't explicitly explained and you might need to think about is the way the button loops and tie are sandwiched between the bodice and facings, so that they end up the right way around (i.e. sticking out the edge rather than inside the garment!).What did you particularly like or dislike about the pattern?
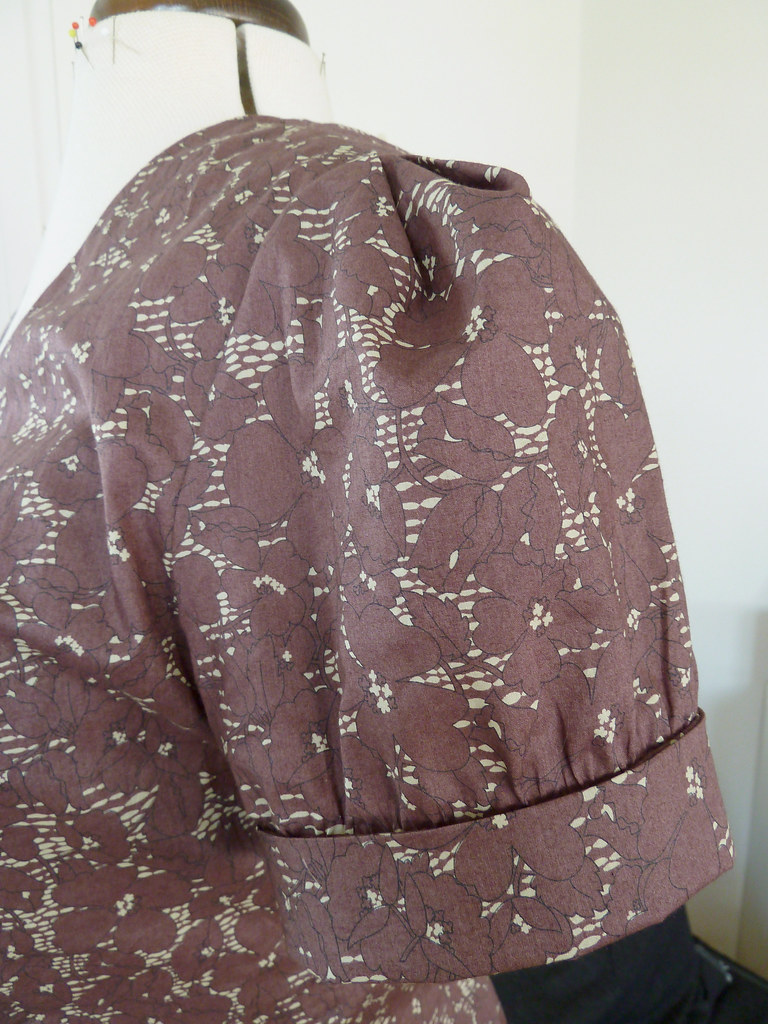
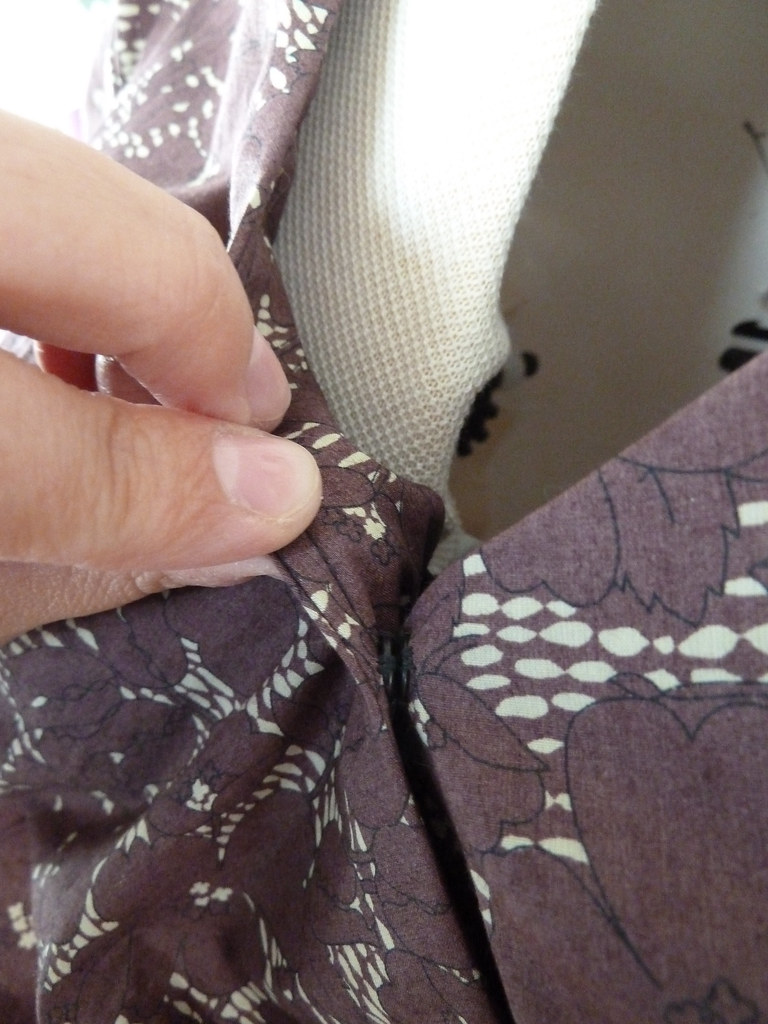
I'm not a huge fan of puff sleeves, but I actually quite like the sleeves here. The gathering into the sleeve band is not too much, and the excess at the top is taken out with pleats rather than more gathering, meaning the sleeves don't end up being too saccharine.For me, this top is very short. I lengthened it here by 2cm, but I found that was only just enough (I ended up taking a narrow hem allowance, meaning I effectively lengthened the top by a total of 3cm). The top really is very low cut too, which combined with the wrap design and woven fabric means that it's a little flashy. And not in a good way... I also found the pleats sat very oddly, although this is also as much (if not more) from poor fitting rather than poor drafting (I did a rather slapdash adjustment for a full bust).
Pattern alterations or any design changes you made
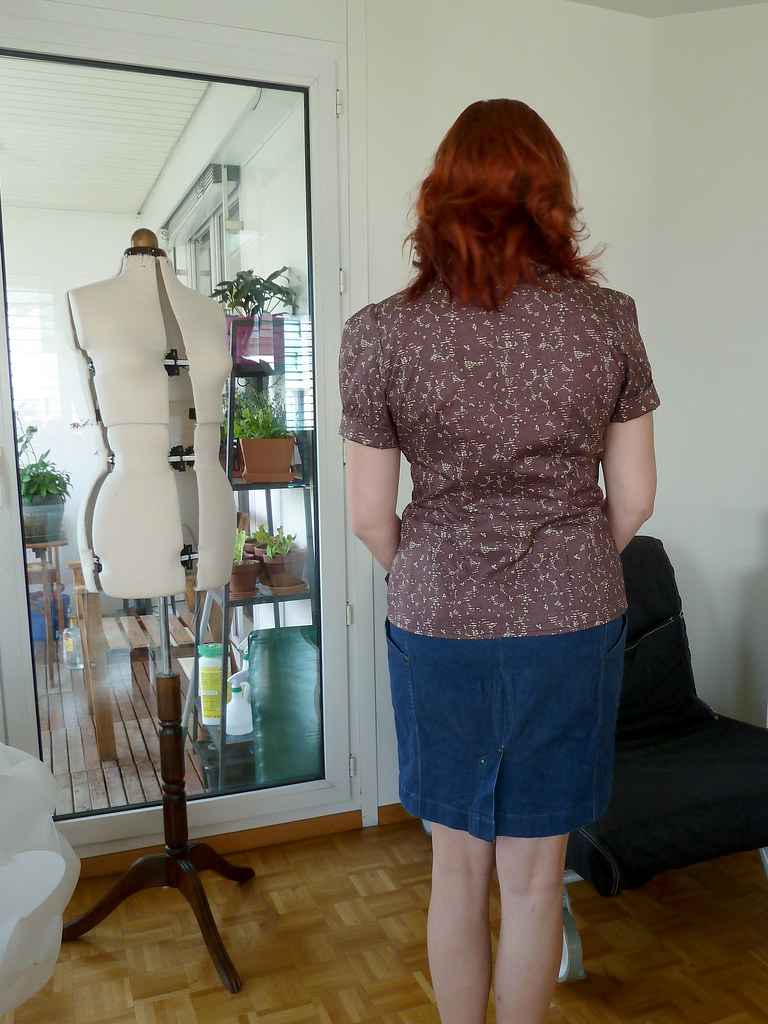
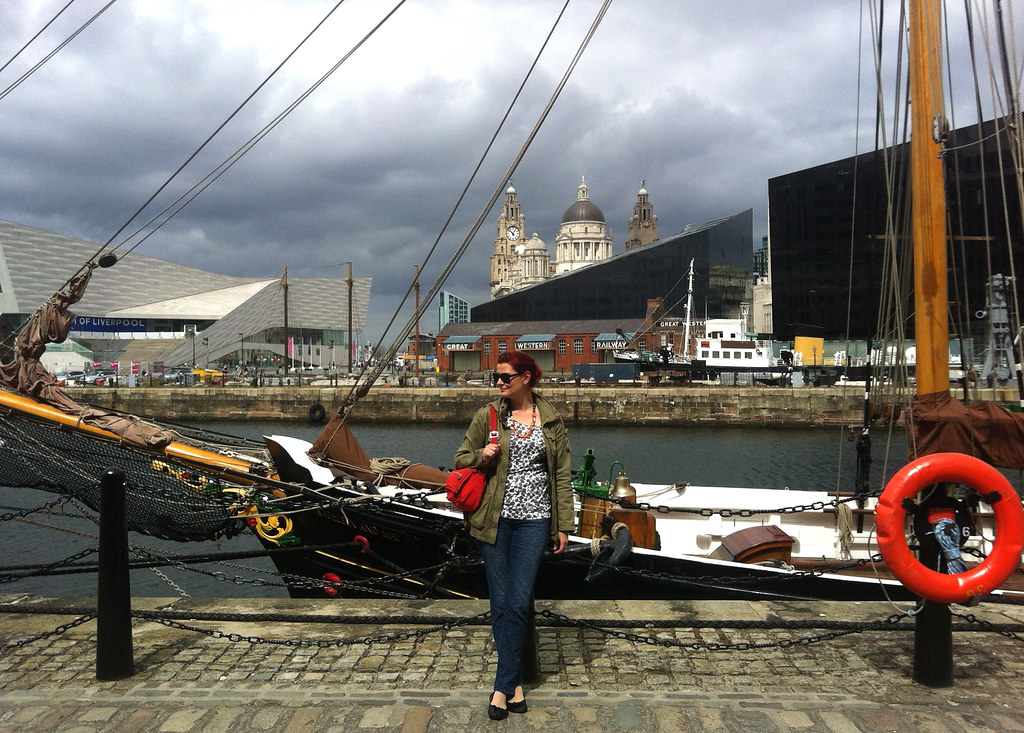
I made a muslin to roughly check the fit (without the sleeves or facings), and found it fit in terms of ease across my bust, but the neckline gaped horribly. I pinched out the excess into a dart pointing toward the bust point, then transferred this to the paper pattern. The excess was then rotated out into the pleats, the neckline smoothed, and the the facing re-drawn. This seemed to work fine for the muslin, but I think a slightly less rough and ready fitting over the bust would have been a bit more flattering. Amazingly, the back fits pretty well without any changes at all (it's not actually as wrinkly as the picture would imply, I think it's a bit caught up, or the way I'm standing).I did my usual forward shoulder adjustment on the shoulder seam and sleeve head. I didn't reshape the armscye at all, but I think scooping a little at the front armscye would have improved the fit a bit, as there's a bit of excess bunching there, which isn't helping the slightly odd pleats.
As mentioned above, I also lengthened the top in the pattern piece by 2cm, although the actual top ended up being 3cm longer as I took a narrower hem. I also drafted the sleeve bands 1cm longer so they weren't so tight on my upper arms.
Construction details
This was mostly constructed on my regular machine, with exposed seams finished on my serger. Instead of using fusible interfacing on the facing and sleeve bands, I used an extra layer of self fabric, and stabilised the neckline (as well as the armscyes and shoulders) with Vilene bias tape. Using self fabric also meant I could easily finish the facing edge neatly (by sewing right sides together along the outside edge and flipping the right way out before attaching to the main part of the bodice).Rather than stitch in the ditch as suggested to finish the inside of the sleeve bands, I slipstitched this down by hand, as for me this was faster and neater. I did however use the machine to sew the facing to the shoulder seams, the facing to the hem, and the inside tie to the side seam, following previous lines of stitching in each case to hide the stitches.
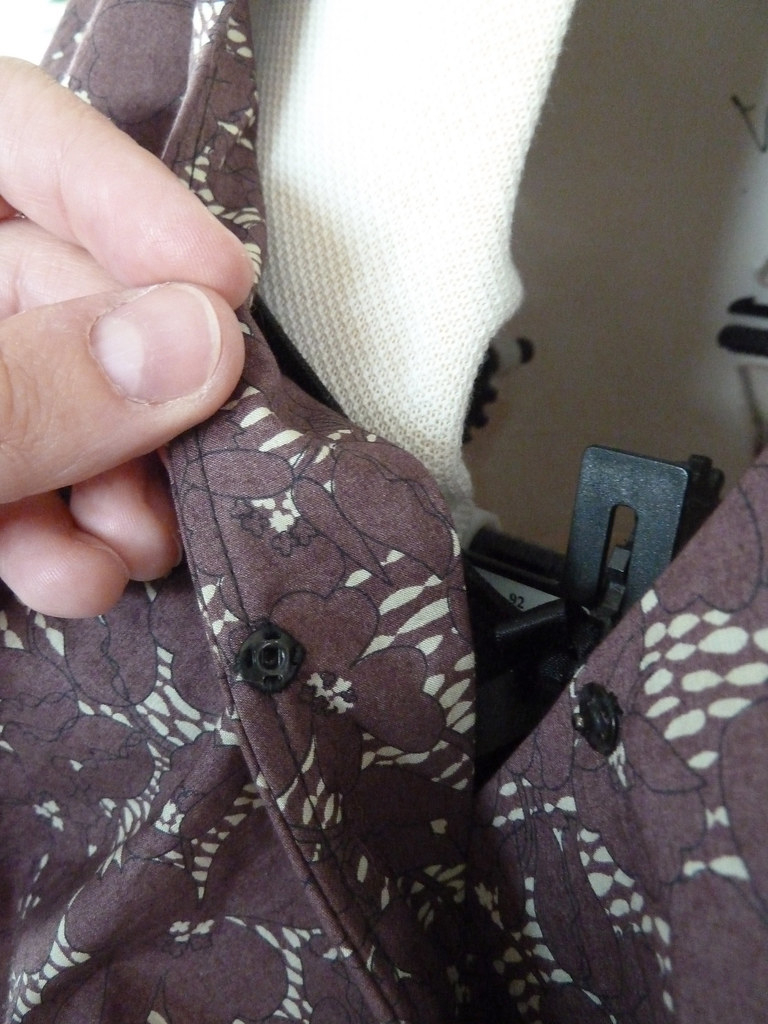
As it's very thin fabric, I stabilised behind where the buttons were sewn on with small pieces of self fabric (sorry, I forgot to take a photo of this). I also added a snap at the neckline. I actually need to lower the snap placement a little, but wasn't in the mood to fix this earlier as I'd already sewn the buttons on three times before I was happy with the placement.
By the way, when the instructions say to baste pleats etc, I highly recommend doing so; it makes the pieces much easier to handle and put together accurately. It's also helpful to baste or otherwise mark along the seam lines at the corner of the front bodice pieces when attaching the tie and button loops so that placement is easier.

