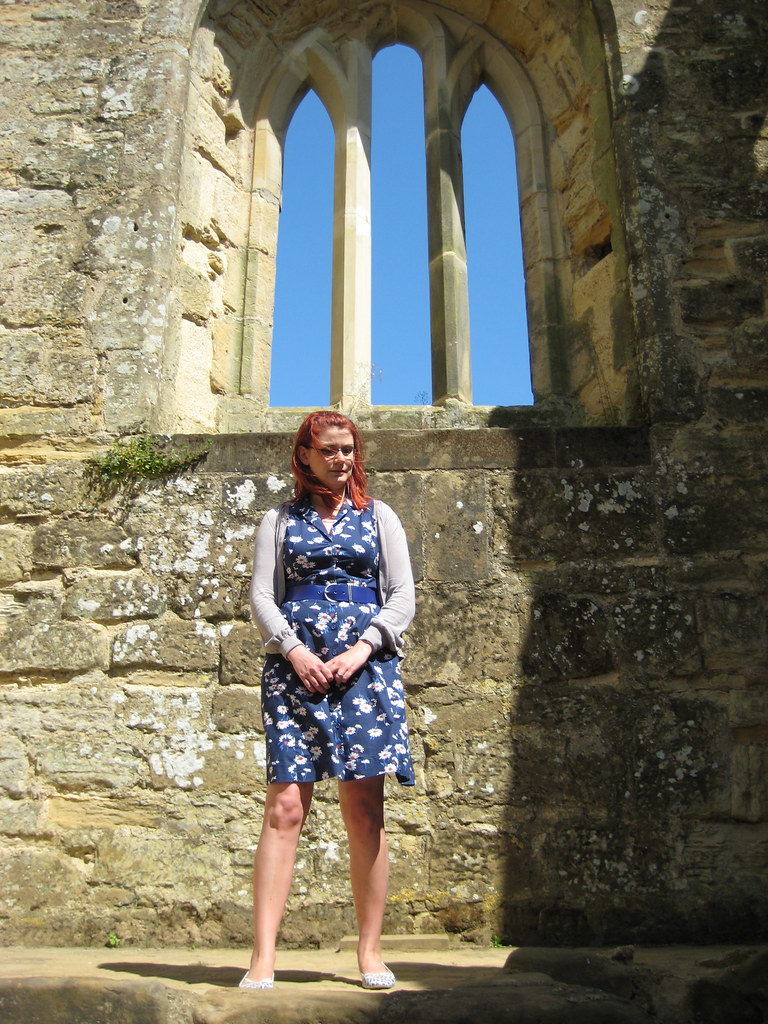
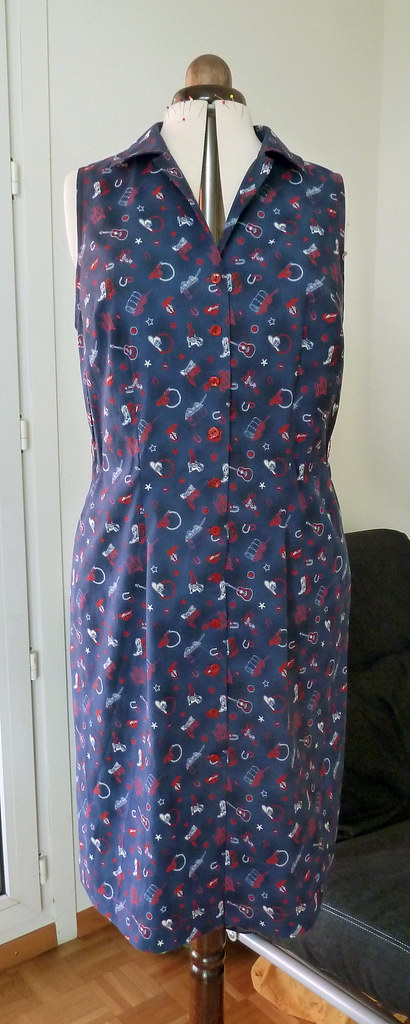
After completing my May Burda Challenge, I thought I would crack on with my June one before it got too far into July... I've been thinking a lot lately about an old favourite sleeveless shirt-dress, which is now sadly too small. I bought it at a second-hand shop and (at the time!) it fitted like a glove. Or rather, like a well-fitted dress. I also loved it because it appeared to be hand-made (or possibly altered and hand-finished). It was lovely and always made me happy when wearing it.
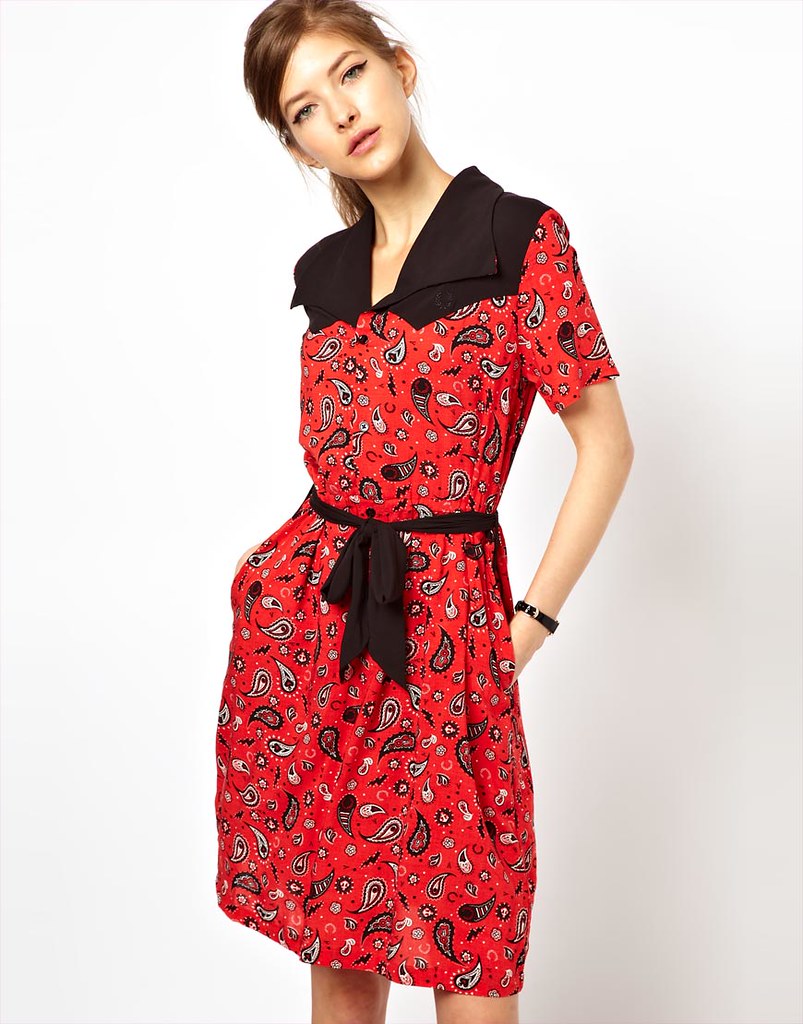
Whilst looking for summer dress inspiration I also came across this dress from ModCloth, and fell in love with the print and Western styling.
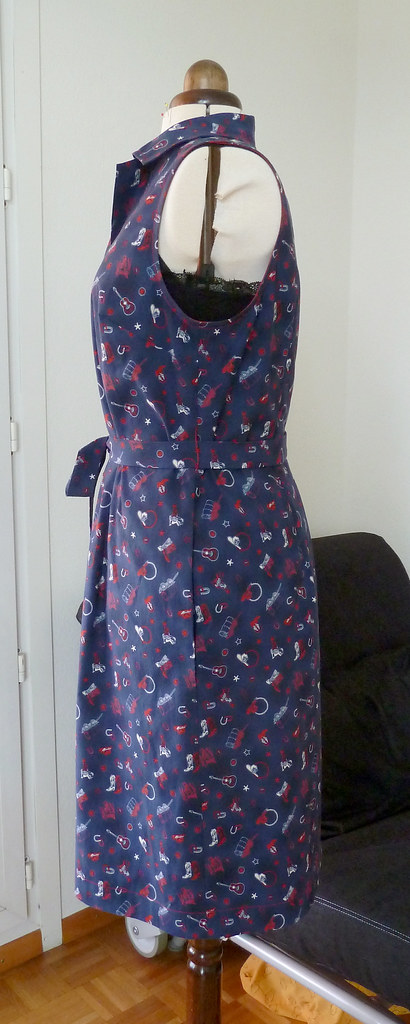
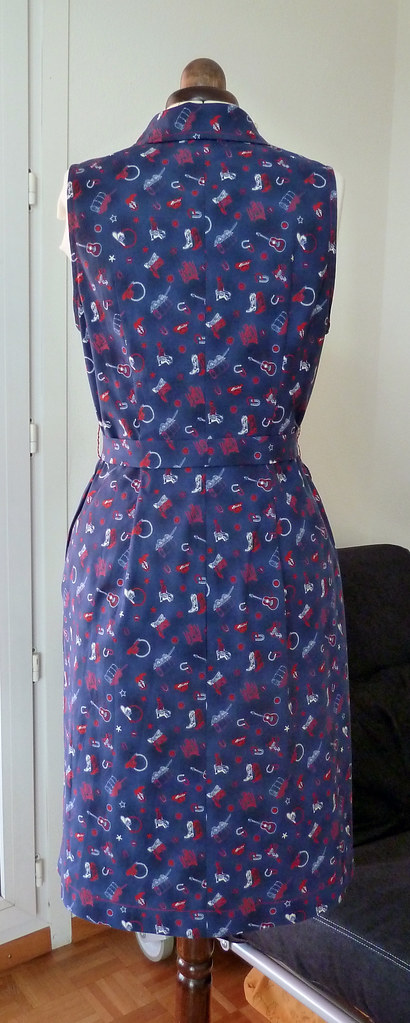
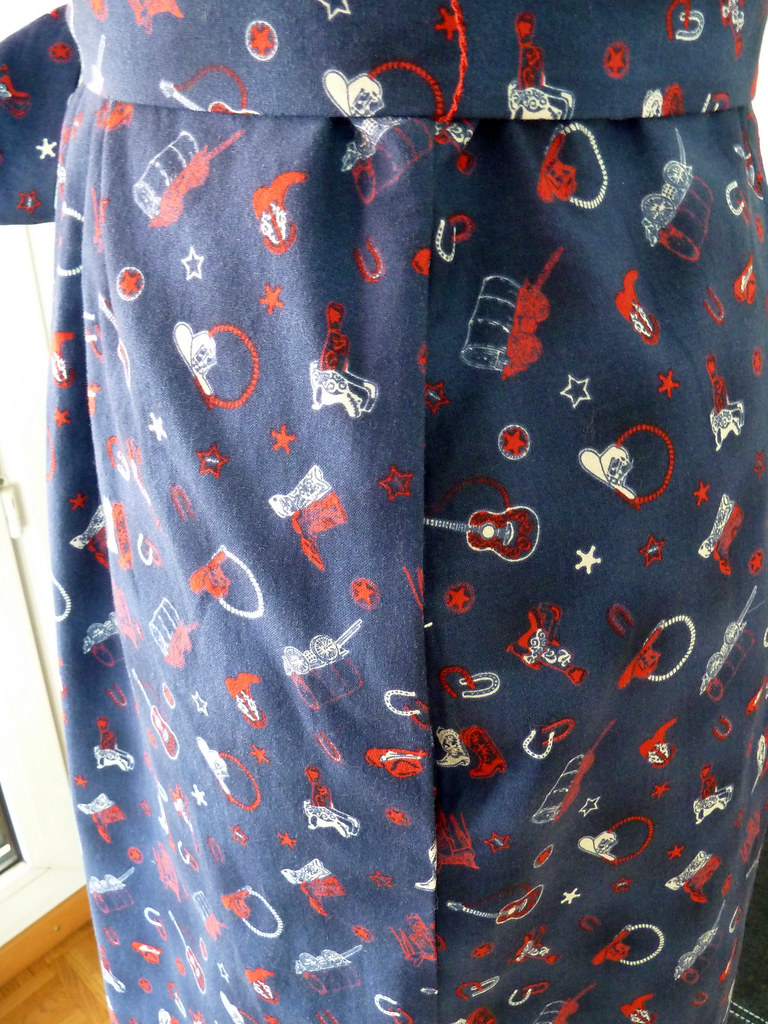
When I saw the shirt-dress in the June Burda, I thought I could make something that draws inspiration from both of these. I rummaged through my collection of quilting cottons, and found a lovely Western print, which was perfect.
Pattern description
BurdaStyle Magazine 06/2013/120: Fitted shirt-dress with short sleeves, stand collar and shaped patch pockets.Pattern sizing
36-44. I cut the 42 on top and graded out to the equivalent of 46 over the hips.Fabric used
Quilting cotton bought many years ago from eQuilter.Did it look like the photo/drawing on the pattern envelope when you were done?
Not really, as I made several design changes!Were the instructions easy to follow?
A bit mixed for this one. Most of it was fairly straightforward, but then the part where I actually needed the instructions (for the collar), were pretty opaque. For me, it required a bit of pinning and checking things ended up in the right place before sewing. It's the same finish as for the blouse I made for my March Burda Challenge, but with a collar with a separate stand piece. I'm sure the instructions are fine for anyone who's made a collar before! Something to note too is that (unless I'm being blind) there is no mention of finishing the long edges of the facings. I did this automatically, but it might catch out a beginner.What did you particularly like or dislike about the pattern?
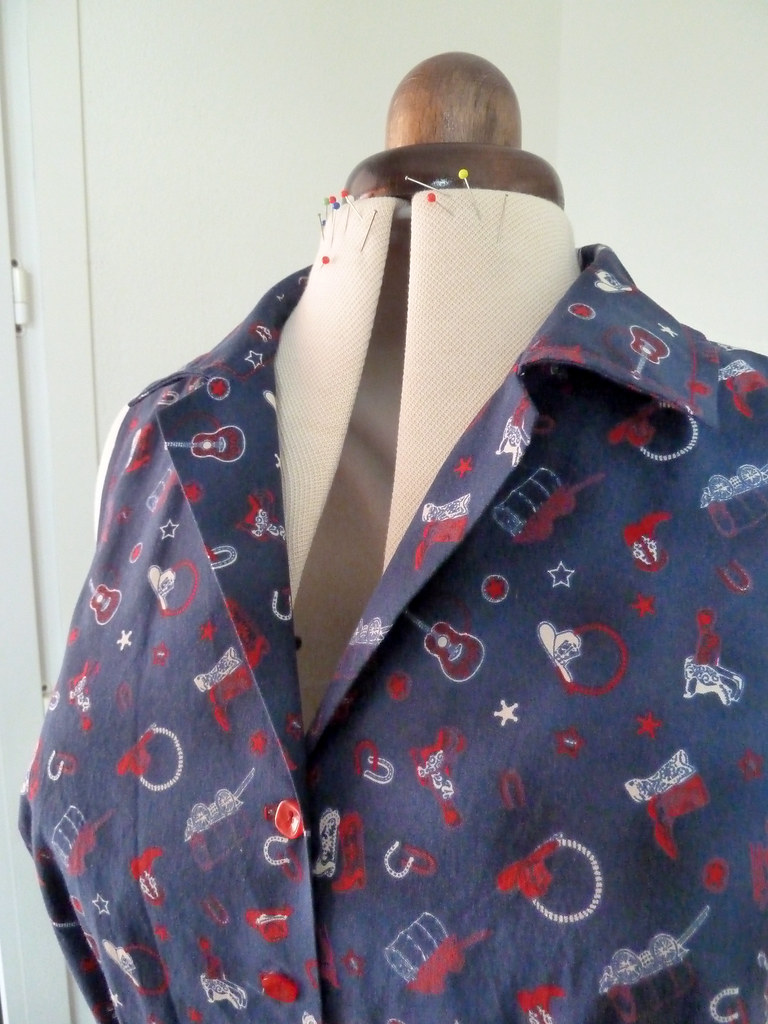
I rather like the collar on this pattern, it seems to fall nicely, although it sits a lot closer to the neck (and therefore higher) on me than in the pictures in the magazine. I really don't like the big patch pockets, but that was easily remedied by leaving them off.Pattern alterations or any design changes you made
I wanted a sleeveless dress, so removed 5mm of ease at the side seam at the bottom of the armscye. I also reshaped the armscyes to give a slightly cut away shoulder.I made a 2.5cm FBA. In order to do this, I traced the dart onto a separate piece of paper, then cut the pattern at the waistline. I could then do the FBA as normal, taking out some of the excess in the side seam rather than increasing the waist dart too much. I could then tape the skirt back on and re-trace the dart into the new position.
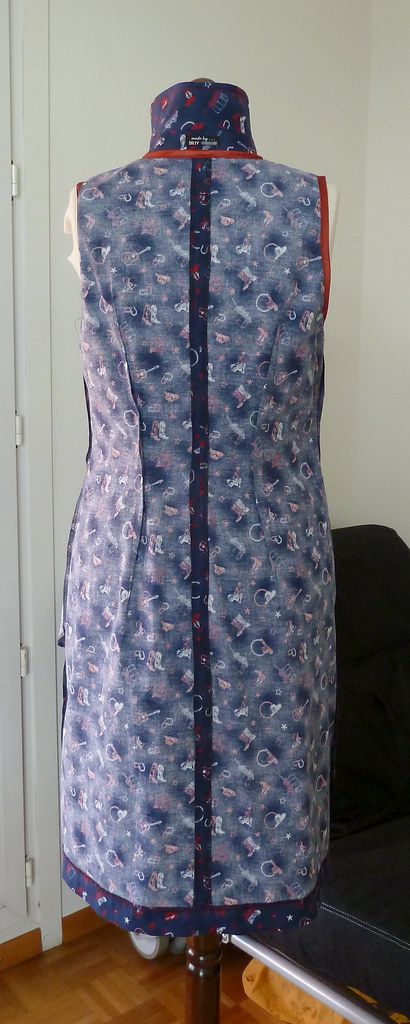
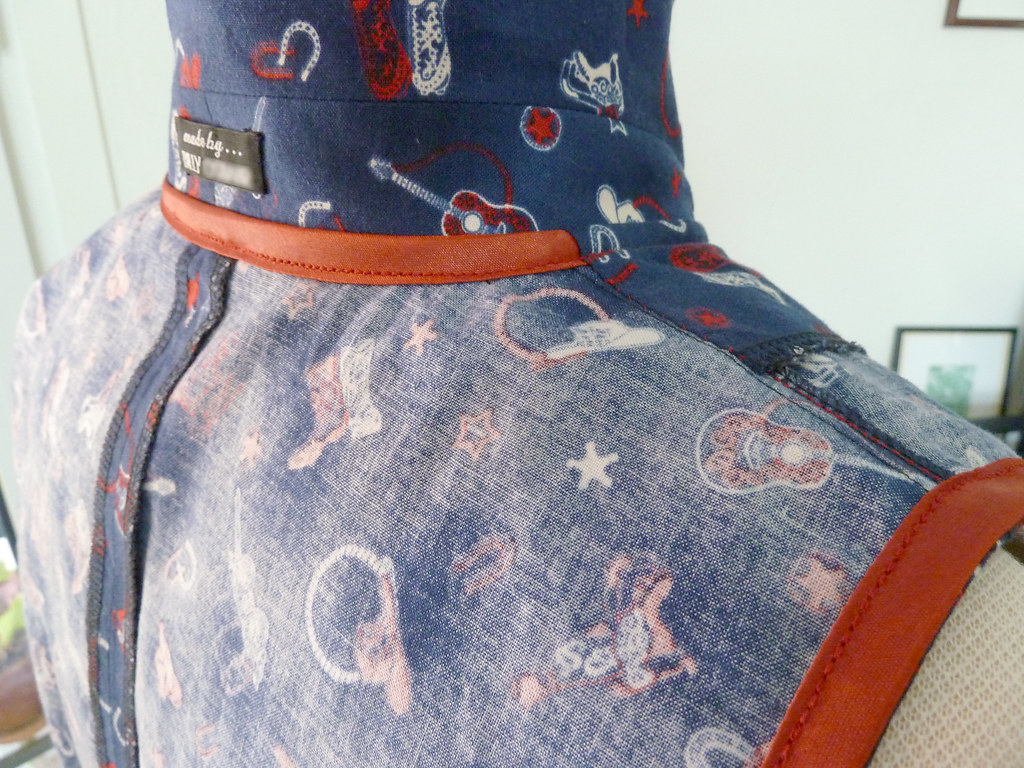
I tend to need a CB seam to get the fit right, especially in woven garments, so I added this, shaping it in at the waist and neck (and shortening the CB of the collar and stand by the equivalent amount). I also widened the darts at the waist (front and back) and made the back darts a few cm longer at the top. I made a 1cm swayback adjustment, remembering to add this length onto the bottom of the skirt at CB. I lengthened the entire dress by 4cm.
The only thing I really didn't like about the pattern was the shaped, wrap-around hip pockets, as I was rather worried they would just accentuate my hips. I chose to add in-seam pockets instead, and also a tie belt.
Construction details
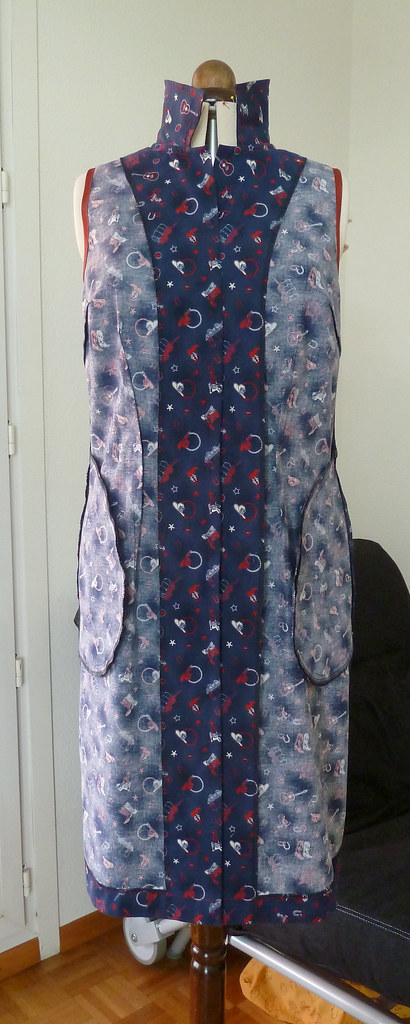
The order of construction was the same as Burda's instructions, with a couple of detours to sew the pockets and finish the armscyes.The pockets were sewn in the usual way for side seam pockets - Sewaholic has a nice tutorial that explains it much better than I could. I stabilised the front pocket openings with strips of selvedge.
I decided not to interface the collar at all as the quilting cotton is fairly sturdy, and I wanted a softer, more casual look. I cut the under-collar on the bias. There is also a seam in the middle of the inner collar stand, but that was just to make economical use of the fabric!
As marked, the top button is very low. I started the buttons just above the bust point level, and also added two more at the bottom. The buttonholes and buttons are reinforced with small rectangles of fusible interfacing, applied to the facing. Again, I didn't interface the entire facing, in order to keep a softer look.
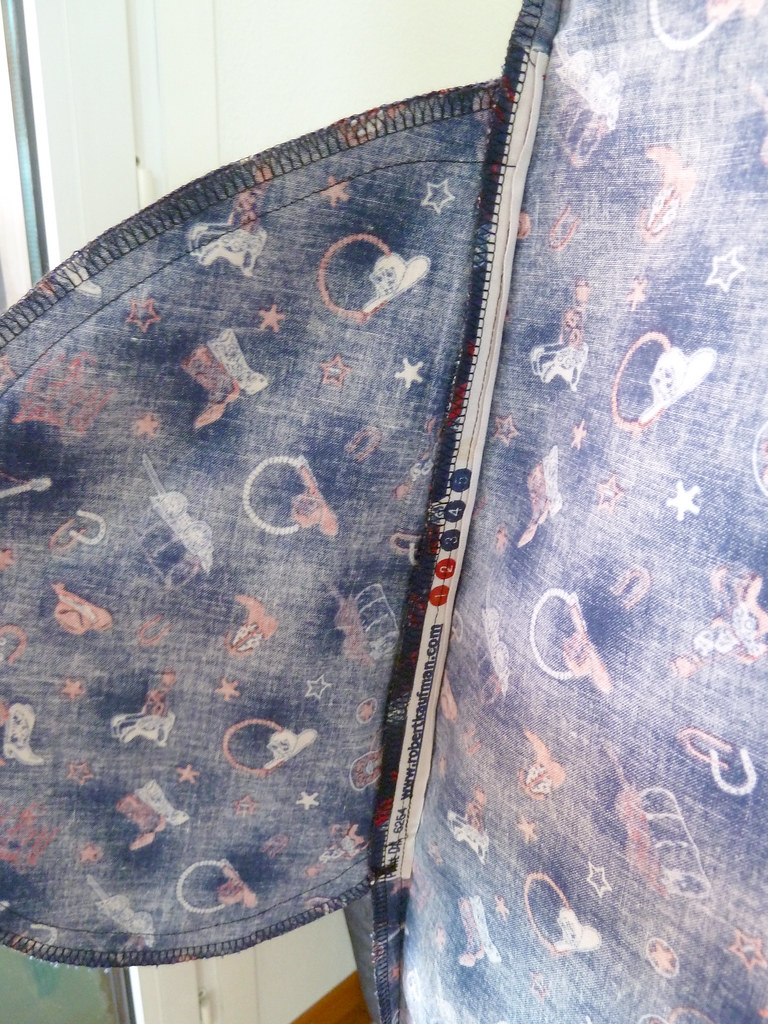
The armscyes were finished with a bias tape facing and topstitched. I used shop bought satin bias tape for this and for the collar finish.
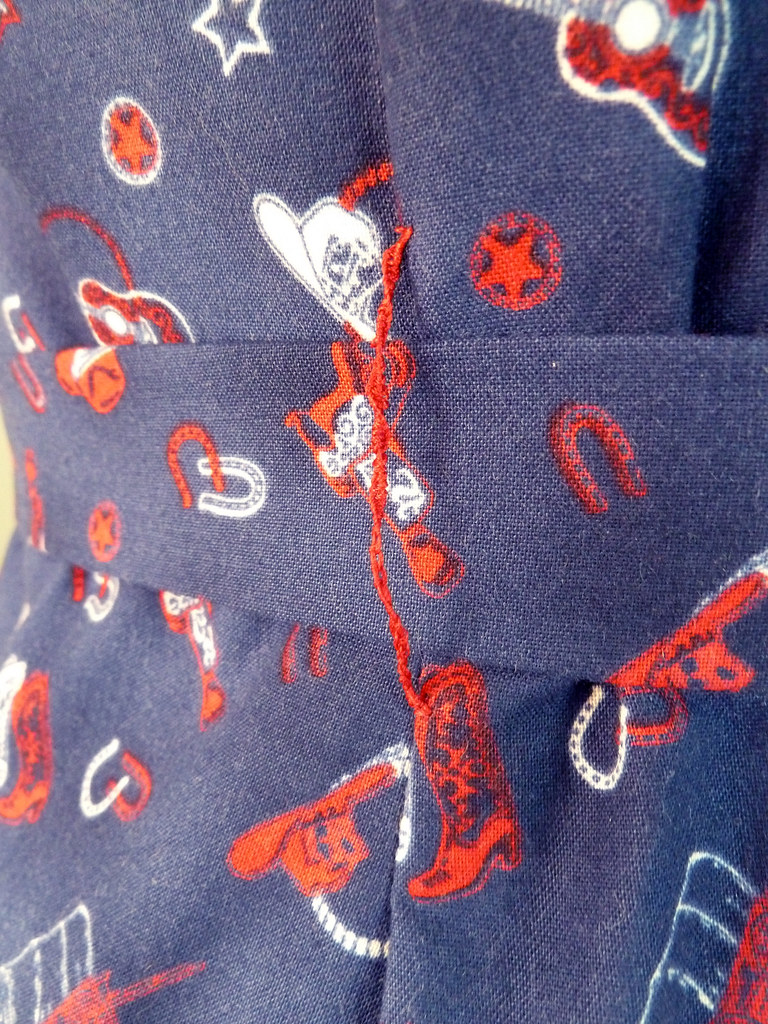
The topstitching was done with regular thread, but using the straight stretch stitch on my machine. This gives a nice effect, almost like saddle stitch (which is rather appropriate given the print pattern). I originally planned to create a faux Western-style pointed yoke on front and back with topstitching, but decided against it in the end. I added thread loops for the belt.
Would you sew it again? Would you recommend it to others?
I probably won't sew this exact pattern again, at least not in the near future, simply because I have a vast array of shirt-dress patterns I want to try out. I definitely want to try a princess seamed dress (like my original inspiration dress), and one with a more shirt-like collar and placket (rather than lapels). As I made fairly significant changes to the fit, and converted it to a sleeveless dress, it's sort of hard to recommend it, as I don't know how the original pattern truly is! However, I do like the collar very much, which I essentially left unchanged, so I can recommend the pattern on that basis.Conclusion
A second project in a row that I'm super pleased with! I like the fit I've achieved, a good balance of airy and flattering. There are still a few minor fit issues, and the bottom of the front darts are a bit iffy, but they sort of disappears in the folds of the fabric so I'm not too worried about that. It's still pretty good considering I didn't bother to muslin it. I also need to clip the back darts as they're pulling a bit, but I want to work out how I'm going to neaten/reinforce the clip before I do that.I'm still searching for my perfect shirt-dress pattern, but I think this successfully captures the essence of both the inspiration dresses, without being an exact copy of either. This dress is definitely going to be worn lots this summer!
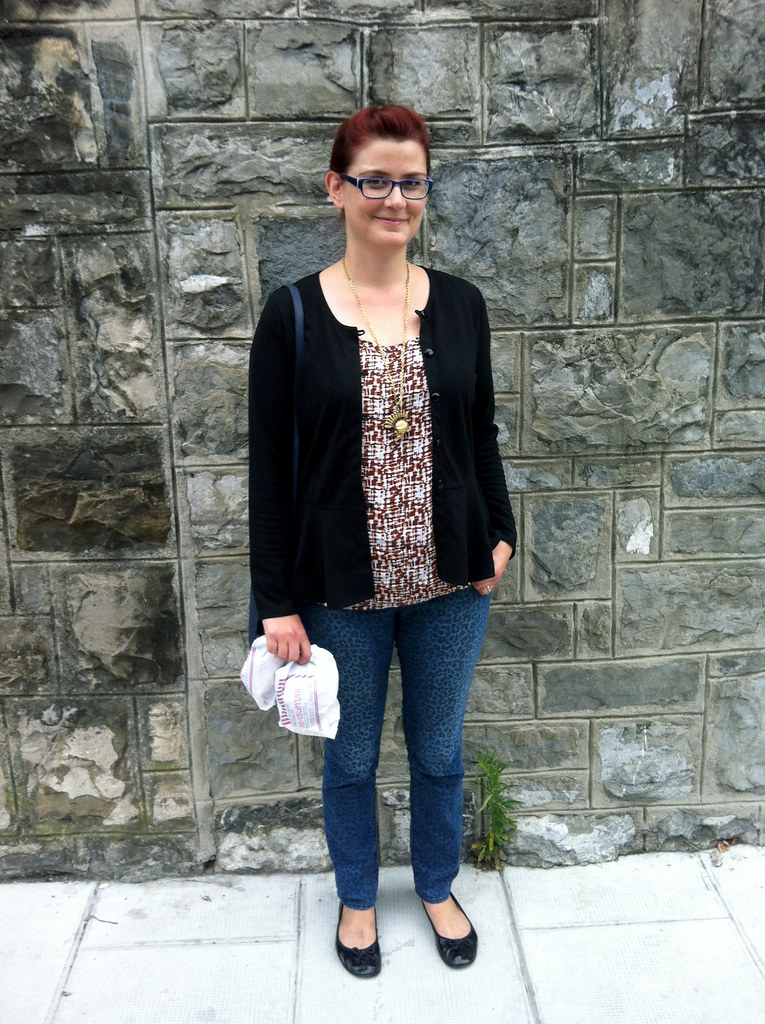
Oh, and here's bonus photo of my May Burda Challenge peplum cardi-jacket out and about. The top is also me-made, and those paper bags contain croissants...


Ohhh it looks great! It's funny, I made up a tester version of the shirt length, and didn't like the fit, I abandoned it and made up model 101 from the May issue, and was much happier! Looking at your shirtdress, I might have another go at the shirt, your finishing inside is so pretty!
ReplyDeleteGreat looking dress, and the western print makes me smile.
ReplyDelete