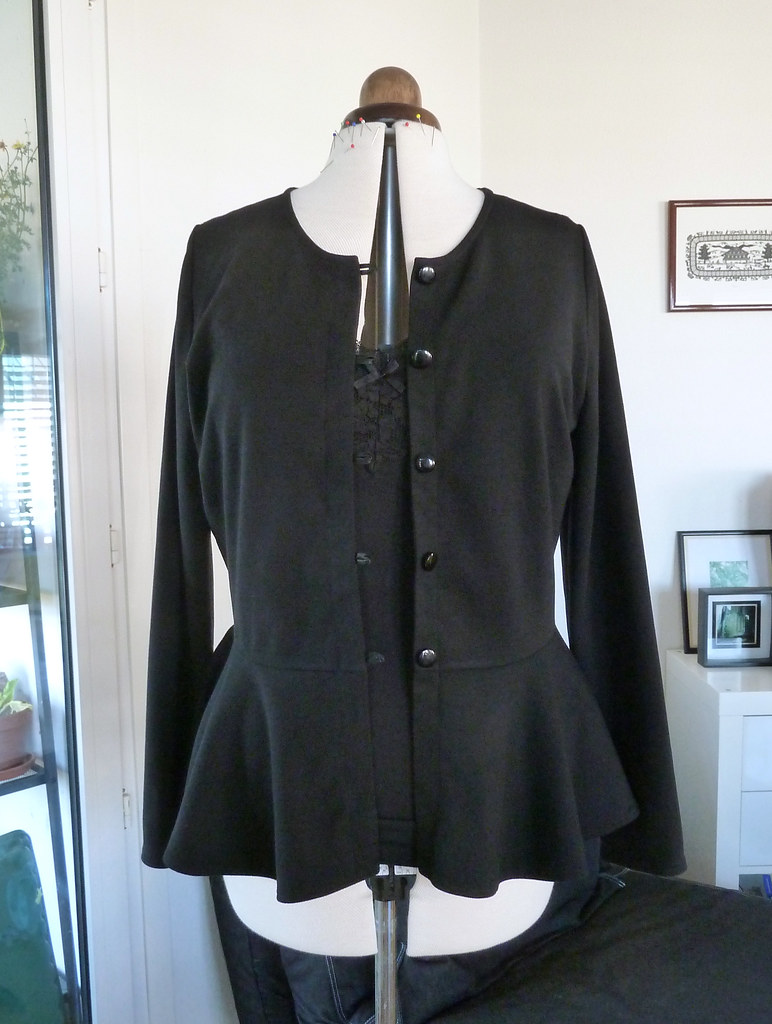
I originally chose pattern 05/2013/101 for my May Burda Challenge, but this was a disaster, and I didn't finish it. (The details: it was ridiculously low cut, too short, too "maternity", and the strap placement was really wide. The whole thing looked generally awful on me. Plus the fabric I chose, a poly charmeuse, was horrible to work with.) So, after a little break, I reviewed the month's patterns again and picked out this one. I need more cardies and light jackets (making one was part of my extended MMM'13 challenge), and I realised that this would look quite smart made up in a more stable knit.
Pattern description
BurdaStyle Magazine 05/2013/109. Cardigan with gathered peplum and choice of short or long sleeves. Front fastening with either hooks and eyes, or loops and buttons.Pattern sizing
36-44. I cut the 42.Fabric used
RPL double knit from Fabric.com.Did it look like the photo/drawing on the pattern envelope when you were done?
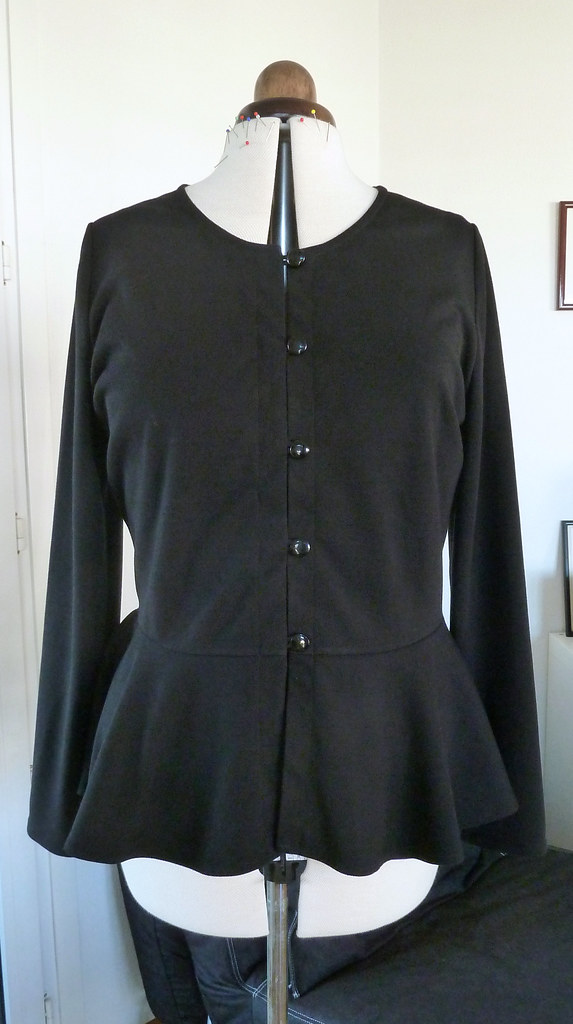
Apart from the peplum, it looked pretty identical.Were the instructions easy to follow?
Yes, pretty straightforward. The instructions for the finishing of the front edges and neck are a little awkwardly written, but it's clear what is intended. The instructions call for the sleeves to be set in, rather than put in flat, which is more usual in a knit. I did set them in, as I wanted to keep a smarter, more "jacket-y" look.What did you particularly like or dislike about the pattern?
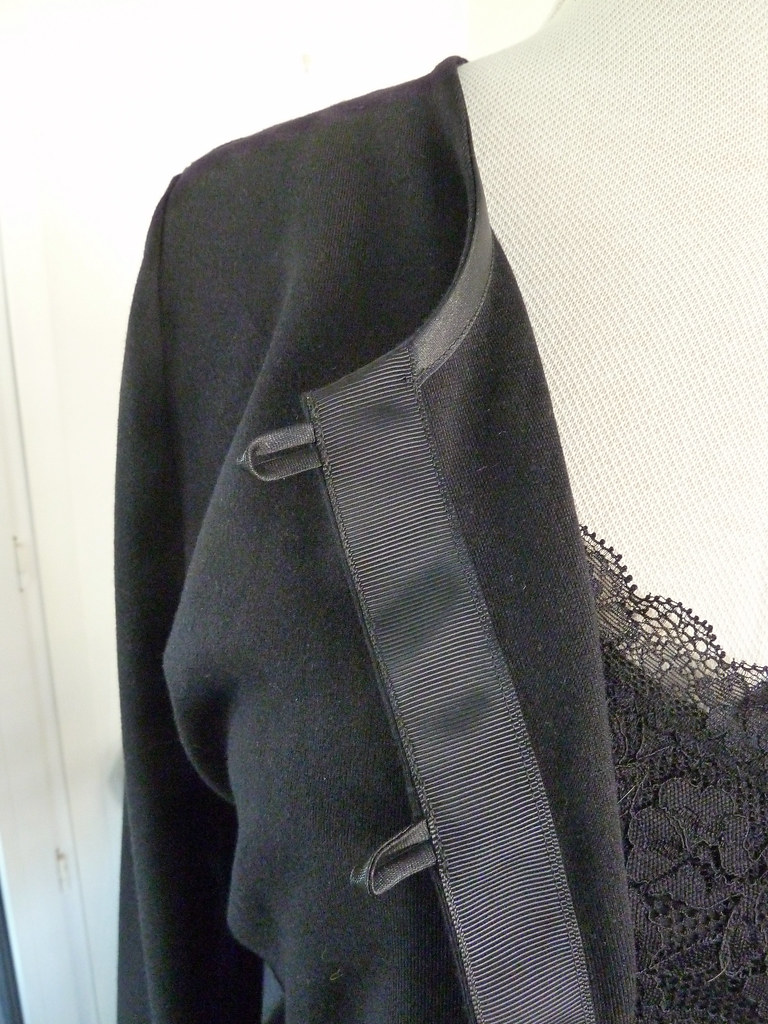
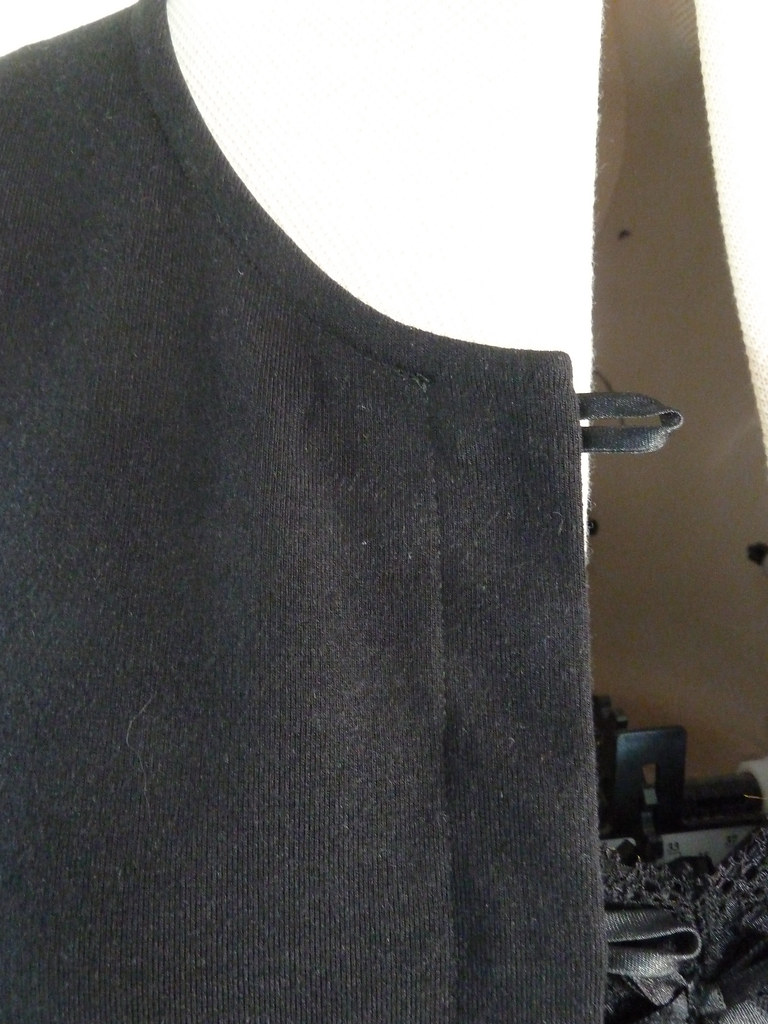
I really like the way of finishing the neckline and front edges. The tape along the front edge provides stability for the fastenings and the way the neckline binding is sewn means the finish is super neat.I didn't like the amount of ease on the sleeve cap: 4.5cm - for a knit! I lowered the sleeve cap to reduce the ease to 2.5cm. Normally for a knit, I would have zero ease, but I wanted to keep a slightly smarter, more "tailored" look here. I didn't like that the peplum was gathered, so I drafted a new piece for this (see below). The gathering would probably be fine for a very slim person and in a very lightweight fabric, but I am not slim and the fabric I used was too thick to gather neatly. Also, be warned, the peplum is very very short if you use the dimensions given.
Pattern alterations or any design changes you made
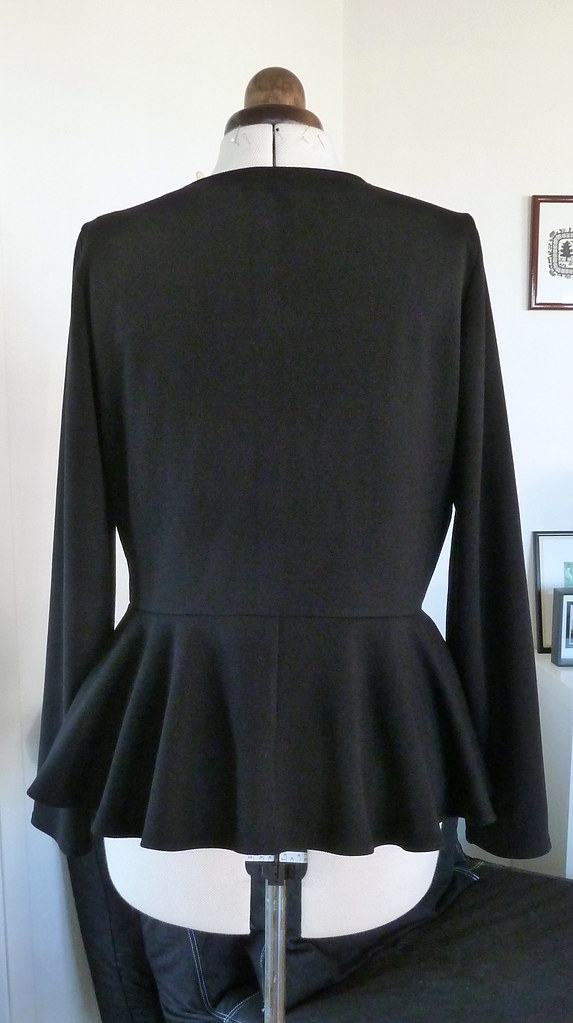
As mentioned, I drafted a new peplum - this is effectively two semicircular pieces, drafted much the same way as circular skirt, with the centre front and back on grain. My peplum is 20cm long at the back and sides, and 18cm at the centre front. For me, I found this was long enough to wear with trousers, but short enough to wear with a skirt or dress.As well as reducing the sleeve cap ease, also mentioned above, I made a dartless FBA, using the same method as I detailed previously. I added 1.5cm (per half) in width, and 2cm in length.
Construction details
All the exposed seams were constructed with my serger (or neatened with the serger in the case of setting in the sleeves). I used a poly grosgrain ribbon for the front facings and to reinforce the shoulder seams, and shop-bought satin bias binding for the neckline. I also made bias tubes for the button loops, rather than using cord as suggested.The instructions leave the sleeve and peplum hems unfinished, but I didn't want this look. For the peplum I neatened the edges with the serger, then just turned up a narrow hem and topstitched it (with a single needle). I wanted to keep a bit of stretch in the sleeve hems, so I topstitched them with a twin needle.


This is stupendous-what a beautiful and elegant jacket.
ReplyDeleteGorgeous finishes - I'll take a second look at that Burda issue! Thanks for all the tips ..especially how you redrafted the peplum - yours falls beautifully!
ReplyDeleteThank you! I actually surprised myself at how neat it all ended up - I think the simplicity of the finish with the straight and bias tapes really helps it look so good.
ReplyDeleteThe ribbon is such a clever finish for that inside placket. I'm going to have to file that tip away. Love the way the jacket turned out.
ReplyDelete