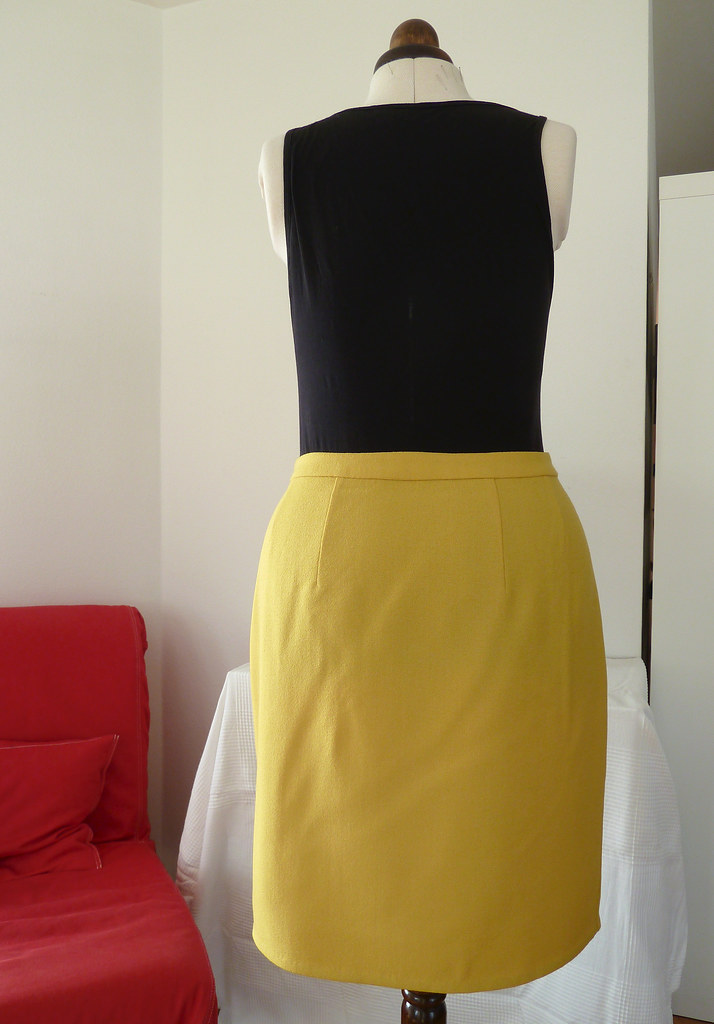
I wanted a quick project before a trip to London, and needed some more versatile mix-and-match pieces that would work for spring. I figured this fabric would be good for a skirt, and had an idea I wanted to do something drapey/wrappy/tulipy. I had a look through my BWOF patterns (using my new highly organised system - more on that at a later date), but the designs that caught my eye were all fairly simple, so I decided to draft one myself, as I knew it would be quicker than tracing and adjusting a Burda pattern.
Pattern description
Wrap skirt, slightly pegged with rounded front sections. Waistband sits around 2cm below natural waistline.Fabric used
Bright yellow wool crepe, bought from Fabric.com. It was originally intended for some trousers, but decided it was a leeeeeeetle too bright for that. Lining is from stash - I discovered when unpacking fabric after moving that I had around 6m of it. I've no idea how long I've had it or what the fabric content is (or why I bought so much!) but fortunately I like the colour and it's proving useful.Did it look like the sketch/idea when you were done?
Yes, I'm pretty pleased with this - it has pretty much the lines I intended.What did you particularly like or dislike about the pattern?
This is a skirt that is interesting in shape and colour, but is also "plain" enough to mix well in my wardrobe. Also, the waist is high enough to be able to tuck in tops, but also low enough that it doesn't interfere if I want to wear a top untucked with a belt.Drafting details
The back is almost unaltered, apart from dropping the waist by 2cm, and pegging the side seams by 2.5cm at the hem. The front pattern piece was doubled to give a full front, then the wrap coverage drawn in, starting at the position of the dart, and the side seam pegged again. A 3cm wide waistband was drafted.Construction details
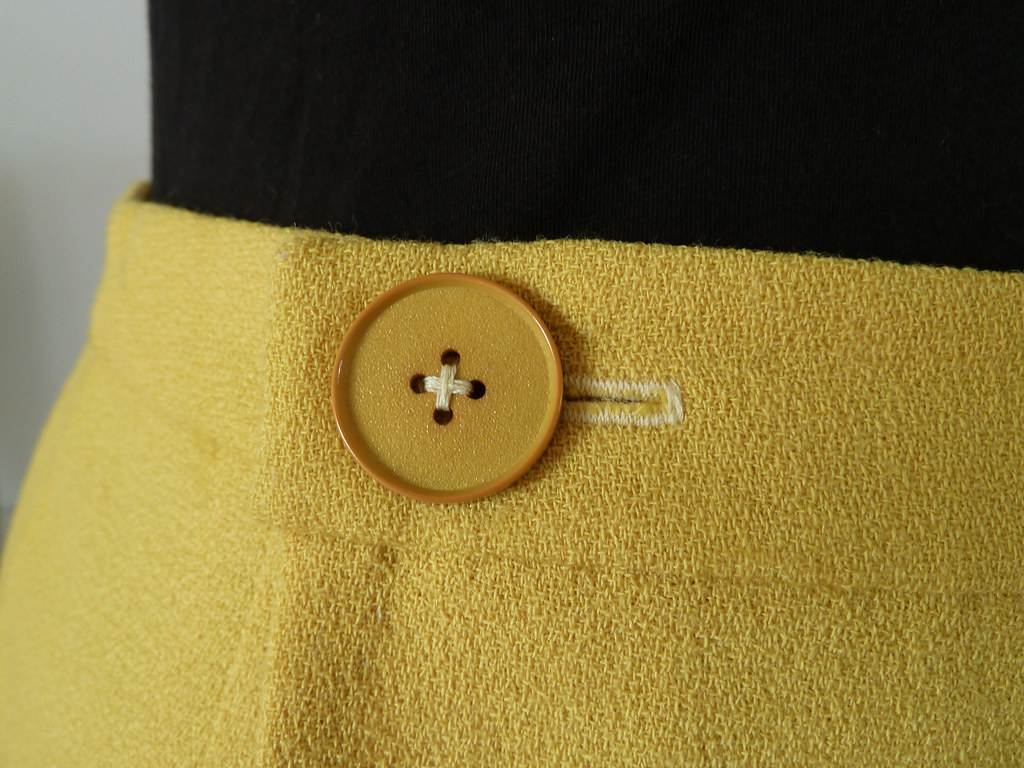
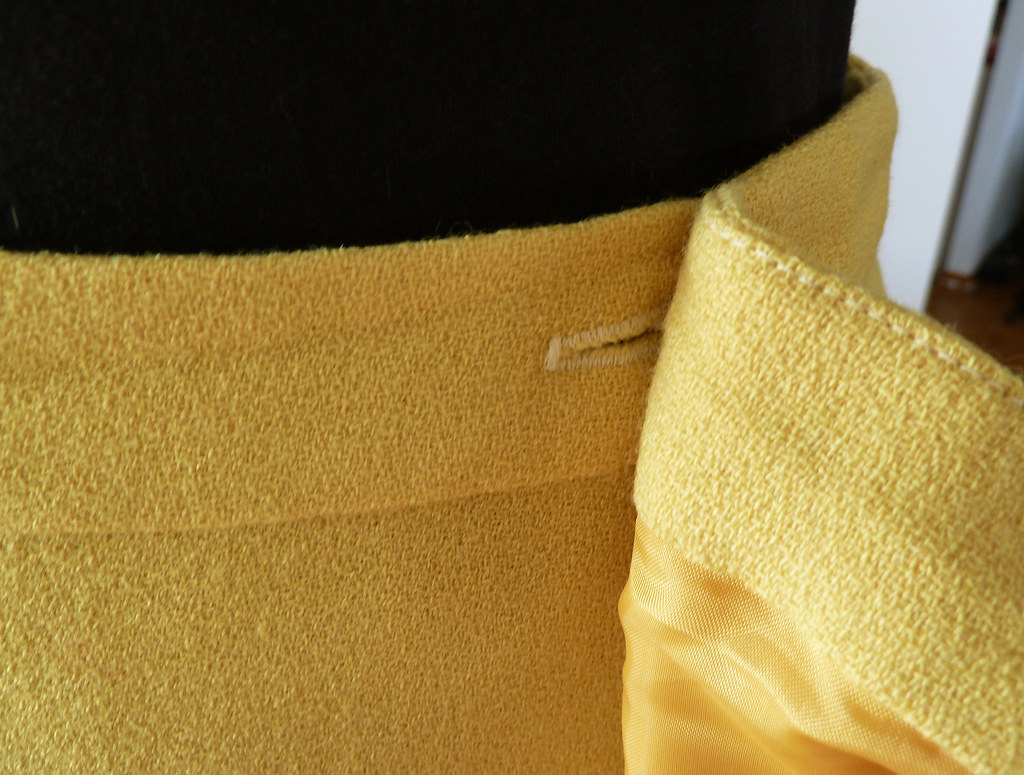
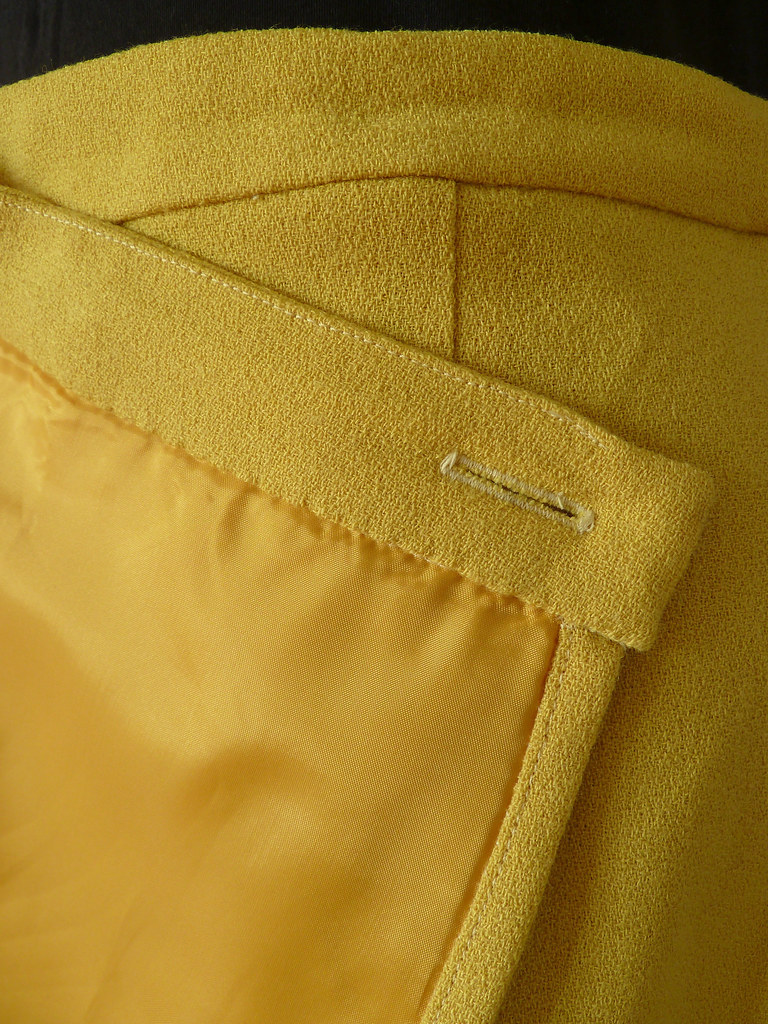
French seams were used for the side seams. The skirt portion is lined - the fashion fabric and lining were constructed separately as mirror images (although this doesn't really matter here as it's symmetrical!), then put wrong sides together and treated effectively as underlined fabric to complete the skirt.The waistband is interfaced, and stabilised with silk organza. The waistband facing is slipstiched to the skirt by hand. The skirt and lining are serged together at the hem edge; this was pressed inwards just past the stitching line and sewn down by machine, pressed in again, then slipstitched to the lining. The buttonholes were made by machine.
I'm not entirely pleased with how the hem turned out - it's ended up slightly wavy and sticky-outy in parts (and I chose the better side to be the overlap!). I'm pretty certain that this is caused by the seam being too bulky so that the fabric on the inner part of the curve of the hem is longer than the actual length of this curve. I'm not sure though how to fix this - my ideas so far for future projects would be to use the differential feed on the serger to gather the first turn of the hem slightly, or to run a gathering stitch along the inner edge on the second turn. Would these work? Any recommendations would be welcome (and also any suggestions to fix this skirt - I can live with it as it is, but it would be nice to know if I can fix it with not too much effort).


No comments:
Post a Comment