So, September's come round quickly, and it's another me-made month! I think this month I will do periodic round-up posts on my blog, unless there is something particularly interesting that deserves its own post. And as this is the first day of the challenge, and it's a new dress, I figured this was one of those situations.
I'm not doing a full-on review for this, as it's the same pattern and very similarly constructed to the silk charmeuse wrap dress I've just made, but the differences are detailed below.
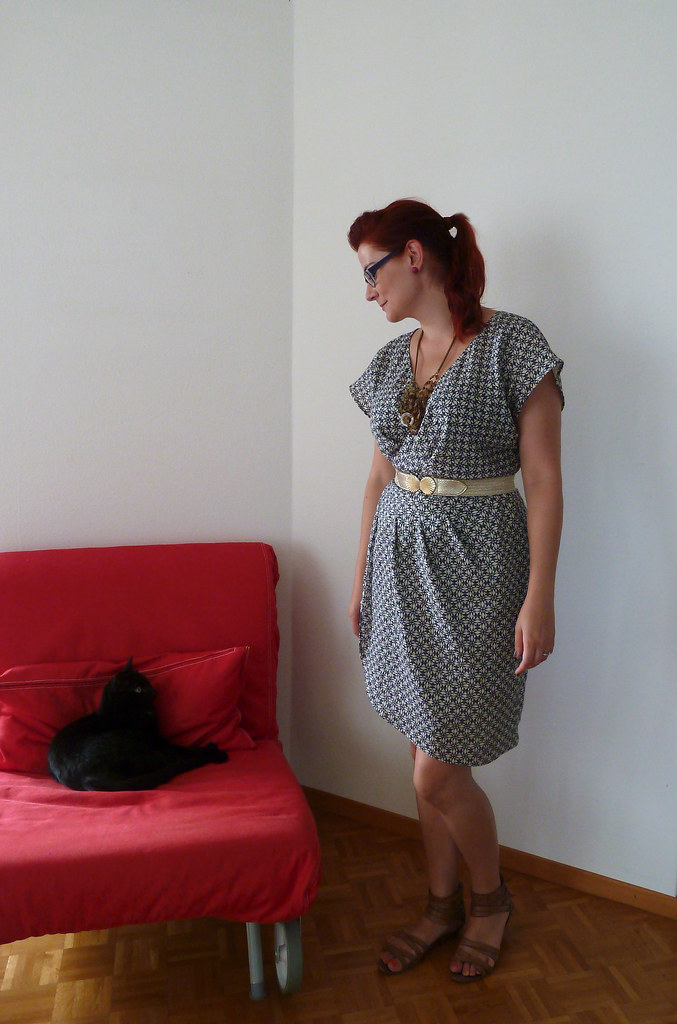
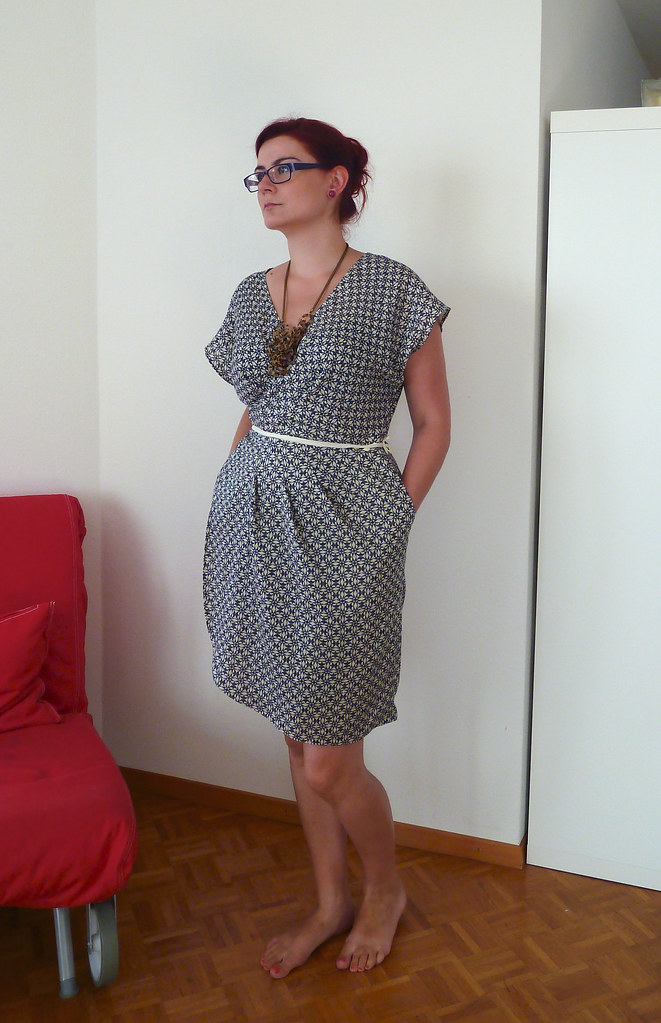
Day 1: So this dress was started just after I finished the last one, ostensibly as a "quick" project to wear a couple of days after starting it whilst it was still really hot (probably over a swimsuit), but for this "quick" project I decided to use a fabric that needed underlining and pattern matching. Um, yeah. Did I mention this was also the first time I'd underlined a dress? However, all that work was definitely worth it, with a couple of reservations, I'm pretty pleased with this dress.
Dress: Me-Made / Necklace: Accessorise / Belt: eBay / Sandals: Office
Fabric used
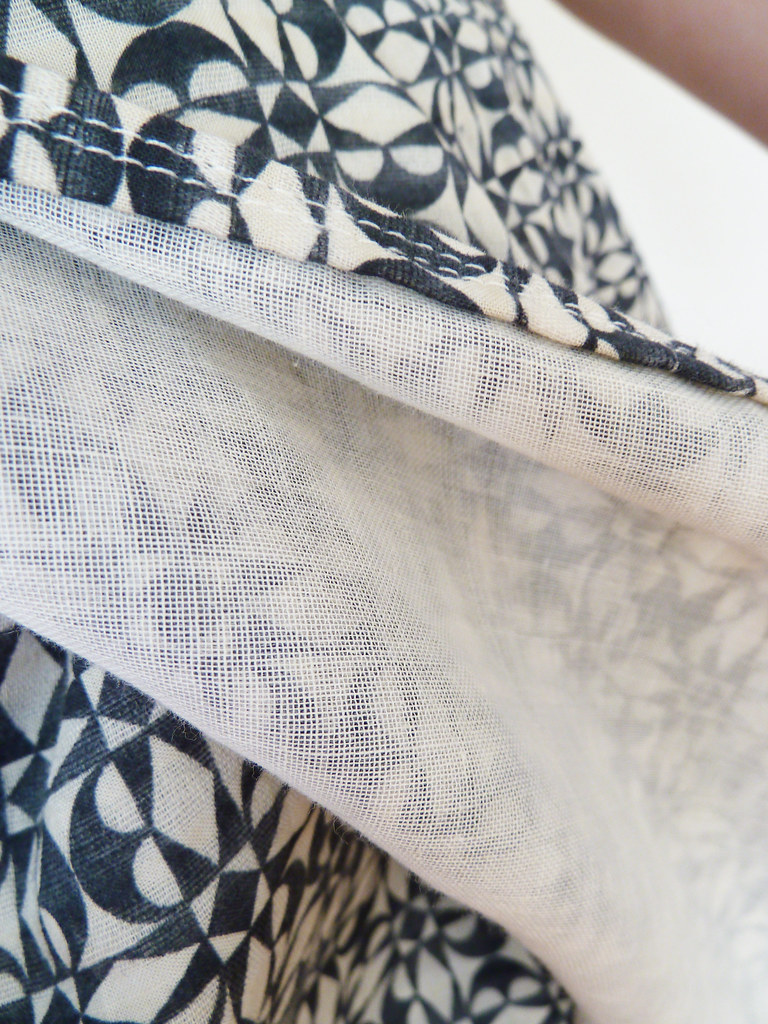
A printed cotton lawn from Aberkhan Fabrics, and underlined with cotton batiste from Fabric.com.Pattern alterations or any design changes you made
Again, I used ties on the outside wrap as well, but I'm not entirely happy with the look on this dress. Without the belt, it's a bit hospital gown chic... The wrap goes the opposite way to the pattern envelope again, as for some reason the pleats lie better that way again, and I left the pleats stitched as before to keep it from being too poofy over my midsection. I used the pockets this time, and I should have raised the armscye, but forgot.Construction details
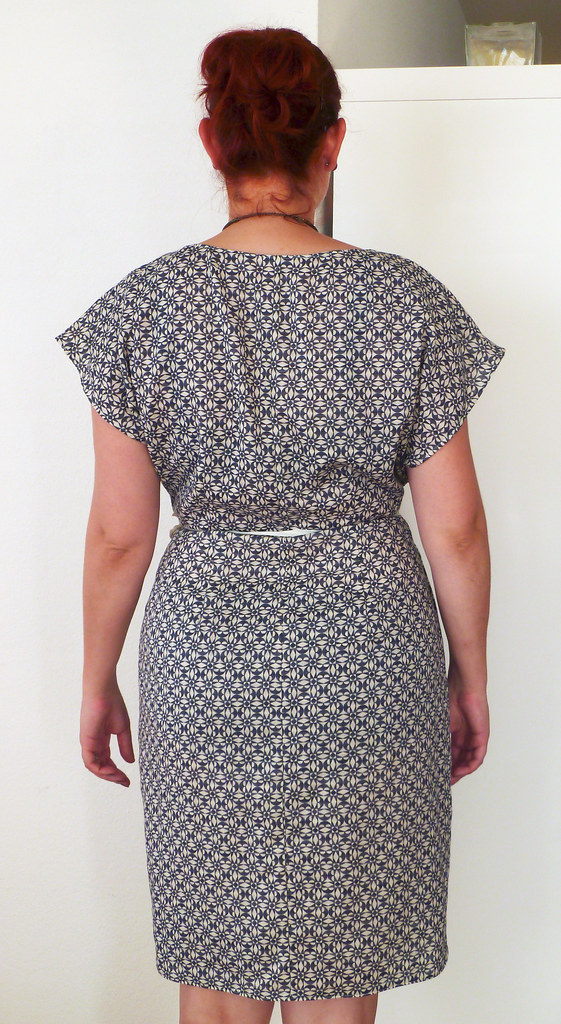
I cut the underlining from the pattern and put all the markings on that, then used the underlining to cut the fashion fabric. I used a rotary cutter to cut the fashion fabric as it was so flimsy. I loooove using the rotary cutter - I need to clear my "cutting" table to have more space to lay out fabric so I can use this more often. I then hand-basted the two layers together, again this was a first for me, and in my care to avoid stretching the edges I think I pulled the basting a little tight, but that wasn't a big deal.I used French seams for the centre back bodice and skirt, the shoulder and the waist seams, and regular seams finished with serged edges for the side seams. The edge was finished with a baby-hem (again, a little wide, hence the sleeves sticking out a little funny).
I'm pretty pleased with the pattern matching at the back - it wasn't so much of an issue at the front as both the front bodice and skirt are cut on the bias.


Wow! great job with the underlining and pattern matching! it doesn't sound like a "quick" project at all!
ReplyDeleteThanks! Yeah, it turned out to be rather a lot of work - it took me about a week in the end (instead of the day that I had originally planned...)
ReplyDeleteHey! All that work paid off, because the end result is so beautiful and elegant. I do not think it looks like a hospital gown at all! It's a dress that needs a splash of color with accessories, simply. Good job!
ReplyDelete