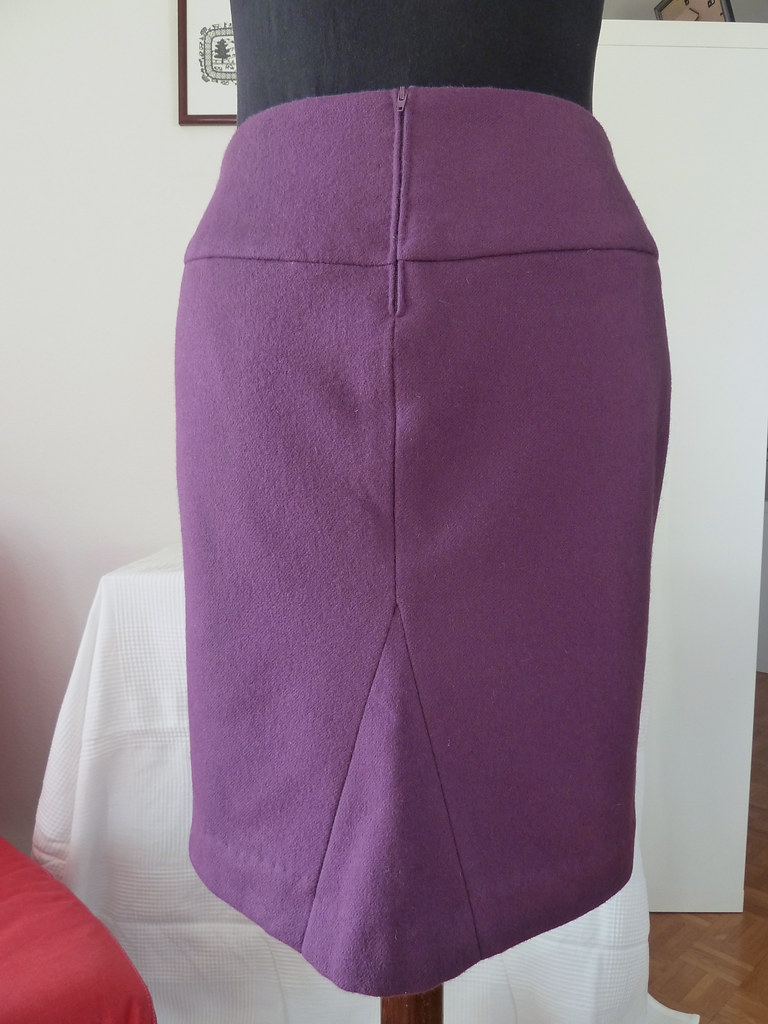
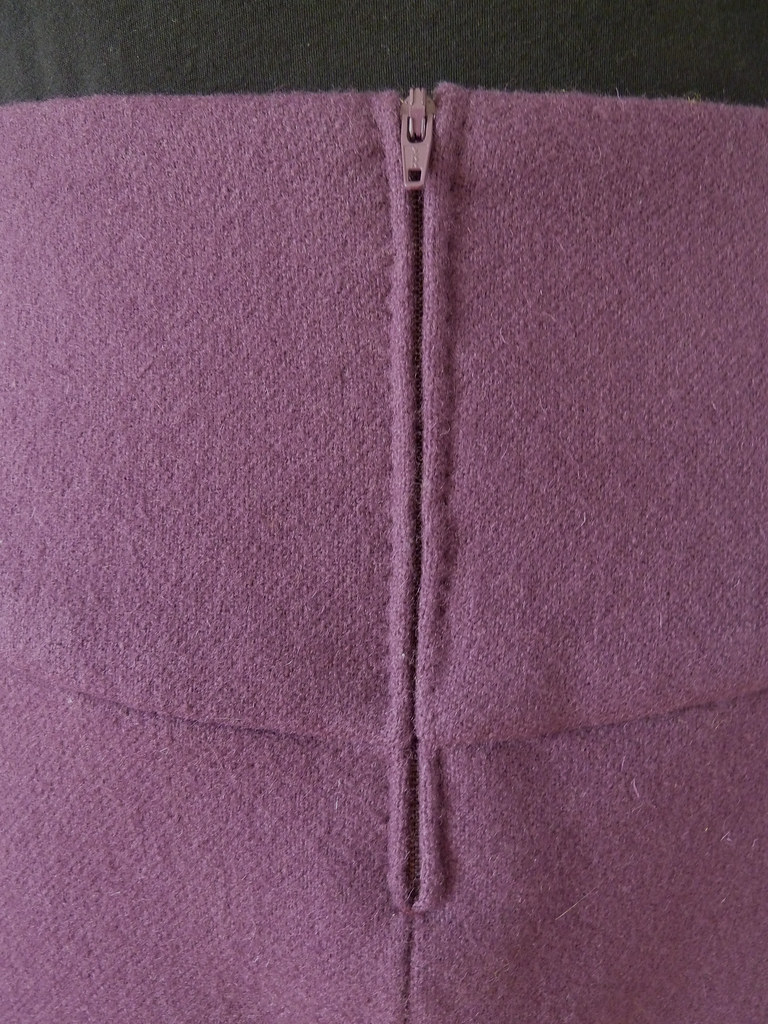
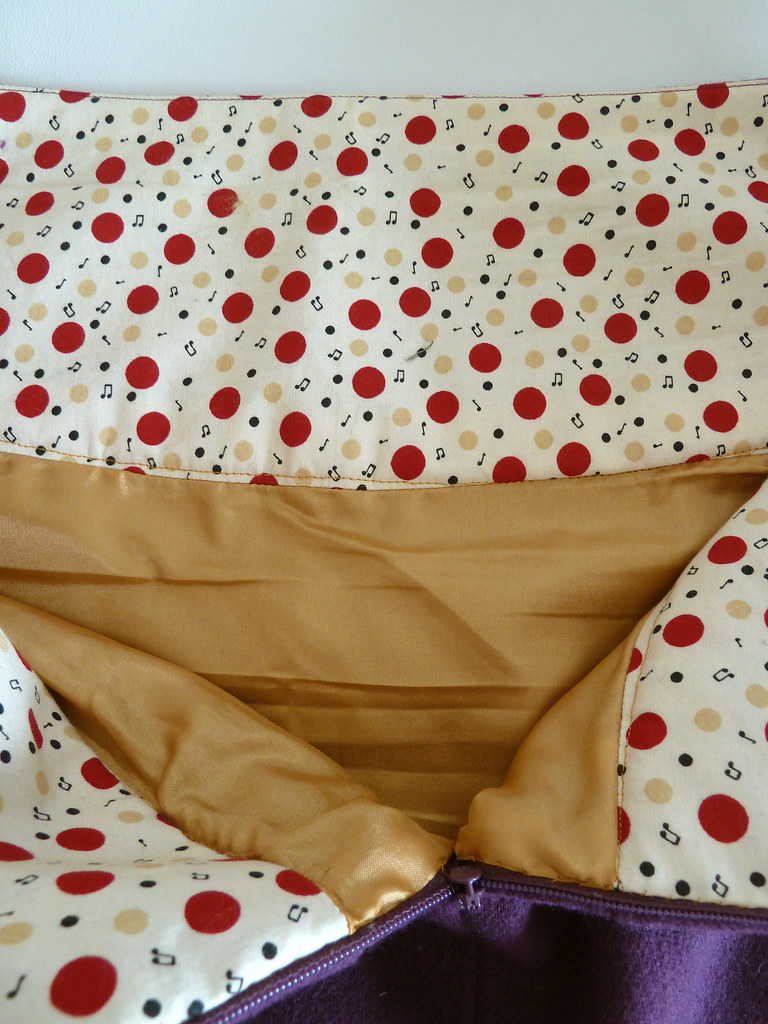
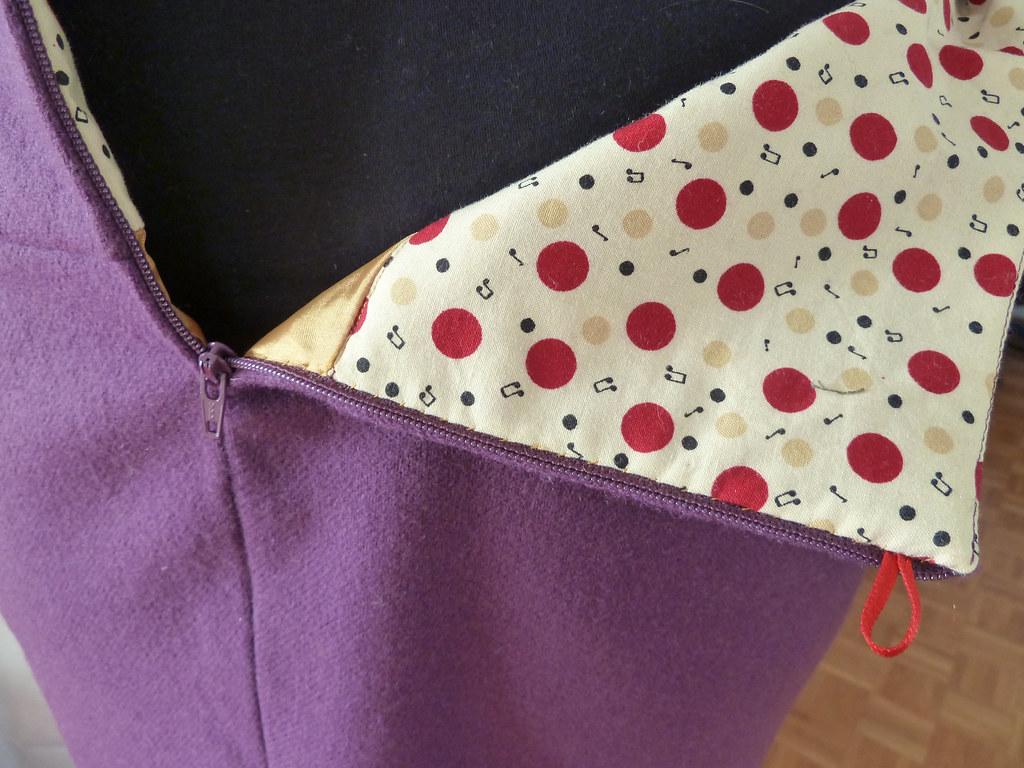
Another skirt sewn several months ago...
Friday, 23 March 2012
Monday, 19 March 2012
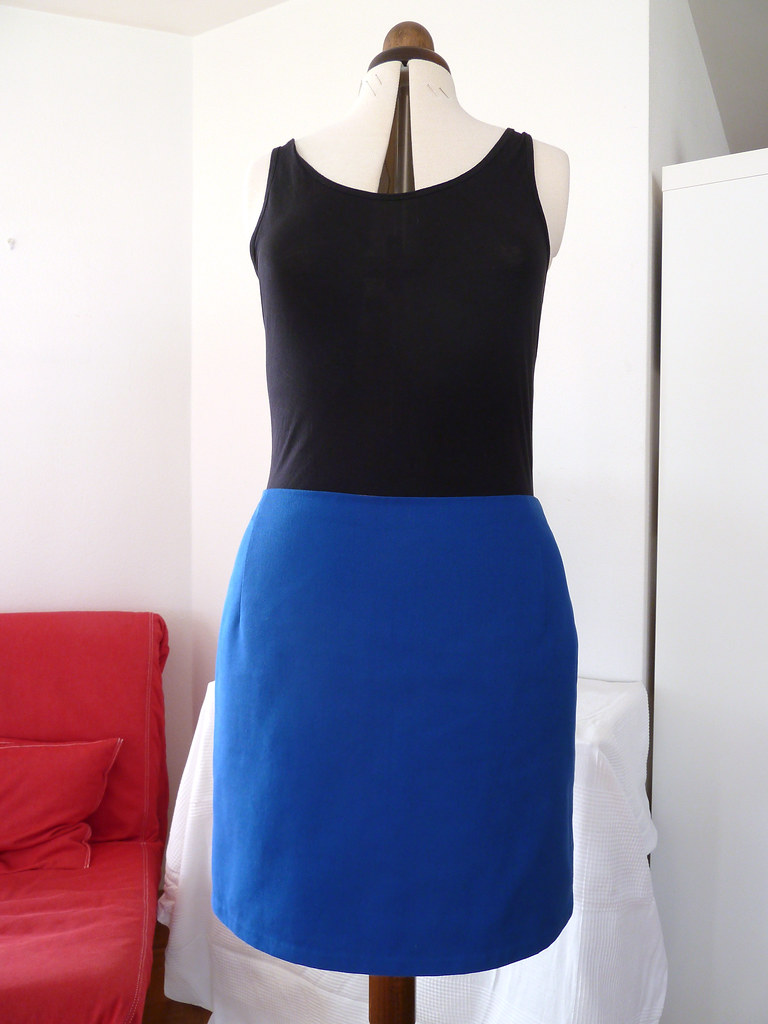
Blue twill basic mini(-ish)-skirt
I'm catching up with a few things I've sewn over the last few months but haven't yet posted about. This skirt was actually sewn around October last year! It's not terribly exciting, but I wanted to fill in more of the stuff I'd sewn and not blogged about.
Pattern description
Basic self-drafted straight skirt.Fabric used
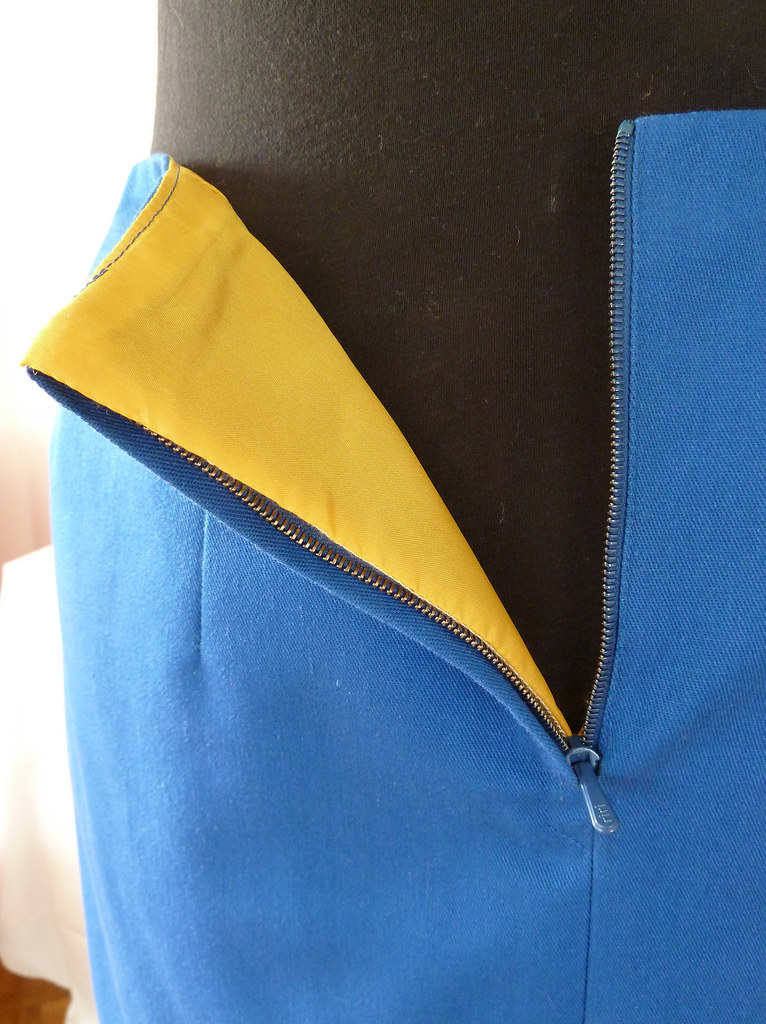
Blue twill cotton (maybe polycotton) from Fabric.com. Lined with the same bright yellow mystery lining used in the yellow wrap skirt.Did it look like the sketch/idea when you were done?
Yep! I wanted just a plain basic skirt, and that's what this is!What did you particularly like or dislike about the pattern?
This was super quick to sew and filled a hole in my wardrobe. The colour was actually quite hard to fit into my wardrobe, but that's my fault, not the fault of the pattern!Drafting details
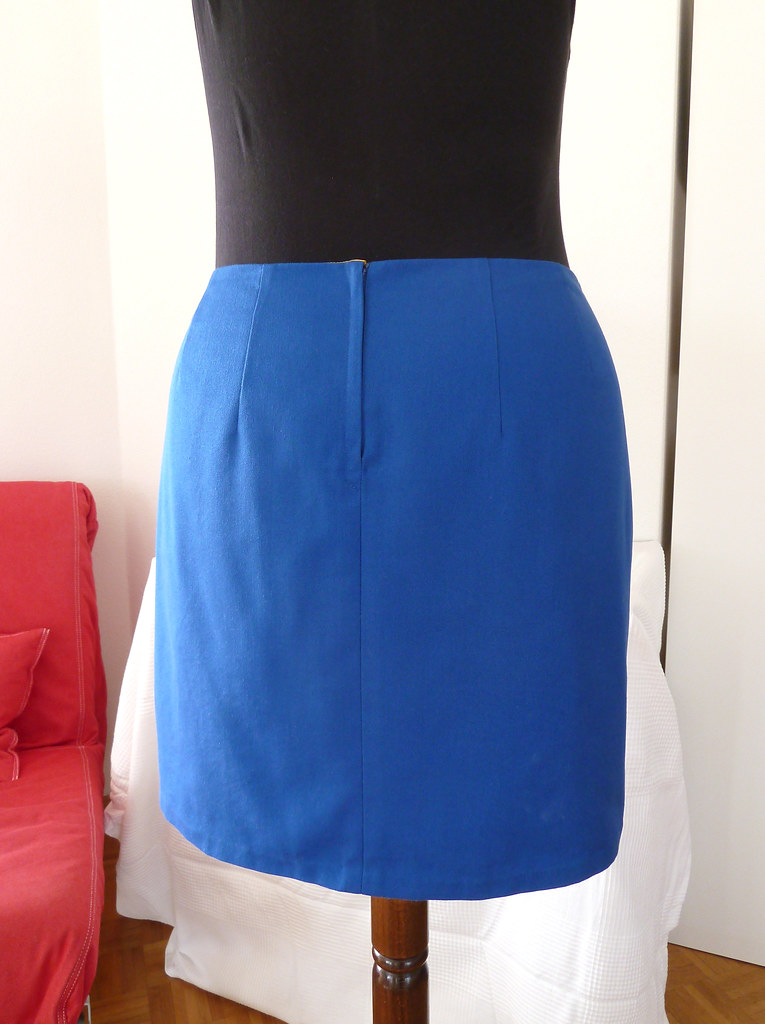
Drafted pretty much directly as a shortened version of my skirt block. I think I dropped the waist by around 1.5cm too. I think I need to check the hip measurement and fit of the back darts on my skirt block though, as this skirt rides up a little at the back.Construction details
Seams are finished on the serger, and it is hemmed by hand to avoid a visible line of stitching (I actually did this on the plane to New York). I decided the blue top-stitching on on the hem of the (yellow) lining was a design feature, not simply because I was too lazy to change the thread...I'd intended to use an invisible zipper at the back, but only had a normal zipper, so used a lapped zipper insertion. However, when I'd done this, I realised I had no idea how to finish the top edge/lining, and ended up with funny little pocket where the zip sits under the lining on the underlap side. I need to work out how to fix this as I really can't visualise how it could work and keep the top edge of the zip neat, unless the zip stops short of the top and there is a waistband - any tips on how to fix this? On the plus side, it's probably the best lapped zipper I've done so far.
Would you sew it again?
I probably will make a similar type of skirt again at some point, but in a colour that's slightly easier to mix and match with what I have in my wardrobe (or maybe I need to make more tops to go with this?). If I do make it again, as well as checking the fit over my hips and top of my bottom as mentioned above, I will also probably peg it slightly to keep it a bit closer to my thighs (so I'm not worrying so much about knicker flashing!).Conclusion
A handy wardrobe builder, and quick to sew.Saturday, 17 March 2012
Another Sorbetto
For details of the changes I made to the Sorbetto, see here.
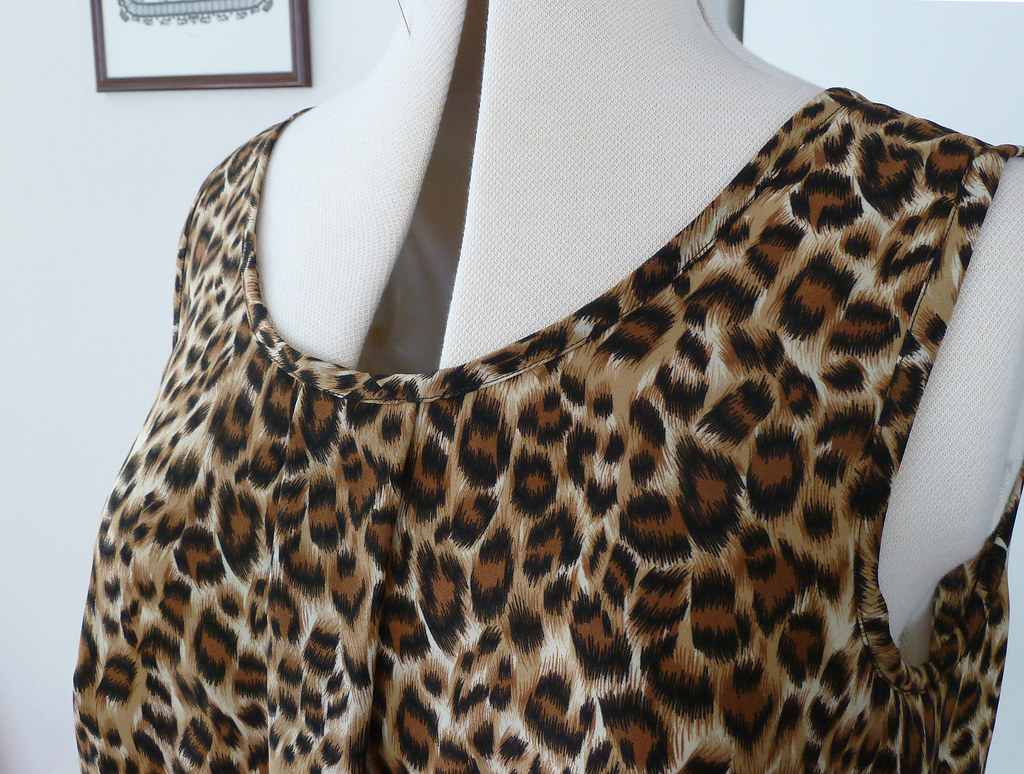
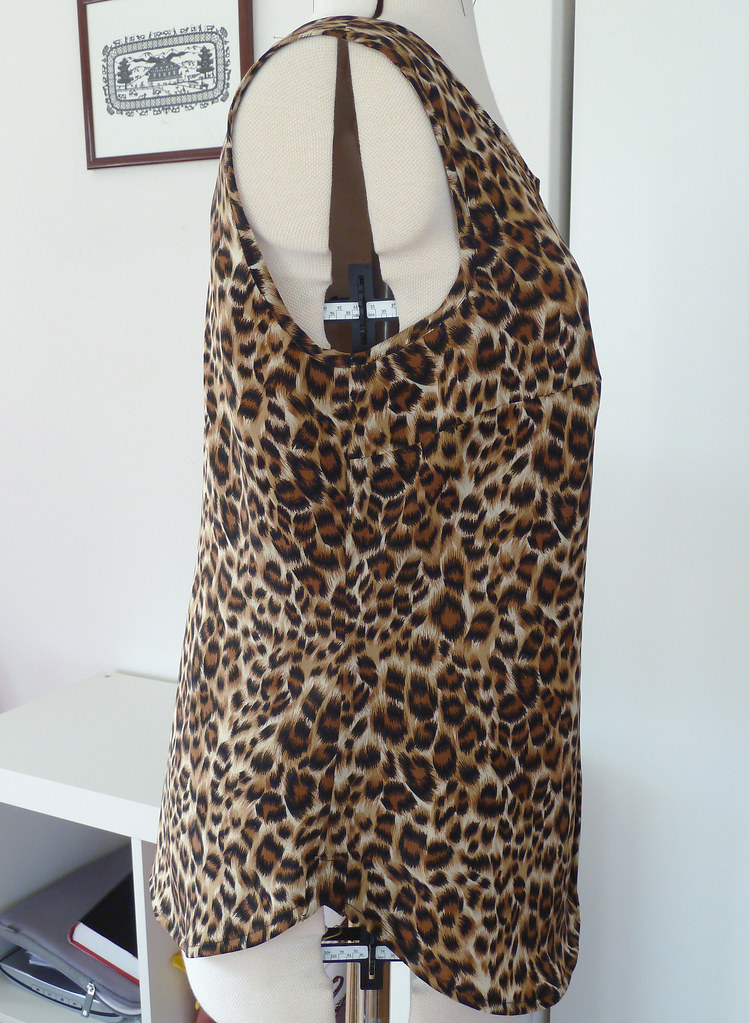
Most of this is the same as the previous version, with a couple of exceptions. It was constructed with French seams throughout, and the neckline and armholes finished with an exposed bias facing in self-fabric. The fabric is more of the leopard print poly challis from my wedding reception decorations (also used for the Budapest dress)
I forgot until I'd sewn the seam that the last time I'd forgotten to add the seam allowance to the centre back seam, but the fit was actually fine, so I probably won't actually bother to modify the pattern piece after all. Next time I will, however, make a small adjustment for square shoulders by raising the shoulder seams at the top of the armscye.
I lengthened this version by about 2.5 inches, and curved the hem up at the side seams. However, when I tried it on after hemming it, I was hugely disappointed. It stuck out at the sides of the hems, giving it an incredibly unflattering triangular shape and making my hips look enormous. I had a little think about it in bed that night, and realised that (a) I needed to curve the hem up more to define the shape properly and (b) I needed to make allowance for the fact that at the "v" at the side seam the turn-up of the hem pulls away from the seam. The second point meant that I needed to make some little tabs to neaten this join. I didn't want to lose the "v" shape, so I traced this to shape the bottom of the tabs.
This fabric was a bloody nightmare at this point - I think it's a poly-based fabric, so it really doesn't crease well. Great when wearing, not so great when trying to make accurately shaped fiddly tabs (and had already caused problems when making the bias tape). I ended up having to baste all the seam allowances flat before sewing the tabs to the top. And even then they ended being enormously messy. Don't look too closely at that photo... But the effect worked, and I'm glad I spent the time to fiddle with this as it looks so much better. Next time I sew something with a curved hem I'll remember to true the seam allowances so I dont necessarily need to do the tabs!
The hem is actually the same length front and back on me - Wilma's somewhat flatter than I am so doesn't pull it up. I'm pleased with how this top turned out in the end, and although it's possibly not the truly most flattering shape on me, it's so comfortable, and perfect for keeping cool in the summer - and I've already worn it several times as a layering piece.
London bits and pieces
Most of this is only vaguely related to sewing at best, but I wanted to share a few photos - if you do read it all through, there are a few clothes pics, honest...
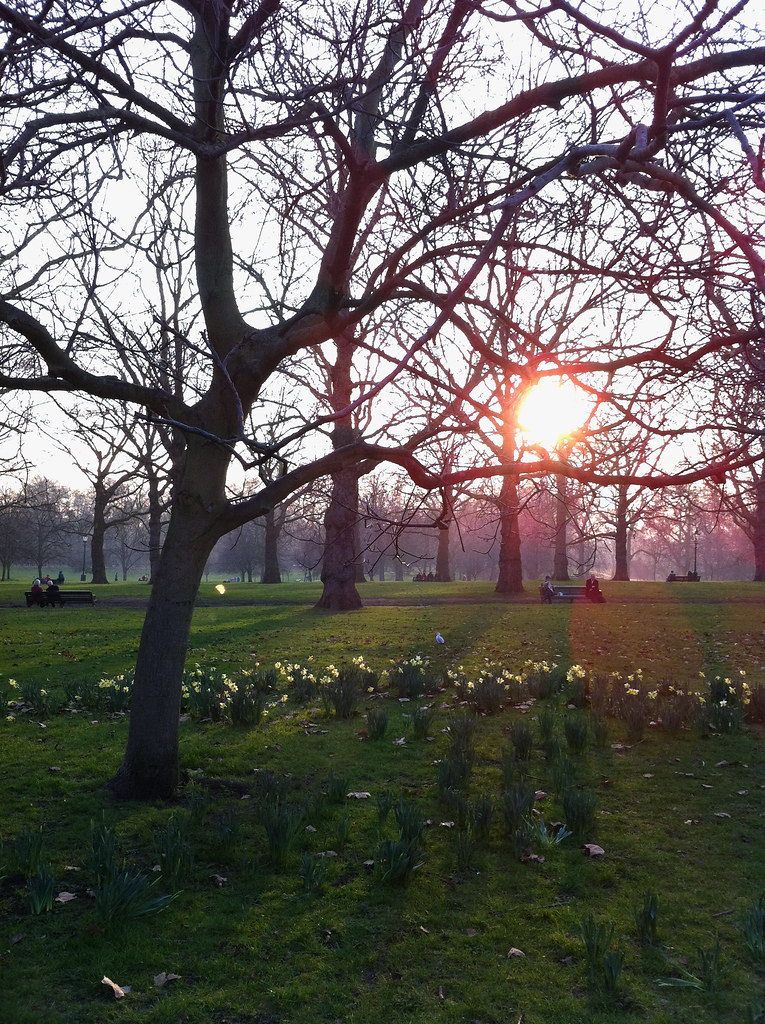
This was the first time we've been to London in a year where the entire time was our own - every visit last year included a wedding... The main reason for visiting this time was much better (sorry, lovely married friends...) - shopping! Despite being very productive lately, I wanted to stock up on a few things so I didn't have to make things in a panic. Specifically bikinis and summer clothes - because I'm going to St Lucia! Oh yeah. I would quite like to make a bikini - I've stocked up on fabric, elastics, books etc - but I was worried I would end up with my usual last-minute stress if that was my only option (particularly as I also need(ed) to do an enormous amount of tidying and gardening). And considering that we're going in a week and a half and I haven't thought about starting a bikini, I think that was a good plan. I'm definitely going to try making swimwear though - I was definitely inspired by Carolyn's tankini (woah, was that really back in November?), and I've also discovered a fabulous website for drafting and sewing swimwear etc. Anyway, that's for the future, for now, hooray for Bravissimo. And Monsoon. And Schuh. And Uniqlo...
...where we went to the launch of the Laura Ashley line in their Oxford Street flagship store. There was live music and cocktails in teacups.
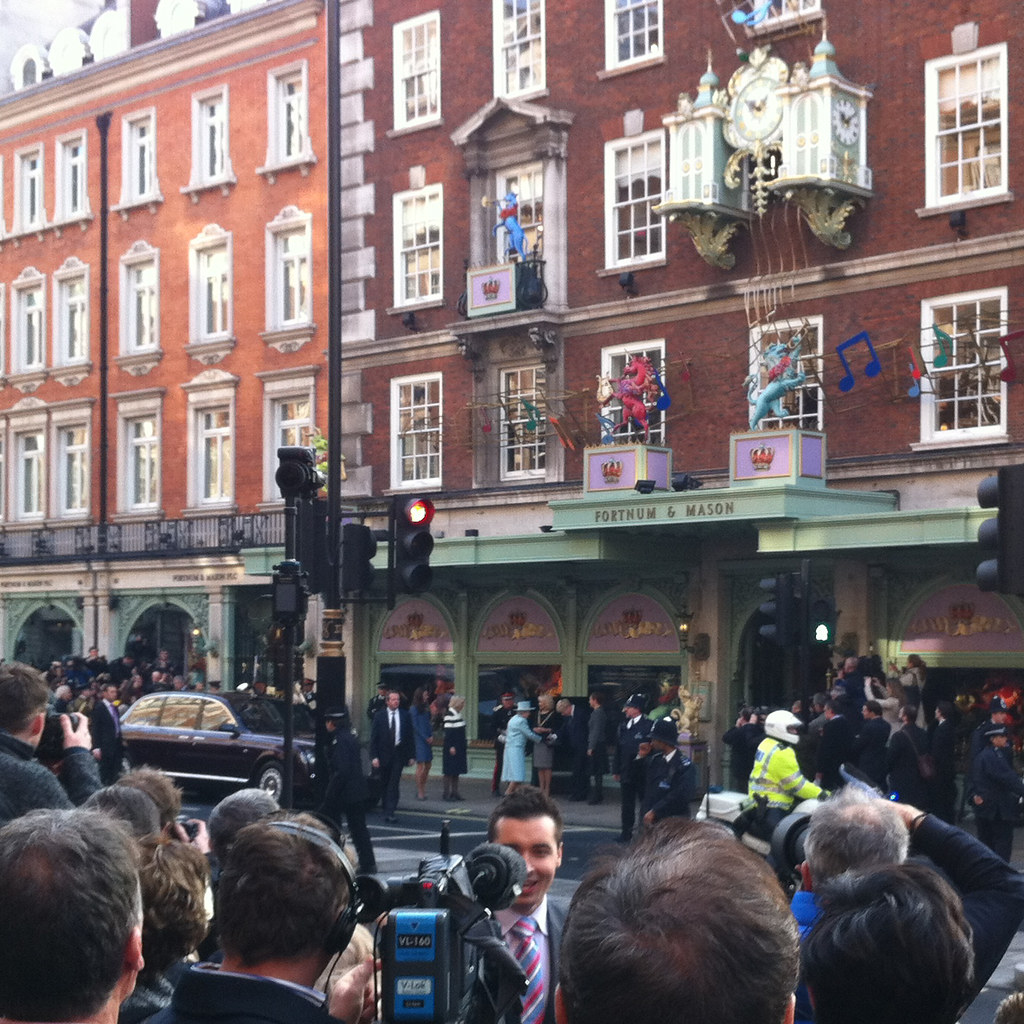
Other fun stuff - randomly saw the Queen (and Camilla, and Kate, and Boris Johnson):
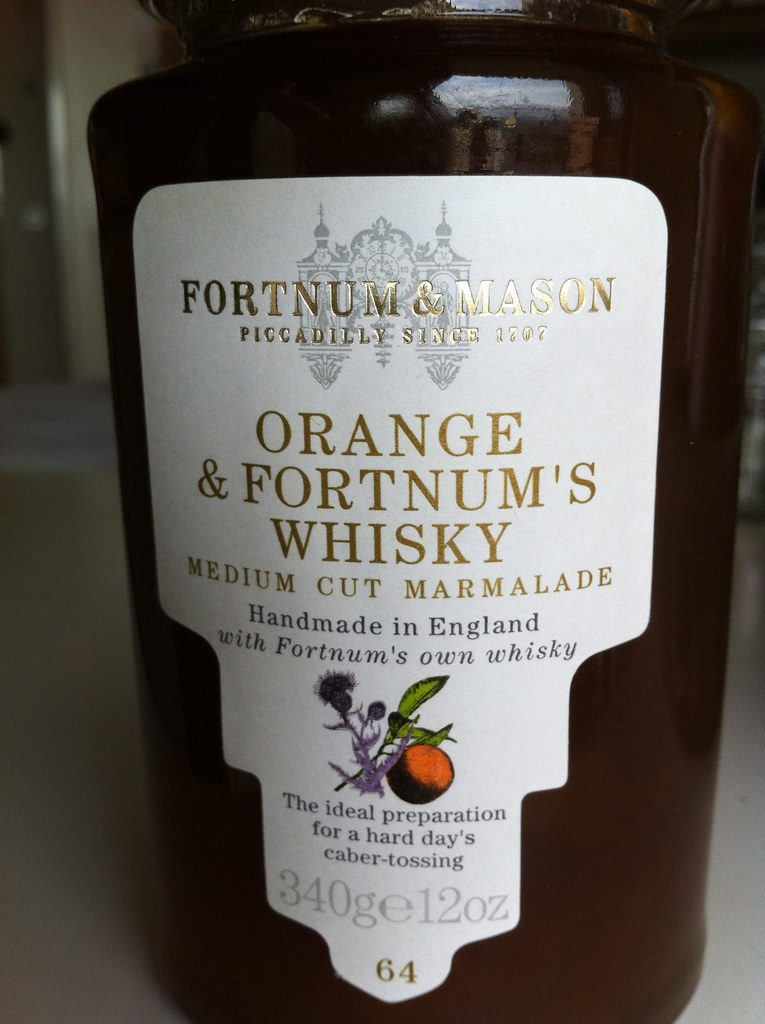
They were visiting Fortnum and Mason and unveiling a plaque to commemorate the refurbishment of Piccadilly. There's an article on the BBC website about the visit, where the Queen is quoted as saying "How marvellous". Perfect. And I brought back these souvenirs:
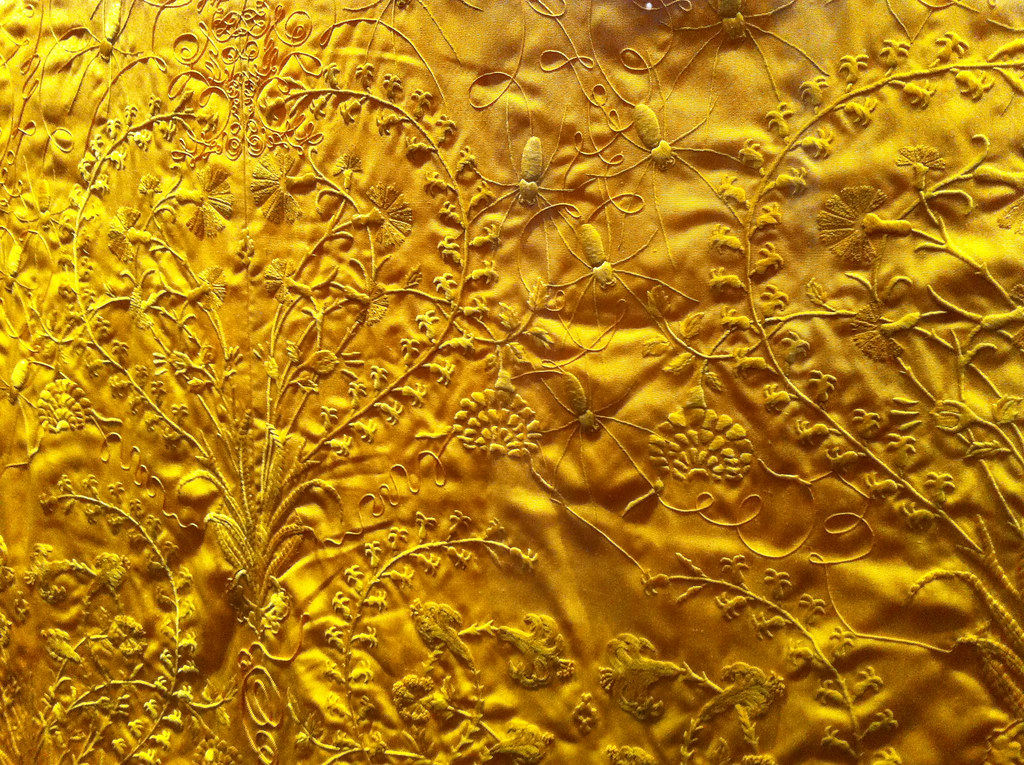
The next day we were on our way through the V&A and had a look at the spider silk cape. Bloody hell it's amazing. The beauty of the natural colour of the silk and the embroidery, coupled with the amount of time and effort that went into its construction makes it really quite amazing. I just wish I could have felt it.
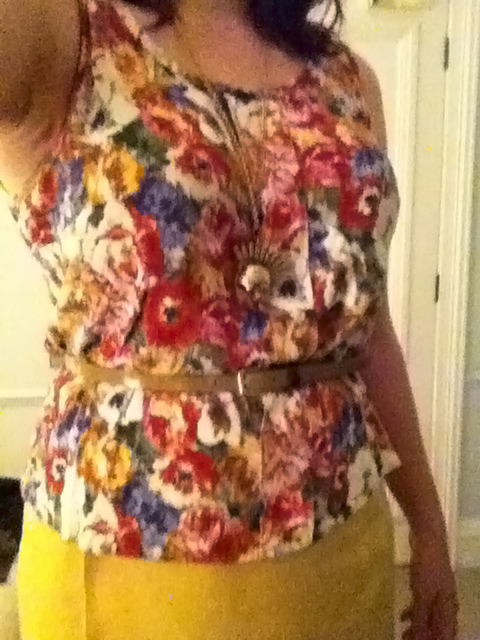
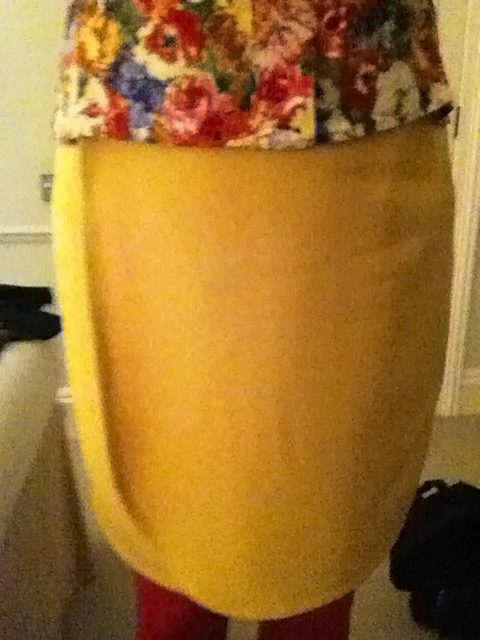
That evening we went to see the David Hockney exhibition at the Royal Academy. It really loved it. I have a passion for David Hockney throughout all the many incarnations of his art, and his new pieces are just gorgeous. For me they were also rather nostalgic as the landscapes reminded me so much of home. And, I wore my new yellow skirt, paired with my floral Sorbetto, bright pink tights, and blue suede shoes - uh-huh-huh (apologies for the terrible photos, I forgot to take them whilst I wast out, and for some reason decided to take them myself rather than get my husband to take them. Also very creased from sitting down.)
The next day saw a trip to the cinema to see the Muppets. Oh my goodness it is such a good film - we were actually crying with laughter pretty much constantly. We also saw Tomorrow's Warriors at the Queen Elizabeth Hall - I really miss all the cool free stuff in London...
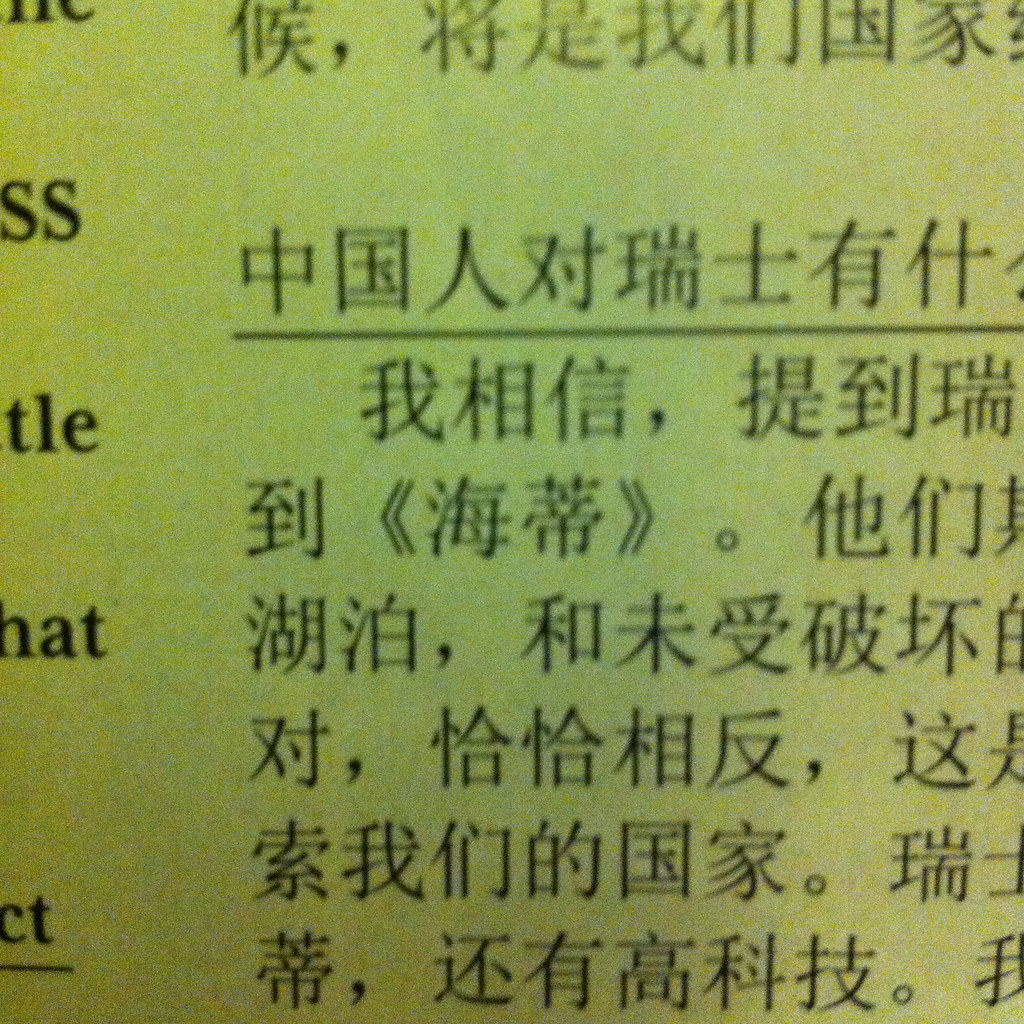
And finally, here's the translation of "Heidi" into Chinese, from the inflight magazine (it's the bit in angled brackets):
Thursday, 15 March 2012
You know it's time to stop buying fabric...
...when the shelves in your stash cupboard collapse from the weight of fabric on them. Oops.
Of course, the other option is to reinforce the shelves...
Wednesday, 14 March 2012
Things I'm currently loving
Glass-headed pins:
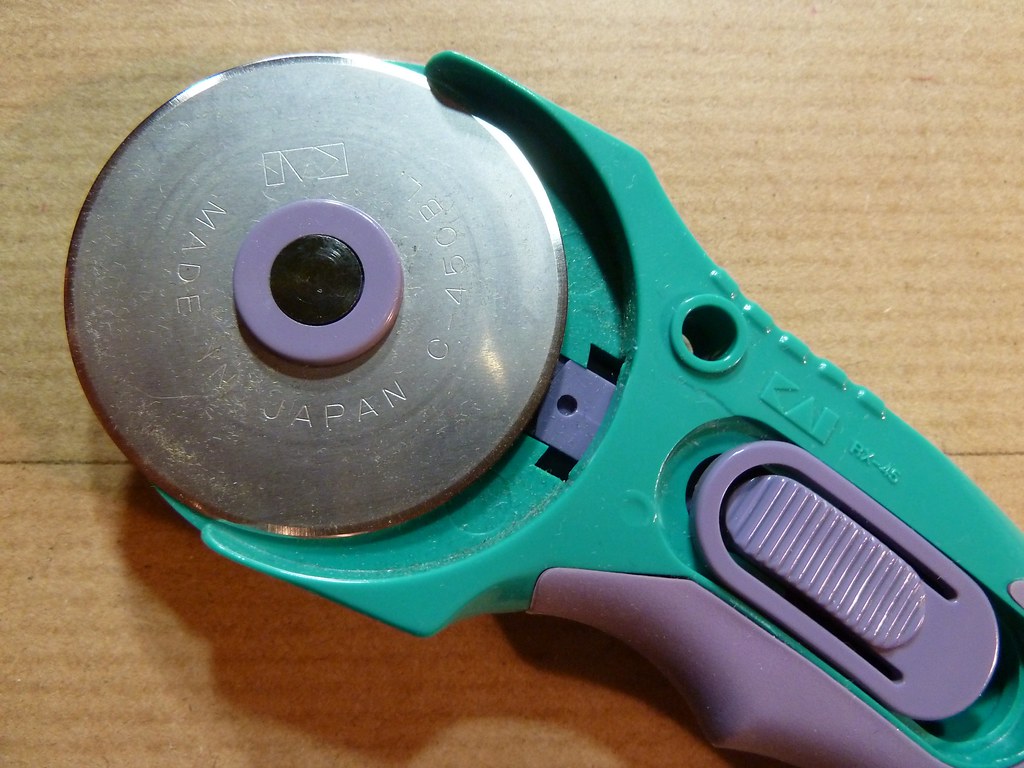
My rotary cutter (also the pinking blade):
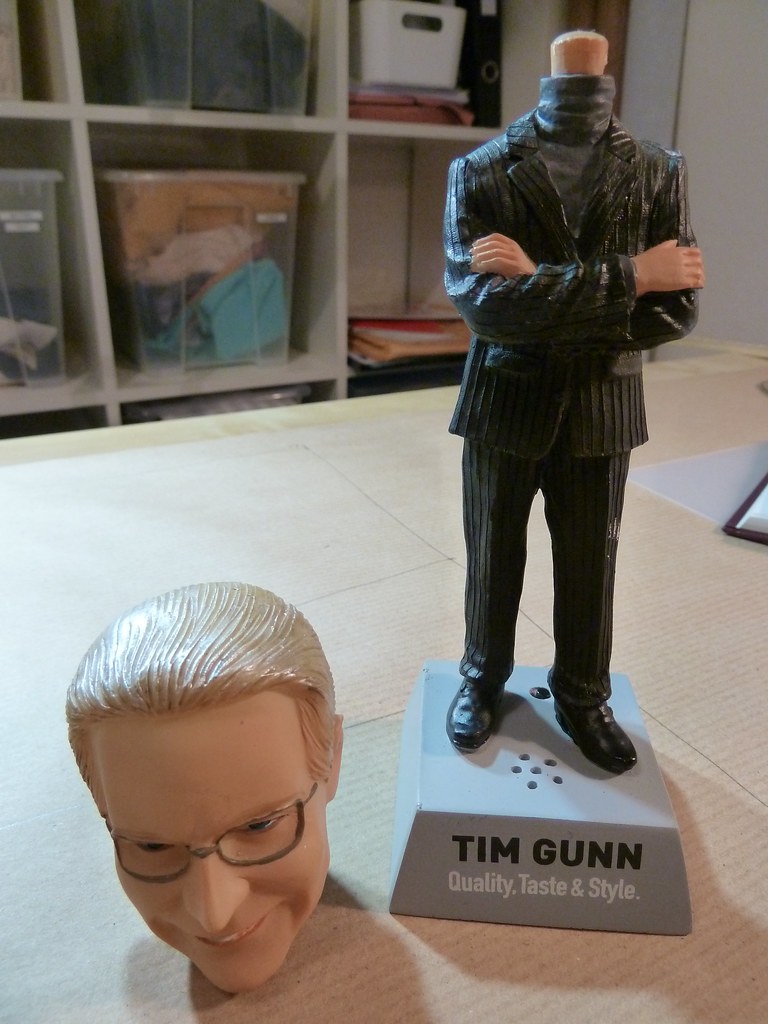
Somthing I'm not loving:
Tim has been voiceless for a while, now he's headless. I need to dig out my soldering kit and the hot glue because I'm missing his exhortations.
Sunday, 11 March 2012
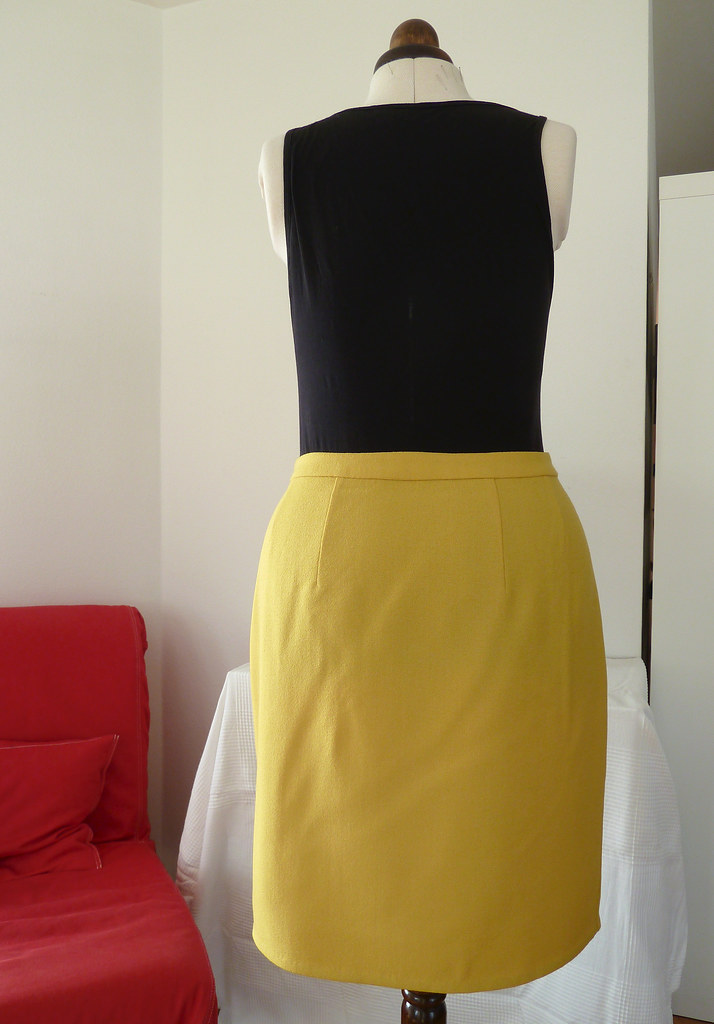
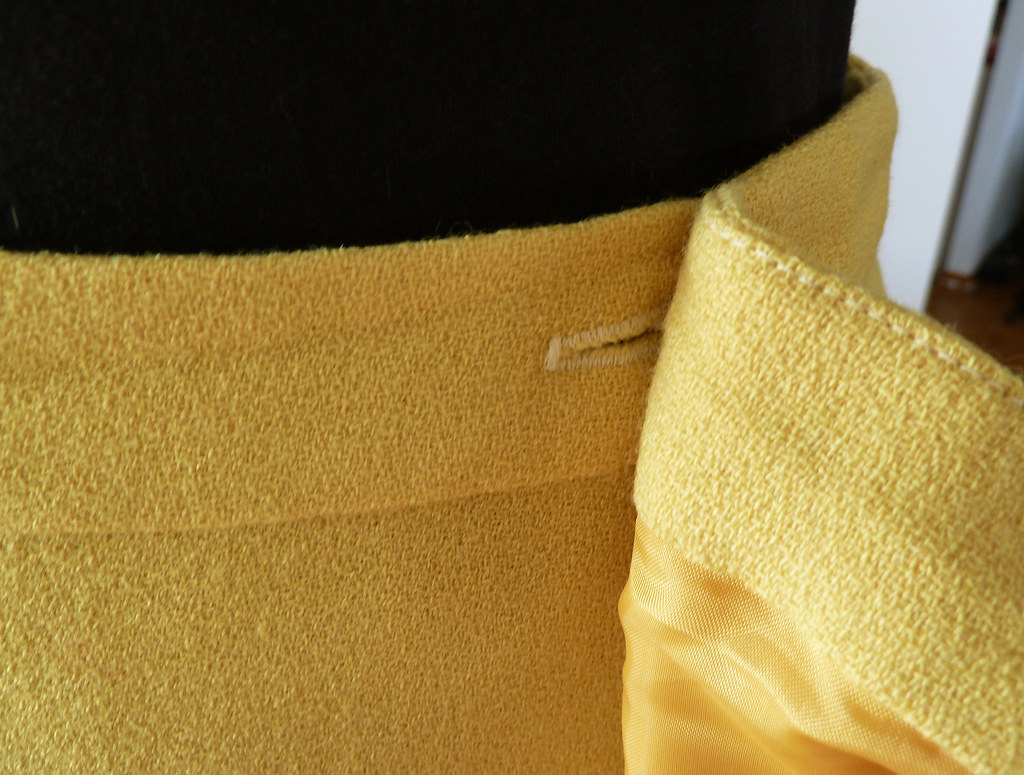
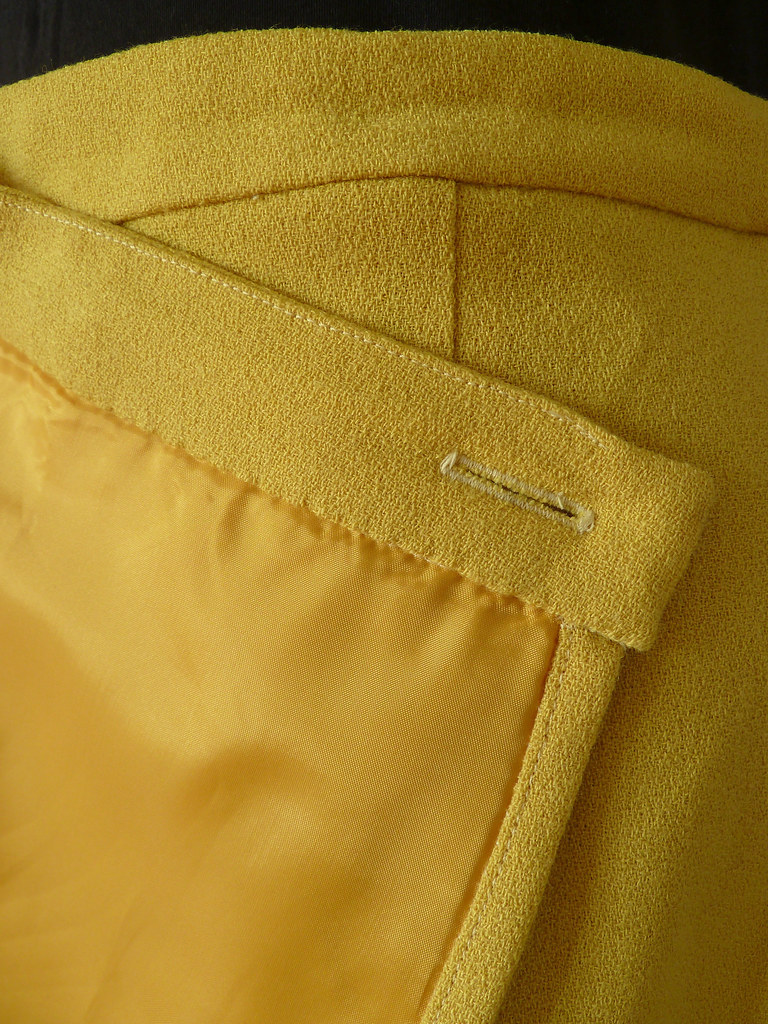
Yellow crepe wrap skirt
I wanted a quick project before a trip to London, and needed some more versatile mix-and-match pieces that would work for spring. I figured this fabric would be good for a skirt, and had an idea I wanted to do something drapey/wrappy/tulipy. I had a look through my BWOF patterns (using my new highly organised system - more on that at a later date), but the designs that caught my eye were all fairly simple, so I decided to draft one myself, as I knew it would be quicker than tracing and adjusting a Burda pattern.
Pattern description
Wrap skirt, slightly pegged with rounded front sections. Waistband sits around 2cm below natural waistline.Fabric used
Bright yellow wool crepe, bought from Fabric.com. It was originally intended for some trousers, but decided it was a leeeeeeetle too bright for that. Lining is from stash - I discovered when unpacking fabric after moving that I had around 6m of it. I've no idea how long I've had it or what the fabric content is (or why I bought so much!) but fortunately I like the colour and it's proving useful.Did it look like the sketch/idea when you were done?
Yes, I'm pretty pleased with this - it has pretty much the lines I intended.What did you particularly like or dislike about the pattern?
This is a skirt that is interesting in shape and colour, but is also "plain" enough to mix well in my wardrobe. Also, the waist is high enough to be able to tuck in tops, but also low enough that it doesn't interfere if I want to wear a top untucked with a belt.Drafting details
The back is almost unaltered, apart from dropping the waist by 2cm, and pegging the side seams by 2.5cm at the hem. The front pattern piece was doubled to give a full front, then the wrap coverage drawn in, starting at the position of the dart, and the side seam pegged again. A 3cm wide waistband was drafted.Construction details
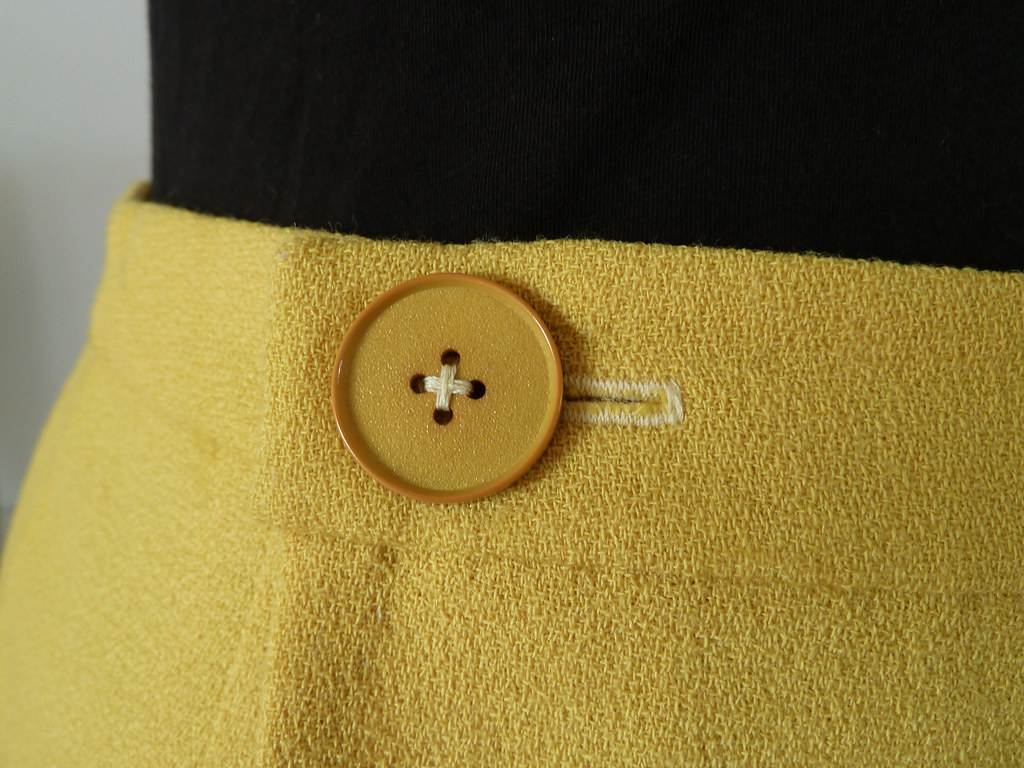
French seams were used for the side seams. The skirt portion is lined - the fashion fabric and lining were constructed separately as mirror images (although this doesn't really matter here as it's symmetrical!), then put wrong sides together and treated effectively as underlined fabric to complete the skirt.The waistband is interfaced, and stabilised with silk organza. The waistband facing is slipstiched to the skirt by hand. The skirt and lining are serged together at the hem edge; this was pressed inwards just past the stitching line and sewn down by machine, pressed in again, then slipstitched to the lining. The buttonholes were made by machine.
I'm not entirely pleased with how the hem turned out - it's ended up slightly wavy and sticky-outy in parts (and I chose the better side to be the overlap!). I'm pretty certain that this is caused by the seam being too bulky so that the fabric on the inner part of the curve of the hem is longer than the actual length of this curve. I'm not sure though how to fix this - my ideas so far for future projects would be to use the differential feed on the serger to gather the first turn of the hem slightly, or to run a gathering stitch along the inner edge on the second turn. Would these work? Any recommendations would be welcome (and also any suggestions to fix this skirt - I can live with it as it is, but it would be nice to know if I can fix it with not too much effort).

