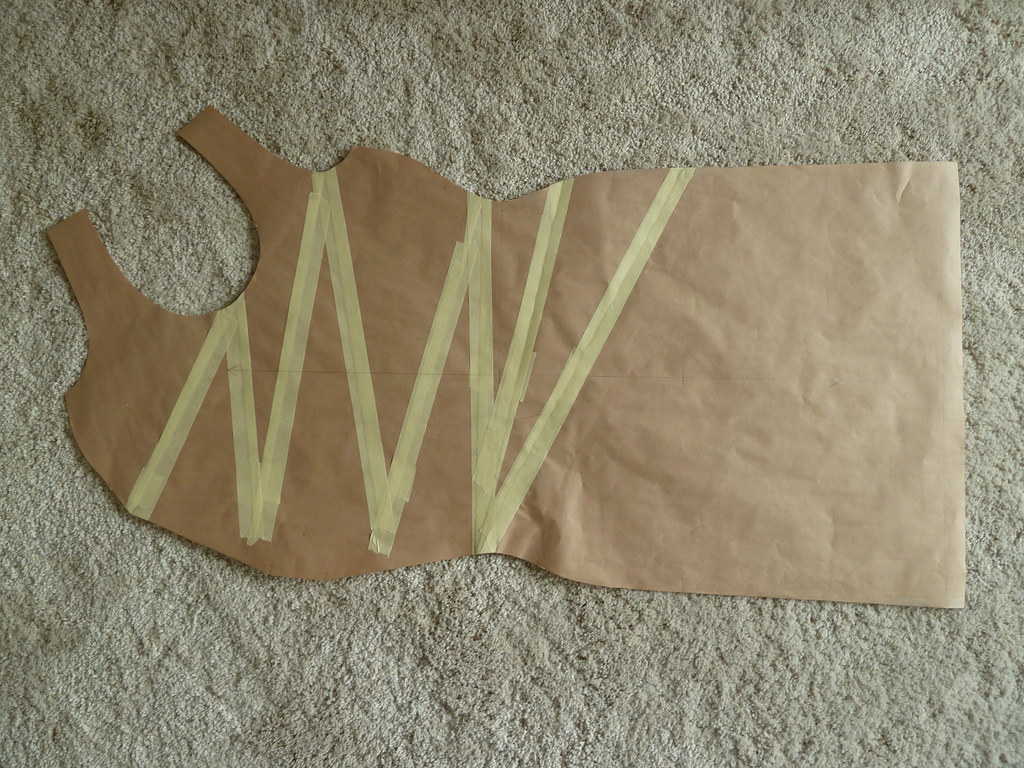
So, the problem I had with the first version of this dress was too much fabric at and below the waist. To rectify this, I closed up the areas I'd spread below the waist. I left a small amount at the waist, and opened up the slashes on the bodice a bit (not as much as the original pattern though). The width of the growth was also reduced. Compare the resulting pattern piece with the first one:
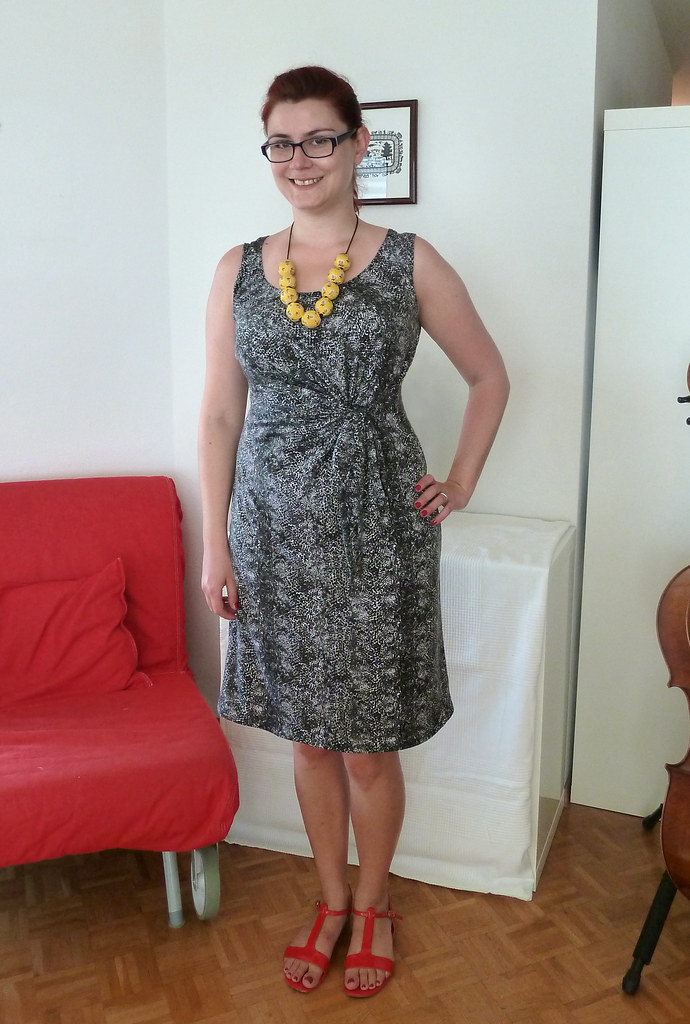
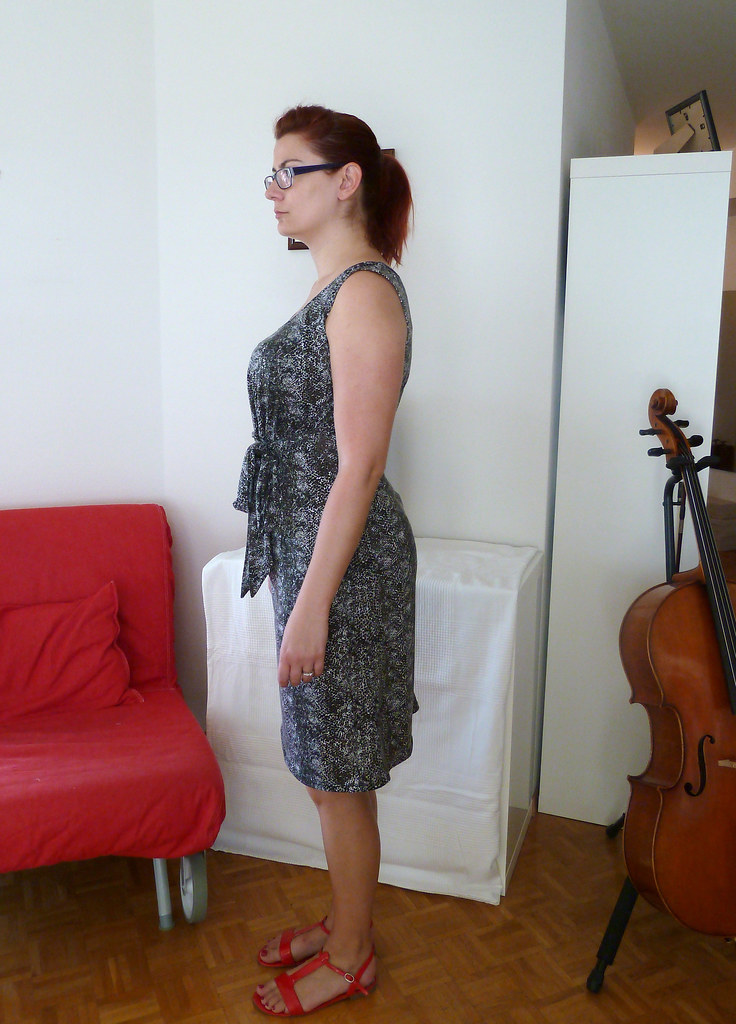
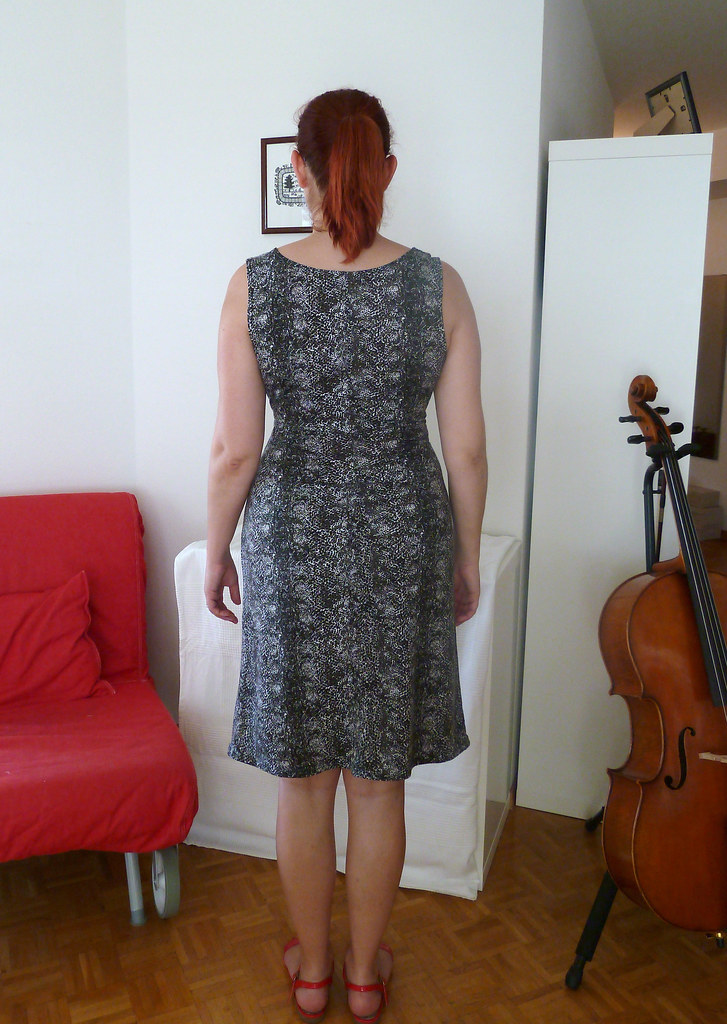
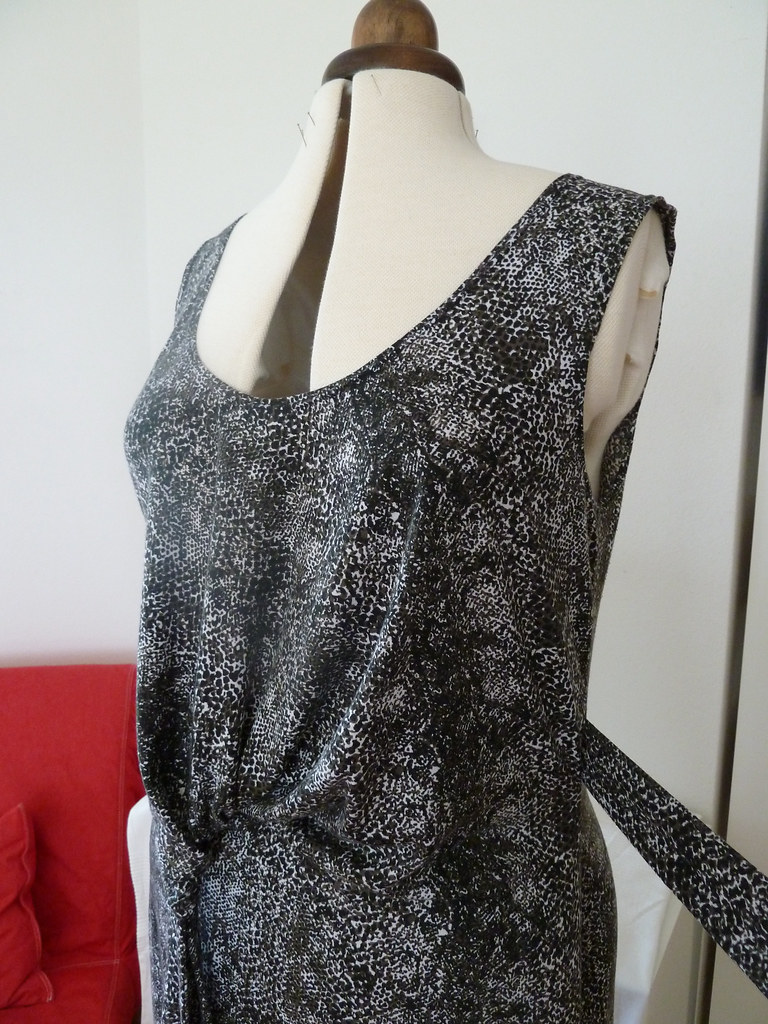
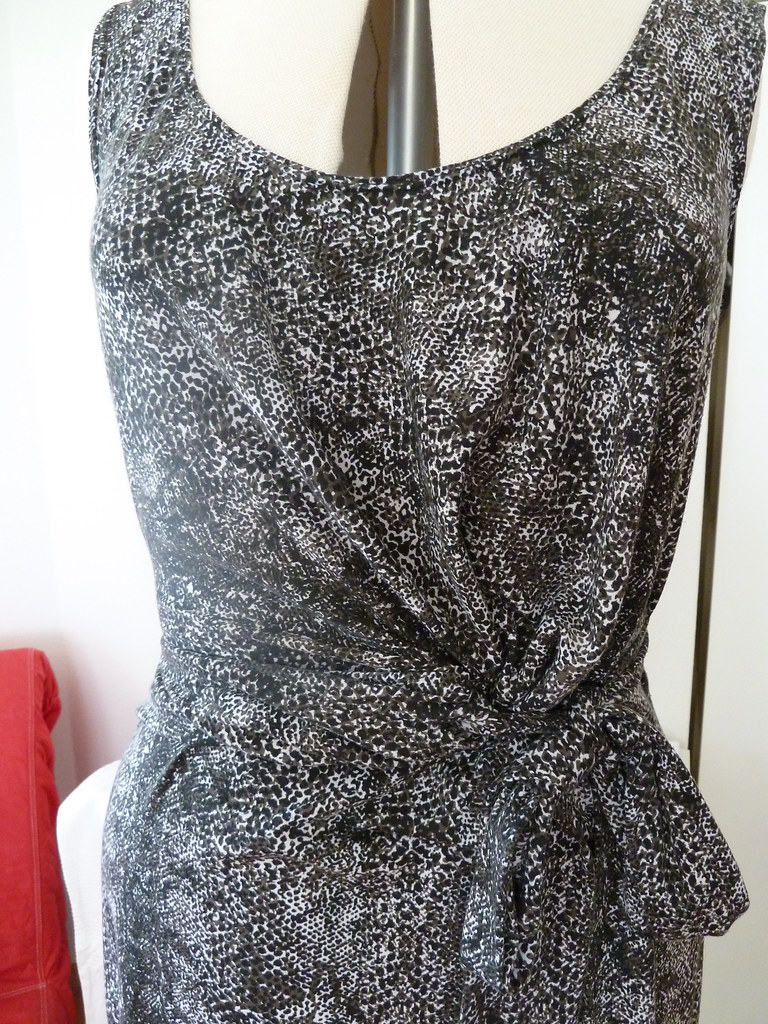
The change in amount and area of spreading of the pattern has made a big difference. The pooching below the waist has been eliminated, and the shorter length of the "growth" means that the ties can be fastened slightly towards the front, which is more flattering. If anything, I may have taken a little too much fullness out, as when it is fastened, the ties pull the side seams forward at the waist. If I make this up again (or rather that should be when I make it again), I will spread the slashed areas a little more to add some length back into the edges of the growth.
This fabric has the effect of stripes in the print, so I remembered to position these so they were reasonable symmetrical and flattering (although they're not actually as obvious in real life as in the photo).
The fabric itself is a very drapy medium weight jersey. It's extremely soft and not at all sweaty feeling, so I'd assumed it was rayon, but it dries pretty much instantly after washing so I think it must be a rayon-poly mix. The armscyes, neckline and hem are stabilised with strips of fusible tricot interfacing cut on the stretchiest direction, then they are finished by simply folding over and stitching with a twin needle (no photos of this, sorry).
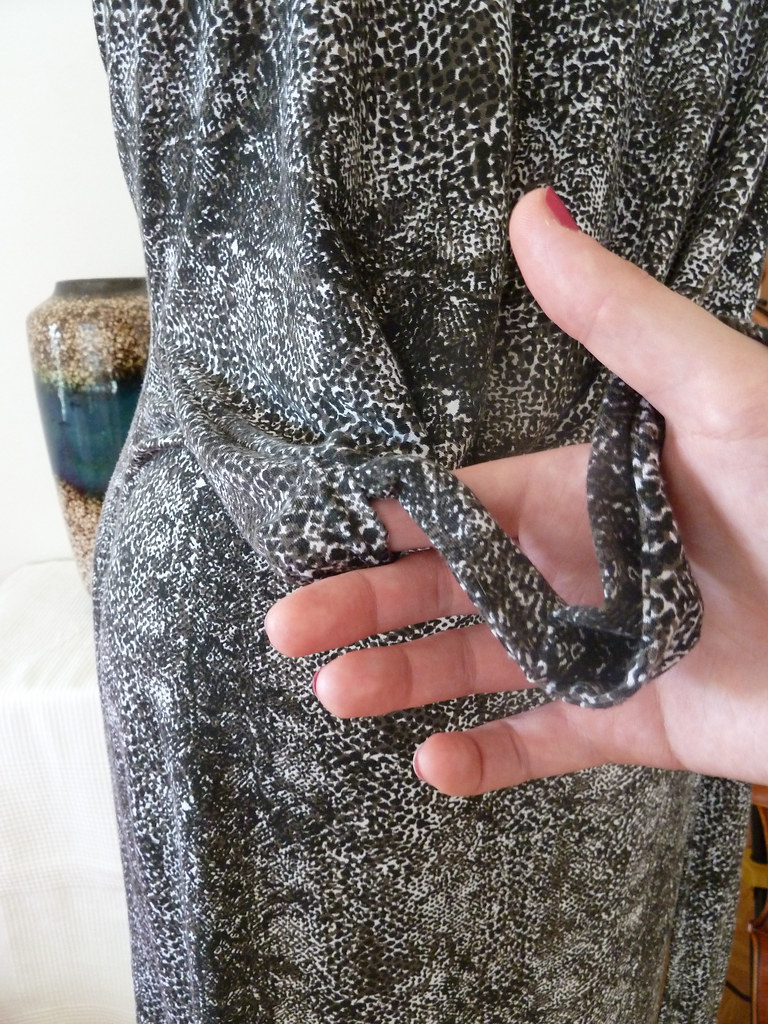
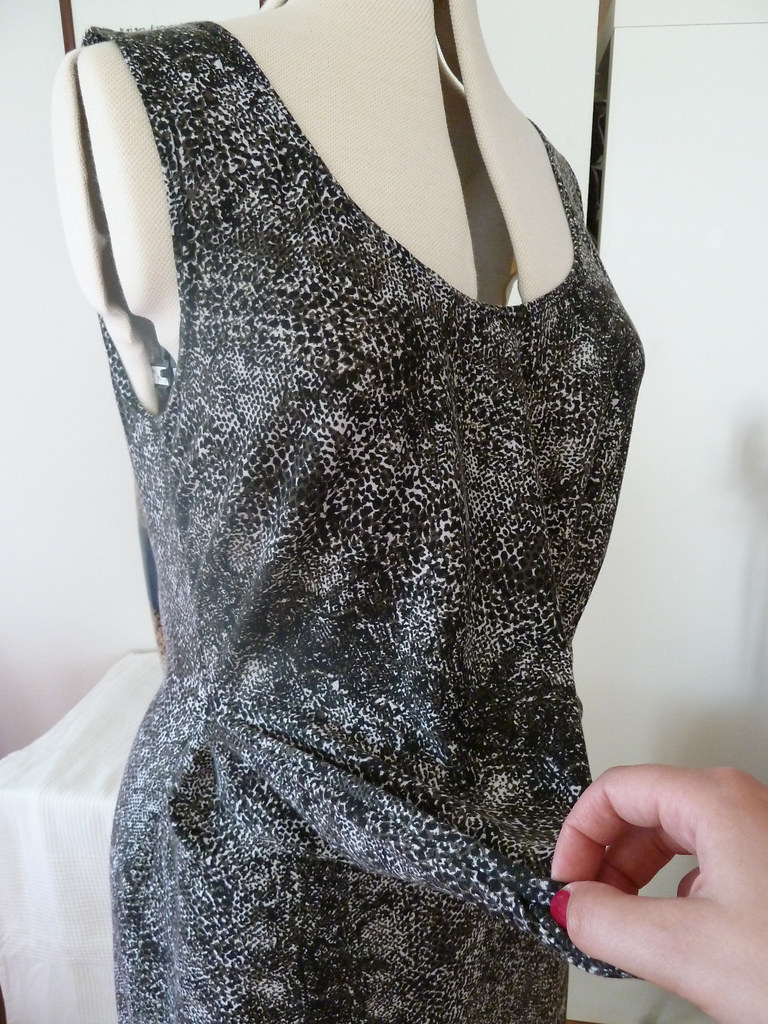
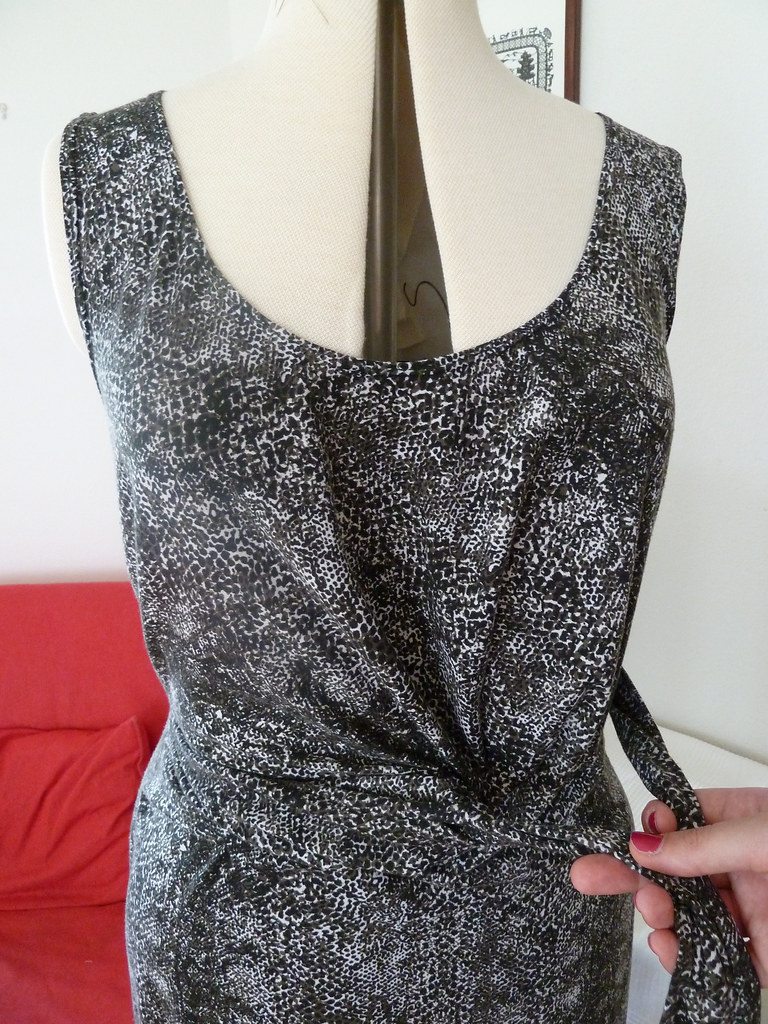
As it's a little hard to explain in words how the ties and growth work to fasten the dress, I took some pictures. Apologies that the print obscures the detail a bit, but I think you can get the gist from these. Click on the pictures for larger versions.
Top left: The ties are both sewn onto the left side (the same side the dress is fastened, the opposite side to where the growth was added. One is caught in the side seam and hangs outside the dress, the other is sewn to the seam allowance at the same place inside the dress.
Top centre: This is what the growth looks like before fastening.
Top right: The inside tie is passed through the opening in the growth.
Bottom left: The seam of the growth runs from where my hand is to the side seam (you can see where it is starting to pull at the side seam, as mentioned above)
Bottom centre: Use this inner tie to pull the growth towards the left to tie with the outside tie.
Bottom right: The dress fastened. You end up with the growth seam visible at the waistline (although it's hidden in the draping, and pretty invisible with this print).
I'm very very pleased with this drafting adventure - this dress has been worn a lot since being finished. It's super comfy and (I think) very flattering. I will definitely be making up some more versions of this (with the extra spread mentioned above) - I'm obsessed with making a black maxi dress version, as shown on the pattern envelope, but I need to find some suitably drapy black jersey. I think the principle of the growth and draping on this dress would also work in a lightweight woven (with appropriate darts added), so I'm looking forward to trying that out too. All in all, a successful exercise!
On voit effectivement la différence avec ta première version ! Je regarderai avec intéret ta version maxi-dress noire !
ReplyDeleteThis is great! Mine has a little too much fabric hanging over the belly. I'm going to have to try to refine it based on your experiences.
ReplyDelete