I really love three things. Well, many things actually, but here the relevant things are crazy and cool Japanese style draping and shaping, wrap jersey dresses, and drafting patterns. This little project combined all three.
First of all, I need to get my guilt out the way - this is effectively a knock-off of a McCall's pattern. Fashion pretty much works by "inspiration", although it's a moot point where the line between copying and inspiration might lie (maybe around here?). Copying RTW, however, is something that many home-sewists do regularly (Pattern Review even has an annual competition for knock-off RTW), so I'm not doing anything out the ordinary, and my drafting skills are unlikely to match proper pattern cutters and designers. I'm not passing this off as another designer's work, I'm acknowledging my inspiration/source, and I'm not making any profit... Hmm, I'll quit defending myself now and get on with showing what I've been up to.
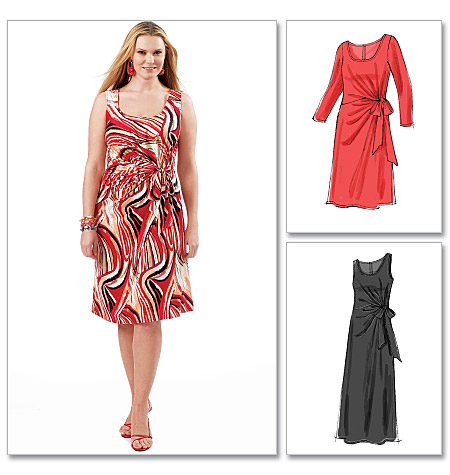
So I came across this McCall's pattern via Trena's blog. She'd seen Debbie's make and review of this pattern (first part and second part). Debbie wasn't impressed with the pattern, so Trena's version is self-drafted and I thought I would do the same.
Trena actually bought the McCall's pattern to inspect the shape of the pieces. In keeping with my guilt trip, I decided not to buy the pattern, but instead had a look on the SewingPatterns.com website, which shows the back of the envelope and the instructions sheet for most of the patterns they sell, and here the instructions includes a picture of the outline of the pattern pieces (as well as construction details obviously).
So I had a good look, and a long think, and compared Trena's draft with the original pattern shapes, and also the information that Debbie gave in her reviews. The back pieces were straightforward and the ties were easy, but the front piece was the interesting one. The key points I noted were:
- The left side seam is straight in the original pattern piece
- The shape of the neckline is narrower in the pattern piece than in the finished garment
- The armscyes are different shapes on the left and right, with the left one having a sharper curve
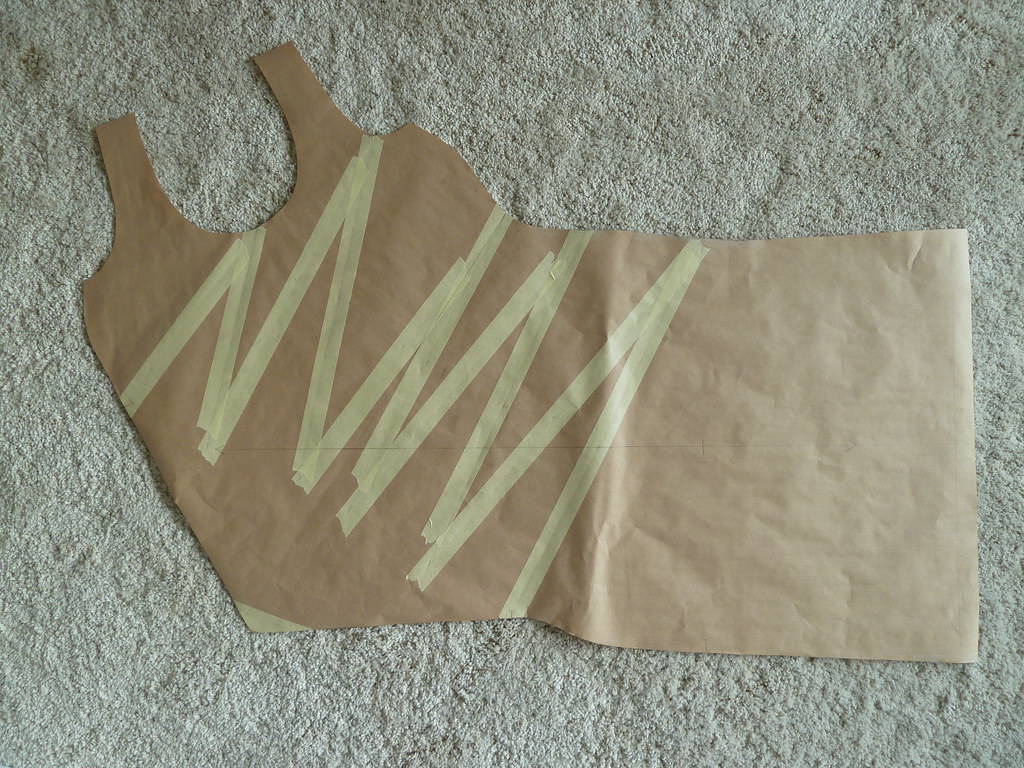
I knew to get the extra "growth" (as Trena wonderfully puts it!) I would need to slash and spread the right side of my pattern, and all of these observations were clues that the extra material was coming from just the bodice of the pattern. The drawings of the dress show a fair bit of fullness in the front of the skirt just below the growth too and I liked this, so I decided I would also add some here to accentuate it. The original pattern piece doesn't have an awful lot of width added after the pieces are spread, but I didn't quite trust this, so still added this extra width in my first iteration. I made five slashes, all to the same point just above the right hand waist (as per Trena's finding, to allow for the weight of the fabric to pull it down to waist level): one each from the centre neckline, the left armscye, the opposite point on the left waist, and two points on the left hip. I sort of eyeballed how much I spread it to give roughly the same change in "direction" of the top part as in the original pattern.
As you can see the pattern piece I ended up with a pattern piece that looked somewhere in between Trena's and the original McCall's one:
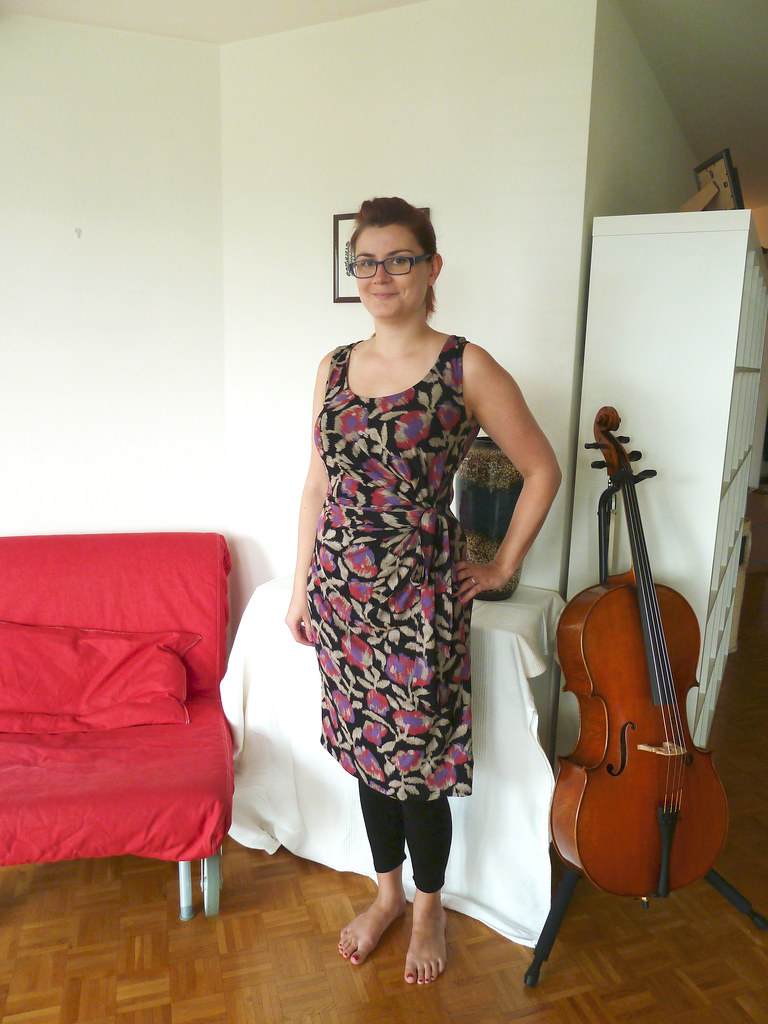
I made this up, and the result looked like this:
You can't really see it in the picture, but the extra fabric added below the waist line falls and sort of pooches around the lower belly. Might be useful whilst pregnant, but not entirely flattering if one is not... The extra width I added on the growth also meant there was way too much fabric when the ties are tied, so it sort of bunches there too.
To understand what I mean by this, a quick note about how it is made up and worn (I will show some detailed pictures in the second part of this post). The point of the growth is hemmed to give an opening for the tie. The edges of the growth are then stitched together between the opening and the points where the added fabric joins the original side seam. Keeping the growth out the way, you then make up the dress as usual.
The ties are both sewn onto the left side (the same side the dress is fastened, the opposite side to where the growth was added. One is caught in the side seam and hangs outside the dress, the other is sewn to the seam allowance at the same place inside the dress. You then pass the inside tie through the opening in the growth and pull it over to the left to tie with the outside tie, so you end up with the growth seam visible at the waistline (although it's sort of hidden in the draping). Because the first growth was too wide, when it was pulled across it was rather bunchy at the waist.
To save this from getting too long, I'll show you the adjustments I made and the second version of the dress in another post...


No comments:
Post a Comment