Saturday, 19 November 2011

NYC and fabric goodies

So, here are a few (rather belated) details from my NYC trip, plus the more important info on what fabric I brought back with me!

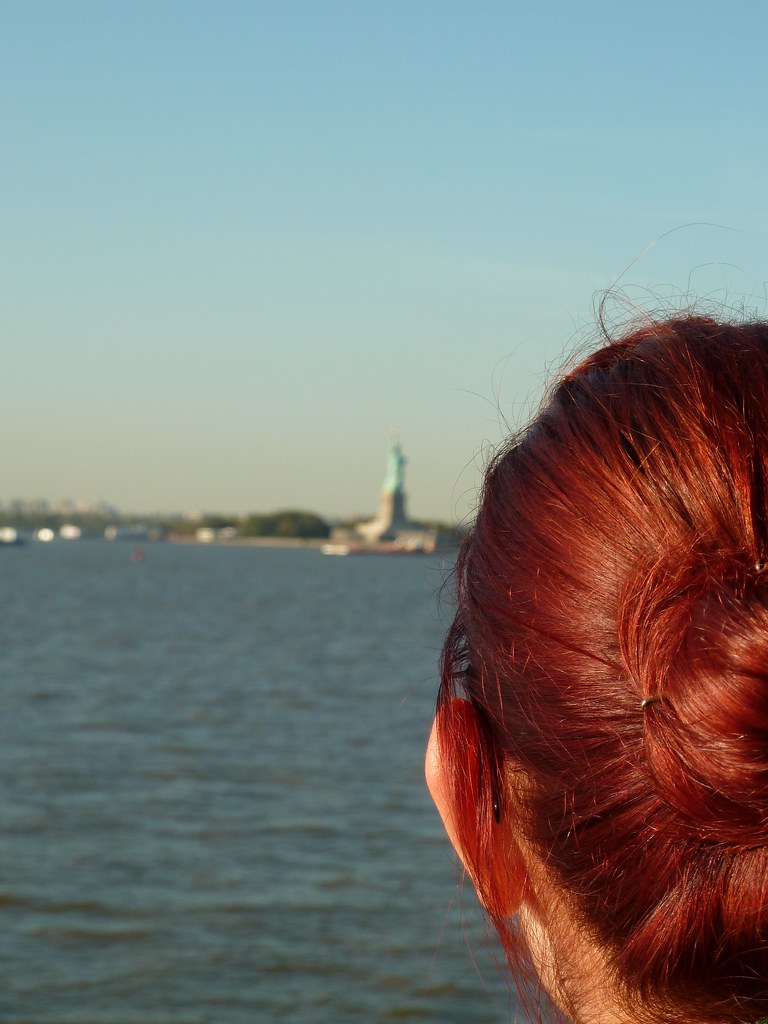
I have been longing to go to NYC for so long, I was a bit concerned it might not actually live up to my expectations, but it definitely did! Everything was just how I was hoping it would be, and it also made me laugh how all the clichés about the place are actually reality. I kept a little list of some of the cool little things, these are some of my favourites:

We stayed on W44th and 5th, which was super great for a first visit when you want to be right in the centre. The first couple of days we spend ticking off the "must-do" sights, and also went to see Follies on Broadway. I'm not really into musicals, but I adore this one - I know it virtually word-for-word from working front of house at the RFH a few years back where it was on all summer. It's a very sad story though, and this production was amazing, and especially tragic it seemed to me.

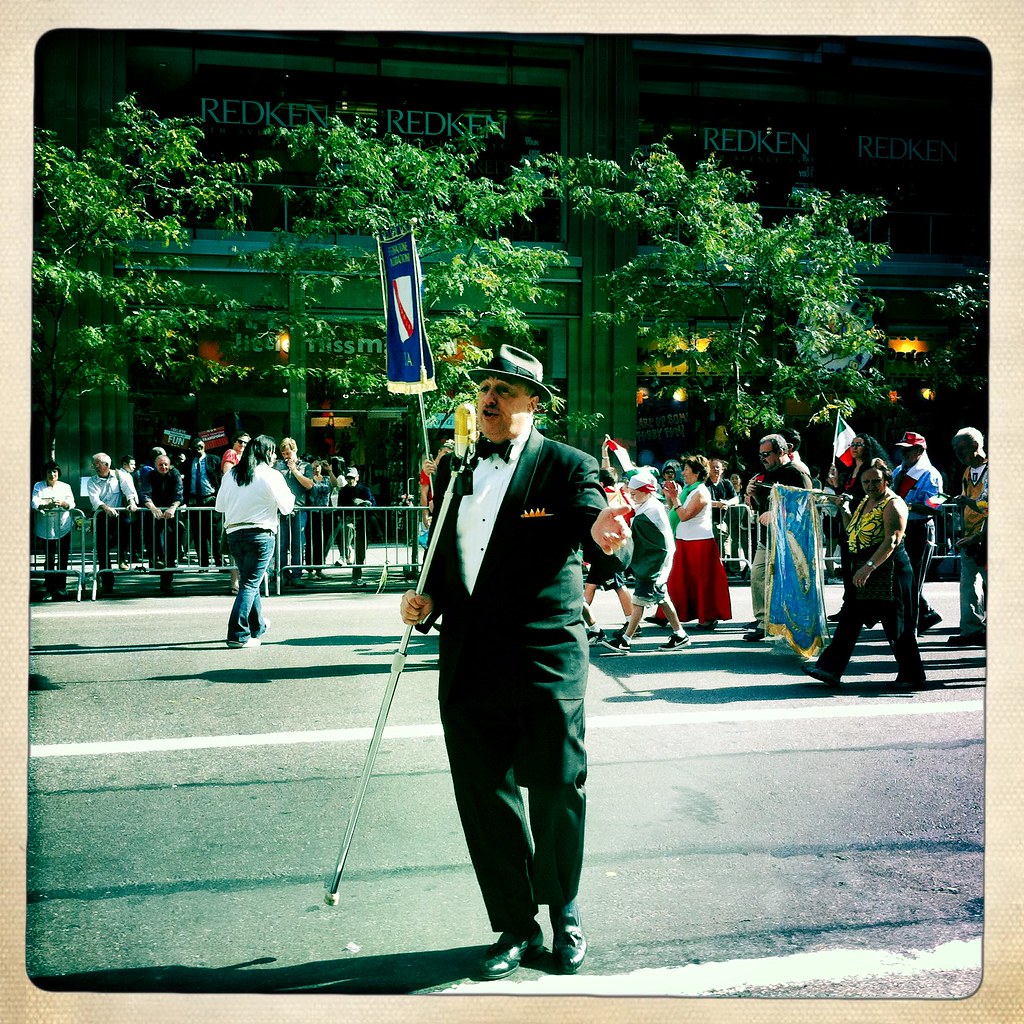
After booking the holiday, we discovered that we would be there over Columbus Day - and then whilst there we also discovered there was Hispanic Day the day before! My husband had a bout of "manflu" so I watched the Hispanic Day parade mainly by myself, and was befriended by a lovely Colombian lady who'd been in the US for the last 30 years, and was telling me how "Colombians are the happiest people of all!" We were fascinated by the marching bands in the Columbus Day parade, that is something that really doesn't exist in most of the UK. Both of these were also pretty fun as the street where we were staying was one of those where the floats assembled before setting off on parade.

The next couple of evenings we'd booked some cool concerts/gigs to go to: the Mariinsky Orchestra with Valery Gergeiv at the Carnegie Hall, then Winton Marsalis's 50th birthday celebration gig at the Lincoln Center (introduced by Bill Cosby!).

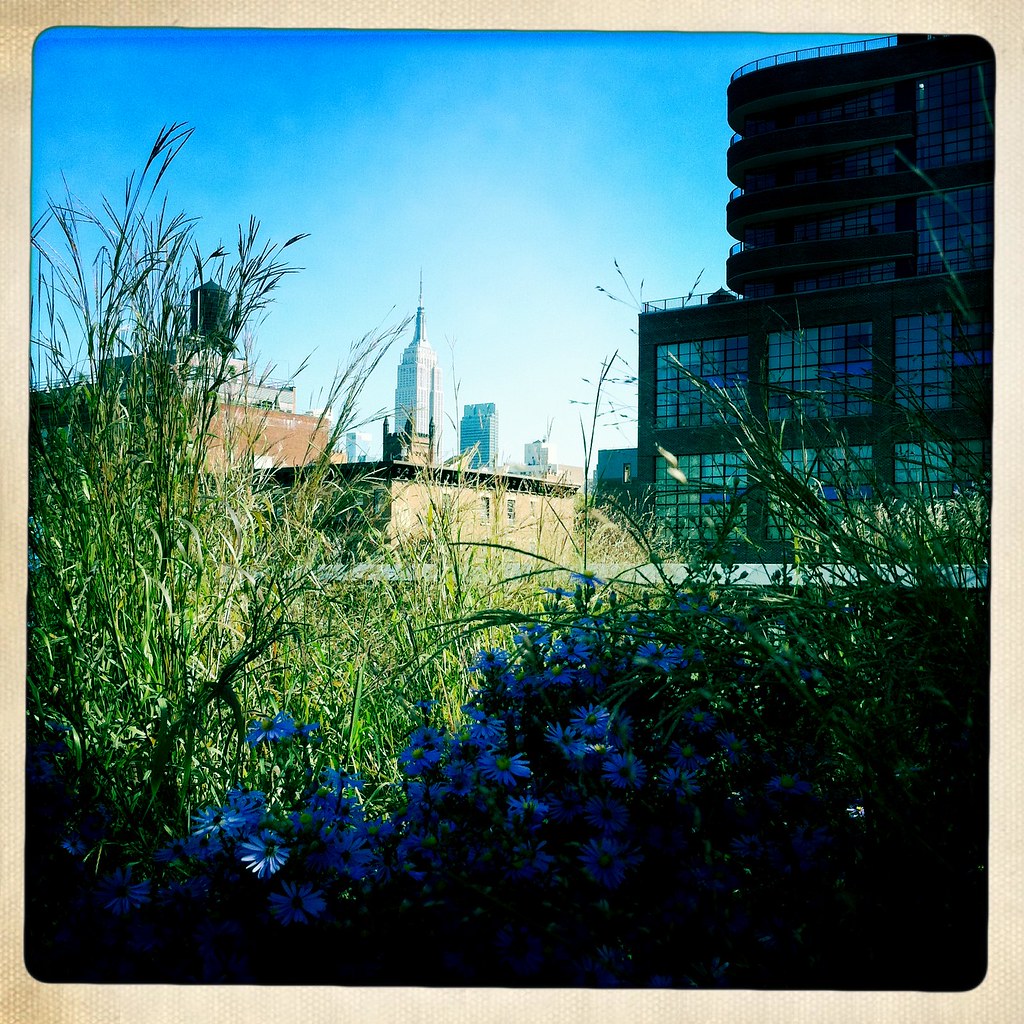
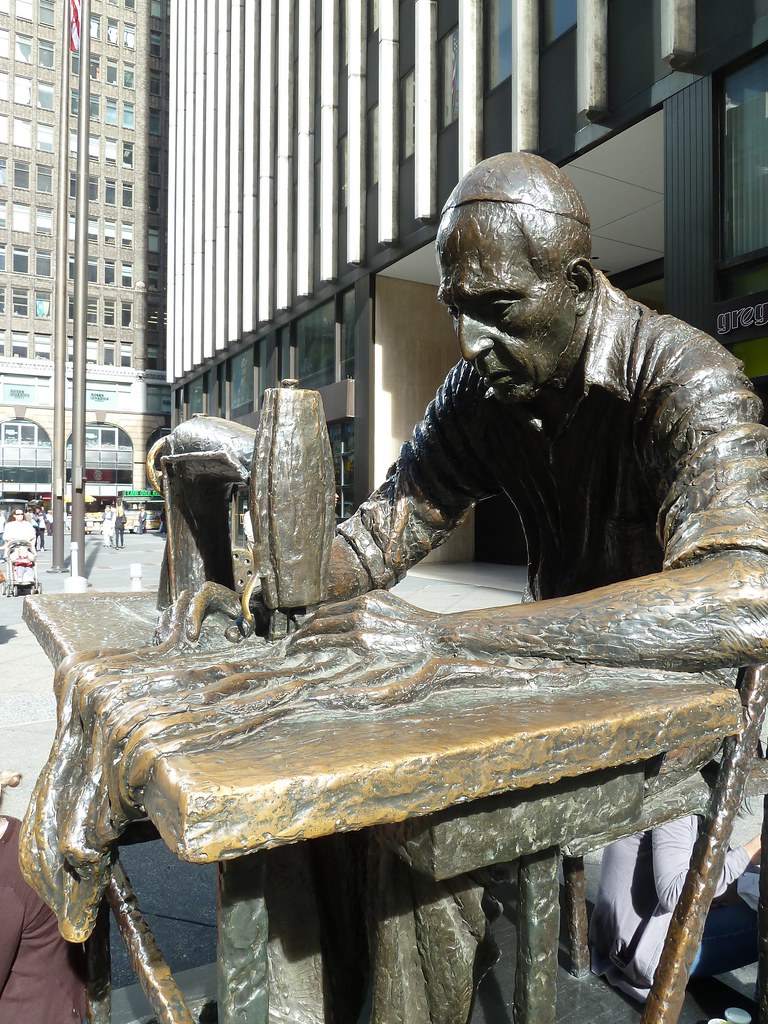
During the days, we went to MoMA, the High Line, and of course the Garment District. Oh yeah. Unfortunately I didn't make enough time to do some other shopping - I had wanted to get some shoes - but next time eh... Plus there was plenty of eating and drinking too!

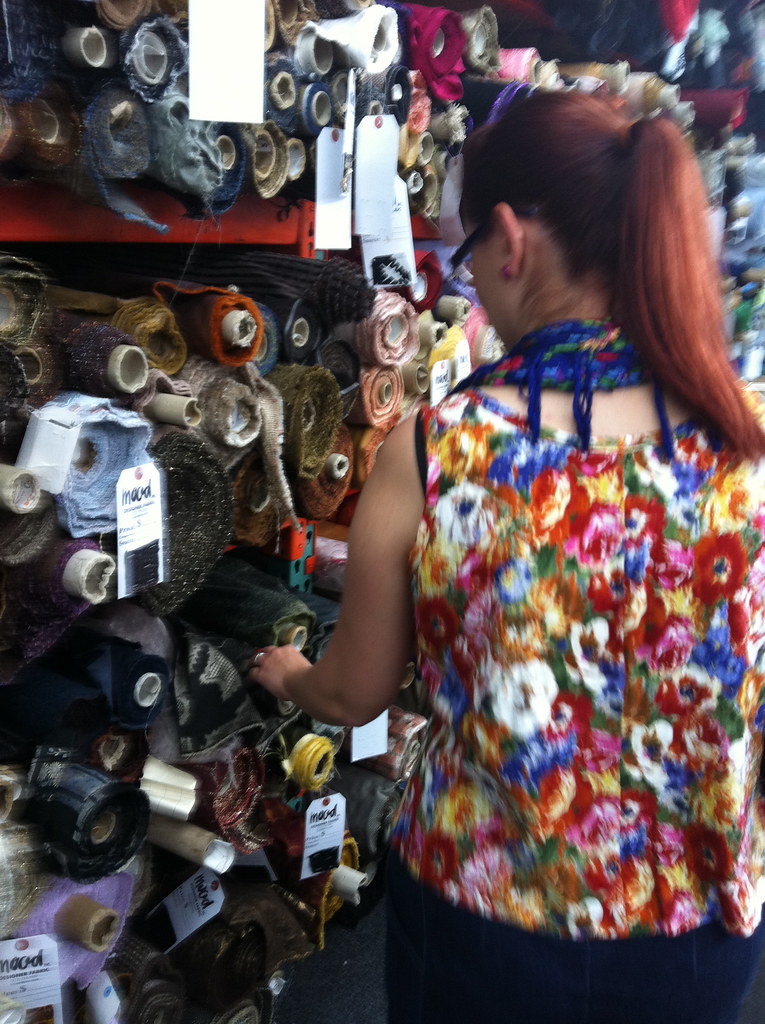
Yeah, yeah, yeah, enough of that, on to the pretties! I used Lindsey T's wonderful Shop The Garment District site to draw up a plan of attack, and settled on Mood (of course - I'm obsessed with Project Runway, although maybe a bit less given the last couple of series...), Global Leathers, Elliott Berman, and Pacific Trimmings, plus lunch in Stitch.

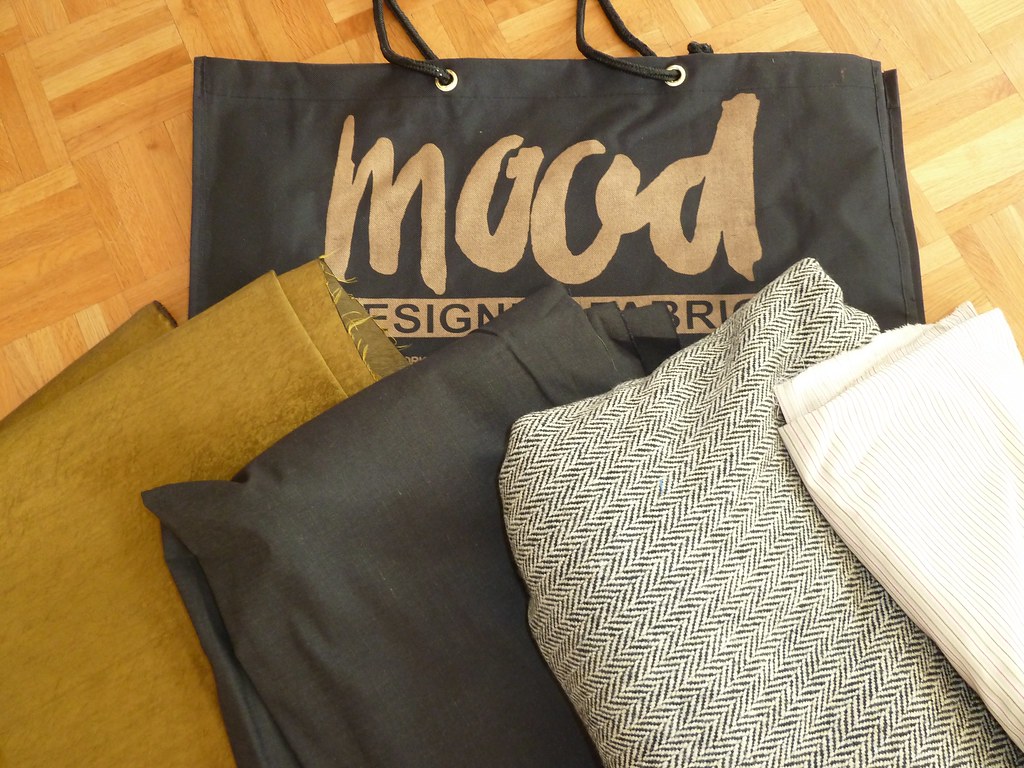
Mood: L-R Shot gold/black silk twill (fairly beefy but super drapey, going to be a party dress), greenish black chambray (going to be a shirtdress), herringbone wool/fleece mix lightweight coating (marked as Ralph Lauren, going to be a boxy jacket), cotton shirting (going to be a shirt for my husband!)

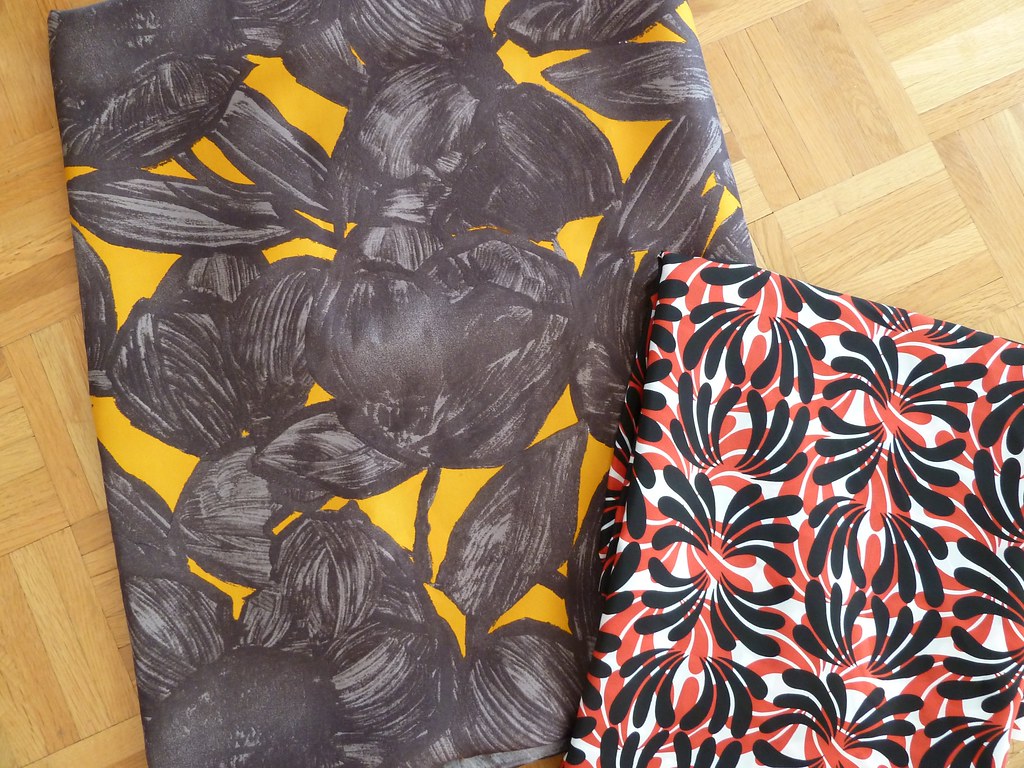
Elliott Berman: L-R Silk twill (fairly beefy, going to be another party dress), silk sort of heavy matte charmeuse (don't know quite what this type of fabric is called, but it's going to be a blouse)

Global Leathers: L-R Super soft grey nappa (in order to shamelessly rip off be inspired by Fehr Trade's leather skirt), Brown Wyoming cattle hide (this is to make a bag, or rather probably several as the minimum I could buy was half a skin - but I did get a discount as the guy liked my English accent!)

I ended up not actually getting anything from Pacific Trimmings, just wandered round gawping at the huge variety - I was flaking a bit by then, and as I wasn't entirely sure what I needed so didn't want to just buy stuff for the hell of it (unlike, say, fabric...).

One thing I totally loved about fabric shopping in NYC was that many (most?) of the shops are not at street level - there was something very cool taking the lifts in what looked like an office building and emerging on the seventh floor, ringing on a bell and stepping into an enormous space filled floor to ceiling with bolts of delicious fabric. I especially loved the totally old-school lifts to get up to Mood, complete with guys to operate them.

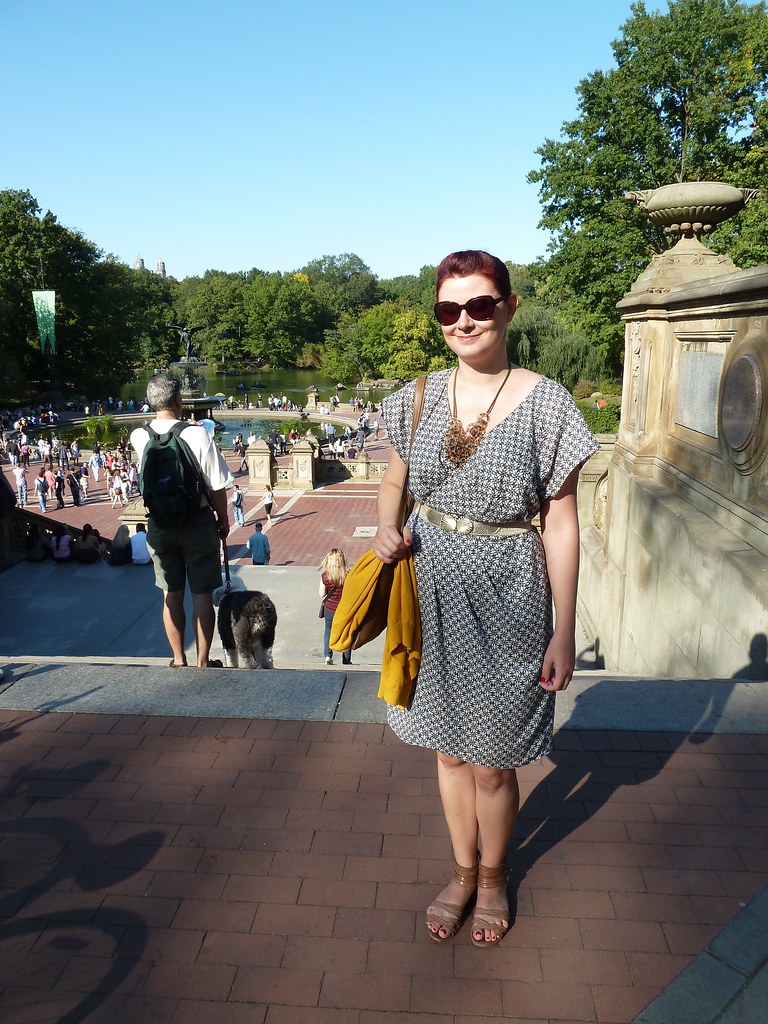
Unfortunately there wasn't a huge amount of me-made action going on, I'd lost confidence in the stuff I'd made a bit, I don't know why. I did wear a couple of things though - my cotton wrap dress (on Hispanic Day when it was about 28˚C!) and my jeans skirt a couple of times (with the Sorbetto top when I went to the Garment District). I did actually take another skirt I'd made with me, but I didn't wear it - it's a new one, so I will show it to you soon.

Tuesday, 4 October 2011

Self-Stitched-September '11 = epic fail

Well, maybe epic fail is overstating it a bit, but my self-stitched month rather deflated about two thirds of the way through, rather like a badly baked soufflé (sorry, I've just been watching the Great British Bake-Off).

So excuses: not enough "transition" items, super busy month with lots of travelling and lots of contrasts (smart wedding followed by hiking in drizzle anyone?), and having time-management issues (hmm, I think I'll adapt a pattern and make a dress to wear to a wedding in three days. Yeah). Oh well, many lessons have been learned, not least that I need to remember I don't do "fast" sewing - if I want to make more stuff, I need to plan more - and knuckle down and do more too!

Having said that I do have a few new things to show you, and a couple of things in progress too - however, these will have to wait, and this post will be sadly photo-free, as I'm busy busy busy getting ready to go to New York for a week! Woo! I really can't wait... (And of course I've printed off my guides to the Garment District :)

Sunday, 18 September 2011

Pattern review - Sorbetto top, at long last... (plus Self-Stitched-September '11: Day 17)

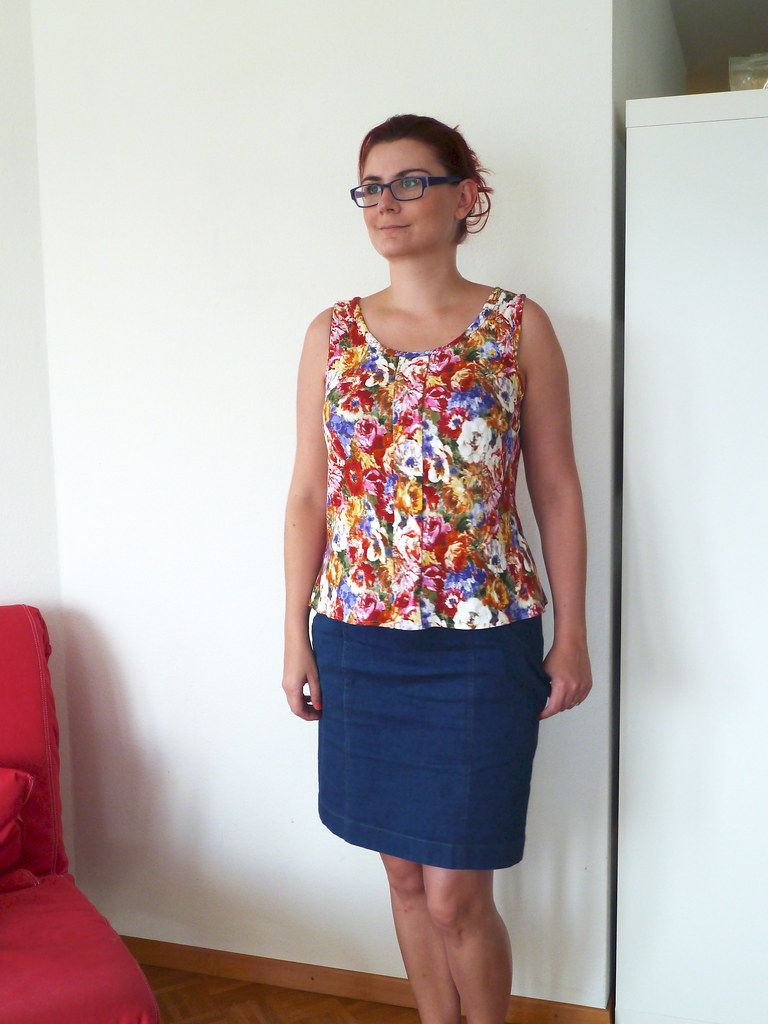
Top: Self-Stitched / Skirt: Self-Stitched (self-drafted) / Jacket: Self-Stitched (vintage pattern) - although I didn't actually wear it as it was weirdly warm and humid this evening / Necklace: Alexander McQueen / Shoes: Vivienne Westwood for Melissa (we were dancing at a Latin club with Peruvians, and now I have big blisters :)

Yep, at long last, I've sewn up the Sorbetto top. I think I'm possibly the last internet-enable sewist to make up this top, but better late than never, eh! I have to say, I'd been put off making this as I wasn't convinced the slightly boxy "60s" shape would suit my figure, but having seen a few versions on larger and more busty women I figured I would give it a go. I had to have three iterations with adjustments, and I still have some reservations, but I actually quite like this.

Pattern description

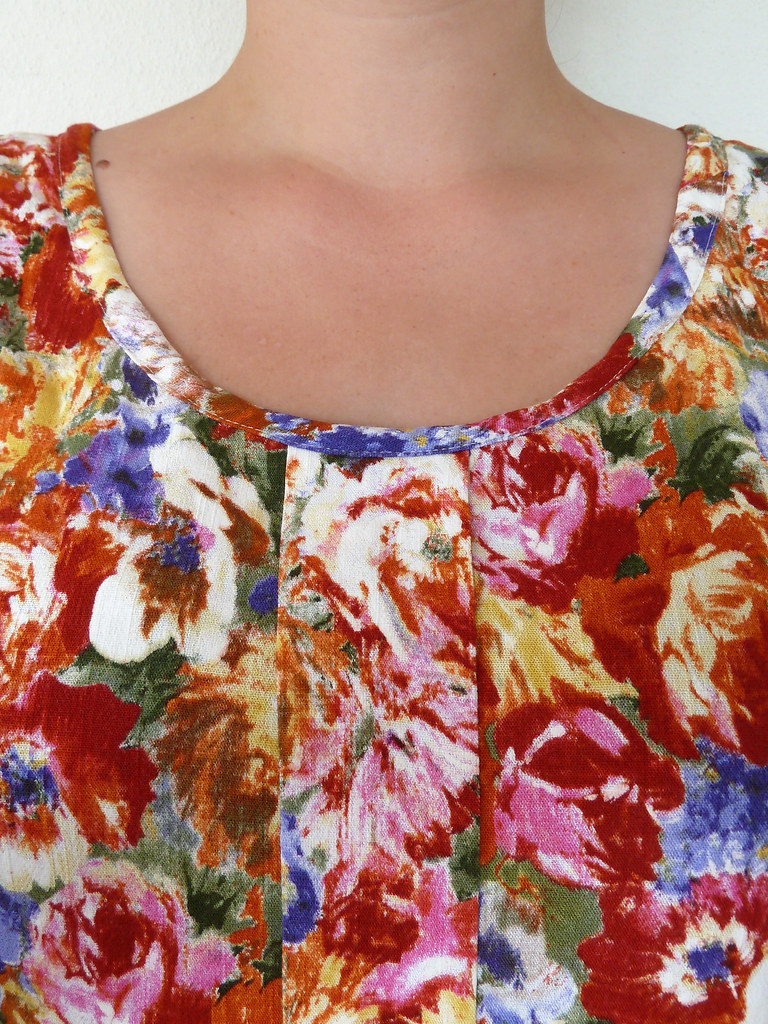
A simple tank with no closures and a loose, swingy fit inspired by the easy elegance of the early 60s. The edges are finished with bias tape, and a single box pleat runs down the front.

Pattern sizing

0-18 (although these are larger than the "standard" sizings used by the Big 4). I cut the 14.

Fabric used

Printed stretch rayon slub from Fabric.com.

Did it look like the photo/drawing on the pattern envelope when you were done?

Yes.

Were the instructions easy to follow?

The instructions were excellent. Some of the best instructions I've come across - the diagrams were clear, and the instructions were written like the author actually cared! And not just the actual construction instructions (ooh, a rhyme!) but all the explanatory stuff at the beginning like fabric choice and sizing, plus the formatting for printing was very good, with a test square and border allowances. All for a free pattern! (I know I'm going on about it, but I printed off another free pattern - from Hot Patterns - at the same time, and the instructions/download for that one are awful.)

What did you particularly like or dislike about the pattern?

I like the simplicity of the style, and the endless possibilities for adaptation this allows. I do have to say that some of the drafting details weren't quite perfect - for example the the seam allowances for the bust dart were trued as if it was going to be pressed upwards, and when the centre front pleat was sewn in, the top and bottom seam allowances weren't quite trued either. But hey, these are super minor issues, and I am probably only being picky because of the number of courses I've been doing recently on pattern cutting.

Pattern alterations or any design changes you made

I made this up as a straight size 14 initially in a lightish weight cotton broadcloth to test the size and evaluate what changes I needed to make. The size was ok, but I needed to do a 2.5cm (1") FBA, and also curve the side seams more: in at the waist and out at the hips about 1cm each. I recut the front section and decided to also shorten the bust darts, which is normally required with a larger bust. When I sewed this version up, the fit (in terms of space available!) was much better over the bust, but the darts needed to be lengthened again.

The fit on the back still wasn't quite right after these adjustments. I'm slowly figuring out what adjustments I need to make to get things to fit, and I think with my back, it's not so much the ubiquitous swayback adjustment I need, but more a full rear (ha!) and comparatively narrow back waist, and full back high hip. I always have problems with too much fabric around the lower back, but I'm thinking much of this is due to the garment getting caught up on my high hip area and extra fabric to get the garment over my bum, as opposed to a shorter back length.

Unfortunately there's not much to do to sort this out without adding at least a centre back seam (princess lines are even better), so although this changes the design lines of the Sorbetto, I added a CB seam for a much more flattering fit - this is shaped to curve in at the back neck and waist, and extra added below the waist.

Construction details

After all my fiddling with fit and the pattern pieces, I managed to forget to add seam allowances to the CB, but I sewed this with a tiny seam allowance (about 5mm / 1/4"), and this actually fit fine, so I'll just add 1cm SA to keep that stitching line where it ended up. The seam allowances were serged to finish them, with the CB serged together as they were so narrow.

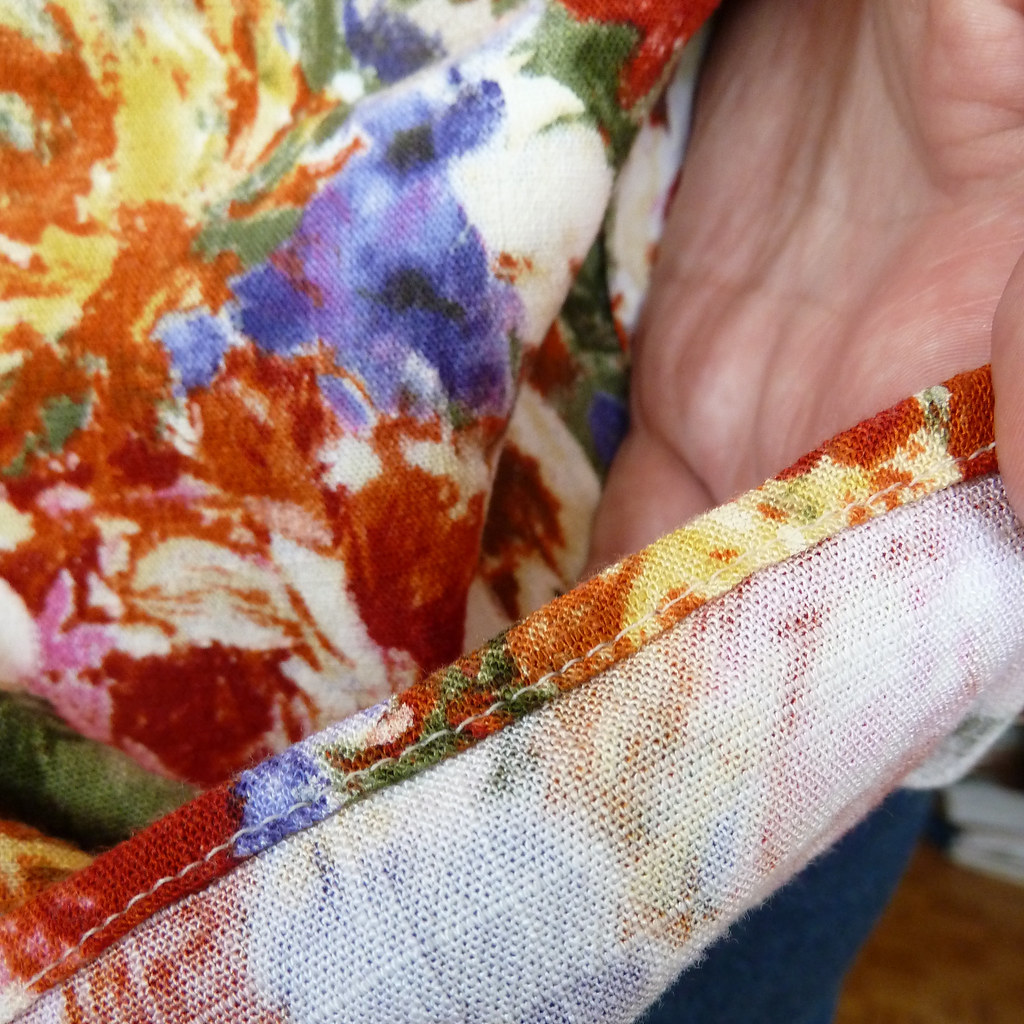
The fabric has a slight stretch across the grain, so I did contemplate binding the edges with strips cut straight. However, I decided to make proper bias binding, partly because I thought this still might curve better, and partly because I've never made it before! I used the Colette Patterns tutorial for continuous bias binding. The only thing to bear in mind with the continuous method (as opposed to sewing lots of strips together) is that you end up with more seams that also run in opposite directions. This doesn't bother me too much though, especially in a patterned fabric like this, and is less noticeable if you're making more with a larger piece of fabric. I'm definitely going to be making my own bias tape more frequently - it's so nice to not be limited to the rather heavy poly-cotton store-bought bias tapes. The bottom is finished with a baby hem.

I managed to make this out of just a yard of fabric (although only because the back wasn't cut on the fold, and I used a "without nap" layout), so I couldn't fuss too much with pattern placement. There's a white flower that's almost unfortunate on my left boob, but I think it's just about ok. Another note about the fabric - this design seems to work best in a very drapey fabric (i.e. follow the recommendations). The broadcloth version was ok, but rather stiff and odd looking, so unfortunately not really wearable - although it might look better if I recut the back with the CB seam.

Would you sew it again? Would you recommend it to others?

Yes, I am going to be sewing this again, and I plan to make some variations of this now I've sorted the fit (including drafting some sleeves). I would definitely recommend this to others - but I would recommend a muslin so it can be adjusted to be flattering to your particular body shape.

Conclusion

I'm pleased I finally got round to sewing this up - although the design is more of a summer top, I think it will work well layered for the winter too (well, the autumn at least!)

Self-Stitched-September '11 housekeeping: Days 13-15

So I wasn't feeling great on the 13th and 14th September, so didn't take any photos, but for the record but I wore this dress on the 13th, and this dress on the 14th.

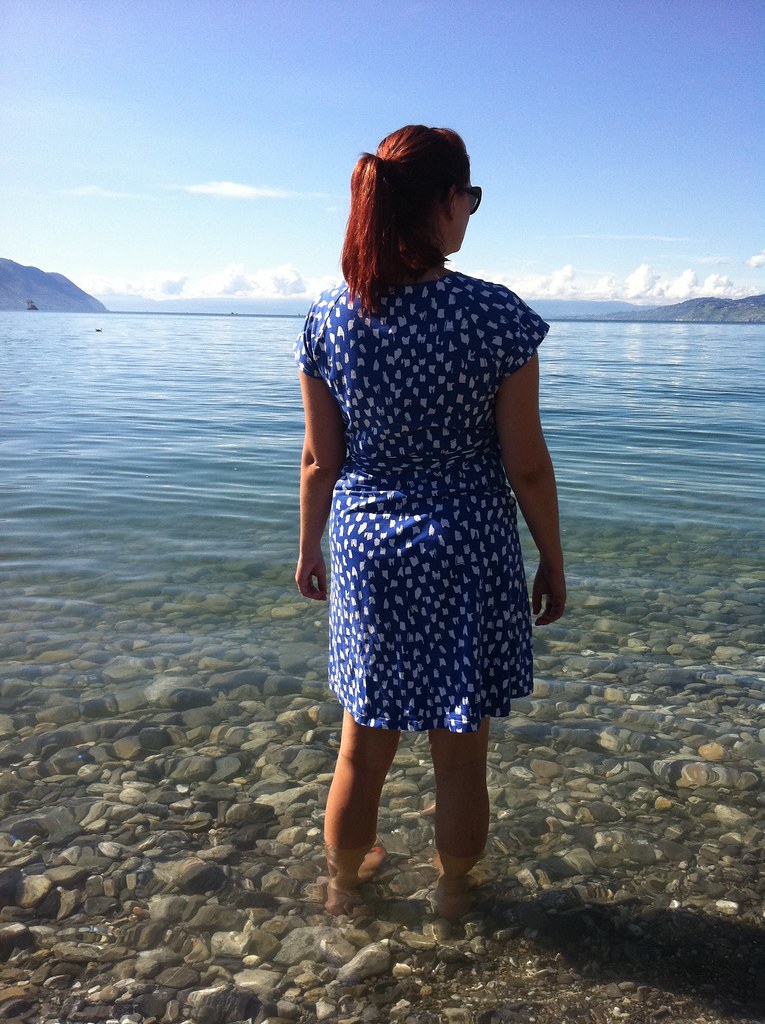
The second weekly themed photo over at the Flickr group was "with water". Unfortunately mine is a day late, but here it is - that's the Jet d'Eau and Lac Léman in the background on my way back from my French lesson. The sun was directly behind me hence the horrible exposure issues and the squinty expression as I tried to see the camera screen. I wanted to do something funny with it (e.g. have the Jet apparently coming out my water bottle), but I felt far far too silly to ask a stranger to help with that photo! Maybe another day...

Necklace: Self-Stitched Skirt (not seen here): Self-Stitched

Monday, 12 September 2011

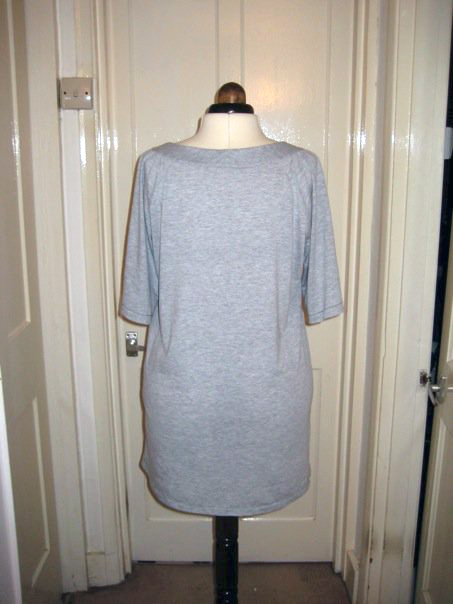
Pattern Review: t-shirt tunic (plus Self-Stitched-September '11: Day 12)

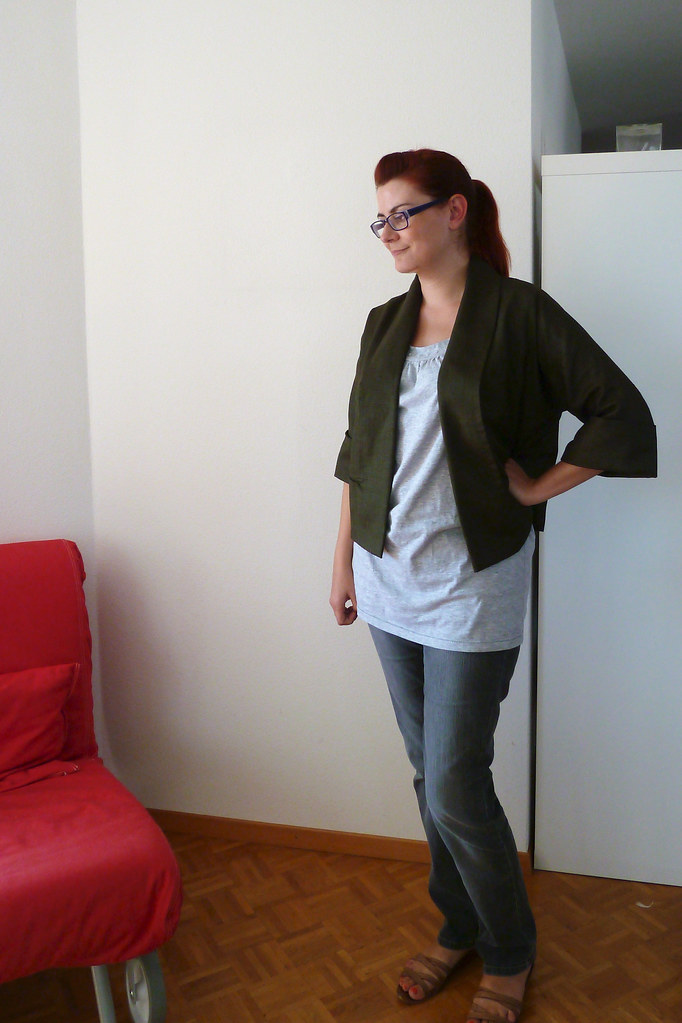
So today I dug something out of my wardrobe that I made in 2009 - in fact the first knit item I ever made. I wore it a huge amount then, but for some reason I haven't worn it much in the last year or so. Now the weather is (ever so slightly) cooler, I thought I would give it a try for SSS'11, and I'm very glad I did! It's such a comfortable top, and I'm still happy with the construction, even looking at it over two years later (in fact the only things I would really change are due to now owning a serger). It was worn today to my French lesson, to do a little shopping, then around the house.

Top: Self-Stitched / Jacket: Self-Stitched / Jeans: Manor / Sandals: Office (these are on their last legs, but I just love them so much, hopefully they will stand another re-soling...)

Pattern description

KwikSew 3593

Pattern sizing

S-XL, I cut probably the L, but I can't remember exactly!

Fabric used

Cotton jersey

Did it look like the photo/drawing on the pattern envelope when you were done?

Yes, apart from the sleeves and the embellishment.

Were the instructions easy to follow?

Yep, super easy.

What did you particularly like or dislike about the pattern?

Very easy to put together and quick to sew up.

Pattern alterations or any design changes you made

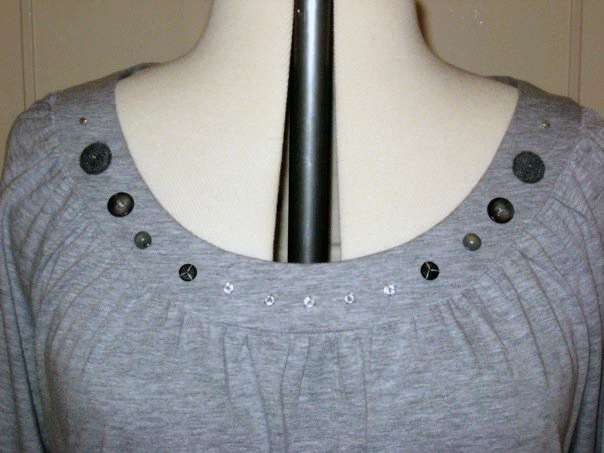
I lengthened the sleeves slightly, and also cut them slightly more flared than the pattern, as I didn't want to gather them into the elastic at the hem. I also ended up embellishing the neckline with various beads and buttons as it looked a bit plain and, well, grey beforehand. I may have narrowed the back, but I can't actually remember.

Construction details

All constructed on my zig-zag machine - the seams were sewn with a narrow zig-zag stitch, then the seam allowances were stitched together with a wider zig-zag. I can't remember why (although I remember there being a reason!), but I decided to do the hem and sleeve hems with a contrast zig-zag instead of a twin needle, and was actually super pleased with the result.

Would you sew it again? Would you recommend it to others?

I think I might actually make this again - although I currently can't find the pattern, so it won't be in the near future! I would definitely recommend this, it's very easy and quick.

Conclusion

Easy to make, flattering casual top.

Self-Stitched-September '11 bank holiday edition: Days 8-11

The first Thursday in September is a holiday in Geneva, and it was gorgeous weather - my French teacher told me the next day that apparently it was the first non-rainy Jeûne Genevoise for about ten years! My husband also took the Friday off, so we made the most of the good weather by doing a mini-tour around the lake over the long weekend.

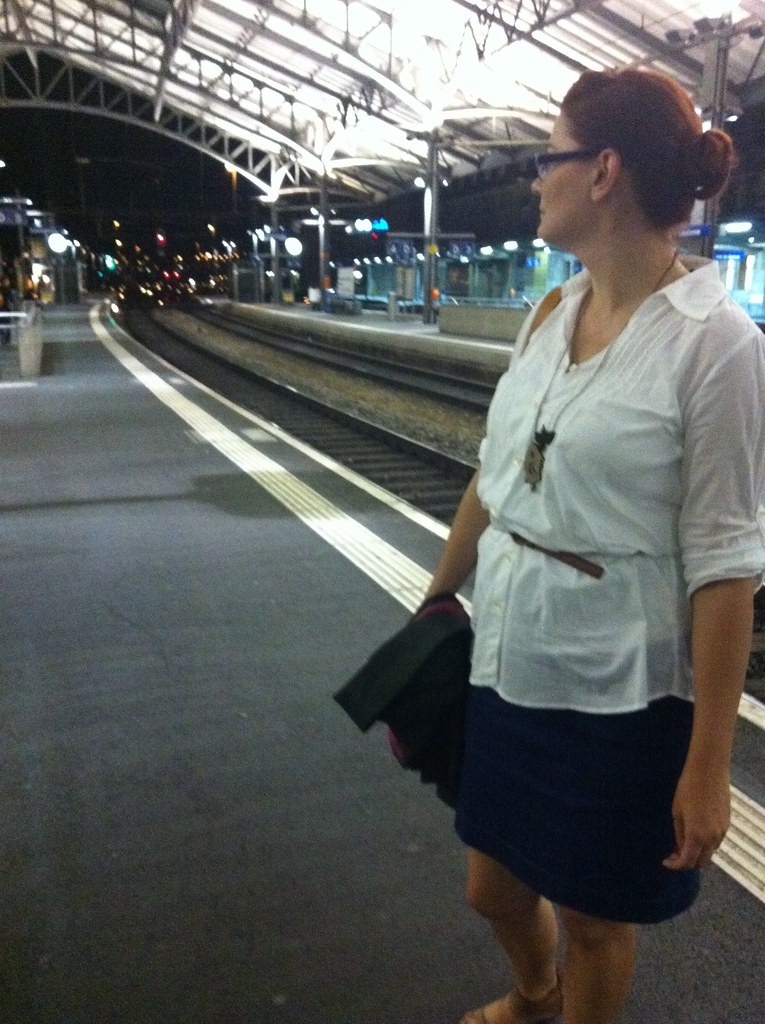
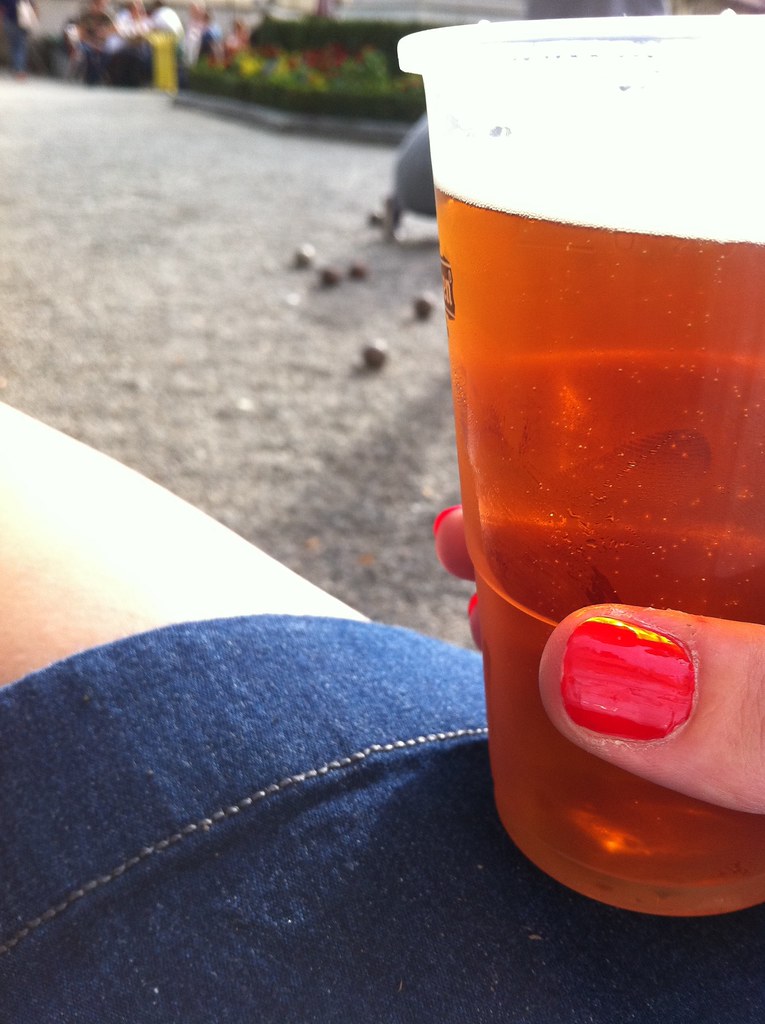
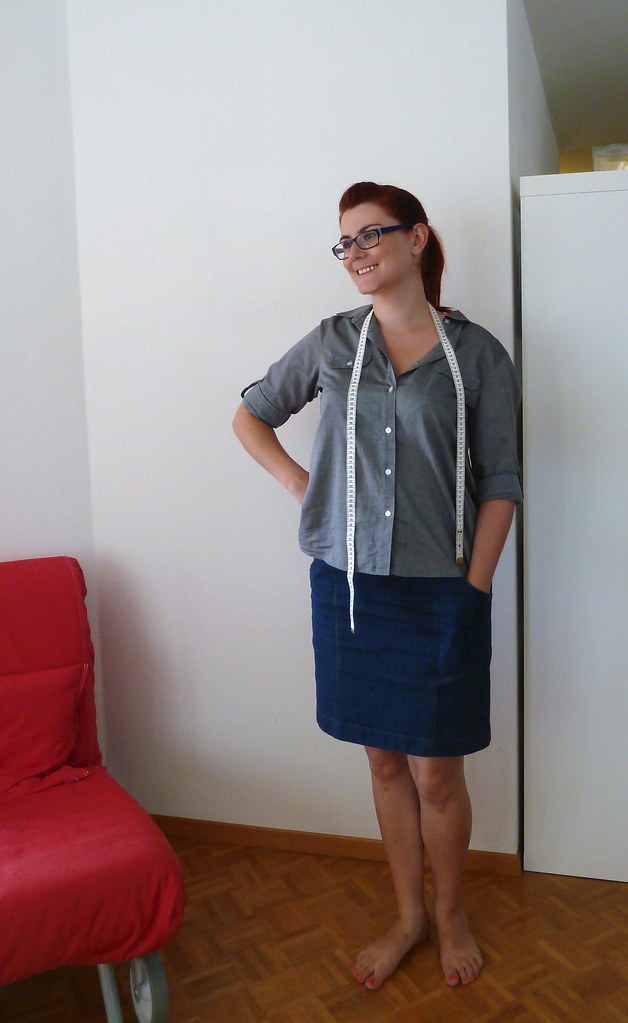
Day 8: We went to Lausanne for the afternoon and in the evening we met up with some friends who work at EPFL. We joked that we were laughing at the Vaudois who were having to work that day, but Lausanne is always nice, and Geneva is totally dead on bank holidays (besides, they will get the Jeûne Fédéral in a couple of weeks time, which we don't get in Geneva!). I dragged my husband to a fabric shop, where I was pleased to discover some expensive but not extortionately priced fabrics! So of course I bought some... We then spent the afternoon drinking London Pride (weirdly served ice cold and rather fizzy) and watching people play pétanque.

Skirt: Self-Stitched (self-drafted) / Jacket (in my hand): Self-Stitched (vintage pattern) / Blouse: Primark / Necklace: One of a trio of awesome necklaces I got from Modcloth, this one features a cuckoo clock, so obviously I had to buy it!

Day 9: After my French lesson, we took the train to Montreux, and then the bus round to Villeneuve in order to walk back along the lake path. It was absolutely gorgeous... I really really regret not taking my swimsuit or bikini - there were so many "beaches" along the way that were so quiet and the lake was so lovely and warm. Sigh. We had dinner near the statue of Freddie Mercury (which had loads of flowers all round the bottom for his 65th birthday) and watched the sun go down over the lake.

Dress: Self-Stitched (Simplicity 2369)

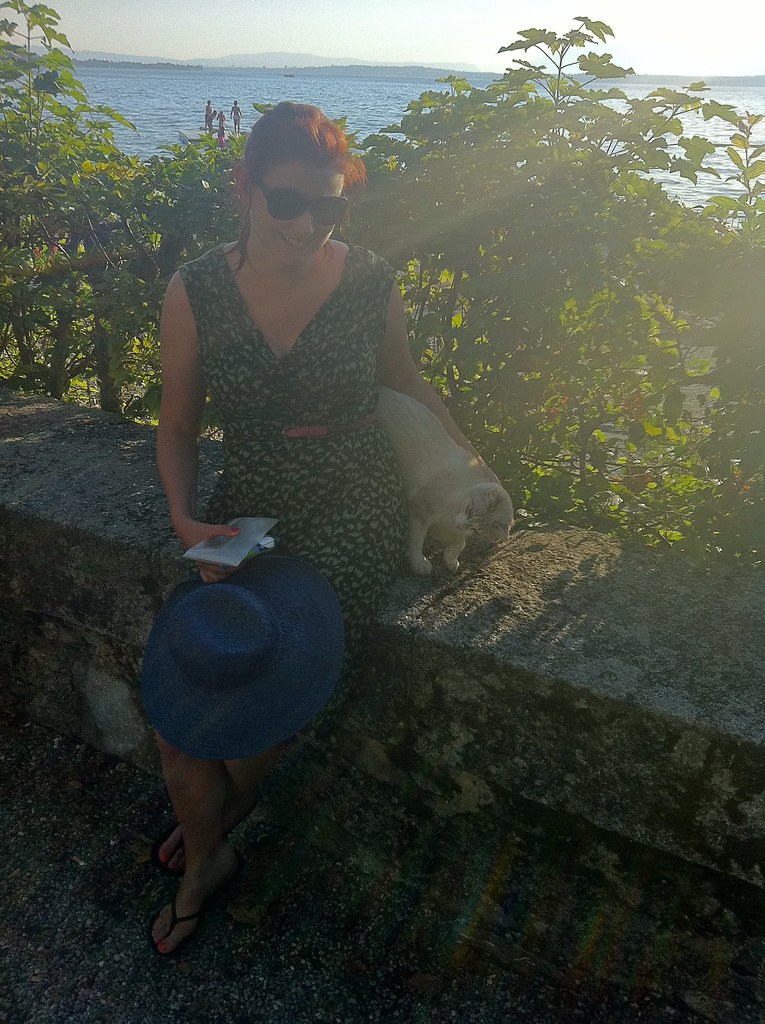
Day 10: As my swimming was thwarted the day before, we had to go somewhere to swim on this day. We decided to continue our tour of the lake and go up the south side (we also figured it might be a bit quieter), and settled on Hermance as we could take the bus there. We discovered we had to pay 4CHF to get into the main sunbathing/swimming area - it was worth it, the sunbathing area was lovely, although I think I prefer some of the other places I've been for swimming. The village was breathtakingly lovely too, and we met a very friendly cat on the way back to the bus stop that tried to get on my lap!

Dress: Self-Stitched (self-drafted). Not properly blogged, but more pictures under Day 26 from MMJ11

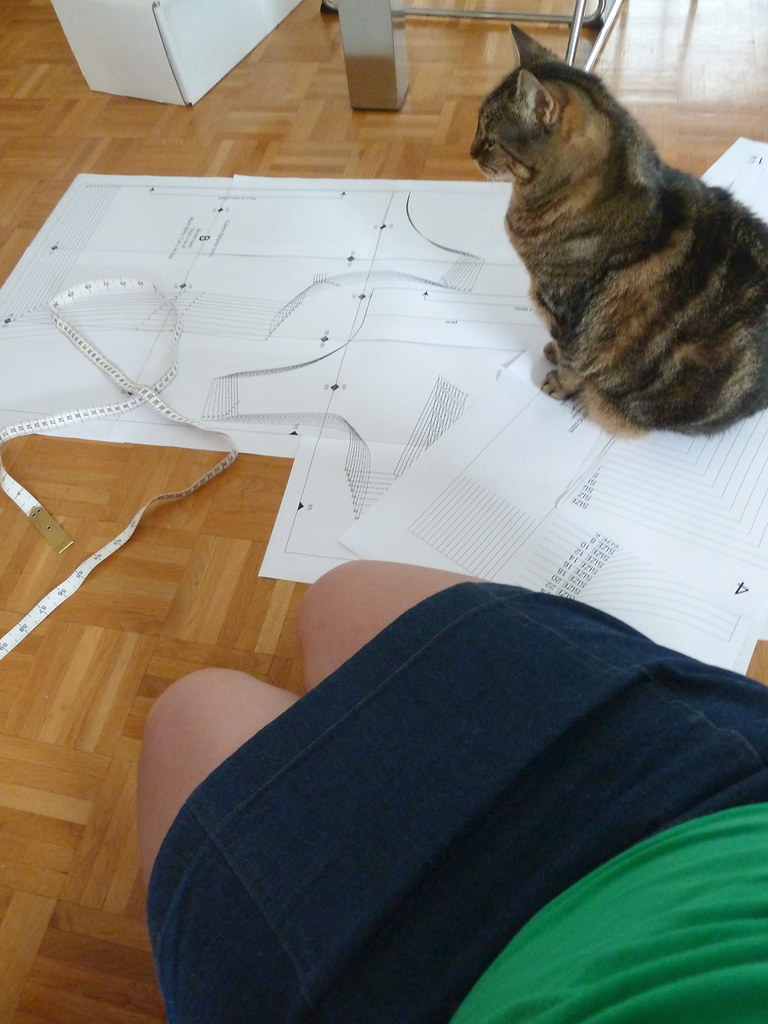
Day 11: A bit of a lazy day as we were both a bit tired after 3 days of walking and swimming. I mooched around the house and stuck together some downloaded patterns (yes, that is a Sorbetto - I'm going to go and cut one out this afternoon...)

Skirt: Self-Stitched / Top: Uniqlo

Self-Stitched-September '11 round-up: Days 2-7

I was hoping by this time to have a couple of new things to show you, but despite having vast numbers of plans and ideas, the actually reality of getting things done has been rather slow... I've got a couple of trips coming up the end of this month and beginning of October, so I'm hoping those deadlines will inspire me to sew a bit quicker.

Day 2: A day at home, doing some sewing (albeit slowly - see above). We were also in the process of planning a holiday in New York for October this day, so I'm genning up on places to visit.

Dress: Self-stitched (see day 26 here)

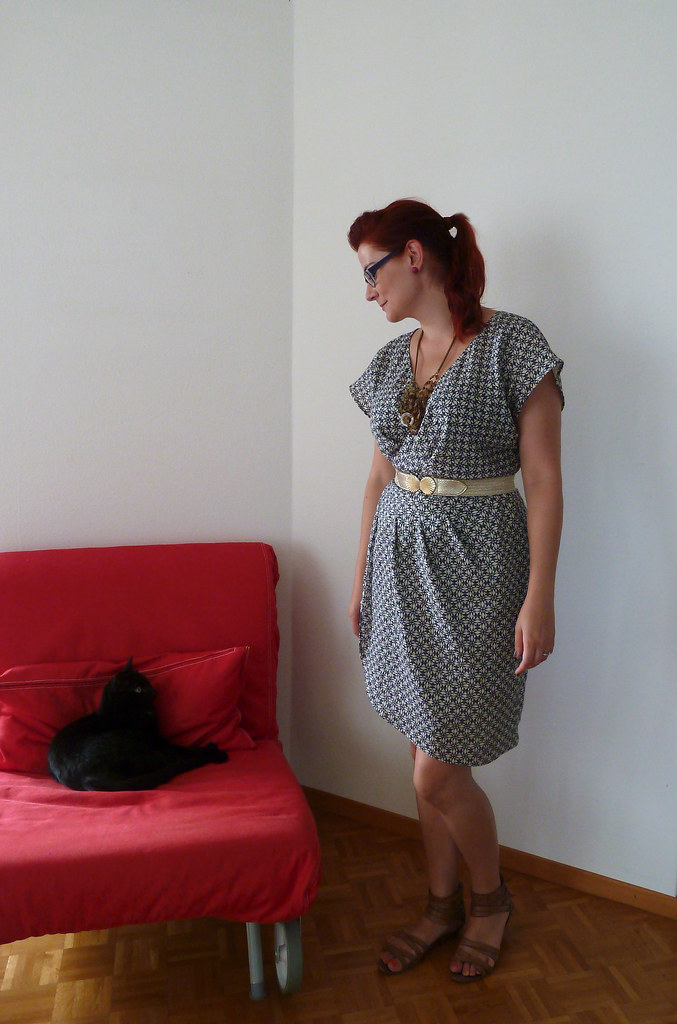
Day 3: A repeat already! However, it was super hot and humid this day, and this dress was the most suitable thing I had available. This was such a success - I'm planning to make many more light and airy clothes for next summer (especially now I've mastered French seams :) and I just love the feeling the underlining has given this fabric.

Dress: Self-Stitched (Vogue 8631, already seen on day 1) / Necklace: Random shop in Hammersmith / Belt: eBay

Day 4: Celebrating booking my New York trip! I can't remember looking forward to a holiday as much as this one - and my husband is also super excited! (We're actually going to be there over his birthday.) We've booked a hotel a couple of blocks from the garment district (hehehe) so I'm wondering how little I can take with me in order to free up space to bring back fabric... In the week since booking the holiday we've been making plans for what we'll be doing: so far we've booked tickets to see Winton Marsalis at the Lincoln Center, and we're also planning on going to a concert at the Carnegie Hall, and seeing Follies on Broadway.

Necklace: Self-Stitched / Top: Uniqlo / Trousers (not seen): Manor (the brand was Anna Montana - hahaha!)

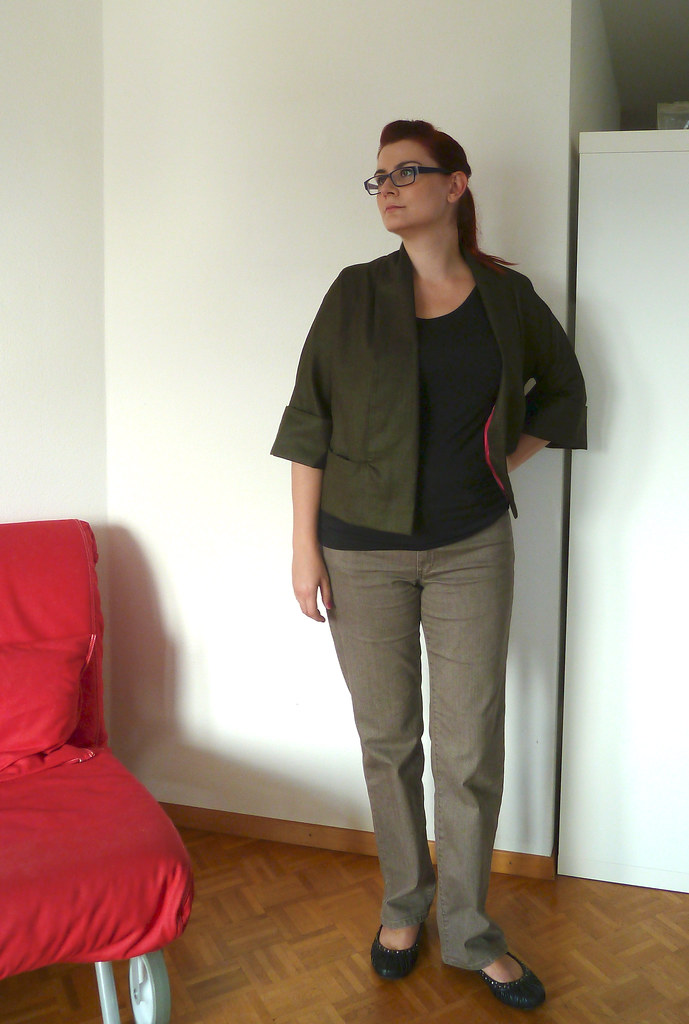
Day 5: I had my first French lesson today (yeah, after living here about 18 months...), hence the slightly thoughtful and frazzled look. I'm having one-on-one lessons for a month to get my confidence up before hopefully joining a group lesson. This jacket has been one of the things I have worn most, I love it so much! The only slight drawback is that the fabric is synthetic and not very breathable, so I can sometimes get a bit sweaty whilst wearing it! On the plus side, it doesn't wrinkle at all. I'm planning to make another version of this jacket at some point soon.
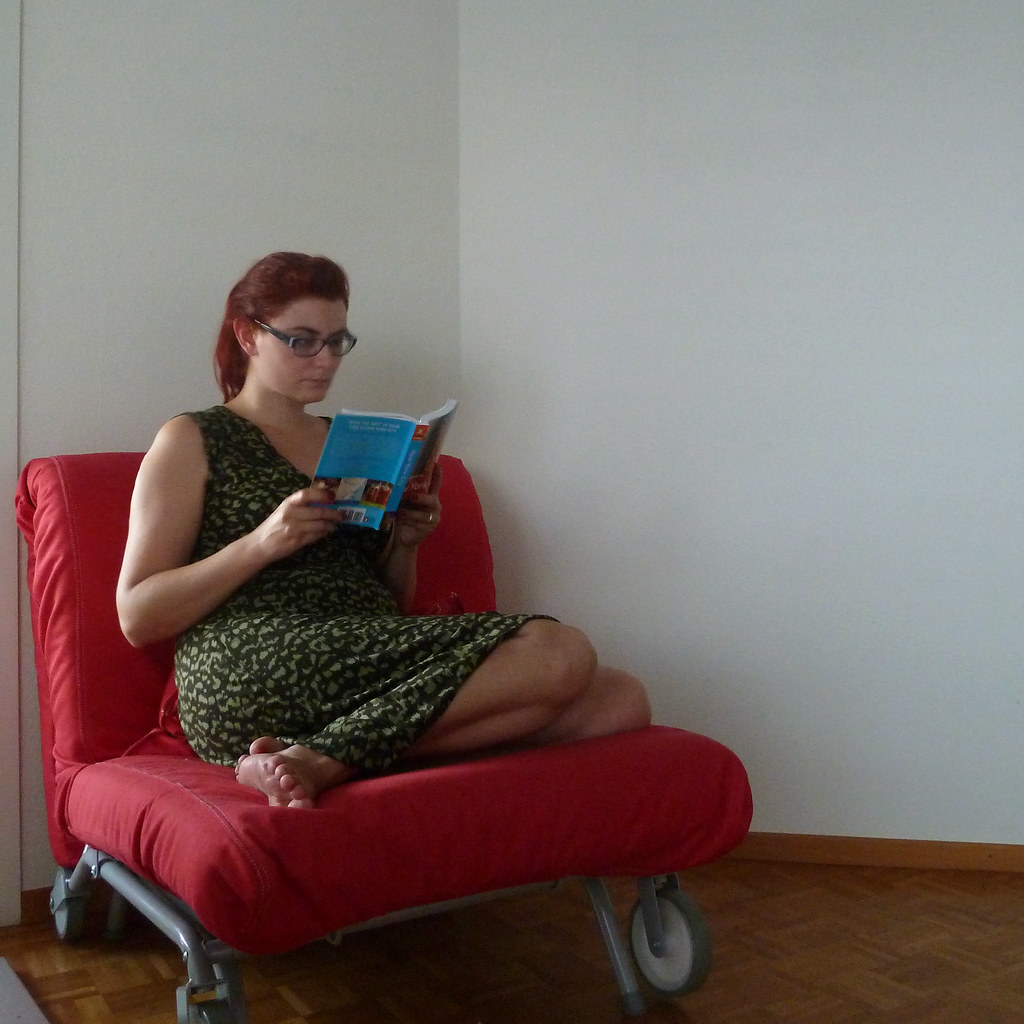
Jacket: Self-Stitched / Top: Uniqlo /Jeans: A random brand from Manor / Shoes: M&S

Day 6: A day at home sewing (slowly), so something comfortable and easy.

Skirt: Self-Stitched / Shirt: Uniqlo

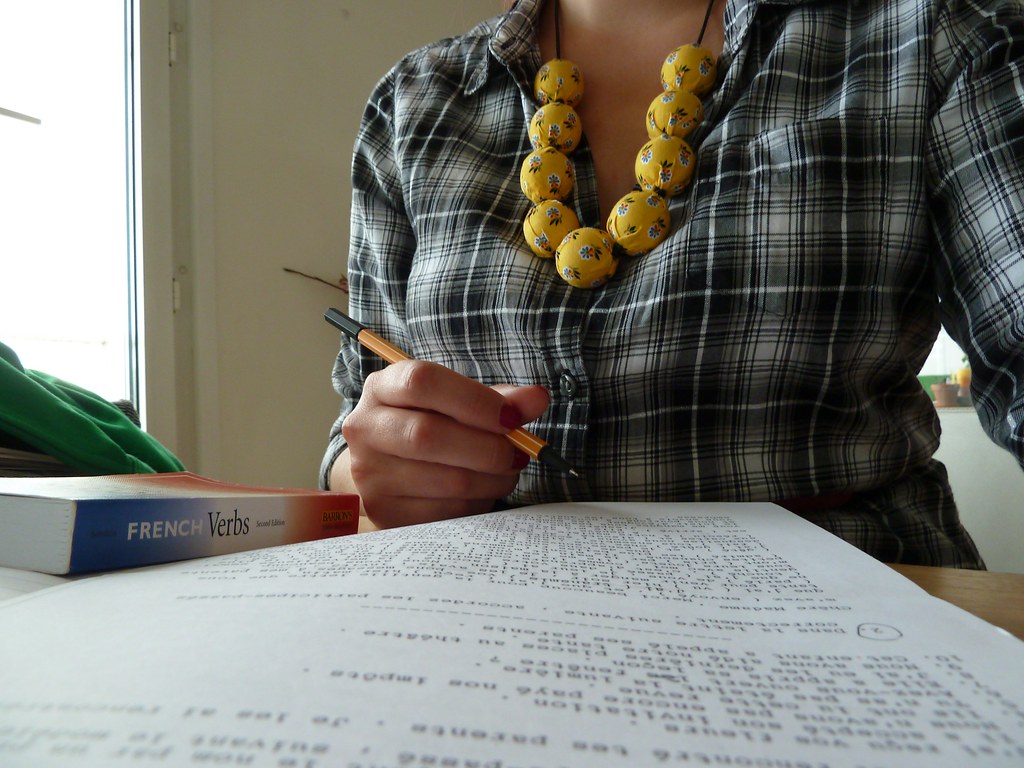
Day 7: La groupe sur Flickr a eu un sujet de travail pour les photos ce jour, alors je fais mes devoirs... Je porte une ceinture rose aussi, mais on la ne voit pas la. (The Flickr group had a theme of work for today's photos, so I'm doing my French homework... I'm also wearing a pink belt, but you can't see it here. And I only had to check two words above! Although that doesn't mean the rest are correct I suppose...)

Necklace: Self-Stitched / Shirt: Uniqlo / Belt: eBay / Trousers (not seen): Manor

Thursday, 1 September 2011

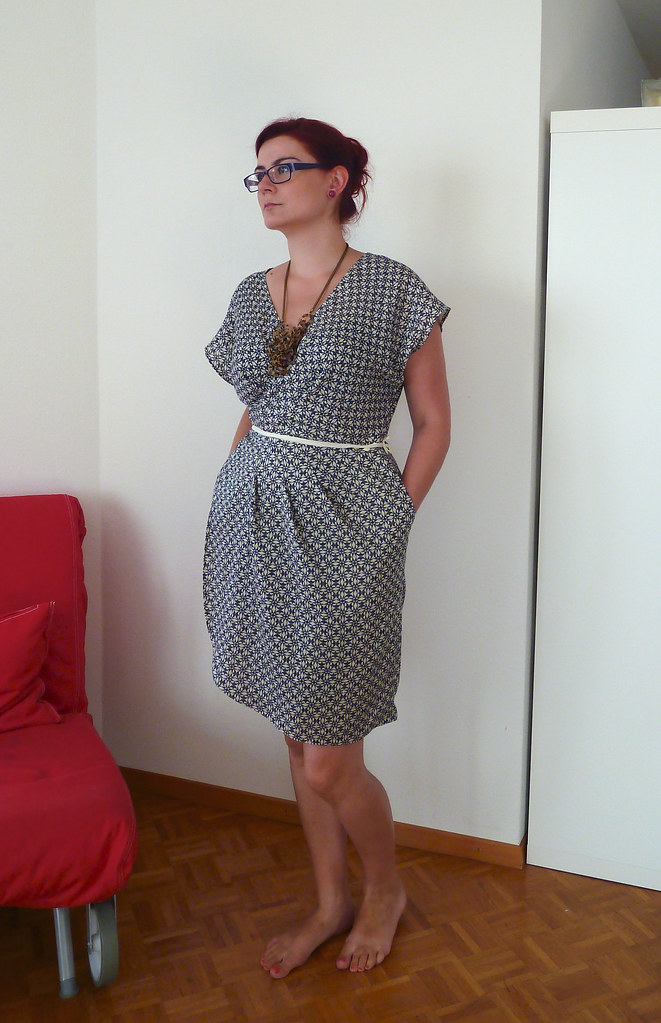
Self-Stitched-September '11: Day 1, plus a new dress

So, September's come round quickly, and it's another me-made month! I think this month I will do periodic round-up posts on my blog, unless there is something particularly interesting that deserves its own post. And as this is the first day of the challenge, and it's a new dress, I figured this was one of those situations.

I'm not doing a full-on review for this, as it's the same pattern and very similarly constructed to the silk charmeuse wrap dress I've just made, but the differences are detailed below.

Day 1: So this dress was started just after I finished the last one, ostensibly as a "quick" project to wear a couple of days after starting it whilst it was still really hot (probably over a swimsuit), but for this "quick" project I decided to use a fabric that needed underlining and pattern matching. Um, yeah. Did I mention this was also the first time I'd underlined a dress? However, all that work was definitely worth it, with a couple of reservations, I'm pretty pleased with this dress.

Dress: Me-Made / Necklace: Accessorise / Belt: eBay / Sandals: Office

Fabric used

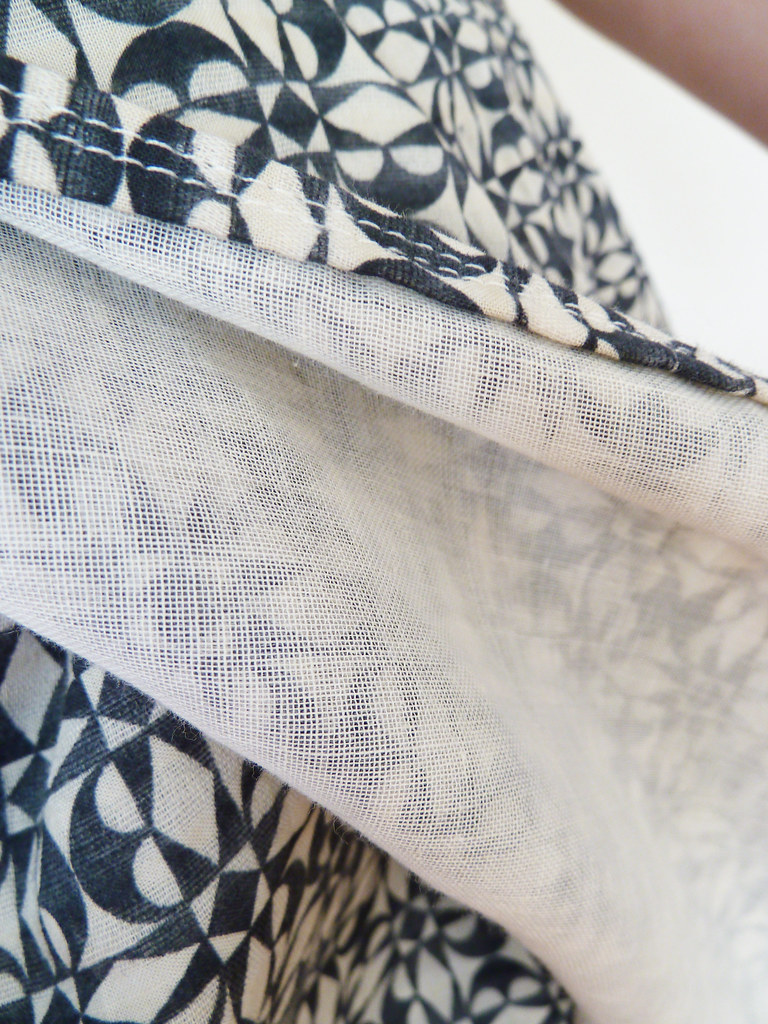
A printed cotton lawn from Aberkhan Fabrics, and underlined with cotton batiste from Fabric.com.

Pattern alterations or any design changes you made

Again, I used ties on the outside wrap as well, but I'm not entirely happy with the look on this dress. Without the belt, it's a bit hospital gown chic... The wrap goes the opposite way to the pattern envelope again, as for some reason the pleats lie better that way again, and I left the pleats stitched as before to keep it from being too poofy over my midsection. I used the pockets this time, and I should have raised the armscye, but forgot.
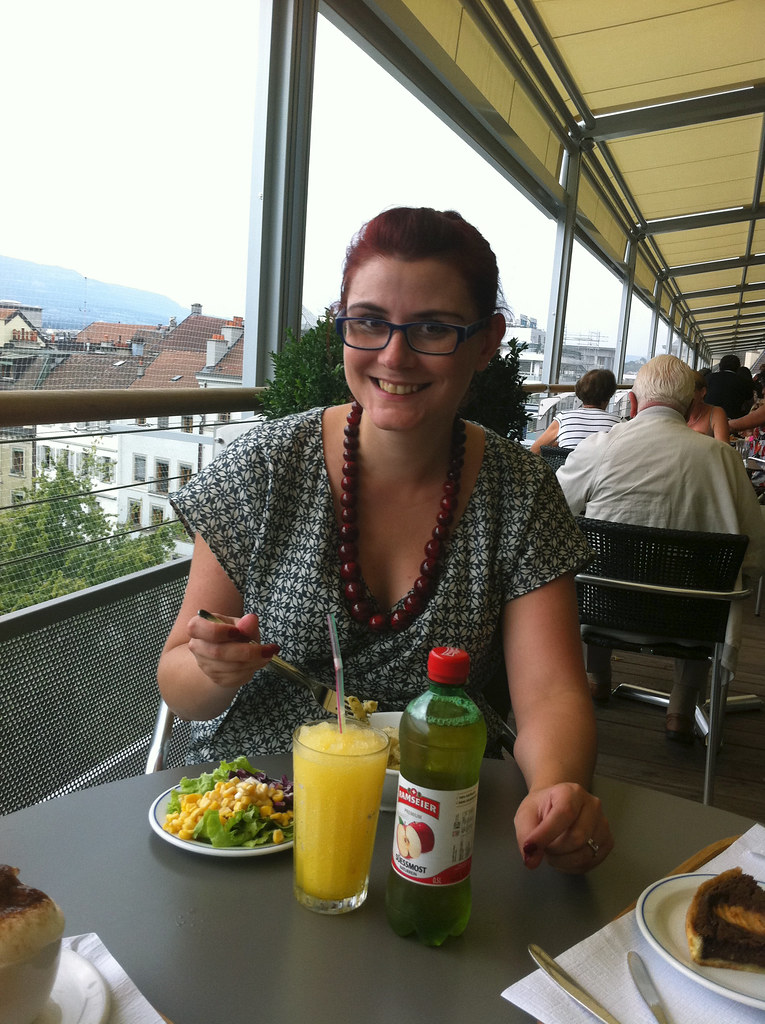
Construction details

I cut the underlining from the pattern and put all the markings on that, then used the underlining to cut the fashion fabric. I used a rotary cutter to cut the fashion fabric as it was so flimsy. I loooove using the rotary cutter - I need to clear my "cutting" table to have more space to lay out fabric so I can use this more often. I then hand-basted the two layers together, again this was a first for me, and in my care to avoid stretching the edges I think I pulled the basting a little tight, but that wasn't a big deal.
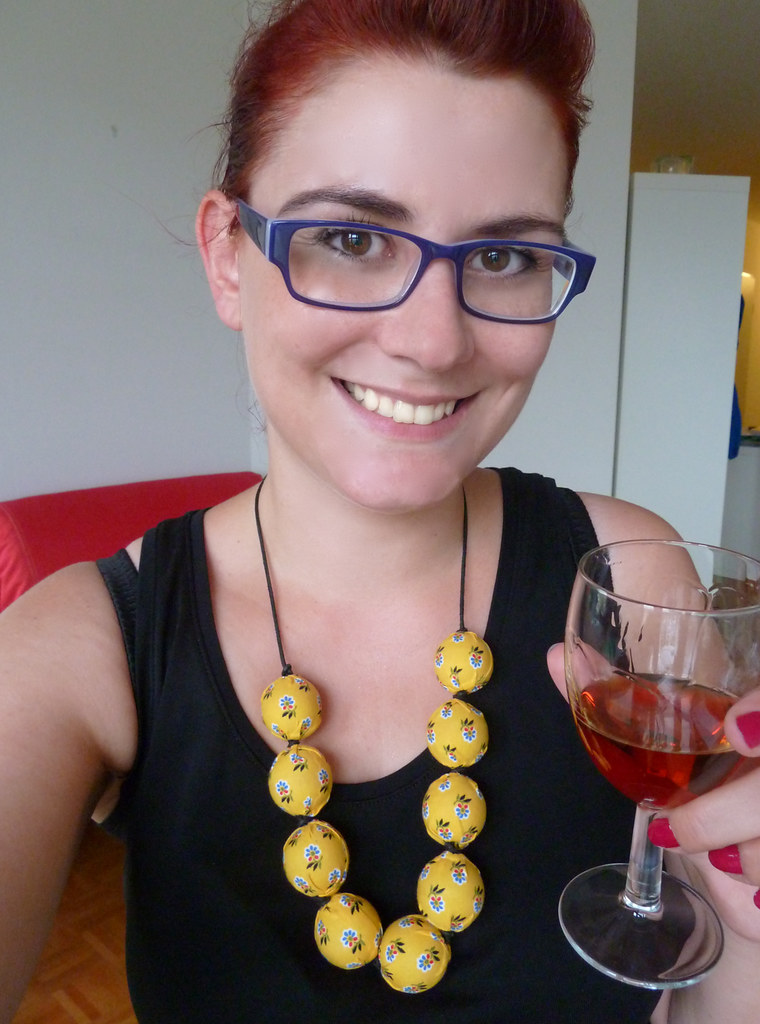
I used French seams for the centre back bodice and skirt, the shoulder and the waist seams, and regular seams finished with serged edges for the side seams. The edge was finished with a baby-hem (again, a little wide, hence the sleeves sticking out a little funny).

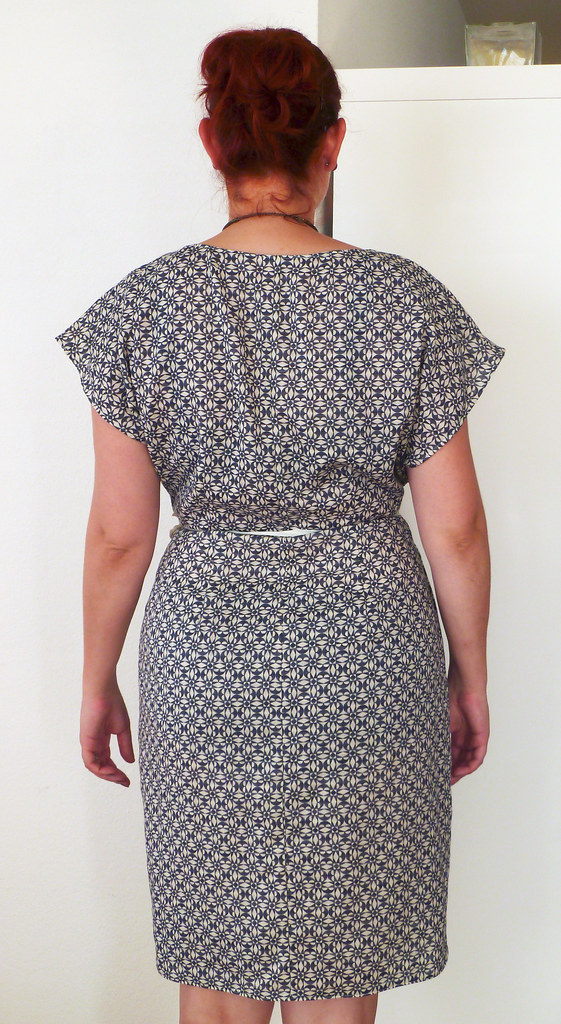
I'm pretty pleased with the pattern matching at the back - it wasn't so much of an issue at the front as both the front bodice and skirt are cut on the bias.

Would you sew it again? Would you recommend it to others?

I think I will leave this pattern for a little while (although I'm tempted to make it in a drapey knit). But it may reappear, once I work out how to make the the sleeves a little less linebacker.

Conclusion

I'm not entirely sure this doesn't look like a hospital gown, but with careful styling I think it's ok - that's why the ties are tied right around me in the photos, if they are tied at the side it really does look hospital chic. The fabric is still quite light so falls ok, although the charmeuse drapes better - anything much heavier I think would look a bit weird. I really really like the feel of the underlined fabric.

Thursday, 18 August 2011

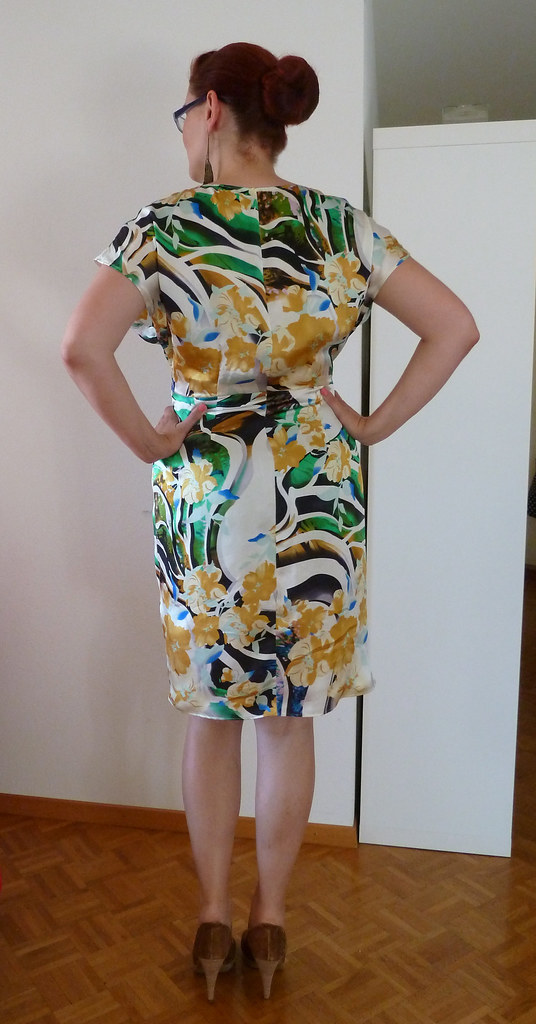
Pattern review - silk charmeuse wrap dress

OK, before I start, a slight caveat that this might not be an entirely fair review of the pattern - I made it in slippery slide-y silk charmeuse (my first time sewing with it) that was really hard to handle and did weird things on the bias grain, so it wasn't the easiest garment by which to judge the pattern.

Pattern description

Vogue 8631 - Wrap dress with extended shoulders, front pleats and back darts.

Pattern sizing

6-22. I cut the 18.

Fabric used

Silk charmeuse I bought from eBay many years ago. The pattern wasn't as pretty in real life (or rather looked crazier), so I wasn't too sad if this ended up looking really bad (and I have nearly 6m of the stuff so would still have plenty left for other things!)

Did it look like the photo/drawing on the pattern envelope when you were done?

Pretty much, a few minor differences.

Were the instructions easy to follow?

Yes! Although it's such a simple pattern that I only just glanced at them to check there wasn't anything unusual - if you have basic garment construction skills you don't really need the instructions.

What did you particularly like or dislike about the pattern?

This seems to be drafted very well, all the pleats and darts line up perfectly. The shape is very flattering, and I like the kimono style sleeves. The wrap also crosses over enough that you aren't constantly worrying about flashing unsuspecting members of the public (and I wore it on a fairly breezy day). It came out the perfect length on me, just above my knee, but bear in mind I am just under 5'10".

A couple of cautions though: the armholes are quite low so you can see the side of your bra as you lift your arms up, and it is very low cut in front (but does fit quite snugly along the neckline so doesn't gape). I'm not particularly bothered by either of these though, but might consider wearing a slip underneath, depending on the occasion.

Pattern alterations or any design changes you made

I have a bad habit of altering patterns before trying them out, despite not being an expert on fit, and then finding they still don't fit, but I don't how to correct it and how much is caused by the alterations I made. So I'm trying to make up patterns "straight up" either by making a muslin or a test garment and then making any alterations I need.

This was then effectively my test garment, although I'm not sure of the wisdom of doing this in silk charmeuse as it made it very slow to sew up and pretty hard to evaluate the fit! I'd also researched this pattern on Pattern Review, and the general consensus was that (a) it came up very big and (b) a FBA wasn't necessary. Marvellous. Bearing this in mind, and after some flat pattern measurements, I cut a straight 18, which turned out perfectly (even though by the body measurements on the envelope, I should have been cutting a 20 on my hips!).

I changed the direction of the wrap (i.e. my dress wraps left over right) as for some reason the pleats fell really weirdly on the right hand side (I think maybe this side was cut slightly off grain). In general, I've discovered that this fabric doesn't really like draping and folding, and does very weird stuff when you try any of that nonsense along the bias grain. I also left my pleats stitched in as I wanted it a bit less flappy over my middle (and also partly because of the aforementioned weirdness of the charmeuse).

As most others have done on Pattern Review, I didn't use bias binding around the edge, but instead did a baby hem (using the tutorial on Burda Style). I was going to use a snap (instead of the recommended hook and eye) on the outer wrap, but decided I preferred the look (and adjustability) of ties, so made an extra set.

I omitted the pockets partly because this was a test garment, and partly because I couldn't face fiddling around sewing them in with this fabric...

Construction details

The first couple of seams I sewed were super hard work to control, but then I remembered I'd recently bought a non-stick presser foot, which made things soooooo much easier!

Because of the horrid ravelly nature of the charmeuse, I used French seams throughout (even on the curved side seams! For these, I pinked the seam allowance after sewing the first pass of stitching. I can see this might not work on a close-fitting or frequently used garment, or a very curved seam, but it seemed to work fine here). This was my first time sewing French seams, I'd always been a bit scared of them before (I think because of the fact you can't really alter them for fit once you've sewn them), but was very pleased with them - and only managed to sew one seam together the wrong way (it's hard to get your head round sewing WS to WS...). Incidentally, I discovered that in French, French seams are called coutures anglaises, i.e. English seams.

It was also the first time I tried doing a baby hem, and again was please with how it turned out. It could have probably been a bit narrower, but it was hard to control the charmeuse properly. The edges also stretched out a bit as I sewed the hems (except the bodice neckline, which I had staystitched to prevent gaping), but I don't really mind, I've decided that the slightly ripply effect makes the dress more feminine... I had intended to try out another new foot, my narrow hemming foot, but I just couldn't make it work. I think maybe the fabric was just too slippery and stretchy to work properly.

I made the ties with pieces of selvedge. I folded the raw edge in, folded again and then topstitched.

Would you sew it again? Would you recommend it to others?

I'm definitely going to sew this again, in a slightly more cooperative fabric. I like the style, and this could be sewn up super quickly if I'm not fiddling about so much. Next time (depending on whether it fits on the layout) I will cut the back bodice and skirt on the fold. I would definitely recommend this to others.

Conclusion

Halfway through construction, I nearly gave up completely as the fabric was such a pain to work with, the pleats looked weird and bulgy, and I managed to snip a hole in the sleeve whilst trimming the SA for the baby hem (fortunately small and on the underarm, so fixed with fray check and fusible backing, not the prettiest method, but I didn't care at that point and you can't see it). I'm glad I persevered though, as I'm surprisingly pleased with the results - I wore it out the same evening I finished it and will definitely wear it again (although I haven't worked out how I'm going to wash it yet though...). Although it's far from perfect, given that it was my first time trying so many things (the pattern, the fabric, French seams, baby hem), I think it turned out pretty well.