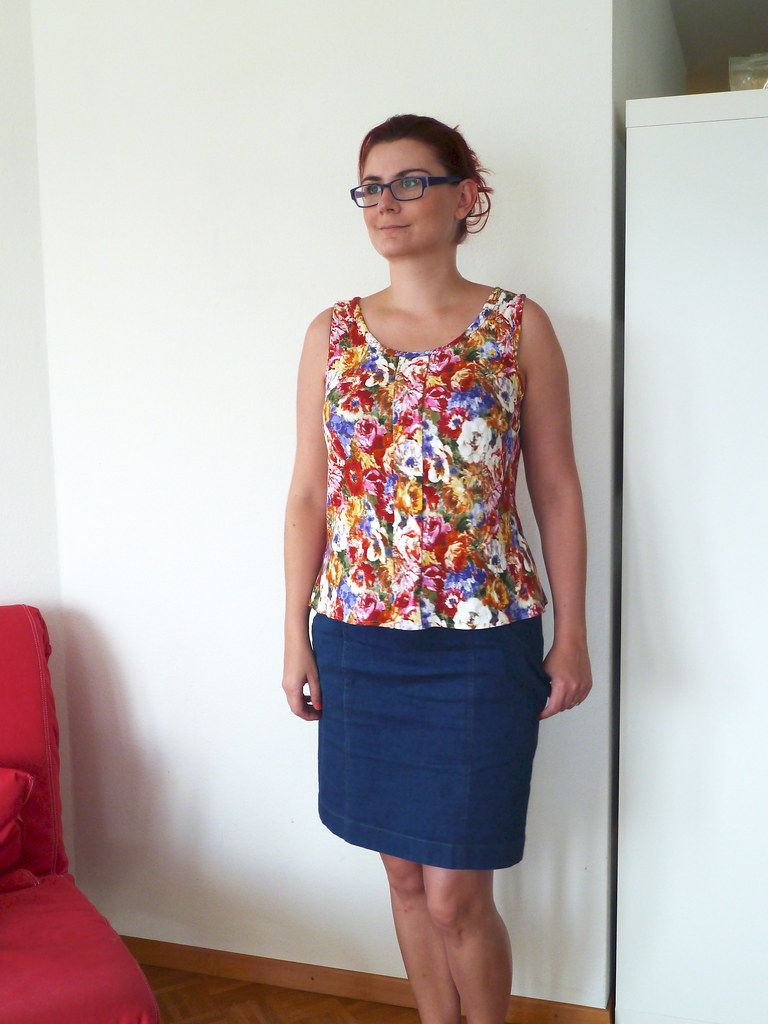
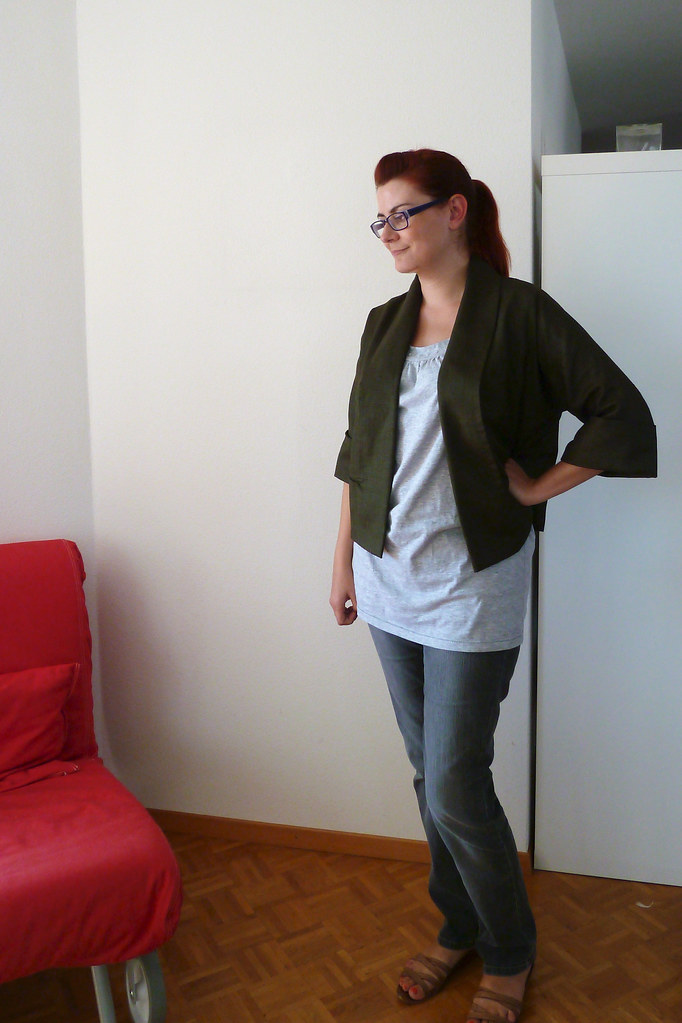
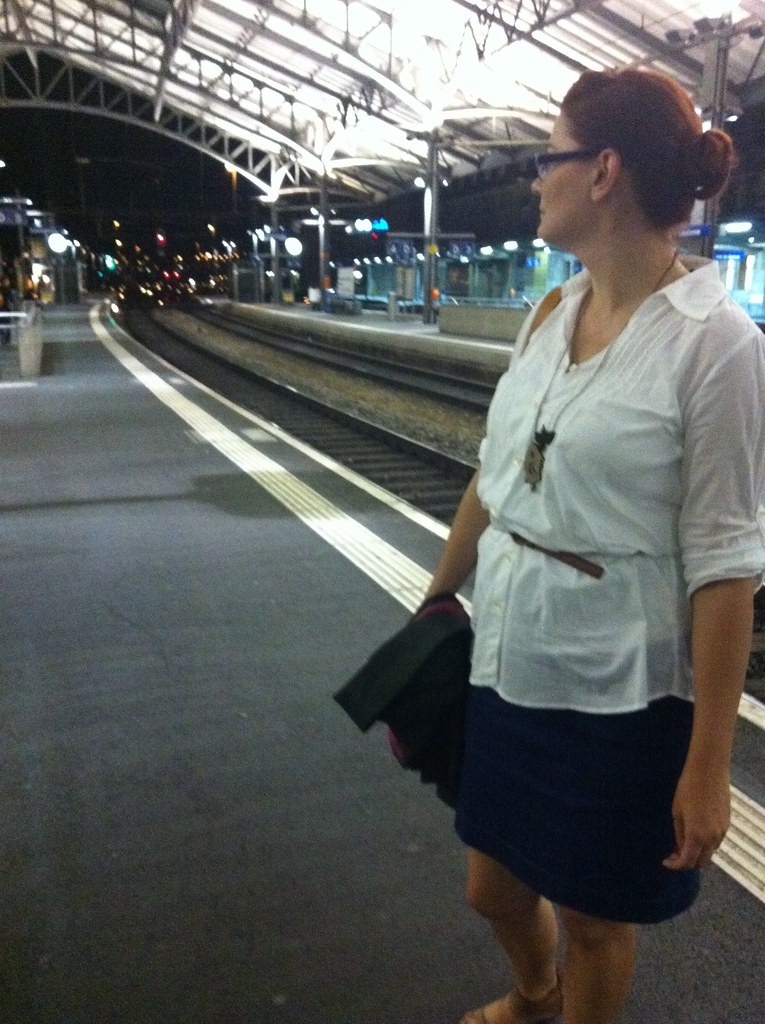
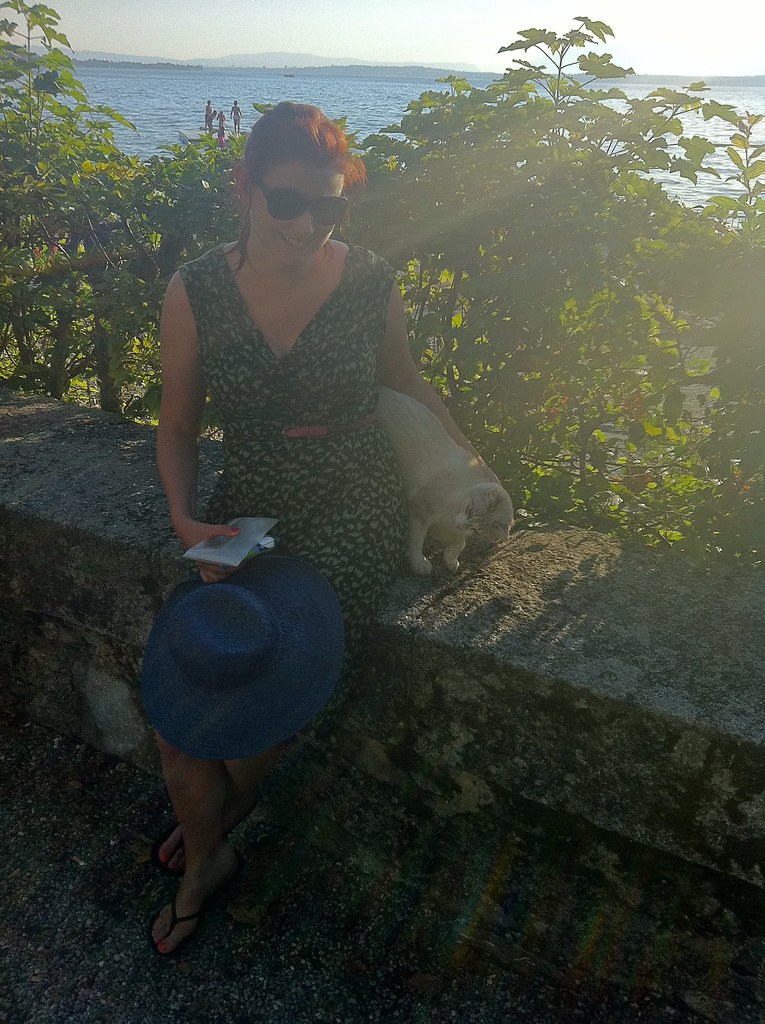
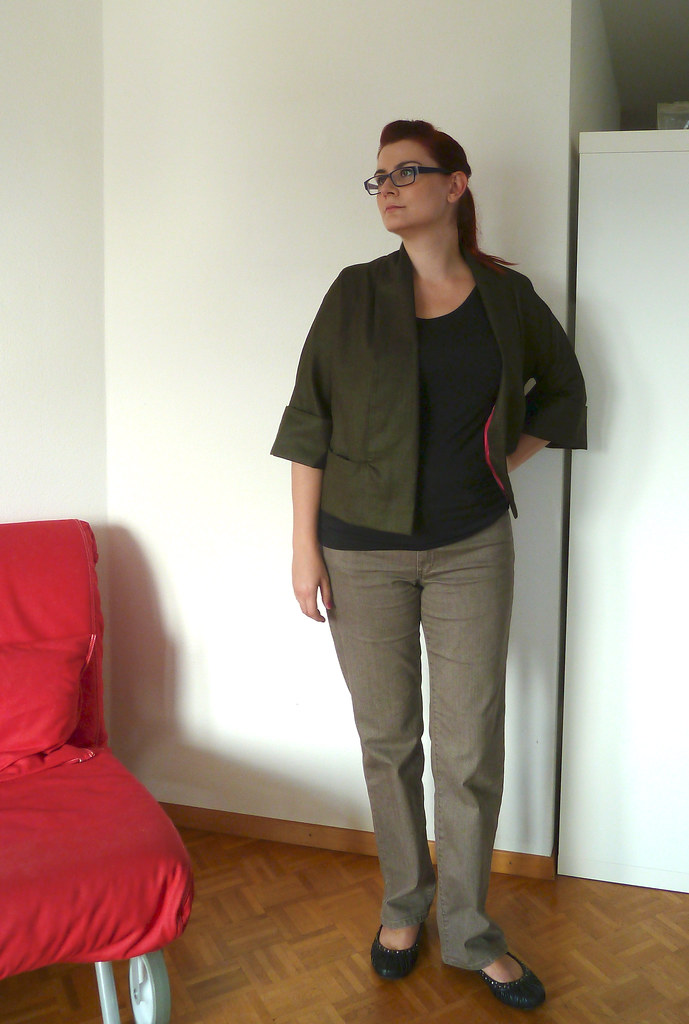
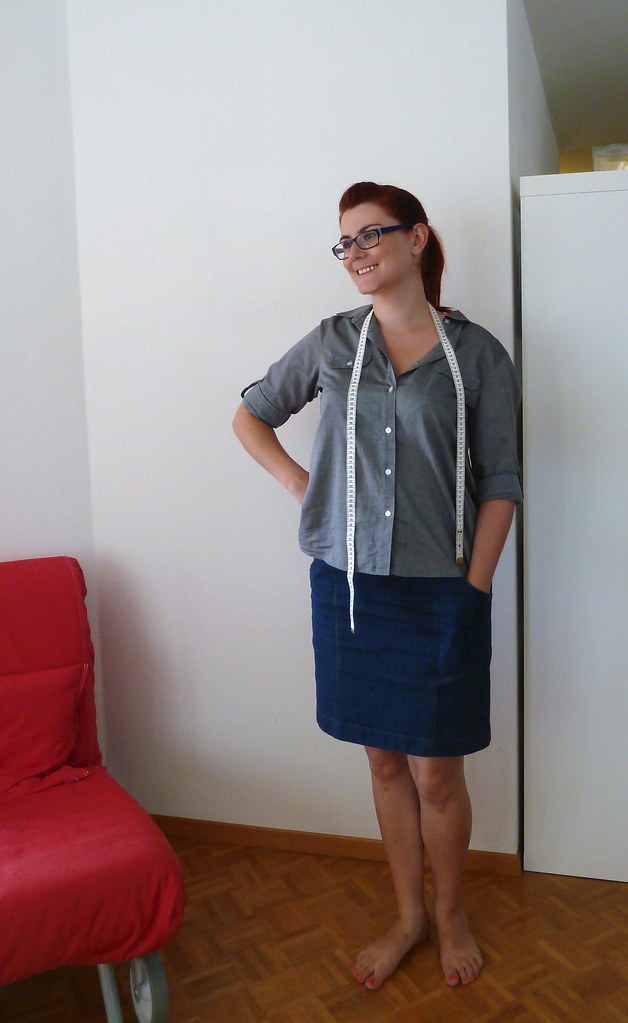
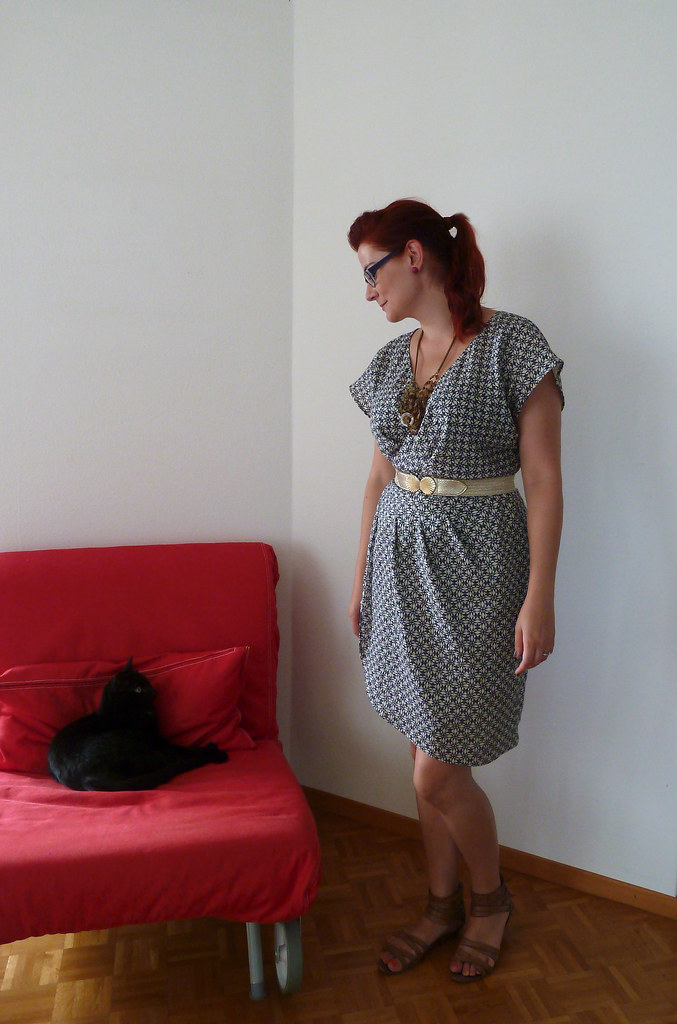
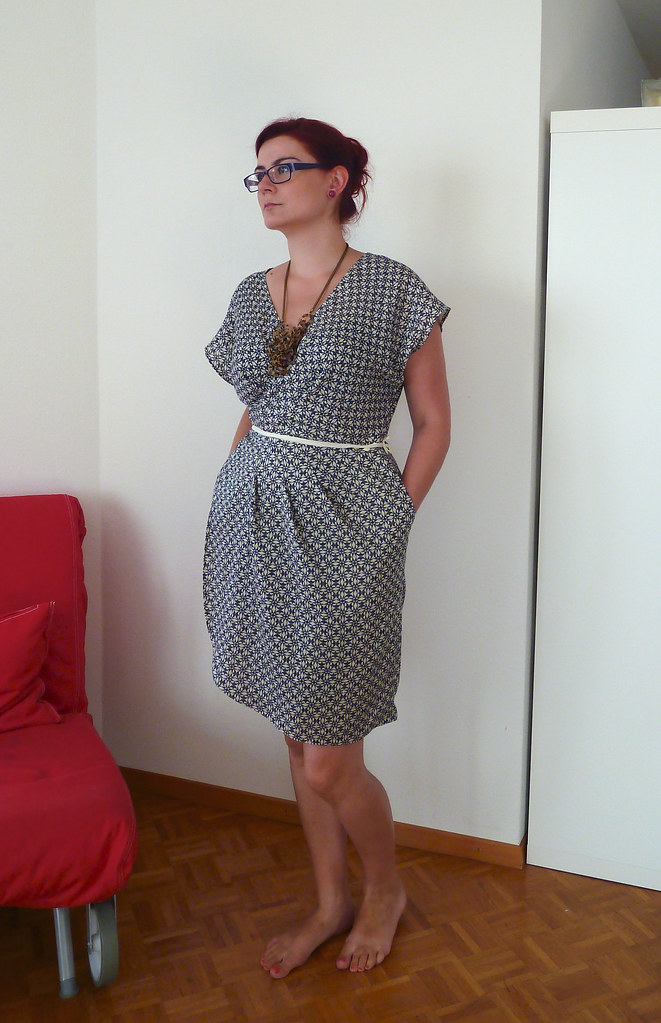
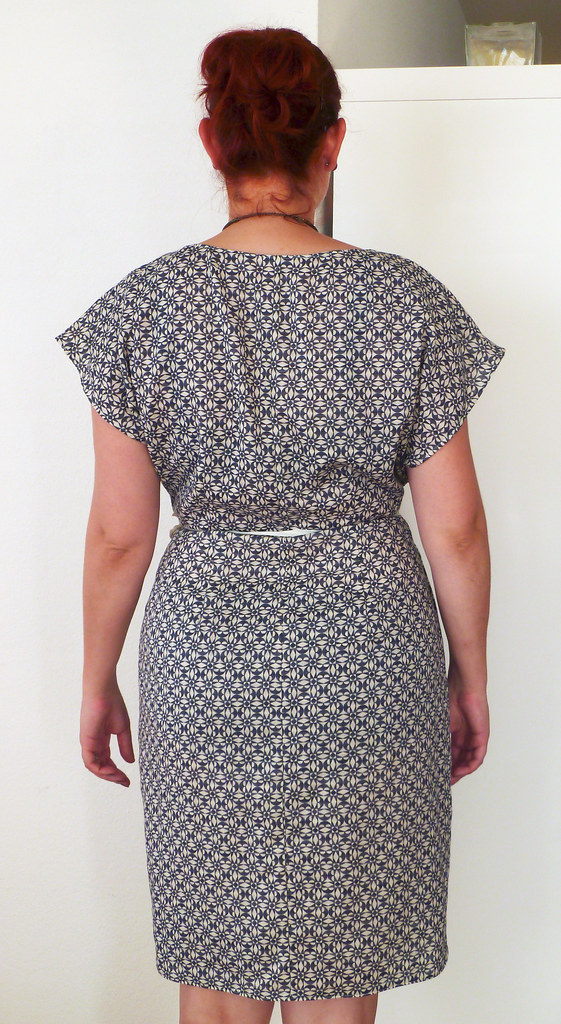
Top: Self-Stitched / Skirt: Self-Stitched (self-drafted) / Jacket: Self-Stitched (vintage pattern) - although I didn't actually wear it as it was weirdly warm and humid this evening / Necklace: Alexander McQueen / Shoes: Vivienne Westwood for Melissa (we were dancing at a Latin club with Peruvians, and now I have big blisters :)
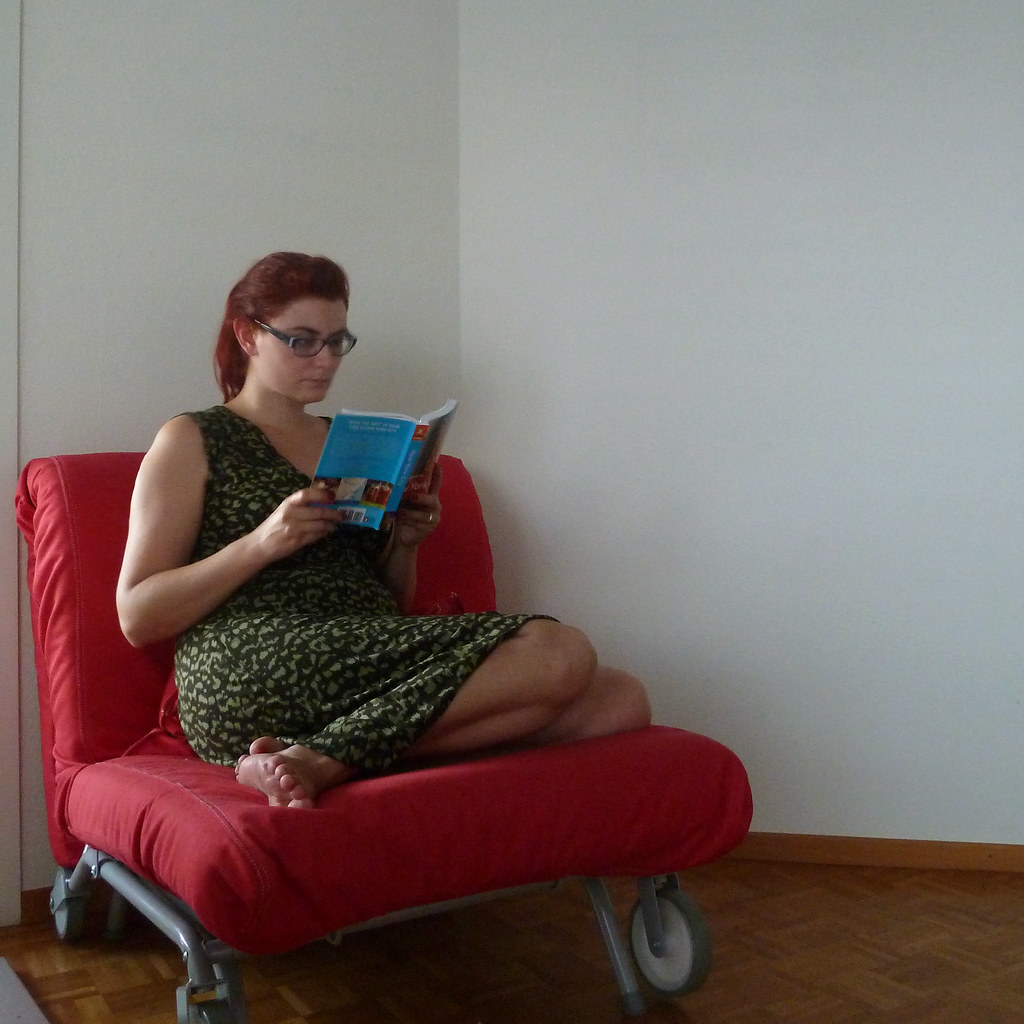
Yep, at long last, I've sewn up the Sorbetto top. I think I'm possibly the last internet-enable sewist to make up this top, but better late than never, eh! I have to say, I'd been put off making this as I wasn't convinced the slightly boxy "60s" shape would suit my figure, but having seen a few versions on larger and more busty women I figured I would give it a go. I had to have three iterations with adjustments, and I still have some reservations, but I actually quite like this.
Pattern description
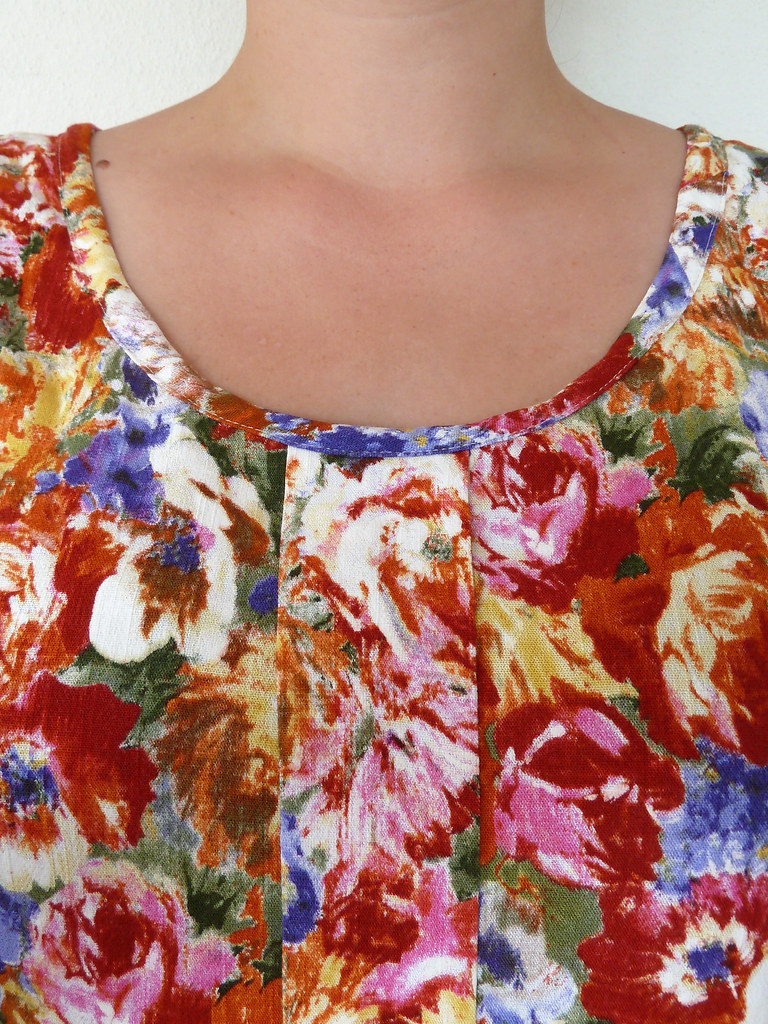
A simple tank with no closures and a loose, swingy fit inspired by the easy elegance of the early 60s. The edges are finished with bias tape, and a single box pleat runs down the front.Pattern sizing
0-18 (although these are larger than the "standard" sizings used by the Big 4). I cut the 14.Fabric used
Printed stretch rayon slub from Fabric.com.Did it look like the photo/drawing on the pattern envelope when you were done?
Yes.Were the instructions easy to follow?
The instructions were excellent. Some of the best instructions I've come across - the diagrams were clear, and the instructions were written like the author actually cared! And not just the actual construction instructions (ooh, a rhyme!) but all the explanatory stuff at the beginning like fabric choice and sizing, plus the formatting for printing was very good, with a test square and border allowances. All for a free pattern! (I know I'm going on about it, but I printed off another free pattern - from Hot Patterns - at the same time, and the instructions/download for that one are awful.)What did you particularly like or dislike about the pattern?
I like the simplicity of the style, and the endless possibilities for adaptation this allows. I do have to say that some of the drafting details weren't quite perfect - for example the the seam allowances for the bust dart were trued as if it was going to be pressed upwards, and when the centre front pleat was sewn in, the top and bottom seam allowances weren't quite trued either. But hey, these are super minor issues, and I am probably only being picky because of the number of courses I've been doing recently on pattern cutting.Pattern alterations or any design changes you made
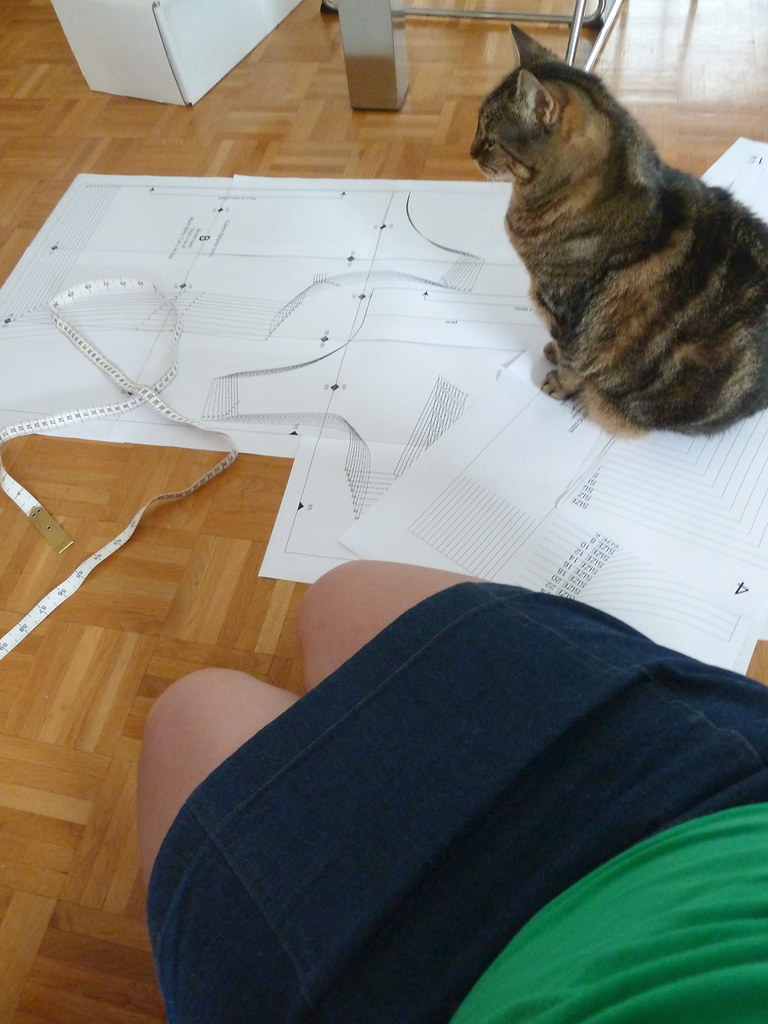
I made this up as a straight size 14 initially in a lightish weight cotton broadcloth to test the size and evaluate what changes I needed to make. The size was ok, but I needed to do a 2.5cm (1") FBA, and also curve the side seams more: in at the waist and out at the hips about 1cm each. I recut the front section and decided to also shorten the bust darts, which is normally required with a larger bust. When I sewed this version up, the fit (in terms of space available!) was much better over the bust, but the darts needed to be lengthened again.The fit on the back still wasn't quite right after these adjustments. I'm slowly figuring out what adjustments I need to make to get things to fit, and I think with my back, it's not so much the ubiquitous swayback adjustment I need, but more a full rear (ha!) and comparatively narrow back waist, and full back high hip. I always have problems with too much fabric around the lower back, but I'm thinking much of this is due to the garment getting caught up on my high hip area and extra fabric to get the garment over my bum, as opposed to a shorter back length.
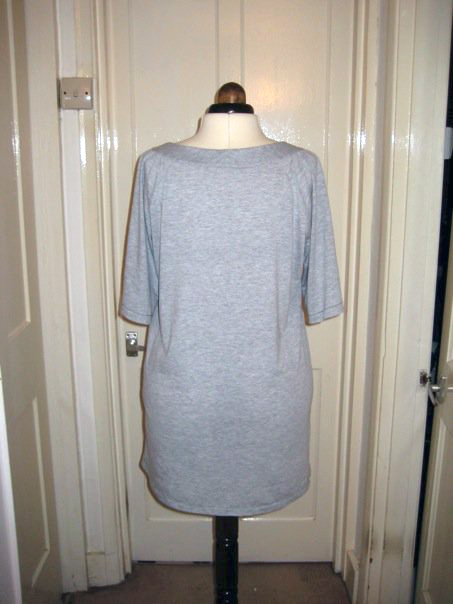
Unfortunately there's not much to do to sort this out without adding at least a centre back seam (princess lines are even better), so although this changes the design lines of the Sorbetto, I added a CB seam for a much more flattering fit - this is shaped to curve in at the back neck and waist, and extra added below the waist.
Construction details
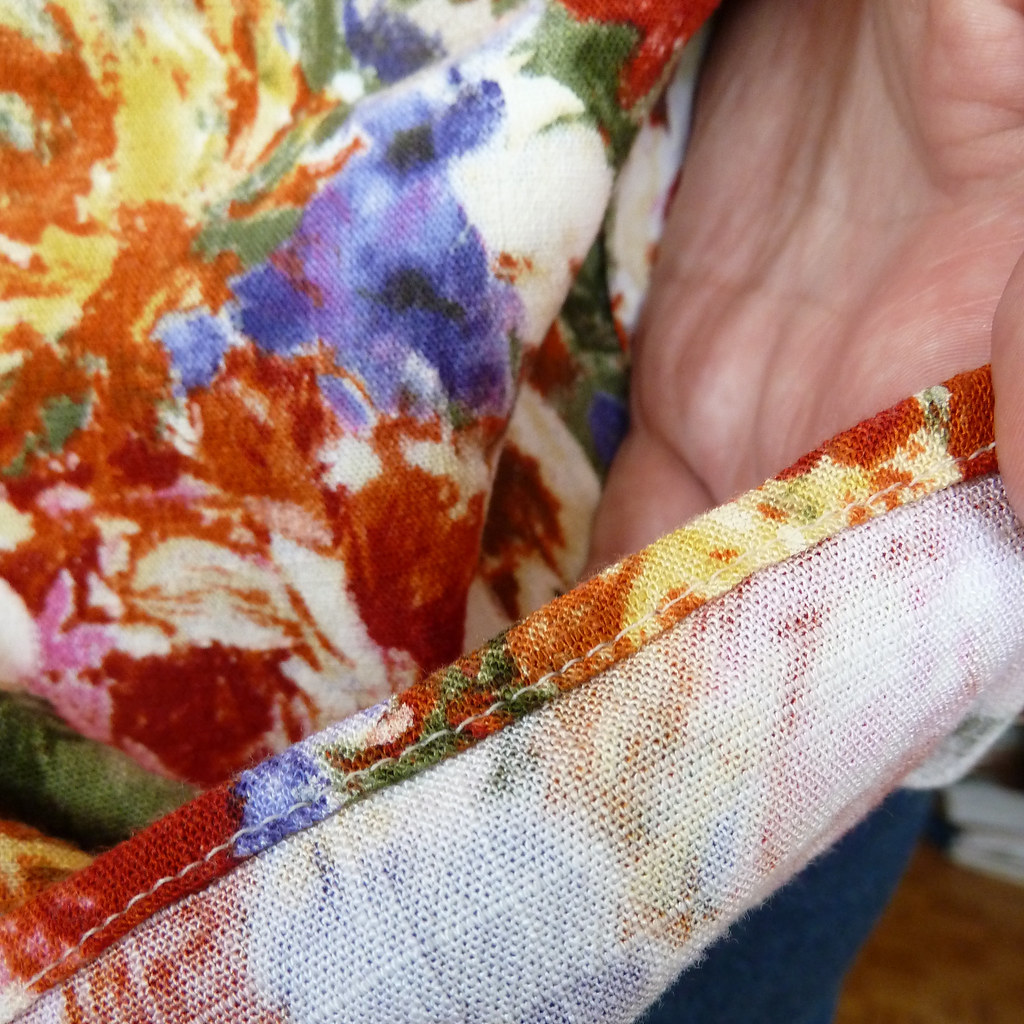
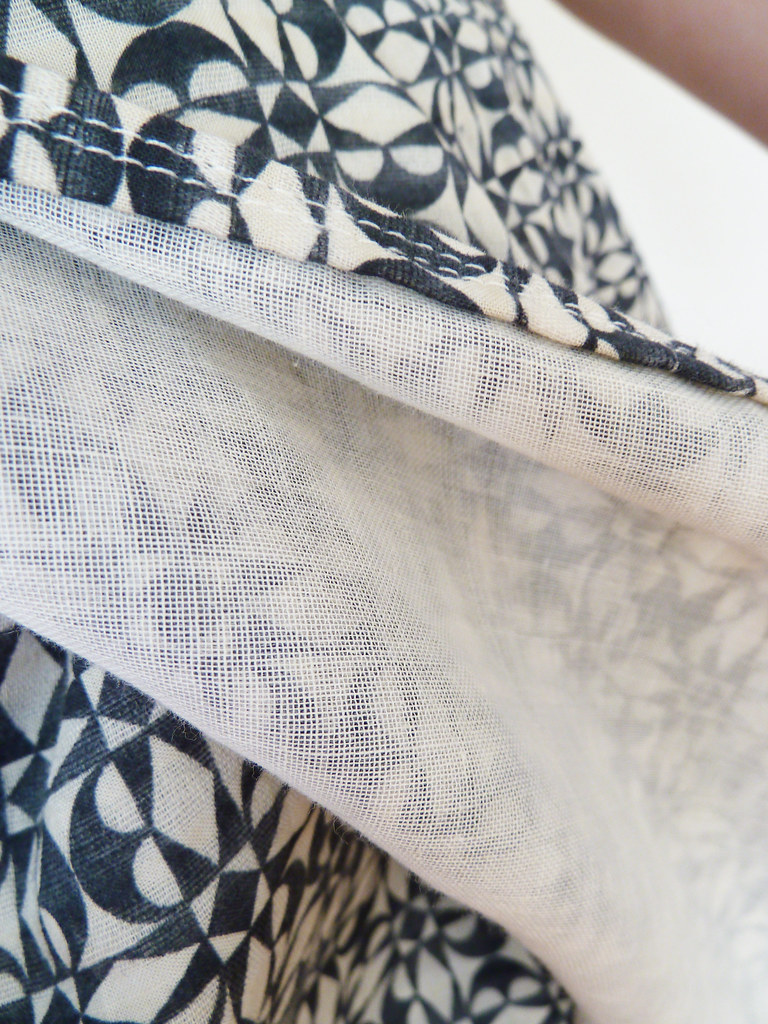
After all my fiddling with fit and the pattern pieces, I managed to forget to add seam allowances to the CB, but I sewed this with a tiny seam allowance (about 5mm / 1/4"), and this actually fit fine, so I'll just add 1cm SA to keep that stitching line where it ended up. The seam allowances were serged to finish them, with the CB serged together as they were so narrow.The fabric has a slight stretch across the grain, so I did contemplate binding the edges with strips cut straight. However, I decided to make proper bias binding, partly because I thought this still might curve better, and partly because I've never made it before! I used the Colette Patterns tutorial for continuous bias binding. The only thing to bear in mind with the continuous method (as opposed to sewing lots of strips together) is that you end up with more seams that also run in opposite directions. This doesn't bother me too much though, especially in a patterned fabric like this, and is less noticeable if you're making more with a larger piece of fabric. I'm definitely going to be making my own bias tape more frequently - it's so nice to not be limited to the rather heavy poly-cotton store-bought bias tapes. The bottom is finished with a baby hem.
I managed to make this out of just a yard of fabric (although only because the back wasn't cut on the fold, and I used a "without nap" layout), so I couldn't fuss too much with pattern placement. There's a white flower that's almost unfortunate on my left boob, but I think it's just about ok. Another note about the fabric - this design seems to work best in a very drapey fabric (i.e. follow the recommendations). The broadcloth version was ok, but rather stiff and odd looking, so unfortunately not really wearable - although it might look better if I recut the back with the CB seam.

